How to Save Money on Grinding Discs and MIG Wire (Guide)
Setting up a metalworking space often feels like a balancing act between your bank account and your creative ambitions. When I built my first shop back in 2013, I had exactly $2,000 and a very small corner of a shared garage. I quickly learned that the initial cost of the welder or the grinder is only the beginning. The real challenge for a budget-conscious beginner is the “hidden tax” of consumables—those items like grinding discs and MIG wire that you use up and throw away. If you don’t manage these properly, you can easily spend more on supplies in your first year than you did on the machines themselves.
My background as an industrial maintenance technician taught me that efficiency isn’t just about working faster; it is about making every resource last as long as possible. In a professional setting, we tracked every penny spent on maintenance and repair. I’ve brought that same meticulous record-keeping to my home shop. I want to help you avoid the analysis paralysis that comes with choosing entry-level tools and show you how to stretch your fabrication budget by mastering the basics of consumable management.
Planning Your Starter Metal Workshop Layout for Long-Term Efficiency
A well-organized workspace is the first step toward reducing waste and ensuring safety. By defining specific zones for “dirty” work like grinding and “clean” work like assembly, you protect your equipment and your materials from cross-contamination. A logical layout also helps you monitor your inventory of supplies more effectively.
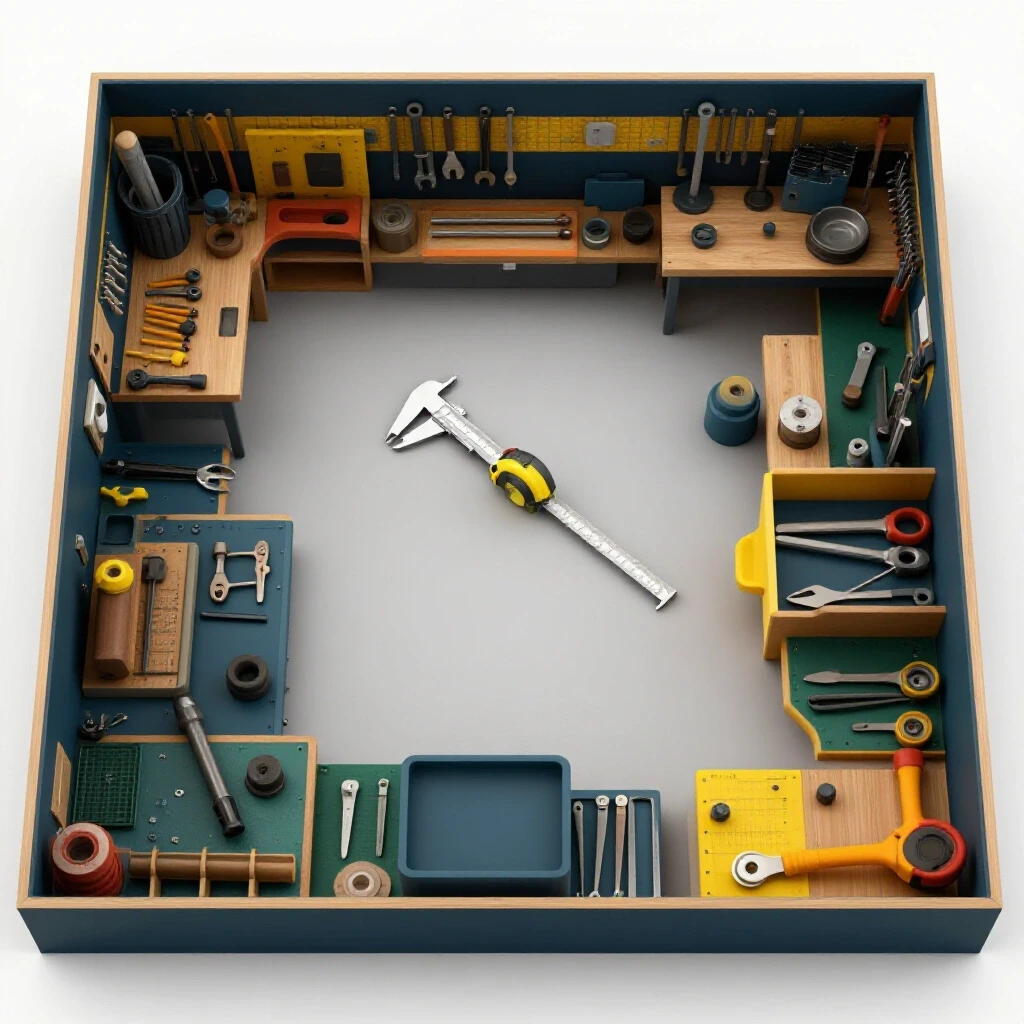
When you are working in a confined space, every square foot matters. I recommend a “U-shaped” or “L-shaped” configuration that keeps your welding station and your grinding bench separate. This prevents metallic dust from the grinder from settling into the internal components of your welder. This dust is conductive; if it builds up inside your machine, it can cause a short circuit, leading to an expensive repair that could have been avoided with a simple 10-foot separation or a physical barrier.
Managing Workshop Electrical Draw Limits
Most residential garages are equipped with 15A or 20A circuits. Before you buy your first welder, you must understand your power constraints. A typical entry-level MIG welder might pull 20 amps when running at its maximum setting. If your lights, your grinder, and your welder are all on the same circuit, you will be walking to the breaker box constantly.
- Circuit Dedicated to Welding: Ideally, run a dedicated 20A or 30A line for your welder.
- Lighting and Small Tools: Keep these on a separate 15A circuit to avoid total darkness if a breaker trips.
- Extension Cords: Never use thin household extension cords. Use a heavy-duty 10-gauge or 12-gauge cord to prevent voltage drops that can lead to poor weld quality and wasted wire.
| Tool Class | Typical Amp Draw | Recommended Circuit |
|---|---|---|
| 4.5-inch Angle Grinder | 5A – 10A | 15A Standard |
| Entry-Level MIG Welder | 15A – 20A | 20A Dedicated |
| Bench Grinder | 3A – 5A | 15A Standard |
| LED Shop Lighting | < 1A | 15A Standard |
Maximizing the Value of Grinding and Cutting Abrasives
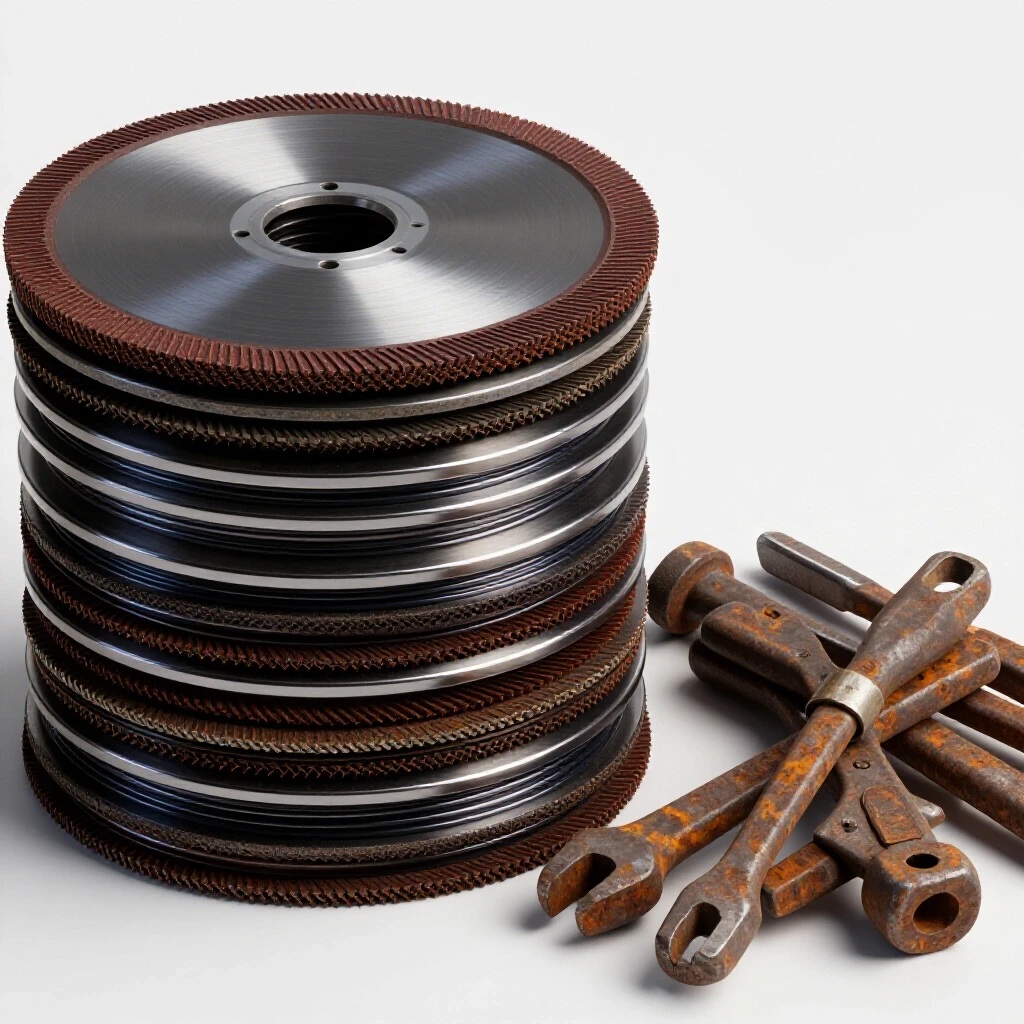
Abrasive discs are often the most frequently replaced items in a beginner’s shop. Many new fabricators make the mistake of buying the cheapest discs available, only to find they wear down in minutes. Extending the life of these tools requires a combination of proper storage, correct technique, and matching the tool speed to the task at hand.
One of the biggest killers of grinding discs is moisture. Most budget-friendly discs use a resin bond to hold the abrasive grains together. If you store your discs in a damp garage, the resin can absorb moisture and become brittle. This leads to the disc “shedding” its abrasive material much faster than it should. I keep my discs in a sealed plastic bin with a few silica gel packets to keep them dry and effective.
Why Technique Trumps Pressure
A common rookie mistake is leaning into the grinder with too much physical force. You might think more pressure means faster metal removal, but it actually causes the disc to overheat. When the disc gets too hot, the abrasive grains dull prematurely, and the resin bond breaks down.
- Let the Tool Work: Apply only enough pressure to keep the disc engaged with the metal. The weight of the grinder is often almost enough.
- Angle Matters: For a grinding disc, maintain a 15 to 30-degree angle to the workpiece. For a flap disc, keep it flatter at about 5 to 10 degrees.
- RPM Matching: Always check that the maximum RPM of the disc exceeds the maximum RPM of your grinder. Using a disc rated for 10,000 RPM on a 12,000 RPM grinder is a major safety hazard and causes the disc to disintegrate rapidly.
Choosing the Right Grit for the Job
Using a fine-grit flap disc to remove a heavy weld bead is a waste of money. You will clog the disc and wear it out before the job is done. Conversely, using a heavy-duty grinding wheel for light surface cleaning is overkill and leaves deep gouges that require more work to fix.
- Hard Grinding Wheels: Use these for heavy material removal and leveling thick weld beads.
- Flap Discs (40-60 Grit): Best for smoothing welds and blending surfaces.
- Flap Discs (80-120 Grit): Use these for final finishing and prepping for paint.
- Wire Brushes: Use these for removing rust or scale without removing the underlying metal.
Reducing Waste in MIG Welding Wire and Gas Usage
MIG wire might seem cheap when you buy a 2-pound spool, but the costs add up over a large project. Saving money here isn’t about buying the lowest-quality wire; it’s about ensuring that every inch of wire you feed through the gun ends up in a strong, clean weld joint. Waste usually comes from excessive spatter, long wire “tails,” and poor joint fit-up.
Proper machine setup is the foundation of wire conservation. If your wire feed speed is too high for your voltage setting, the wire will “stub” against the metal and break off in chunks. If the speed is too low, the wire will burn back into the contact tip. Both scenarios waste material and time.
The Importance of Fit-Up Precision
If you have a 1/4-inch gap between two pieces of metal that should be touching, you are going to use significantly more wire to bridge that gap. In some cases, a poor fit-up can triple the amount of wire required for a single joint. I always tell beginners that 80% of welding is actually the preparation.
- Tack Welds: Use small, precise tack welds to hold your pieces in alignment before committing to a full bead.
- Clamping: Use C-clamps or F-clamps to pull joints tight. A tighter joint is stronger and cheaper to weld.
- Cleaning: Clean your metal to shiny silver before welding. Dirty metal causes spatter, which is essentially wire that you paid for but threw away as waste.
Optimizing Shielding Gas Flow
If you are using a gas-shielded MIG process (GMAW), your gas flow rate is a hidden cost. Many beginners turn their regulator up to 30 or 40 cubic feet per hour (CFH) thinking more is better. In reality, 15 to 20 CFH is usually more than enough for a home shop environment. Excessive gas flow creates turbulence, which can actually pull oxygen into the weld pool and cause porosity.
| Parameter | Recommended Setting | Outcome |
|---|---|---|
| Gas Flow Rate | 15 – 20 CFH | Saves gas, prevents porosity |
| Wire Stick-out | 1/4″ to 3/8″ | Reduces spatter, improves visibility |
| Drive Roll Tension | Just enough to prevent slipping | Prevents wire deformation and bird-nesting |
| Travel Angle | 10 – 15 degrees (Push) | Better penetration, cleaner beads |
Budget Metalworking Tools and Smart Consumable Procurement
When you are starting out, the temptation to buy the cheapest tools at the big-box store is strong. However, I have found that a “middle-ground” approach is more cost-effective. You don’t need industrial-grade equipment, but you do need tools that are built to a recognized standard. This is especially true for safety gear and measuring tools.
I follow a 30% rule: allocate 30% of your initial budget to high-quality safety gear and precision measuring tools. A $500 welder is useless if you can’t see the weld puddle through a cheap, flickering helmet, or if you can’t accurately measure your cuts with a low-quality tape measure.
Identifying Essential vs. Non-Essential Tools
For a beginner setting up an affordable fabrication space, focus on the “Core Four” tools: an angle grinder, a MIG welder, a set of clamps, and a solid workbench. Everything else can be added as your skills and project needs grow.
- The Angle Grinder: This is the most versatile tool in your shop. Spend a little more on a model with a “paddle switch” for safety.
- The Welder: Look for a machine with a decent duty cycle. A 20% duty cycle means you can weld for 2 minutes out of 10. For a home shop, this is usually sufficient.
- The Workbench: Don’t buy a flimsy folding table. Build a heavy wooden bench and top it with a 3/16-inch steel plate. This gives you a flat, conductive surface for welding.
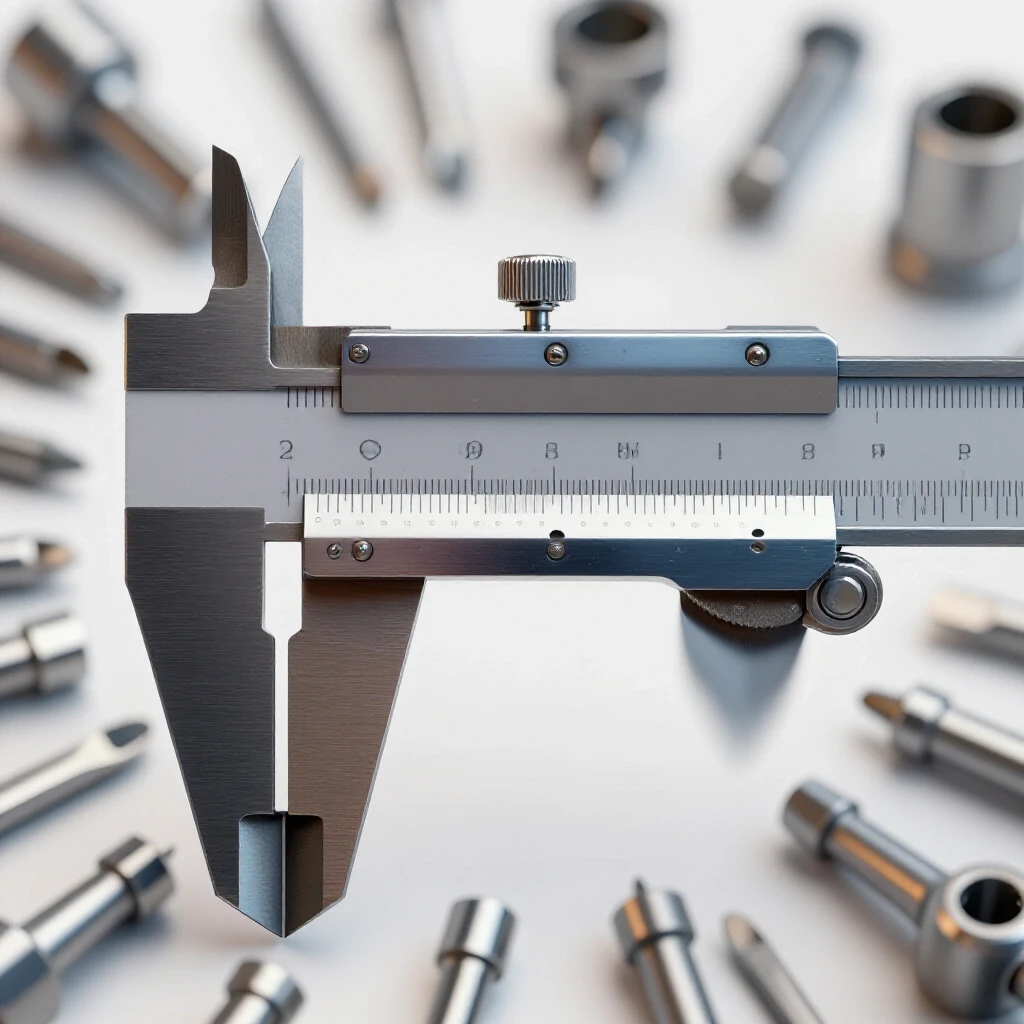
- Measuring Tools: A high-quality steel square and a set of calipers will save you money by preventing ruined workpieces.
Consumable Sourcing Strategies
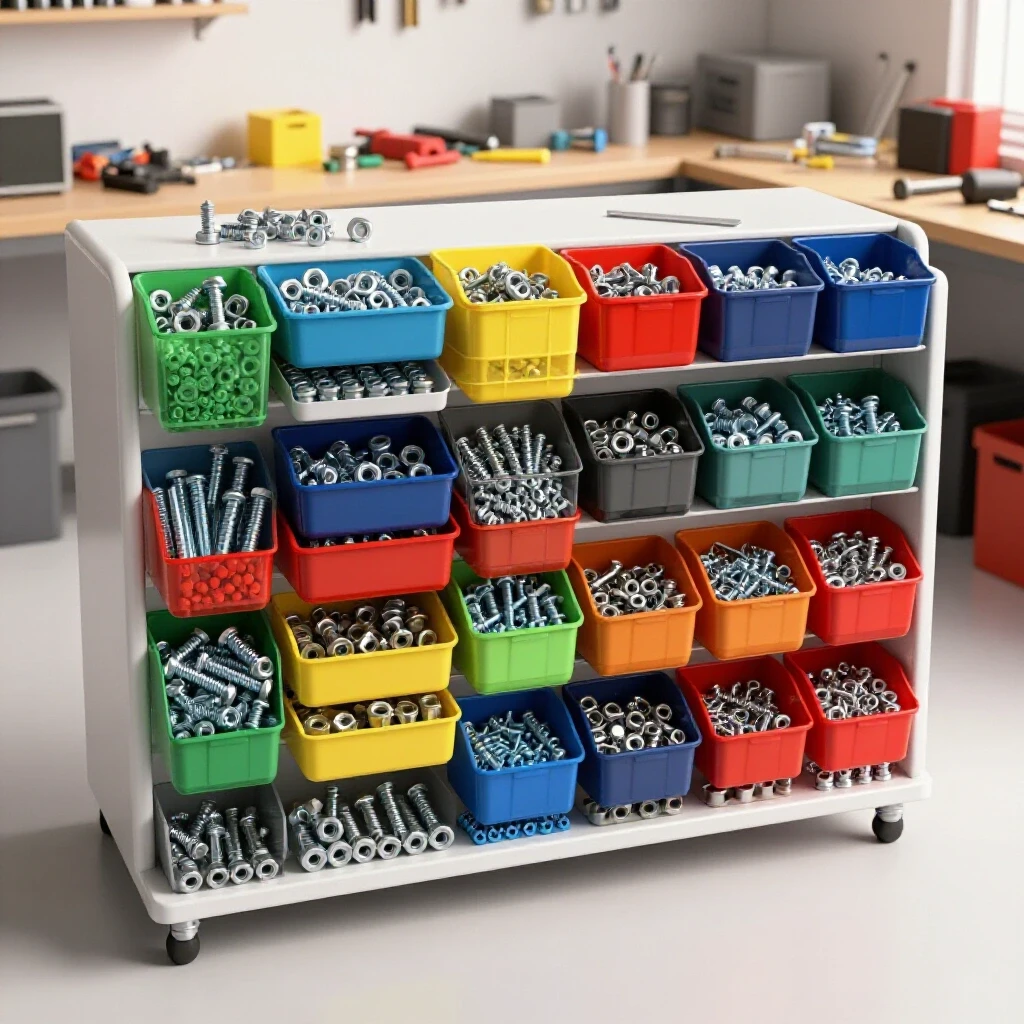
Buying in bulk is the easiest way to save on supplies. A single 4.5-inch grinding disc might cost $3.00 at a local hardware store, but a pack of 25 can often be found online for under $30.00. That is a 60% savings just for planning ahead.
- Avoid “Mystery Brands”: When buying abrasives online, look for brands that list their ANSI safety ratings. A cheap disc that shatters can cause serious injury.
- Local Welding Suppliers: Don’t be intimidated by professional welding shops. They often have better prices on 10-pound spools of wire than the big-box home improvement stores.
- Scrap Metal Yards: Instead of buying new steel at full retail price, visit a local scrap yard. Many have a “remnant” section where you can buy high-quality steel by the pound for a fraction of the cost.
Essential Workshop Electrical Setup Checklists and Safety Gear
Safety is not just about avoiding injury; it is about protecting your investment. A fire in your garage can destroy your tools, your home, and your livelihood. Following OSHA-adjacent guidelines for home shops is a practical way to ensure you are operating within safe limits.
Your personal protective equipment (PPE) should be viewed as a long-term investment. In my experience, the money spent on a comfortable, high-quality welding helmet is the best money you will ever spend. If you are comfortable, you will weld better, which means you will waste less wire and fewer grinding discs fixing mistakes.
The Beginner’s Safety Gear Checklist
- Welding Helmet: Look for an auto-darkening model with at least two sensors and a “Grind Mode” setting.
- Gloves: You need two pairs. Heavy leather gloves for welding and thinner, more tactile gloves for handling metal and grinding.
- Eye Protection: ANSI Z87.1 rated safety glasses must be worn under your welding helmet and at all times when grinding.
- Hearing Protection: Grinding is loud enough to cause permanent hearing damage in minutes. Use earplugs or muffs.
- Fire Extinguisher: Keep a multi-purpose (ABC) extinguisher within arm’s reach of your welding station.
Tooling-to-Machine Cost Ratios
One of the most common mistakes beginners make is spending their entire budget on the machine and having nothing left for the tools needed to actually use it. Use this table as a guide for your initial spending.
| Machine | Initial Cost | Required Tooling/Consumables | Ratio |
|---|---|---|---|
| MIG Welder | $600 | Wire, Gas, Helmet, Gloves, Pliers | 1:0.5 |
| Angle Grinder | $80 | Cutting Discs, Grinding Wheels, Flap Discs | 1:1.2 |
| Workbench | $150 | Clamps, Squares, Magnets | 1:0.8 |
| Drill Press | $200 | Drill Bit Set, Cutting Fluid, Vise | 1:0.4 |
Calculating Garage Workshop Ventilation and Dust Management
Metalworking produces a lot of “trash” that you can’t see. Fumes from welding and fine dust from grinding are respiratory hazards. In a small garage, these pollutants can reach dangerous levels very quickly. Establishing a functional ventilation system is a non-negotiable part of your shop layout.
The goal of workshop ventilation is to achieve a specific number of air exchanges per hour. For a standard two-car garage, you want to move enough air to refresh the entire volume of the room every 5 to 10 minutes.
Determining CFM Requirements
CFM stands for Cubic Feet per Minute. To find your needs, calculate the volume of your shop (Length x Width x Height). For a 20×20 foot garage with 10-foot ceilings, the volume is 4,000 cubic feet. To exchange that air every 5 minutes, you need a fan capable of 800 CFM.
- Source Extraction: Whenever possible, use a fan or vacuum right at the point where you are grinding or welding. This captures the dust before it spreads.
- Cross-Ventilation: Open the garage door a few inches and place a fan in a window or a side door to pull fresh air across your work area.
- Dust Collection: A simple shop vac with a HEPA filter can be attached to many grinders and sanders to catch a large percentage of metallic dust.
Tracking Your Progress and Costs
The only way to know if you are actually saving money is to track your spending. I use a simple spreadsheet to log every purchase, from a $400 welder to a $5 pack of zip ties. This allows me to see exactly where my money is going and identify areas where I am overspending.
I also keep a “Project Log.” When I finish a project, I note how many grinding discs I used and how much wire I consumed. Over time, you will see these numbers go down as your technique improves. This data-backed approach removes the guesswork and helps you plan your next project budget with confidence.
A Simple Cost-Tracking Framework
- Consumable Log: Record the date, item, quantity, and price. Note how long each item lasted.
- Tool Inventory: List every tool, its purchase price, and warranty information.
- Maintenance Schedule: Track when you clean your welder’s liner or change the brushes in your grinder.
- Project Estimates: Before starting, estimate the amount of steel, wire, and discs you will need. Compare this to your actual usage afterward.
Building a Sustainable Fabrication Habit
Setting up your first metalworking shop is a marathon, not a sprint. It is better to have a small, safe, and efficient workspace than a large one filled with low-quality tools and wasted materials. By focusing on the fundamentals of tool care and technique, you can significantly lower your operating costs.
Remember that every professional started exactly where you are. We all tripped breakers, wasted whole rolls of wire on “bird nests,” and wore out grinding discs in seconds. The difference is in the adjustment. If you approach your shop with the mindset of a technician—constantly measuring, recording, and refining—you will find that metalworking is not only a rewarding hobby but also a very manageable one financially.
Next Steps for the Budget-Conscious Fabricator
- Audit Your Power: Check your breaker box to see what circuits are available in your garage.
- Start Small: Buy one high-quality angle grinder and a variety pack of discs to see which ones you prefer.
- Practice Fit-Up: Spend an afternoon practicing cutting and clamping scrap metal until you can achieve gaps of less than 1/16th of an inch.
- Build a Cart: Your first project should be a welding cart. It teaches you layout, cutting, welding, and grinding on a small, manageable scale.
Frequently Asked Questions
How can I tell if a cheap grinding disc is safe to use?
Always look for an ANSI Z87.1 or similar international safety rating printed on the disc. Check for an expiration date, as the resin bonds can weaken over time. If a disc has any visible chips or has been dropped on a concrete floor, throw it away immediately.
Is flux-core wire cheaper than using MIG with gas?
Initially, flux-core is cheaper because you don’t need to buy or rent a gas cylinder. However, flux-core wire itself is more expensive per pound and creates more spatter and slag, which requires more grinding. In the long run, MIG with shielding gas is often more cost-effective and produces cleaner results.
How do I stop my MIG wire from “bird-nesting” at the drive rolls?
This is usually caused by having too much tension on the drive rolls or a kink in the gun liner. Set the tension just tight enough so that the wire feeds smoothly but will slip if you hold the wire between two fingers. This prevents the wire from tangling if it gets stuck at the tip.
What is the most cost-effective way to buy steel for practice?
Visit a local “steel service center” and ask for their “drops” or “remnants.” These are the leftover ends of large beams or sheets that they sell at a steep discount. Also, check online marketplaces for people selling leftover materials from home construction projects.
Can I run a welder on a 15-amp circuit?
You can run a small 120V welder on a 15A circuit at low power settings, but you will likely trip the breaker if you try to weld thicker material. It is much safer and more efficient to use a 20A circuit with no other loads attached.
How often should I change my MIG welding contact tip?
You should change the tip when the hole becomes oval-shaped or when you notice the wire is “stumbling” or arcing inside the tip. A worn tip causes poor electrical contact, leading to inconsistent welds and wasted wire. Tips are cheap, so keep a 10-pack on hand.
Does the color of a grinding disc mean anything?
Sometimes, but not always. Generally, black or dark grey discs are aluminum oxide (good for general steel), while blue or green discs are often zirconia or ceramic (longer-lasting and better for stainless steel). Always read the label rather than relying on color alone.
How do I calculate how much MIG wire I need for a project?
As a general rule of thumb for beginners, one pound of 0.030″ wire will provide roughly 30 to 40 feet of weld bead. This varies based on your joint design and how much spatter you produce. Always buy a little more than you think you need to avoid running out mid-project.
What is the best way to clean metal before welding on a budget?
A simple wire brush or a flap disc on your angle grinder is the most effective way. For oily or greasy metal, use a dedicated degreaser or acetone. Never use chlorinated brake cleaner, as it can produce toxic phosgene gas when heated by a welding arc.
Why does my grinding disc wear down faster on one side?
This is caused by holding the grinder at too steep of an angle. If you “dig in” with the edge of the disc, it will wear away rapidly. Try to use more of the face of the disc by maintaining a flatter angle, which distributes the wear across a larger surface area.
(This article was written by one of our staff writers, Michael Thompson. Visit our Meet the Team page to learn more about the author and their expertise.)