How to Select Structural Metal Thickness for Safe Builds (Tips)
I remember standing in a small garage in Ohio about twelve years ago, looking at a heavy-duty welding table I had just finished. I was proud of the clean beads and the fresh coat of paint. But when I lowered a 400-pound engine block onto the center, the 1/8-inch steel plate top didn’t just flex; it groaned and stayed bowed. I had spent weeks on the project, yet I failed to respect the basic physics of material thickness. That day taught me that a weld is only as strong as the metal it holds together.
As a mechanical engineer who spent over a decade on industrial shop floors, I have seen these errors play out on a much larger scale. From bridge components to heavy equipment frames, the difference between a successful build and a dangerous failure often comes down to a few thousandths of an inch. In my experience, most intermediate fabricators struggle with the “gut feeling” of material selection. They either overbuild, wasting money and making projects too heavy to move, or they underbuild, creating a structural hazard. My goal is to bridge that gap by looking at how we evaluate the physical limits of our materials.
The Physics of Material Selection for Load-Bearing Frames
Understanding how metal reacts to weight is the first step in any build. We look at yield strength—the point where metal bends and stays bent—and how to choose a thickness that keeps our project well below that limit to prevent catastrophic collapse.
When we talk about the strength of a build, we are primarily concerned with yield strength and tensile strength. Yield strength is the amount of stress a material can handle before it permanently deforms. For common A36 mild steel, this is typically around 36,000 PSI. Tensile strength is the point where the metal actually pulls apart. In a home workshop, we never want to get close to the tensile limit. We want our projects to stay within the “elastic” range, where they can flex slightly and return to their original shape.
The thickness of your metal directly impacts its “Moment of Inertia.” This is a fancy way of saying how resistant a shape is to bending. If you take a flat piece of 1/4-inch steel and try to bend it, it’s difficult. But if you stand that same piece on its edge, it becomes nearly impossible to bend by hand. By choosing the right thickness and orientation, you manage the load paths—the routes that weight takes through your structure to the ground.
- Tensile Strength: The maximum stress a material can withstand while being stretched or pulled.
- Yield Strength: The stress level where a metal stops springing back and starts permanently bending.
- Deflection: The degree to which a structural element is displaced under a load.
- Shear Stress: Stress that acts parallel to a surface, often occurring at joint connections.
Deciphering Gauge and Decimal Thickness for Workshop Accuracy
Metal is sold in various units that can be confusing for a hobbyist. Converting gauge numbers to decimals or fractions is essential for calculating the true strength of a piece of steel or aluminum before you start cutting your stock.
In the United States, we often use “gauge” for sheet and thin tubing, but “fractions” for plate steel. This can lead to dangerous mix-ups. For example, 11-gauge steel is approximately 1/8-inch thick (0.1196″), while 16-gauge is much thinner at about 1/16-inch (0.0598″). If you accidentally use 16-gauge for a frame meant for 11-gauge, you are cutting your material strength in half.
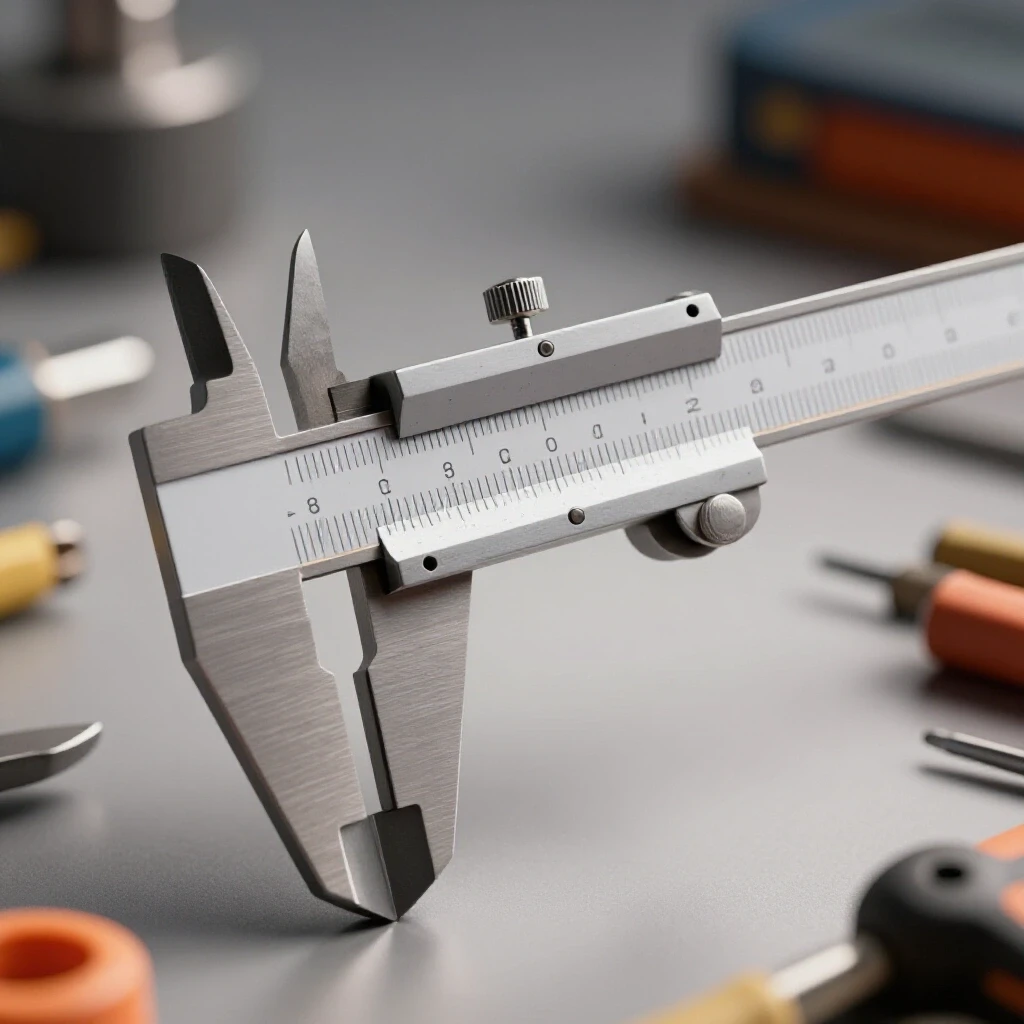
I always keep a decimal conversion chart taped to my workbench. It prevents me from making a snap judgment that could ruin a project. When you are buying material, bring a pair of digital calipers. Suppliers sometimes have “nominal” sizes that differ slightly from actual measurements. A piece of tubing sold as 1/8-inch wall might actually be 0.110 inches, which is a significant difference when you are calculating a 4:1 safety margin.
| Material Type | Gauge/Size | Decimal Equivalent | Typical Application |
|---|---|---|---|
| Mild Steel Sheet | 16 Gauge | 0.0598″ | Non-structural panels, tool trays |
| Mild Steel Sheet | 11 Gauge | 0.1196″ | Light frames, workbench tops |
| Steel Plate | 3/16″ | 0.1875″ | Medium brackets, gussets |
| Steel Plate | 1/4″ | 0.2500″ | Heavy mounting plates, base plates |
| Aluminum Plate | 1/8″ | 0.1250″ | Lightweight enclosures, shelving |
| Aluminum Plate | 1/4″ | 0.2500″ | Structural brackets (requires more thickness than steel) |
Establishing a Safety Margin for Static Workshop Projects
A safety factor is a buffer between what a project can hold and what it will actually hold. For most home shop builds under 500 pounds, we aim for a 3:1 or 4:1 ratio to account for material flaws or minor welding errors.
Why do we need such a large margin? In a perfect world with perfect welds and perfect steel, a 1.1:1 ratio might work. But our workshops aren’t perfect. We might have a small amount of “shielding gas porosity”—tiny bubbles trapped in a weld that weaken the joint. We might have “undercut,” where the weld eats into the base metal and makes it thinner at the most critical point.
Building with a 4:1 safety factor means if you expect a shelf to hold 100 pounds, you design it to hold 400 pounds before it reaches its yield strength. This covers you if you accidentally drop a heavy tool on the shelf or if the metal has a hidden mill defect. Interestingly, I’ve found that many “mysterious” failures in hobbyist shops are simply the result of ignoring this buffer.
- Calculate the maximum expected weight (e.g., 200 lbs).
- Multiply by your safety factor (200 x 4 = 800 lbs).
- Select a material thickness that can support 800 lbs without permanent bending.
- Verify the “Heat-Affected Zone” (HAZ) won’t compromise this thickness at the joints.
Why the Heat-Affected Zone Demands Heavier Wall Sections
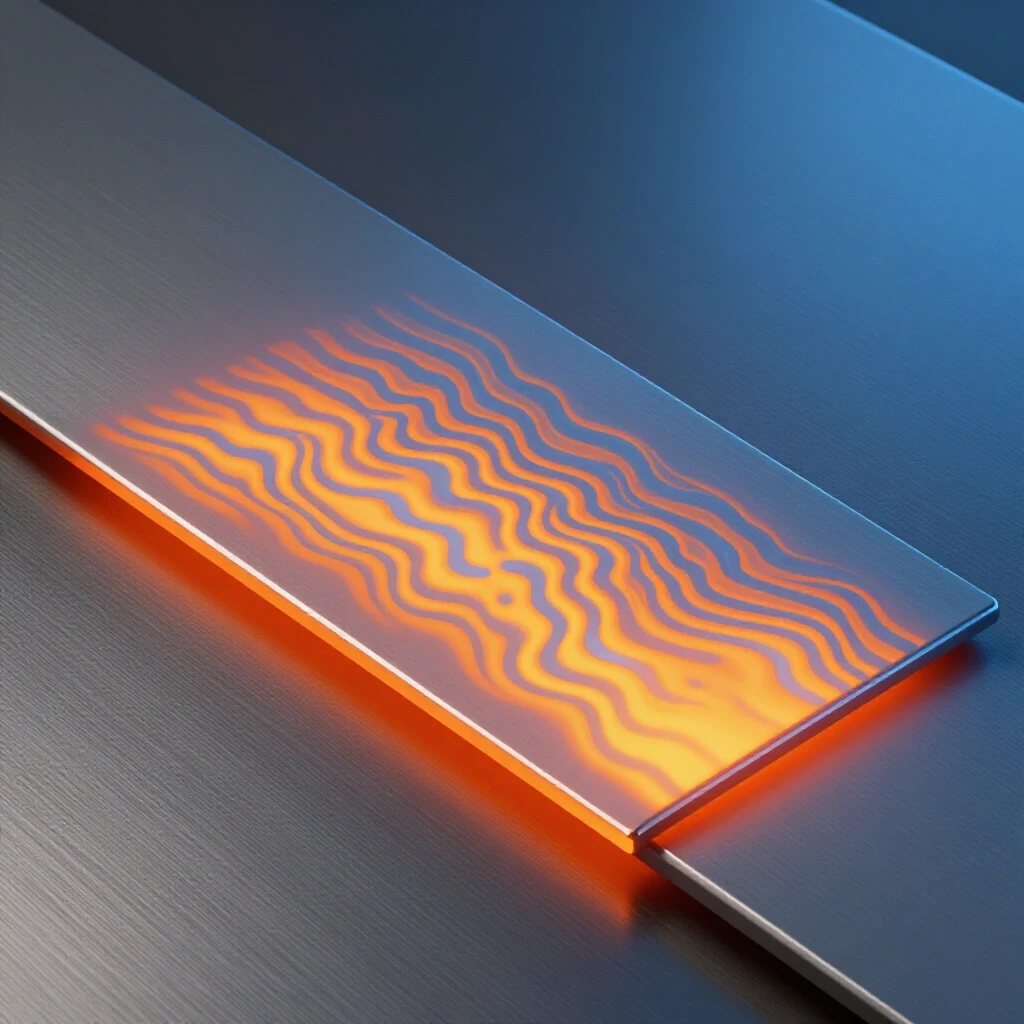
When we weld, the area around the joint changes physically. This “Heat-Affected Zone” or HAZ is often weaker than the original metal. Selecting a slightly thicker material can compensate for this loss of strength and prevent cracking at the seams.
The HAZ is the area of base metal that did not melt but had its microstructure altered by the intense heat. In high-carbon steels or heat-treated aluminum, this area can become brittle or significantly softer than the rest of the piece. If you choose a material that is too thin, the HAZ can become a “perforated line” where the metal will eventually snap under stress.
By using a thicker wall section, you provide more “sink” for the heat. Thicker metal dissipates heat faster, which can sometimes result in a smaller, more controlled HAZ. When I inspect industrial frames, I often look for “brittle fracture” near the welds. This almost always happens when the designer chose a material thickness that was just barely enough for the load, leaving no room for the degradation caused by the welding process itself.
Preventing Structural Failure Through Proper Material Geometry
Thickness isn’t the only factor in strength; shape matters too. Using square tubing or C-channel instead of flat bar can drastically increase a build’s resistance to bending, even if the metal thickness remains the same across different profiles.
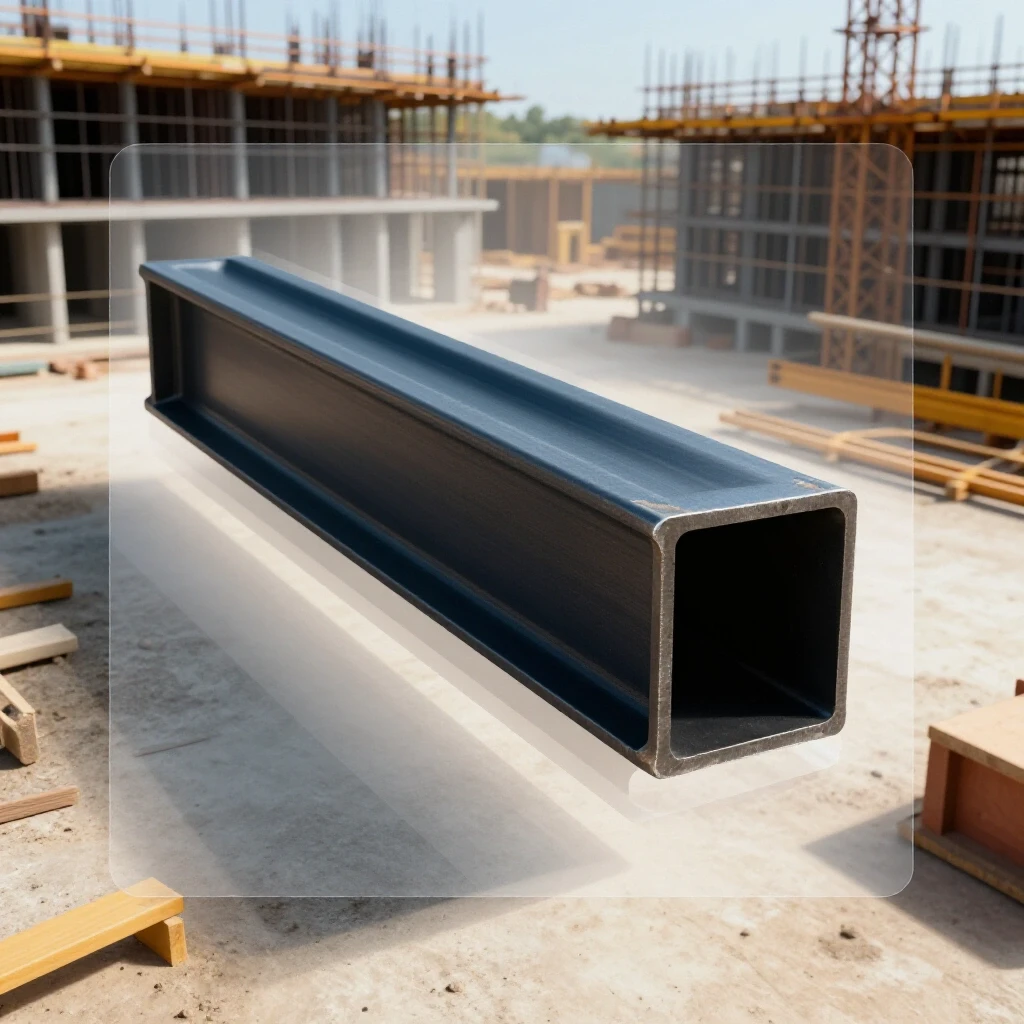
If you are building a stand for a heavy lathe, you might be tempted to use 1/2-inch thick flat bar because it looks “beefy.” However, 2-inch square tubing with a 1/8-inch wall thickness is often much more rigid and less likely to twist. This is because the geometry of the tube places the material further away from the “neutral axis” of the beam.
When selecting your stock, consider “oil-canning.” This happens in thin, flat sheets of metal where the surface pops in and out like the bottom of an old oil can. If you are building a large flat surface, you must either use much thicker plate or add structural ribs underneath. In my own shop, I prefer adding 3/16-inch angle iron stiffeners to a 1/8-inch top rather than just jumping to a 1/2-inch top, which would be nearly impossible to move alone.
- Square Tubing: Excellent for compression loads and resisting twisting (torsion).
- Angle Iron: Good for shelving and frames where you need a “lip” to hold items.
- C-Channel: Preferred for heavy horizontal spans where height is limited.
- Flat Bar: Best used for tension members or small brackets, not for long spans.
Workshop Safety Protocols and Protective Equipment
A safe build starts with a safe environment. Before you even touch your metal stock, your shop needs to be organized to prevent accidents that lead to poor workmanship or physical injury.
I’ve seen more “close calls” from cluttered workspaces than from structural failures. If you are tripping over cords while trying to position a heavy piece of 1/4-inch plate, you are going to make a mistake. Your shop layout should have designated “hot zones” for welding and “clean zones” for measuring and assembly.
PPE is non-negotiable. For the thickness of materials we usually handle in a home shop, a welding helmet with a Shade 10-13 filter is standard. If you are working with thinner 16-gauge steel, you might use a lighter shade, but as the metal gets thicker and the amperage increases, you must darken the lens to protect your eyes. Additionally, ensure your welding gas flow rate is set between 15–20 CFH (cubic feet per hour). Too little gas leads to porosity, which is an internal weld defect that can cause a thick piece of metal to fail as if it were paper.
Workshop Safety Checklist
- Verify fire extinguisher is within reach and charged.
- Clear floor of all flammable materials (sawdust, rags).
- Set ventilation to ensure a constant flow of fresh air.
- Check all power cords for frays or exposed wires.
- Ensure your welding helmet lens is clean and the auto-darkening battery is fresh.
Diagnostic Inspection: How to Spot a Failing Build
Once a project is tacked together, you must inspect it before final welding. I use a “structural joint verification checklist” to ensure that the thickness I chose is performing as expected under the initial clamping forces.
Look for “fit-up” gaps. If your metal is 3/16-inch thick but your gap is 1/8-inch wide, you aren’t really welding the metal; you are just filling a hole with weld wire. This creates a weak point. The best joints have tight fit-up where the edges are almost touching, or have a specific “root opening” defined by a standard like those from the American Welding Society (AWS).
After welding, I perform a simple “visual NDT” (non-destructive testing). I look for cracks, especially at the ends of welds. I also look for “bead profile.” A weld that is too tall and narrow hasn’t “wetted” into the thick metal properly. A weld that is too flat might have “burn-through,” meaning you’ve melted away the very thickness you relied on for your safety calculation.
- Porosity: Small holes like Swiss cheese, caused by wind or low gas flow.
- Undercut: A groove melted into the base metal next to the weld toe.
- Incomplete Fusion: The weld metal didn’t actually bond with the thick base metal.
- Slag Inclusions: Bits of flux trapped inside the weld (common in stick or flux-core).
Case Study: The Overloaded Utility Cart
A friend once built a cart for his 300-pound welder using 16-gauge square tubing. On paper, the tubing could hold the weight. However, he didn’t account for the “point loads” where the heavy casters were bolted on. Because the metal was so thin, the bolts eventually pulled right through the bottom of the tube.
The fix wasn’t to rebuild the whole cart. We added 3/16-inch “doubler plates” at the corners. This distributed the weight of the casters over a larger area of the thin tubing. This is a vital lesson: thickness matters most at the points where the load enters and leaves the structure. If you have a heavy machine sitting on four legs, the “feet” of those legs and the “mounting plates” need to be significantly thicker than the rest of the frame.
Building on this, always consider how you will move the project. A project made of 1/4-inch plate is incredibly heavy. If you don’t have a hoist, you might be tempted to “manhandle” it, which leads to back injuries or dropped components. Sometimes, choosing a thinner material with better structural bracing is the safer choice for a solo builder.
Actionable Framework for Selecting Material
To ensure your next project is structurally sound, follow this data-driven approach to choosing your metal.
- Identify the Load Type: Is it a “dead load” (something that sits still) or a “live load” (something that moves, like a person)? For live loads, double your safety factor.
- Determine the Span: The longer the distance between supports, the thicker the material must be to prevent sagging (deflection).
- Check the Yield Strength: Look up the material on a database like MatWeb. A36 steel is the standard, but 6061-T6 aluminum is common for lighter builds.
- Select the Profile: Choose tubing or channel over flat bar for spans longer than 12 inches.
- Calculate the Safety Margin: Aim for 3:1 for general shop furniture and 4:1 for anything that holds heavy machinery.
- Verify the Welding Plan: Ensure you have the equipment to properly penetrate the thickness you’ve chosen without causing excessive HAZ weakening.
By treating these steps as a formal process, you remove the guesswork. You move from “I hope this holds” to “I know this is within safe limits.” This transition is what separates a hobbyist from a true fabricator.
Frequently Asked Questions
How do I know if I should use 1/8-inch or 3/16-inch steel for a workbench frame? For a standard workbench holding up to 500 pounds, 1/8-inch (11-gauge) square tubing is usually sufficient if the legs are braced. However, if you plan to mount a heavy vise and do a lot of hammering, 3/16-inch is better. The extra thickness absorbs the impact energy and prevents the frame from vibrating or “walking” across the floor.
Can I substitute aluminum for steel if I use the same thickness? Generally, no. Aluminum has about one-third the stiffness (Modulus of Elasticity) of steel. If you replace a 1/8-inch steel beam with a 1/8-inch aluminum beam, it will deflect three times as much under the same load. To get similar rigidity, you usually need to increase the aluminum thickness by about 50% or use a much deeper structural profile.
What is the “Rule of Thumb” for maximum span on thin-walled tubing? For 1/16-inch (16-gauge) tubing, try to keep spans under 24 inches if they are supporting weight. For 1/8-inch (11-gauge), you can often go up to 48 inches for moderate loads. Always add a center support if you notice any visible sagging when you lean on the structure.
Does painting or coating the metal affect its structural thickness? While paint doesn’t add structural strength, it prevents rust from “thinning” your metal over time. In a humid garage, a piece of 16-gauge steel can lose a significant percentage of its thickness to corrosion in just a few years. Always prime and paint your builds to maintain the material integrity you calculated.
Why is my weld “burning through” even though I chose the recommended thickness? Burn-through usually happens because of excessive heat input or a gap that is too wide. Even if the metal is thick enough for the load, if you don’t have a tight fit-up, the welding arc will blow right through the edge. Ensure your joints are ground flat and pressed tight before you start your bead.
Is square tubing stronger than round tubing of the same thickness? Square tubing is generally more resistant to bending in a straight line (like a shelf beam), while round tubing is superior for resisting twisting (torsion) and is often used in roll cages for that reason. For most static workshop projects like stands and racks, square tubing is easier to join and provides plenty of strength.
What should I do if my metal arrives slightly rusted from the supplier? Surface rust (mill scale) doesn’t significantly change the thickness, but it must be removed before welding. Use a flap disc on a grinder to get down to shiny “white metal.” Welding over rust causes porosity, which creates internal voids that make a 1/4-inch plate act like a much thinner, weaker material.
How can I test my build without a professional laboratory? You can perform a “static load test.” Gradually add weight to the structure (using sandbags or water jugs) up to 1.5 times the intended load. Measure the distance from the floor to the center of the span before, during, and after. If the metal doesn’t return to its original height after the weight is removed, you have exceeded the yield strength and need to use thicker material.
What is the most common mistake when choosing material for a heavy shelf? The most common mistake is underestimating the “leverage” on the wall mounts. Even if the shelf itself is thick 1/4-inch steel, if the brackets are only 1/8-inch, they can bend downward. Always ensure the thickness is consistent through the entire “load path” from the shelf surface to the wall studs.
How does “cold-rolled” steel compare to “hot-rolled” steel in thickness selection? Cold-rolled steel is generally stronger and has more precise dimensions than hot-rolled steel. If you are building something that requires very tight tolerances or extra strength in a small package, cold-rolled is a great choice. However, for most general fabrication, hot-rolled (A36) is more cost-effective and perfectly safe if you follow the 4:1 safety factor.
(This article was written by one of our staff writers, James Harlan. Visit our Meet the Team page to learn more about the author and their expertise.)