How to Straighten Warped Steel Bar and Plate (DIY Guide)
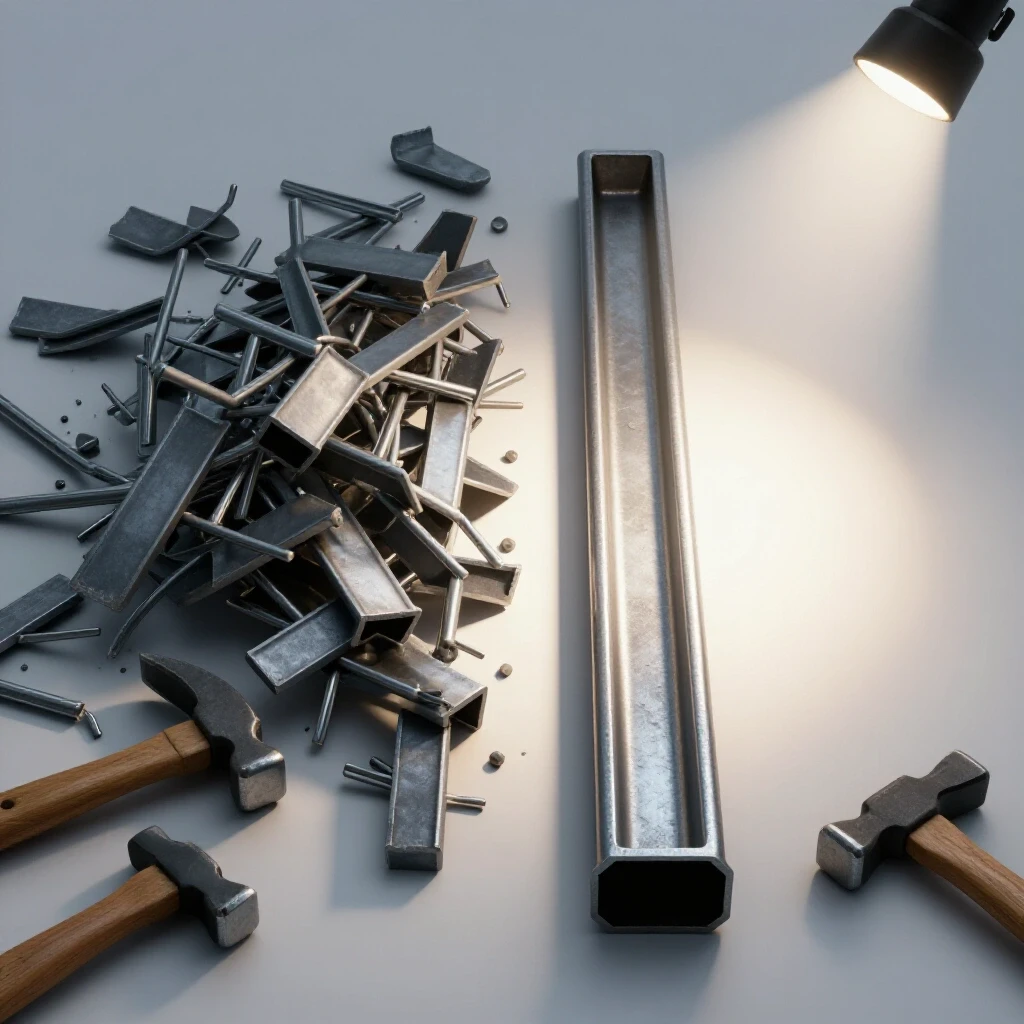
When I built my first workshop in a cramped single-car garage back in 2013, I had exactly $2,000 and a lot of ambition. One of the first things I learned was that steel rarely arrives at your door perfectly flat or straight. Whether it is a piece of bar stock that took a hit during shipping or a plate that pulled during a previous project, knowing how to bring metal back into alignment is a fundamental skill.
The frustration of “analysis paralysis” is real when you are staring at a piece of distorted mild steel and a limited tool budget. You see expensive hydraulic presses online and wonder if you can even compete. I am here to tell you that with a methodical approach, basic hand tools, and a solid understanding of leverage and heat, you can achieve professional results in a home setting. My goal is to help you navigate these early hurdles without wasting your hard-earned money on unnecessary equipment.
Assessing Your Workspace for Metal Correction
Establishing a dedicated area for realigning distorted steel requires a focus on stability and floor strength. This zone needs to handle significant physical force and high temperatures without compromising the safety of your residential structure or your electrical system.
When you are planning your starter metal workshop layout, you must identify a “force-anchor” point. This is usually a heavy-duty workbench bolted to the concrete floor. In my early days, I made the mistake of trying to straighten a 1/2-inch bar on a lightweight wooden bench. The bench moved; the steel didn’t. You need a workspace that stays put.
Designing a Starter Metal Workshop Layout for Alignment Tasks
A functional layout separates “dirty” work like grinding and heating from “clean” tasks like measuring and assembly. For stock correction, you need at least three feet of clearance around your vise to allow for the length of the material and the leverage bars you will be using.
- Floor Clearance: Maintain a 36-inch radius around your primary anvil or vise.
- Surface Stability: Use a bench with a steel top or a 4×4 lumber frame bolted to the slab.
- Lighting: Position LED shop lights to cast shadows across the metal surface, which helps identify high spots and curves.
Workshop Electrical Setup Checklists for Power Tools
Correcting steel often involves using heat or grinders to prep the surface. Most home garages run on a single 15A circuit, which is often shared with the garage door opener and house lights. For a functional shop, I recommend a dedicated 20A circuit to prevent the breaker from tripping every time you start a heavy-duty angle grinder.
- 15A Circuit: Suitable for small lights and light-duty drills.
- 20A Circuit: Necessary for 4.5-inch grinders and small induction heaters.
- Circuit Load Calculation: Total Amps = (Tool Watts / 120 Volts). Never exceed 80% of your breaker’s rating for continuous use.
Essential Budget Metalworking Tools for Stock Alignment
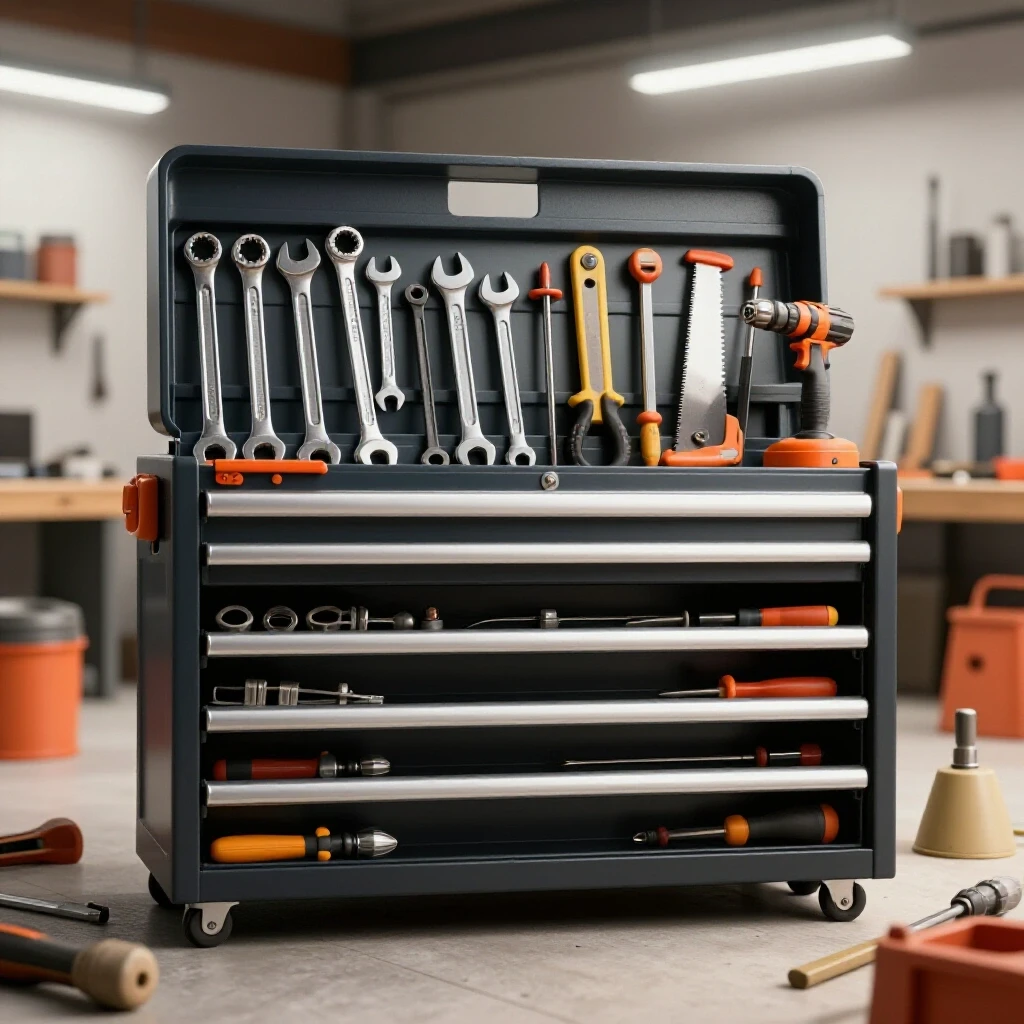
You do not need a 20-ton press to fix most common distortions in bars and plates. By prioritizing a few high-quality manual tools, you can handle the majority of alignment issues found in hobbyist projects while keeping your initial investment low.
In my experience, 30% of your initial budget should go toward high-quality safety gear and measuring tools. A cheap square that isn’t square will lead to hours of wasted effort. I track every tool purchase in a spreadsheet to ensure I am getting the best “utility-to-dollar” ratio.
Prioritizing Affordable Fabrication Tools
Focus on tools that offer versatility. A heavy bench vise is not just for holding parts; it is your primary mechanical advantage for bending steel back into shape. Look for a vise with at least a 4-inch jaw width and a built-in anvil surface.
| Tool Category | Essential Item | Estimated Cost | Priority |
|---|---|---|---|
| Mechanical | 4″ to 6″ Heavy Bench Vise | $80 – $150 | High |
| Impact | 3lb Blacksmith Sledge | $20 – $35 | High |
| Measurement | 24″ Steel Straightedge | $15 – $30 | High |
| Thermal | Propane or MAPP Torch | $45 – $70 | Medium |
| Support | Railroad Track Anvil | $0 – $50 | Medium |
Why Quality Measuring Tools Prevent Costly Mistakes
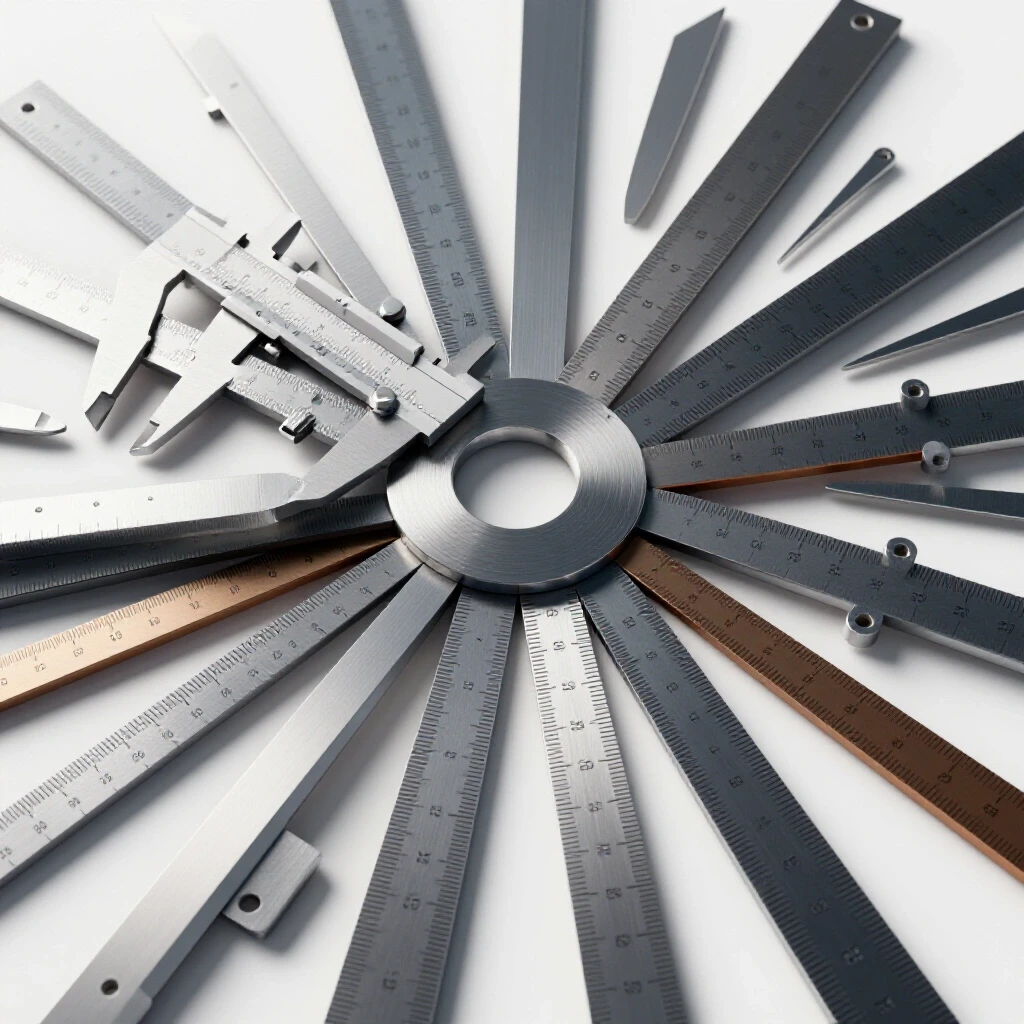
A straightedge is your most important diagnostic tool. When you are trying to find a crown or a twist in a flat plate, a precision-ground steel rule will show you exactly where the light peaks through. This tells you where to apply force. I recommend an ANSI-rated square to ensure your baseline is accurate.
Mechanical Methods for Flattening Distorted Steel
Mechanical correction uses physical force to push the metal past its “yield point”—the moment where it stops springing back and starts to take a new shape. This is the most common approach for budget-conscious beginners because it requires the least amount of specialized equipment.
The “three-point bend” is the core concept here. You support the metal at two outer points and apply force at the center of the warp. This can be done in a vise, on an anvil, or even on the floor using sturdy blocks.
Using a Bench Vise and Lever Bars for Correction
A vise acts as a powerful clamp that can slowly squeeze out bends. If you have a long bar with a curve, you can place two small spacers (like nuts or scrap steel) at the edges of the vise jaws and one spacer on the opposite jaw in the center of the curve.
- Step 1: Clean the metal surface to see the bend clearly.
- Step 2: Position the “crown” (the high point of the bend) against the single center spacer.
- Step 3: Tighten the vise slowly. You will need to “over-bend” slightly because the steel will spring back.
- Step 4: Release and check with your straightedge. Repeat as needed.
Impact Correction on an Anvil or Steel Block
For localized bumps or “oil-canning” in plates, a hammer and a flat surface are your best friends. This requires a “dead” blow, meaning the surface beneath the metal must not move. A section of old railroad track or a thick steel plate makes an excellent budget anvil.
- Technique: Strike the high spots directly while the metal is supported on the flat surface.
- Safety Tip: Always wear ANSI Z87.1 rated eye protection. Hardened hammer faces can occasionally chip, sending small fragments flying at high speeds.
Thermal Techniques for Correcting Steel Profiles
When mechanical force isn’t enough, or when the metal is too thick to move by hand, controlled heating becomes necessary. Heating the steel expands the molecules, making it easier to manipulate. This is often called “heat shrinking” or “flame straightening.”
The goal is not to melt the steel. You only want to reach a dull red color (roughly 1,100°F to 1,300°F). At this temperature, the steel loses much of its structural rigidity, allowing you to nudge it back into alignment with minimal force.
Beginner Welder Power Requirements and Torch Safety
For most home shops, a simple propane or MAPP gas torch from the hardware store is the safest starting point. These do not require the complex tank leases or high insurance costs of oxy-acetylene setups. However, they have a lower heat output, so they are best suited for bars under 3/8-inch thickness.
- Propane Torches: Good for thin sheet and small rods.
- MAPP Gas: Higher heat, better for 1/4-inch bar stock.
- Induction Heaters: Expensive but very safe as they use electromagnetism instead of an open flame.
The Science of Heat Shrinking for Flat Plates
If a flat plate is warped, you can heat a small “spot” or “V” shape on the side you want to pull. As the spot cools, the metal contracts more than it expanded, pulling the plate toward the heat source. This is a delicate process that requires patience and frequent checking with a straightedge.
Workshop Safety and Ventilation Standards
Working with heat and force in a confined space like a garage introduces specific hazards. I always follow OSHA-adjacent guidelines for home shops, which emphasize clear pathways and proper air exchange. When you heat metal, you are often burning off mill scale, oils, or coatings that can produce toxic fumes.
Safety is not just about gear; it is about the layout. Never perform heating tasks near your fuel storage or sawdust collection bins. I keep a 10-pound ABC-rated fire extinguisher within reach of my straightening station at all times.
Garage Workshop Ventilation for Heat Work
Ventilation is measured in Cubic Feet per Minute (CFM). For a standard two-car garage, you want to aim for at least 5 to 10 air exchanges per hour. If you are using a torch, a simple box fan in a window is rarely enough to clear the fumes effectively.
- CFM Calculation: (Garage Volume in Cubic Feet) x (Desired Air Exchanges) / 60.
- Example: A 20x20x8 garage is 3,200 cubic feet. For 6 exchanges per hour, you need a fan rated for 320 CFM.
- Placement: Place the exhaust fan as close to the heat source as possible to capture fumes at the point of origin.
Personal Protective Equipment (PPE) for Metalworking
I allocate a specific portion of my budget to PPE because an injury is the fastest way to end your hobby. For straightening tasks, you need gear that protects against both impact and heat.
- Gloves: Heavy-duty leather welding gloves (not thin gardening gloves).
- Eye Protection: Clear ANSI Z87.1 glasses for mechanical work; Shade 3 or 5 glasses for torch work.
- Footwear: Leather boots to protect against dropped heavy bars or hot scale.
- Clothing: 100% cotton or wool. Synthetic fabrics like polyester can melt to your skin if they catch a spark.
Tracking Costs and Shop Evolution
One of the biggest mistakes beginners make is buying “sets” of tools. You often end up with five tools you don’t need and one low-quality tool you use every day. I recommend a “buy as you go” philosophy, documenting each purchase to see where your money is actually providing value.
In my own shop, I keep a log of every project and the tools used. This helped me realize that a $150 vise was a better investment than a $400 entry-level welder when I was first starting out, because the vise was used in 100% of my stock preparation.
Actionable Tracking Framework for Beginners
Before you spend a dime, create a simple spreadsheet with the following columns. This will help you avoid the financial anxiety of overspending.
- Tool Name: The specific item.
- Estimated Cost: Based on your research.
- Safety Rating: Does it meet OSHA/ANSI/AWS standards?
- Frequency of Use: How often will you actually use this to fix or prep metal?
- Electrical Draw: Does it fit within your 20A circuit limit?
Tool Lifespan and Maintenance Benchmarks
Buying used tools is a great way to save money, but you must know what to look for. A used vise with a cracked body is a safety hazard, not a bargain.
- Vises: Check for smooth lead screw operation and no visible cracks in the cast iron.
- Hammers: Ensure the head is tight on the handle. A loose head is a projectile.
- Straightedges: Place two straightedges against each other; if light shows through the middle, one or both are warped.
Common Rookie Mistakes to Avoid
When you are first learning to realign steel, the impulse is to use more force. This often results in “kinking” the metal rather than straightening it. Metal has a memory, and if you push it too hard or too fast, you can create a permanent weak point.
- Mistake 1: Over-heating. Heating steel to a bright yellow or white color ruins the internal structure of the mild steel and makes it brittle.
- Mistake 2: Ignoring the “Backside.” When you hammer a plate flat, the underside can develop “witness marks” or dents. Use a smooth anvil surface to prevent this.
- Mistake 3: Poor Anchoring. Trying to straighten a bar on a table that isn’t bolted down. You lose 50% of your force to the table’s movement.
Building a workshop is a marathon, not a sprint. By focusing on these foundational techniques for stock correction, you are developing the “feel” for metal that will serve you throughout your fabrication journey. Start with the mechanical methods, invest in a solid vise and a good straightedge, and always keep your safety and budget logs updated.
Frequently Asked Questions
Can I straighten a bent steel bar without using any heat? Yes, most mild steel bars under 1/2-inch thickness can be straightened cold using a heavy bench vise and a lever pipe. You simply need to apply force in the opposite direction of the bend, slightly past the point of straightness to account for the metal’s natural spring-back.
How do I know if my garage floor can handle a heavy anvil for straightening? Standard residential garage slabs are usually 4 inches thick and can easily handle the weight of a 100lb to 200lb anvil. The key is to place the anvil on a stand that distributes the weight and to avoid hammering directly over a control joint or a crack in the concrete.
Is a propane torch from a hardware store hot enough to fix a warped 1/4-inch plate? A standard propane torch can provide enough heat for localized “spot” shrinking on 1/4-inch plate, but it will take longer than a MAPP gas or oxy-acetylene torch. It is effective for small distortions but may struggle with large-scale warps due to the heat dissipating into the rest of the plate.
What is the safest way to secure a workbench for heavy metal bending? The most effective method is using 3/8-inch diameter wedge anchors drilled directly into the concrete floor. If you cannot drill into the floor, you can weigh the bench down with several hundred pounds of sandbags or steel stock on a bottom shelf to increase its inertia.
How can I tell if a piece of steel is truly straight without expensive laser levels? The most reliable budget method is the “light gap” test using a precision steel straightedge. Place the edge against the metal and look for light passing through the contact point. If you see light, there is a gap. You can also use a “string line” pulled tight across the length of a long bar to check for bows.
Should I wear leather or synthetic gloves when using a torch to straighten metal? Always wear 100% leather gloves. Synthetic materials like nylon or polyester will melt and stick to your skin when exposed to high heat or sparks, causing severe burns. Look for “mig” or “stick” welding gloves for the best heat protection.
What is “oil-canning” and how do I fix it in a steel plate? Oil-canning is when a flat sheet of metal pops in and out like the bottom of an old oil can. It happens due to internal stresses. You fix it by identifying the “stretched” area and using light hammer blows or controlled heat spots to shrink the metal back into a flat plane.
How much of my $2,000 budget should I spend on a vise? I recommend spending between $100 and $150 (roughly 5-7% of your budget) on a high-quality used or entry-level professional vise. A vise is the heart of a straightening station, and a cheap one with brittle jaws can break under the pressure required to move steel.
Do I need a dedicated circuit for my angle grinder? While a 15A circuit can run a small grinder, a 20A circuit is highly recommended. Grinders have a high “startup” current draw, and if the circuit is already powering shop lights or a radio, you will likely trip the breaker frequently.
How do I prevent the steel from rusting after I use heat to straighten it? Heating metal accelerates oxidation, creating a layer of black “mill scale.” Once the metal has cooled completely, use a wire brush or a flap disc on an angle grinder to remove the scale, then apply a light coat of WD-40 or a dedicated metal primer to prevent surface rust.
(This article was written by one of our staff writers, Michael Thompson. Visit our Meet the Team page to learn more about the author and their expertise.)