How to Upgrade Your Garage Shop Electrical Service (Guide)
Starting a metalworking journey in a home garage often begins with a pile of brochures and a limited bank account. When I built my first shop in 2013, I had exactly $2,000 and a lot of ambition. I quickly realized that the most expensive tool isn’t the welder itself, but the hidden infrastructure required to make it run safely without tripping a breaker every ten minutes.
The anxiety of overspending is real. You see professional shops with massive industrial power, and then you look at the single 15-amp outlet next to your lawnmower. It is tempting to just plug in and hope for the best, but fabrication tools demand more. Metalworking equipment like welders, grinders, and small mills pull significant amperage that standard residential circuits cannot handle. This guide focuses on the practical steps of preparing your workspace for these high-draw machines while keeping your budget under control.
My background as an industrial maintenance technician taught me that reliability comes from planning, not just buying the most expensive gear. I have spent over a decade tracking every dollar spent on shop upgrades. I have learned that a well-organized power layout is the backbone of a functional fabrication space. We will walk through how to assess your power needs, size your shop distribution, and install a system that respects both your wallet and safety standards like those set by the American Welding Society (AWS).
Assessing Your Fabrication Power Demands
Calculating the total amperage your shop requires involves identifying the peak draw of your most demanding machines. This process ensures you do not undersize your infrastructure, which leads to overheating wires and poor tool performance. It is the first step in moving from a hobby space to a functional fabrication shop.
When you start looking at tools, the first thing you should check is the data plate. This small metal tag on the back of a machine tells you the input voltage and the “Amps” it requires at full load. In a budget shop, you rarely run every tool at once. However, a welder and a high-speed grinder often run in close sequence. If your circuit is too small, the welder will “starve,” leading to poor penetration and weak welds.
I remember trying to run an old transformer-style stick welder on a 20-amp circuit. Every time I struck an arc, the breaker popped. It was frustrating and stalled my progress for weeks. To avoid this, you must categorize your tools by their electrical footprint.
Calculating the Load of Common Metalworking Tools
This step involves listing every motorized or heating tool you plan to own and recording its maximum current draw. By understanding these numbers, you can group tools onto specific circuits to prevent overloads. This data-driven approach prevents the “analysis paralysis” that comes with guessing your power needs.
Most beginners start with a 120V welder, but these are often limited in what they can fuse. If you plan to work on anything thicker than 1/8-inch steel, you will eventually need 240V power. A 240V circuit provides more “pressure,” allowing the machine to work more efficiently. Below is a breakdown of what typical entry-level tools actually pull from your wall.
| Tool Category | Typical Voltage | Amperage Draw (Peak) | Circuit Recommendation |
|---|---|---|---|
| Angle Grinder (4.5″) | 120V | 6A – 10A | Dedicated 20A |
| MIG Welder (Entry Level) | 120V | 15A – 20A | Dedicated 20A |
| Multi-Process Welder | 240V | 30A – 50A | Dedicated 50A |
| Small Benchtop Mill | 120V | 8A – 12A | Shared 20A |
| Bench Grinder | 120V | 4A – 7A | Shared 20A |
As you can see, a single 15-amp household circuit is easily overwhelmed. I recommend allocating about 15% of your initial shop budget specifically to electrical components. This ensures your tools operate at their rated duty cycles without damaging their internal electronics.
Sizing a Workshop Subpanel for High-Draw Machinery
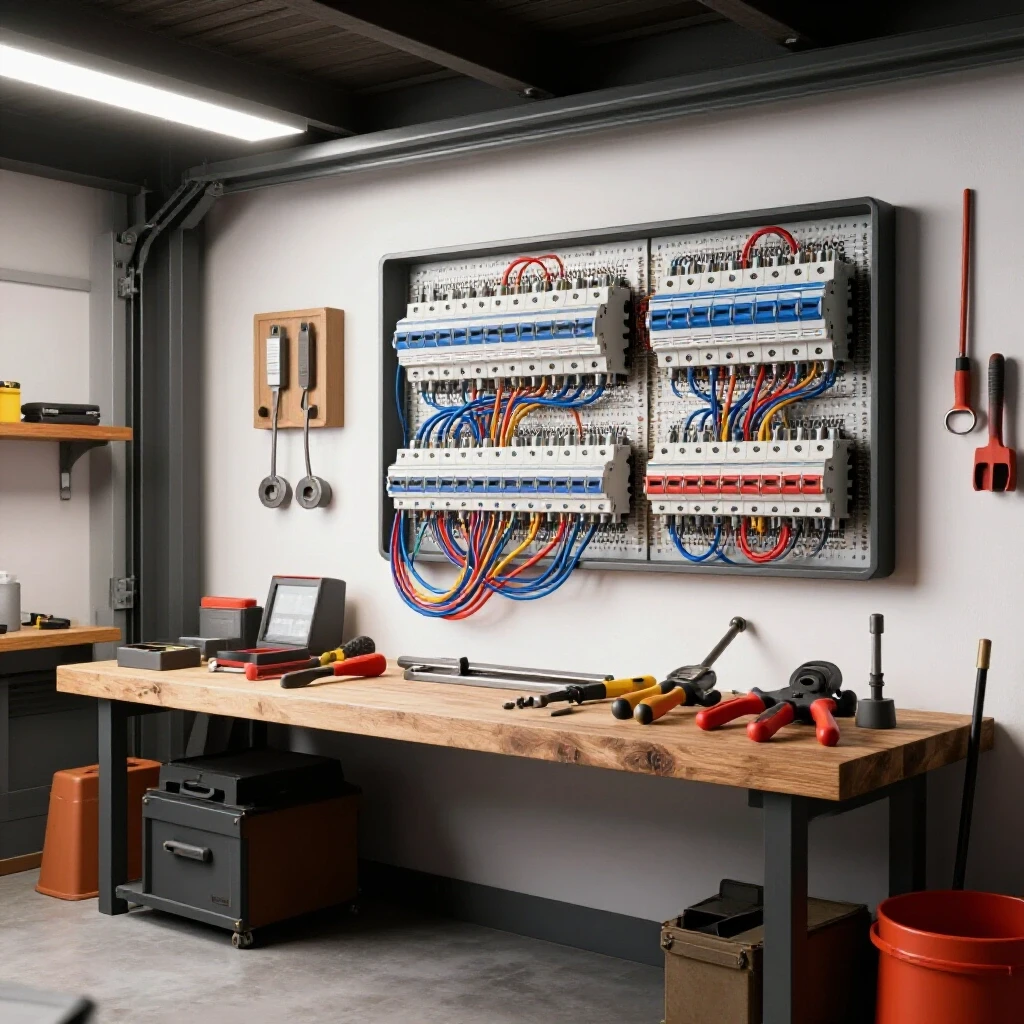
A subpanel acts as a secondary distribution hub located directly in your garage, separate from your main house panel. It allows you to kill power to the shop quickly and provides a dedicated space for your fabrication breakers. This setup minimizes voltage drop, which is the loss of power over long wire runs.
Installing a subpanel is the most efficient way to manage a starter metal workshop layout. Instead of running five separate wires from your house to the garage, you run one large “feeder” cable to the subpanel. From there, you distribute power to your welder and grinders. This centralizes your maintenance and makes future tool additions much easier.
In my second shop, I made the mistake of not installing a subpanel. I ended up with a mess of extension cords that were tripping hazards and fire risks. According to OSHA-adjacent safety guidelines, keeping floors clear of cords is vital in a metal shop where sparks are flying. A subpanel allows you to place outlets exactly where you need them.
Choosing Between 60A and 100A Subpanels
Selecting the capacity of your subpanel depends on your long-term goals and the physical space in your main service. A 60-amp panel is usually sufficient for a single-person shop, while a 100-amp panel provides a safety margin for larger machines. This choice impacts your initial material costs and installation complexity.
For most budget-conscious beginners, a 60-amp subpanel is the “sweet spot.” It provides enough juice to run a 50-amp welder circuit and a 20-amp tool circuit simultaneously. If you plan to add a plasma cutter or a large air compressor later, you might consider the 100-amp option.
- 60-Amp Subpanel: Best for small garages with one welder and basic hand tools.
- 100-Amp Subpanel: Recommended if you plan to run a CNC table or heavy industrial lathes.
- Space Requirements: Ensure you have at least 36 inches of clear floor space in front of the panel for safety access.
- Cost Factor: A 60-amp setup typically costs 30% less in wire and hardware than a 100-amp setup.
Building on this, always track your costs in a spreadsheet. I have found that beginners often forget to budget for the “feeder” wire, which can be the most expensive part of the electrical setup. By choosing a 60-amp limit, you can often use smaller, more affordable wire gauges while still meeting all your fabrication needs.
Strategic Conduit and Circuit Layout for Dusty Spaces
The layout of your wiring determines how safely you can move around your shop during a project. In a metalworking environment, standard plastic-sheathed cables (Romex) are often vulnerable to sharp metal offcuts and hot sparks. Using protective tubing, or conduit, ensures your power system survives the harsh conditions of grinding and welding.
In a metal shop, “clean zones” are rare. Fine metallic dust is conductive and can settle inside electrical boxes, potentially causing shorts. This is why I advocate for surface-mounted EMT (Electrical Metallic Tubing). It is affordable, provides excellent physical protection, and allows you to change your shop layout as your tool collection grows.
When I redesigned my current shop, I spent three days just mapping out where my workbench would sit. I realized that placing outlets every 4 feet along the wall prevented me from ever needing an extension cord. This is a key part of a budget metalworking tools strategy: spend a little more on the layout so you don’t have to buy expensive, heavy-duty extension cords later.
Protecting Your Wiring from Grinding Dust and Heat
Metalworking creates unique hazards like hot slag and abrasive dust that can melt or abrade standard wiring. Using metallic conduit and sealed boxes prevents these elements from reaching your conductors. This section explains how to choose materials that withstand the rigors of a functional fabrication space.
Metallic conduit acts as a shield. When you are using an angle grinder, the “spark stream” can reach temperatures over 2,000 degrees Fahrenheit. If those sparks hit a plastic wire, it can fail instantly. Using EMT conduit is a standard industrial practice that I highly recommend for home shops.
- Use EMT (Electrical Metallic Tubing): It is durable and acts as an extra ground path.
- Select Metal Boxes: These won’t melt if a hot piece of weld splatter lands on them.
- Seal Openings: Use foam or rubber gaskets to keep conductive metal dust out of your breakers.
- Height Matters: Mount outlets at 48 inches high to keep them above the “debris zone” on the floor.
Interestingly, many beginners overlook the conductive nature of metal dust. Over several years, this dust can build up and cause “nuisance tripping” of your breakers. By using a sealed conduit system, you are following AWS-aligned safety practices that keep your shop running longer with less maintenance.
Implementing Safe Disconnects and GFCI Protection
Safety in a metal shop isn’t just about wearing a welding helmet; it is about how the electricity behaves when something goes wrong. Ground Fault Circuit Interrupters (GFCI) and dedicated disconnect switches are essential for protecting both the user and the expensive equipment. These components act as the last line of defense against electrical shocks.
A “disconnect” is a simple switch that allows you to cut power to a specific machine without going to the main panel. This is vital when you are changing blades on a cold saw or adjusting the internals of a welder. For budget shops, you can often use the breaker itself as a disconnect, but a dedicated wall switch is much safer and faster in an emergency.
I once had a grinder switch “stick” in the ON position due to metal dust. Because I had a clear, accessible power switch on my workbench, I was able to kill the power before the tool spun out of my hand. This is why I insist on clear physical clearance boundaries around all power controls.
Why Dedicated Circuits Prevent Equipment Damage
Running multiple high-draw tools on a single circuit causes voltage drops that can overheat motors and fry circuit boards in modern inverter welders. A dedicated circuit means one breaker serves exactly one outlet for one specific tool. This isolation ensures that your most expensive tools receive “clean,” consistent power.
Modern budget fabrication tools often use sensitive electronics to manage the welding arc. If your air compressor kicks on while you are welding, the sudden dip in power can cause the welder’s computer to glitch. This can lead to a ruined weld or, worse, a dead machine.
- Voltage Stability: Dedicated lines prevent the “flickering lights” syndrome.
- Breaker Sizing: You can match the breaker exactly to the tool’s requirements (e.g., a 50A breaker for a 240V welder).
- Troubleshooting: If a fuse blows, you know exactly which tool caused the issue.
- Tool Lifespan: Consistent voltage reduces heat buildup in motors, extending tool life by an estimated 20-30%.
As a result of using dedicated circuits, your shop becomes a much more predictable environment. You won’t have to worry about your spouse turning on a vacuum in the house and killing the power to your garage. It creates a professional-grade setup on a hobbyist’s budget.
Budgeting for Your Power Infrastructure
Establishing a workshop electrical setup checklist is the best way to keep your spending under control. Most beginners spend all their money on a fancy welder and then realize they have no way to plug it in. I recommend a “power-first” budgeting strategy where you secure your electricity before buying the heavy machinery.
In my experience helping others set up shops, I suggest allocating 30% of your total startup funds to infrastructure (power, workbench, and safety). If you have $2,000, that means $600 goes toward the subpanel, conduit, and safety gear. This might mean buying a slightly cheaper welder, but that welder will perform better on a solid electrical foundation than a premium machine will on a weak one.
Essential Starter Tool Sequencing vs. Power Needs
Knowing which tools to buy first allows you to build out your electrical system in stages. You don’t need to wire the whole shop for 240V on day one if you only have a 120V grinder. This sequencing helps manage cash flow while ensuring you are always working in a safe environment.
I suggest a three-phase approach to shop growth. Phase one focuses on the basics for cutting and cleaning metal. Phase two introduces joining (welding). Phase three adds precision (milling or turning). Each phase has specific power requirements that you should plan for in advance.
- Phase 1 (The Prep Phase): Focus on 20-amp 120V circuits for angle grinders and bench grinders.
- Phase 2 (The Joining Phase): Install your 50-amp 240V circuit for a versatile multi-process welder.
- Phase 3 (The Precision Phase): Add dedicated circuits for stationary tools like a drill press or a small band saw.
By following this sequence, you avoid the mistake of over-building. You only pay for the electrical capacity you are actually using. This methodical approach is what helped me keep my first shop under that $2,000 limit while still having a space that met all my fabrication needs.
Workshop Electrical Setup Checklist
To ensure you haven’t missed any critical steps, use this checklist before you start buying tools. This list is based on my 15 years of refining garage layouts and industrial maintenance standards.
- Audit Main Panel: Check if your house panel has two empty slots for a double-pole breaker to feed the garage.
- Calculate Total Load: Sum the peak amps of your two largest tools likely to run at once.
- Map Outlet Placement: Mark your walls for outlets every 4-6 feet at a height of 48 inches.
- Verify Wire Gauge: Use 12 AWG wire for 20-amp circuits and 6-8 AWG for 50-amp welder circuits.
- Inspect Grounding: Ensure your subpanel is properly grounded according to local codes.
- Test GFCI: Install and test ground-fault protection on all 120V outlets near garage doors or damp areas.
- Label Everything: Use a permanent marker to label which breaker controls which outlet.
Building a shop is a marathon, not a sprint. It is better to have two high-quality, properly powered circuits than ten poorly wired ones. Transparency about your budget and your electrical limits will save you from the “buy it twice” syndrome that plagues many beginners.
When I look back at my 2013 shop, the most successful part wasn’t the tools I bought; it was the fact that I stopped guessing. I started measuring my power, tracking my costs, and following a plan. That foundation allowed me to grow from a guy with a cheap grinder into a fabricator who can handle complex projects with confidence.
Take the time to plan your power layout today. Your tools, your safety, and your wallet will thank you.
FAQ: Common Questions on Garage Shop Power Upgrades
Can I run a welder on a standard 15-amp household outlet? While some small 120V welders will turn on when plugged into a 15-amp outlet, they will likely trip the breaker as soon as you start a heavy bead. Most manufacturers recommend a dedicated 20-amp circuit to ensure the machine gets enough current to maintain a stable arc. Running on an undersized circuit can also cause the machine to overheat.
What is the difference between 120V and 240V for metalworking? 120V is standard household power, suitable for grinders and small welders. 240V provides more power for thicker metal fabrication. A 240V machine is generally more efficient, meaning it draws fewer amps to produce the same amount of heat as a 120V machine, which is better for your home’s electrical system.
Why should I use metal conduit instead of Romex in my garage? In a metal shop, you are dealing with hot sparks, sharp metal shards, and heavy tools. Standard plastic-coated Romex wire is easily damaged, which can lead to fires or shocks. Metal conduit (EMT) provides a physical shield that protects your wiring from the specific hazards of fabrication.
How much does it typically cost to add a subpanel to a garage? For a DIY-friendly setup where you buy the materials and plan the layout, you can expect to spend between $300 and $600. This includes the subpanel, breakers, conduit, and the feeder wire. Costs vary based on the distance between your main house panel and the garage.
Do I need a dedicated circuit for my angle grinder? While not strictly required, it is highly recommended. Angle grinders pull a significant “surge” of power when they start up. If they are on a shared circuit with other items, they can cause voltage drops. A dedicated 20-amp circuit ensures your grinder maintains full torque during heavy cutting.
What wire gauge do I need for a 50-amp welder circuit? For a 50-amp circuit, you typically need 6 AWG copper wire. If the run is very short (under 50 feet), some codes allow for 8 AWG, but 6 AWG is the safer bet for maintaining voltage stability. Always check the specific requirements in your welder’s manual.
Is GFCI protection necessary in a dry garage? Yes. Most safety standards require GFCI protection for all outlets in a garage. In a metalworking context, you often have conductive dust and may occasionally have damp floors. A GFCI can detect a ground fault in milliseconds, potentially saving your life if a tool’s insulation fails.
How do I know if my main house panel can handle a shop upgrade? Look at the main breaker at the top of your house panel (usually 100A or 200A). Then, look for two empty spaces where a new double-pole breaker can be installed. If your panel is full or the main service is only 60A, you may need professional help to expand your capacity before adding shop tools.
What is a “duty cycle” and why does it matter for my power setup? A duty cycle is the percentage of a 10-minute period a machine can run at a certain output before it must cool down. A tool with a low duty cycle might pull high amps in short bursts. Your electrical system must be able to handle these peak bursts without overheating the wires.
Can I use an extension cord for my welder? I strongly advise against it. Most household extension cords are 14 or 16 gauge, which is far too thin for a welder. If you must use one, it needs to be a heavy-duty 10 or 8 gauge cord designed specifically for high-amperage tools. A dedicated wall outlet is always the safer and more efficient choice.
(This article was written by one of our staff writers, Michael Thompson. Visit our Meet the Team page to learn more about the author and their expertise.)