How to Weld a Sturdy Steel Utility Sink Stand Base (DIY Plan)
Restoring a 1942 South Bend lathe or a vintage Delta Unisaw is a lesson in patience. Over the last 18 years, I have spent countless hours hunched over rusted castings, coaxing seized pulleys off shafts with heat and PB Blaster. One thing I learned early on is that a cluttered, unstable workspace leads to mistakes. When you are degreasing a 100-pound cast-iron apron or scrubbing decades of grime off a gearbox, you need a dedicated station that can handle the weight. A flimsy plastic tub on a wooden bench won’t cut it. You need a structural steel foundation designed to support a heavy cleaning basin.
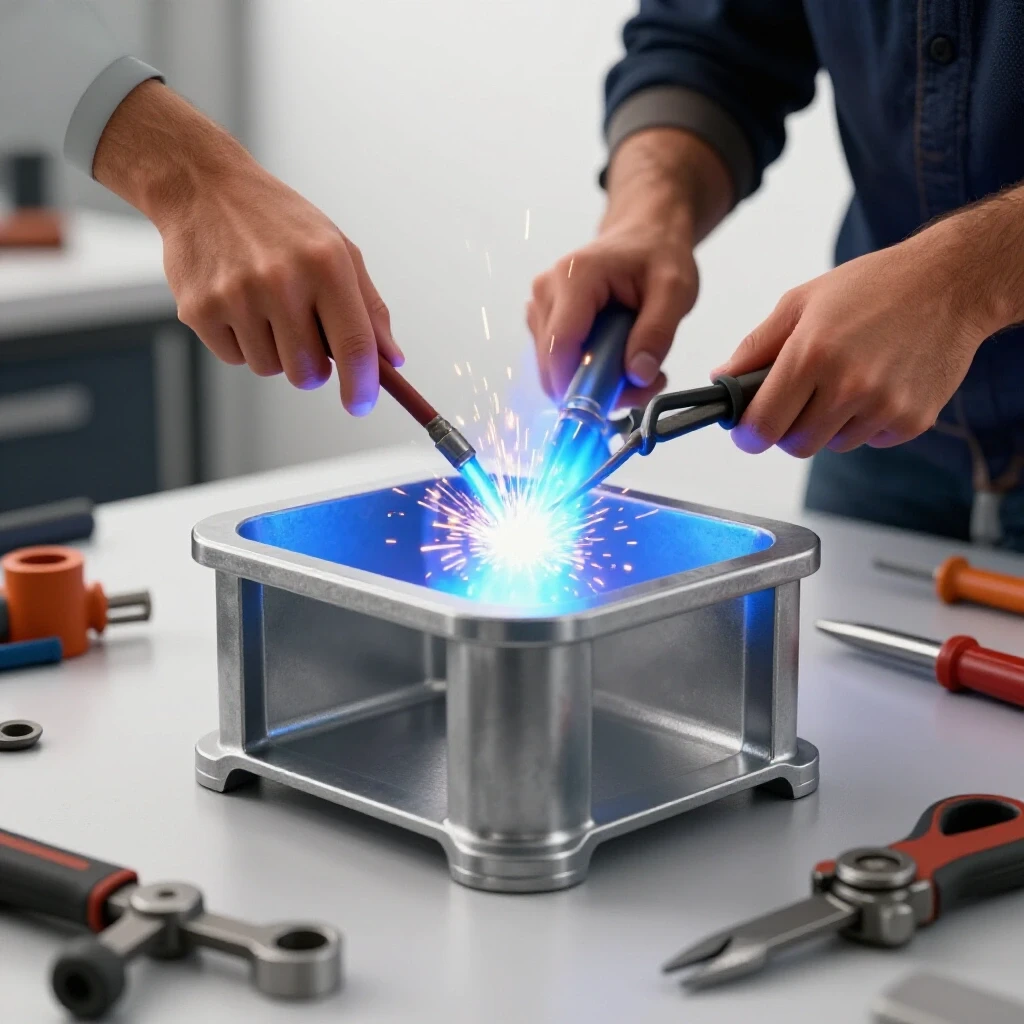
Building your own heavy-duty support frame for a workshop sink is a foundational project for any restorer. It allows you to tailor the height to your own ergonomic needs, which is vital when you are spending hours hand-scraping or wire-brushing small components. In my shop, this stand is the workhorse that supports the messy side of the restoration process. It has to be rigid, perfectly level, and capable of holding at least 300 pounds without swaying.
Evaluating the Structural Needs for Workshop Cleanup Stations
Structural integrity is the first priority when building a frame to support heavy metalworking parts and cleaning fluids. A standard utility basin filled with water and a heavy machine casting can easily exceed 200 pounds.
Determining Load Capacity for Heavy Cast Iron Parts
Load capacity refers to the maximum weight a structure can safely support without deforming or failing. For a machine restorer, this isn’t just about the weight of the water in the sink; it is about the “dead load” of the basin and the “live load” of the heavy iron parts you drop into it.
When I plan a build, I always over-engineer for a 300-pound capacity. This ensures that if I am scrubbing a heavy drill press head, the legs won’t buckle or “rack”—which is the technical term for the frame leaning or swaying sideways. A rigid frame prevents the sink from cracking and keeps the chemicals or water from splashing onto your shop floor.
Understanding Lateral Stability and Racking
Lateral stability is the ability of a frame to resist side-to-side forces. In a workshop, you are often leaning against the sink or applying force while scrubbing a part. Without proper bracing, a four-legged stand can easily fold like a card table.
I use cross-bracing to solve this. By connecting the legs with horizontal members at a lower level, you create a “box” structure. This distributes the weight and the lateral force across all four legs. This is the same principle used in the heavy cast-iron bases of vintage lathes to keep them from vibrating during a heavy cut.
Planning the Frame Geometry and Material Selection
Before you strike an arc, you need a plan. The geometry of the stand must match the dimensions of your specific basin while providing a stable footprint.
Choosing Between Square Tubing and Angle Iron
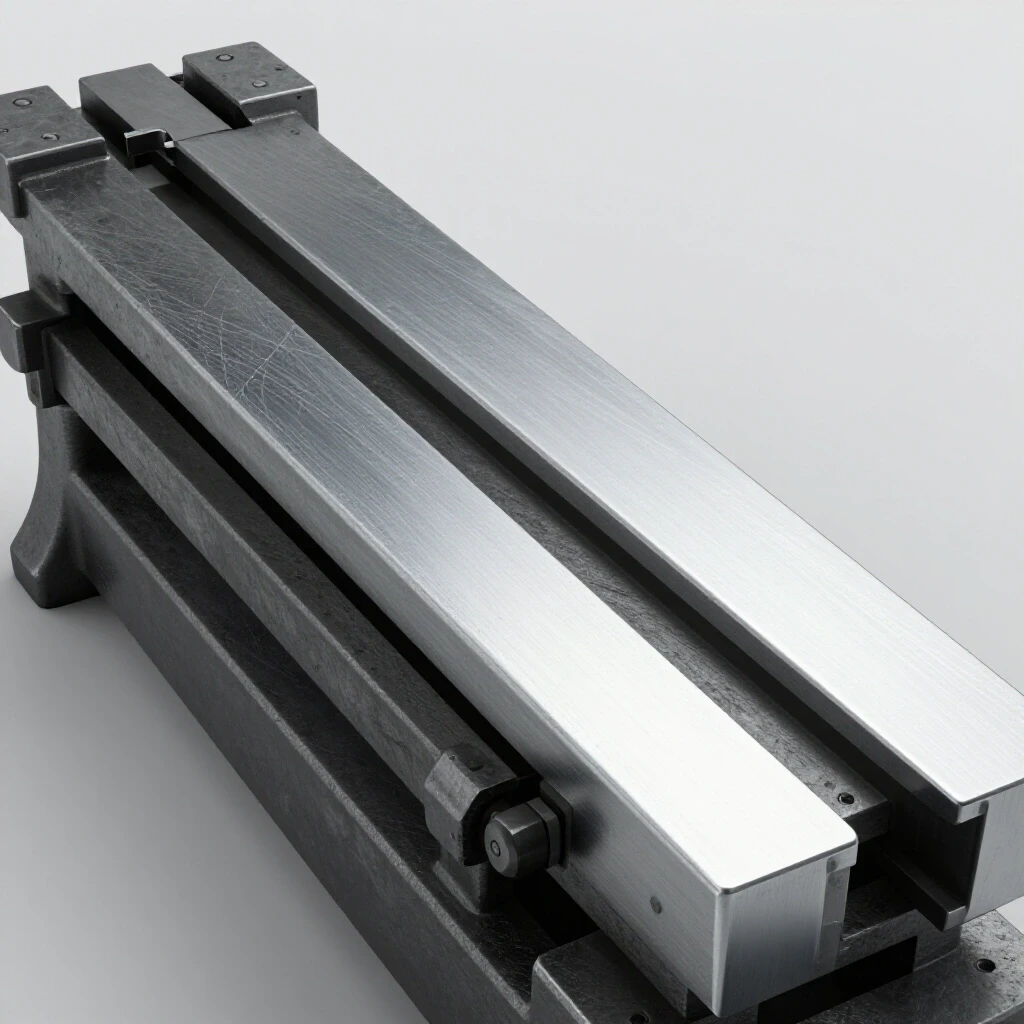
Material selection is a balance between cost, weight, and ease of welding. For most of my shop builds, I choose between square steel tubing and angle iron.
- Square Tubing (1.5 inch, 11-gauge): This is my preferred choice. It has excellent torsional rigidity, meaning it doesn’t twist easily. The flat surfaces make it very easy to clamp and square up.
- Angle Iron (1.5 inch x 1/8 inch): This is often cheaper and easier to find at scrap yards. However, it is not as stiff as tubing and can be trickier to weld at the corners if you want a clean, flush look.
| Material Feature | Square Tubing (1.5″) | Angle Iron (1.5″) |
|---|---|---|
| Strength-to-Weight | High | Medium |
| Torsional Rigidity | Excellent | Fair |
| Ease of Cleaning | High (Internal surfaces sealed) | High (Open faces) |
| Weld Preparation | Moderate (Must seal ends) | Easy |
| Cost | Higher | Lower |
Developing an Accurate Cut List for Precision Fitment
A cut list is a detailed inventory of every piece of steel you need to cut before assembly. In my experience, “measuring twice and cutting once” is the only way to ensure the final stand is level. If one leg is even 1/16 of an inch shorter than the others, the stand will wobble, which is maddening when you are trying to perform precision work.
For a standard 24-inch wide sink, your top frame should match the outer lip of the basin. I usually aim for a height of 36 inches, which matches a standard workbench. This reduces back strain during long cleaning sessions.
- Four legs at 34.5 inches (accounting for the 1.5-inch top frame).
- Two long top rails (matching the sink width).
- Two short side rails (matching the sink depth).
- Four lower stretchers (for cross-bracing).
Mastering the Preparation of Steel Stock
In machinery restoration, we know that the finish is only as good as the preparation. The same applies to welding. You cannot get a strong weld through rust, oil, or mill scale.
Removing Mill Scale and Ensuring Clean Weld Zones
Mill scale is the flaky, dark blue-grey surface layer found on hot-rolled steel. It is a form of iron oxide that forms during the manufacturing process. If you try to weld over it, the arc will be unstable, and you will end up with “porosity”—tiny holes in the weld that weaken the joint.
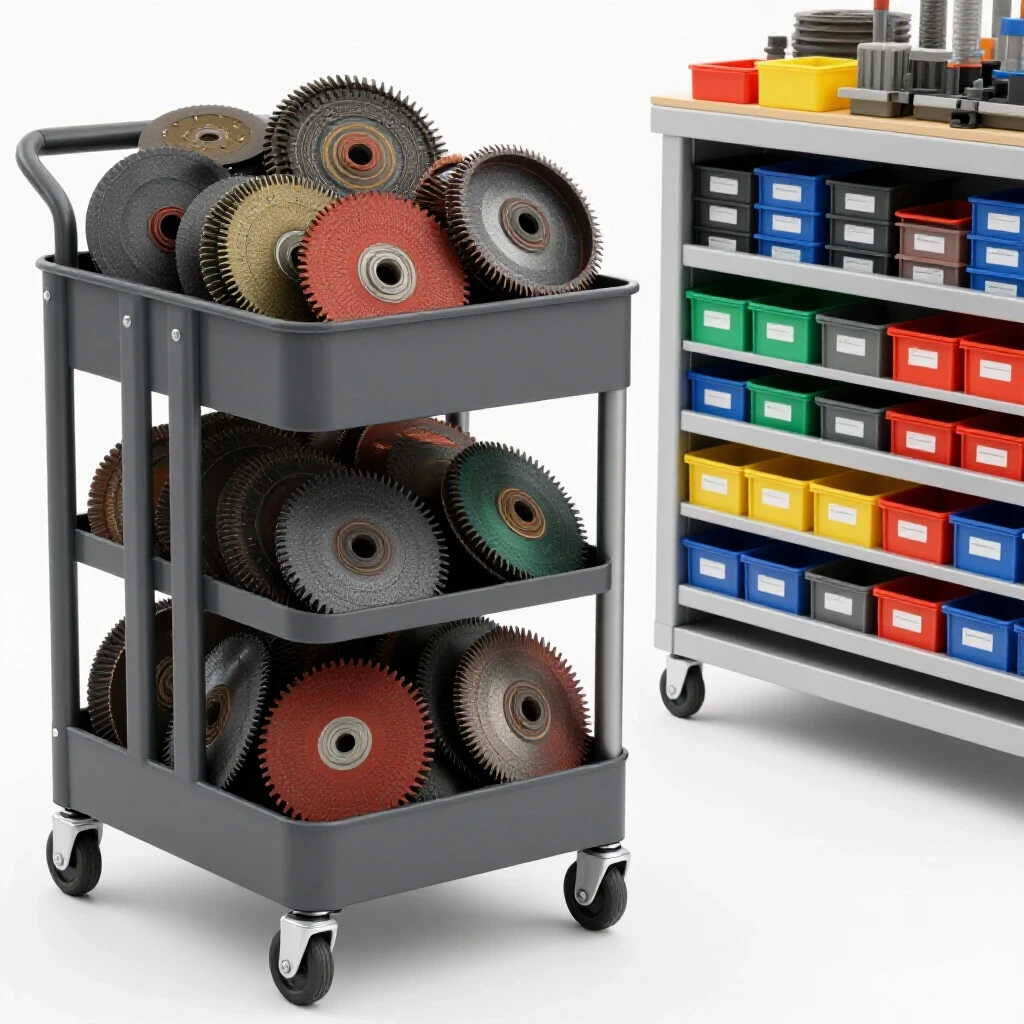
I use a flap disc on an angle grinder to strip the mill scale back about one inch from every joint. You want to see shiny, bright metal. This ensures the weld penetrates deep into the base metal, creating a structural bond that won’t snap when you drop a heavy cast-iron pulley into the sink.
Squaring the Ends for Tight Fit-Up
A “fit-up” refers to how well the pieces of metal touch each other before welding. If there are large gaps, the weld will shrink as it cools, pulling the frame out of square. I use a cold saw or a high-quality abrasive chop saw to ensure every cut is exactly 90 degrees. If the ends are square, the assembly will naturally want to stay square.
The Fabrication Sequence: Tacking and Squaring the Chassis
When you start welding, the heat will cause the metal to expand and contract. If you weld one joint completely before moving to the next, the whole frame will warp.
Using Diagonal Measurements to Ensure a Level Foundation
The most reliable way to check for squareness is to measure the diagonals of your rectangular frame. If the distance from the top-left corner to the bottom-right corner is exactly the same as the distance from the top-right to the bottom-left, the frame is perfectly square.
I start by “tack welding” the corners. A tack weld is a tiny, temporary bead of weld about the size of a pencil eraser. It holds the parts in place but allows you to move them with a dead-blow hammer if the measurements are off.
- Lay the top frame pieces on a flat welding table.
- Clamp the corners using 90-degree welding magnets or Bessey clamps.
- Place one tack weld on the inside of each corner.
- Check the diagonals. If they are within 1/16 of an inch, proceed.
- Add tacks to the outside of the corners.
Managing the Assembly Order
Building from the top down is often easier. I assemble the top rectangular rim first, then attach the four legs. Once the legs are tacked in place, I flip the stand over to add the lower cross-braces. This “sub-assembly” approach is common in machine rebuilding, where you verify the accuracy of one component before moving to the next.
Welding Techniques for Structural Integrity
For a shop stand, you want deep penetration. I typically use a MIG (Metal Inert Gas) welder for its speed and cleanliness, but a stick welder with a 6011 or 7018 electrode is also excellent for structural work.
Managing Heat Distortion in Light-Gauge Steel
Heat distortion is the warping of metal caused by the intense heat of the welding arc. On 1/8-inch wall tubing, this is a real risk. To minimize this, I use a “stitching” technique. Instead of running one long bead all the way around a joint, I weld opposite sides in short bursts. This keeps the heat input balanced.
For a standard fillet joint—where two pieces of metal meet at a 90-degree angle—I aim for a smooth, slightly convex bead. If the weld looks like a rope sitting on top of the metal, it didn’t get enough heat. If there is a “crater” or undercut in the base metal, you used too much heat.
Weld Parameters for 1/8-Inch Steel
If you are using a MIG welder with .030-inch solid wire and 75/25 shielding gas, your settings should be roughly:
- Voltage: 18-19V
- Wire Feed Speed: 220-240 inches per minute
- Technique: A slight “push” angle to ensure the gas shields the molten puddle.
Reinforcing the Assembly for Lateral Stability
Once the main box is tacked and squared, it is time to add the reinforcement. This is what separates a professional-grade tool from a hobbyist project.
Adding Cross-Bracing to Prevent Racking Under Load
I place my lower stretchers about 8 to 10 inches from the floor. This provides enough clearance for a bucket or a small parts washer to sit underneath the sink, but it is low enough to provide maximum leverage against racking.
For extra-heavy-duty stands, I sometimes add “gussets.” A gusset is a triangular piece of plate steel welded into the corners. This prevents the right angles from “parallelogramming” when a heavy weight is shifted. In the world of vintage machinery, you see gussets everywhere—from the internal ribbing of a lathe bed to the motor mounts of an old band saw.
| Reinforcement Type | Purpose | Best For |
|---|---|---|
| Horizontal Stretcher | Prevents leg splay | Standard loads (200 lbs) |
| Triangular Gusset | Increases joint rigidity | High-vibration tools |
| Diagonal Bracing | Eliminates all racking | Mobile stands on casters |
| Floor Flanges | Allows for bolting to floor | Permanent heavy stations |
Final Alignment and Leveling
A machine restorer knows that “level” is a relative term. For a sink stand, it needs to be level enough so that the water drains properly and the basin doesn’t put uneven stress on the steel frame.
Correcting Minor Warpage
Even with careful tacking, some warpage is inevitable. If the stand has a slight wobble after all the final welds are cooled, I use a technique called “flame straightening” or, more simply, I add adjustable leveling feet.
I weld a large nut (usually 1/2-inch thread) into the bottom of each leg. Then, I thread in a heavy-duty bolt with a wide base. This allows me to dial in the level of the stand on an uneven shop floor, much like leveling the bed of a precision lathe using a Starrett 98 machinist level.
Precision Benchmarks for Shop Fabrication
- Diagonal Tolerance: Less than 1/16 inch across a 30-inch span.
- Leg Plumb: Within 0.5 degrees of vertical.
- Weld Penetration: At least 70% of the material thickness.
- Leveling Range: At least 1 inch of adjustment in the feet.
Safety Considerations for Heavy Shop Gear
Working with heavy steel and welding equipment requires a specific safety protocol. When I am moving these frames around, I am mindful of the weight. A finished steel stand can weigh 60 to 80 pounds before the sink is even added.
- Eye Protection: Always wear a grinding shield when prepping steel. Mill scale shards are sharp and hot.
- Fume Extraction: If you are welding indoors, ensure you have a fan or a dedicated fume extractor. Welding through even small amounts of residual oil or zinc coating can produce toxic smoke.
- Lifting: Use your legs, not your back. If you are restoring old machinery, you likely already have a shop crane or a “cherry picker.” Use it to flip the stand during welding to avoid strain.
Lessons from the Restoration Log
I remember a project involving a 1930s Walker-Turner drill press. The base was cracked, and I had to fabricate a new steel support. I rushed the welding and didn’t check my diagonals. When I went to bolt the cast-iron column to the new base, the holes didn’t align because the frame had twisted by nearly a quarter of an inch.
I had to cut the welds, grind everything clean, and start over. That mistake cost me four hours of shop time. Now, I treat every steel fabrication project with the same respect I give to a bearing fit on a spindle. Precision in the base leads to precision in the work.
Actionable Tracking Framework for Your Build
To stay organized, I recommend keeping a simple build sheet. This prevents “feature creep” and ensures you don’t miss a critical weld.
- Material Inventory: Confirm all lengths are cut and ends are deburred.
- Weld Zone Prep: Verify all mill scale is removed.
- Tack Sequence: Top frame, then legs, then stretchers.
- Squareness Check: Record diagonal measurements before final welding.
- Final Weld-Out: Follow a staggered pattern to manage heat.
- Leveling Foot Install: Ensure nuts are welded square to the leg ends.
The goal of this project isn’t just to have a place to wash your hands. It is to create a rock-solid piece of shop infrastructure that supports the difficult, messy, and rewarding work of bringing mechanical history back to life. When you have a sturdy, level station for cleaning and inspecting parts, your restoration quality improves, and the process becomes much more enjoyable.
Frequently Asked Questions
Why shouldn’t I just use a wooden stand for my workshop sink?
Wood is susceptible to rot and warping when exposed to the water and degreasing chemicals common in machine restoration. Over time, the joints in a wooden stand will loosen, leading to racking. A welded steel frame is impervious to these fluids and provides much higher rigidity for heavy cast-iron parts.
What is the best way to prevent the stand from rusting in a wet environment?
While we aren’t discussing finishes here, the most important step is the weld cleanup. Ensure you remove all slag and spatter. In my shop, I keep the steel clean and dry during the build. For long-term protection, many restorers use a simple cold-galvanizing spray or a dedicated machinery enamel once the fabrication is complete.
How do I know if my welds are strong enough to hold a 100lb lathe part?
A proper structural weld should look like it is “sunk” into the metal, not just sitting on top. If you see a smooth transition between the weld bead and the base metal (no sharp “cliffs”), and the bead is consistent in width, you likely have good penetration. For 1/8-inch steel, a single-pass fillet weld is more than sufficient for a 300-pound load.
Can I use a smaller 1-inch tubing for the stand?
You can, but 1-inch tubing has significantly more flex than 1.5-inch tubing. When you are scrubbing a heavy part, that flex can lead to vibrations and splashing. I find that 1.5-inch tubing provides the “mass” and “deadness” that feels more like the vintage machinery we are used to working with.
What if I don’t have a welding table to keep things square?
You can use a flat concrete floor, but check it with a long straightedge first. Most garage floors are sloped for drainage. If your floor isn’t flat, you will have to rely heavily on your diagonal measurements and use shims to keep the pieces on the same plane during tacking.
Do I really need to remove the mill scale?
Yes. Mill scale has a higher melting point than the steel underneath. If you don’t remove it, the weld pool will “float” on top of the scale rather than bonding with the base metal. This results in a brittle joint that can fail under the vibration of a shop environment.
How do I weld the nuts for the leveling feet without ruining the threads?
The best trick is to thread a sacrificial bolt into the nut before welding. This protects the internal threads from weld spatter. Once the weld is cooled, back the bolt out. If the nut distorted slightly from the heat, you can run a tap through it to clean up the threads.
What is the best height for a sink stand?
Standard counter height is 36 inches, but for a deep utility sink, I often drop the stand height so the rim of the sink is at 34 inches. This makes it easier to lift heavy castings into the basin without straining your shoulders.
Can I add casters to the stand?
Yes, but be careful. Casters raise the center of gravity and can introduce “wobble.” If you add casters, ensure they are total-lock casters (locking both the wheel and the swivel) and rated for at least 150 pounds each.
Is angle iron better than square tubing for the top rim?
Angle iron can be easier for the sink to “sit” in because the vertical flange acts as a stop. However, square tubing is easier to weld at the corners for a beginner. If you use tubing, you may need to add small “tabs” or a lip to keep the sink basin from sliding.
How do I fix a stand that is slightly out of square after welding?
If it is a small amount (under 1/8 inch), you can usually pull it back into shape using a heavy-duty ratcheting cargo strap while the welds are still slightly warm. If it is significant, you will need to cut the tacks on the cross-braces and re-square the assembly.
(This article was written by one of our staff writers, Richard Beaumont. Visit our Meet the Team page to learn more about the author and their expertise.)