How to Weld Steel Frames Without Warping or Twisting (Fix)
I spent my early years in the shop thinking that if I clamped a frame tight enough to a heavy table, it simply couldn’t move. I was wrong. I once built a rectangular base for a shop press using 3-inch C-channel, only to find that after I released the clamps, one corner lifted nearly half an inch off the floor. That was my first real lesson in the massive physical forces of thermal expansion and contraction.
In my 14 years as a fabricator and mechanical engineer, I have learned that you cannot fight physics with brute force alone. When you strike an arc, you are introducing localized heat that reaches over 3,000 degrees Fahrenheit. This causes the steel to expand, and as it cools, it shrinks. If that shrinkage is restricted or uneven, the entire frame will pull, bow, or twist.
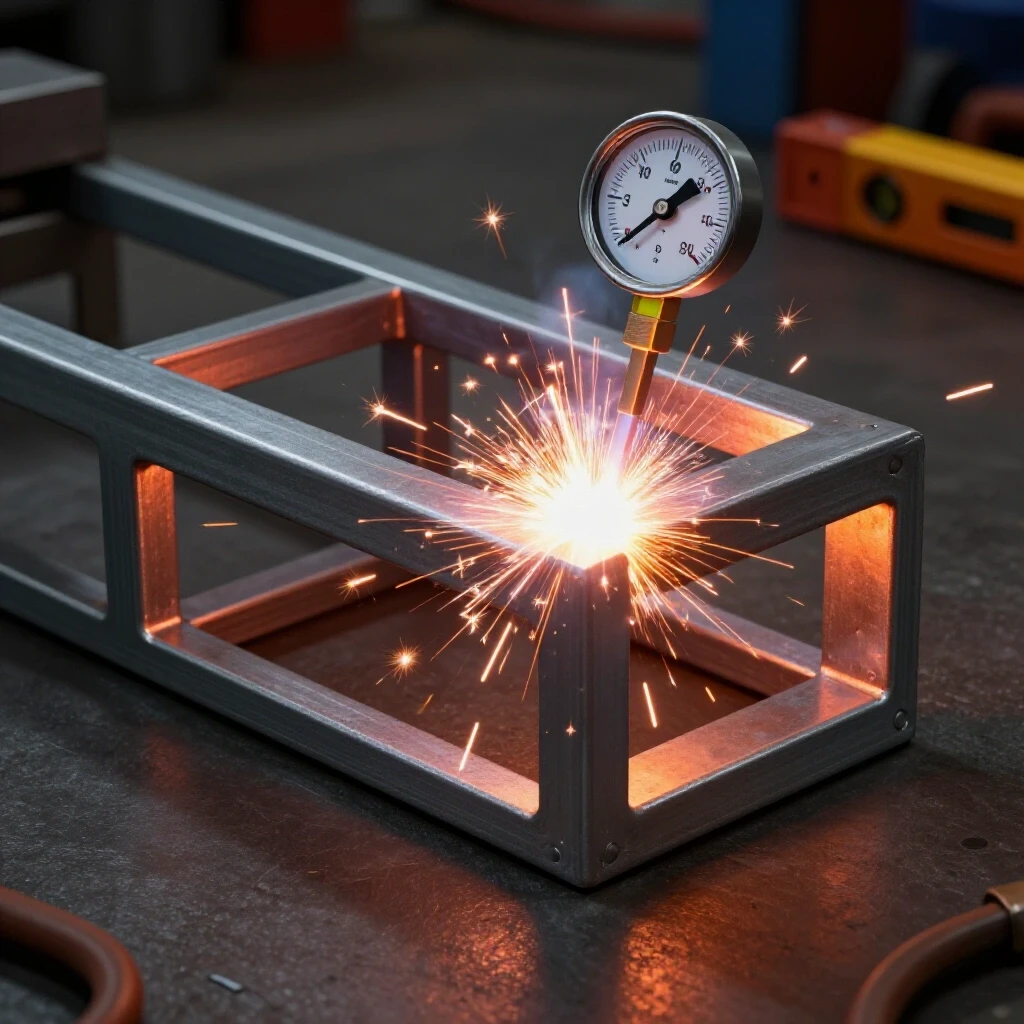
My goal is to help you navigate these thermal stresses. We will look at how to prepare your joints, manage your heat input, and use logical sequences to keep your projects square and flat. By understanding why the metal moves, you can stop guessing and start building with a higher degree of accuracy.
The Physics of Thermal Distortion in Steel
Thermal distortion is the physical movement or warping of a metal component caused by the uneven heating and cooling cycles during the welding process. When one side of a joint is heated, it expands, but the surrounding cold metal resists this growth, leading to internal stress.
When we weld mild steel, we are dealing with a material that has a high coefficient of linear expansion. This means it grows predictably when hot and shrinks when cold. If you weld only on one side of a tube, that side will shrink as it cools, acting like a bowstring that pulls the ends of the tube toward the weld.
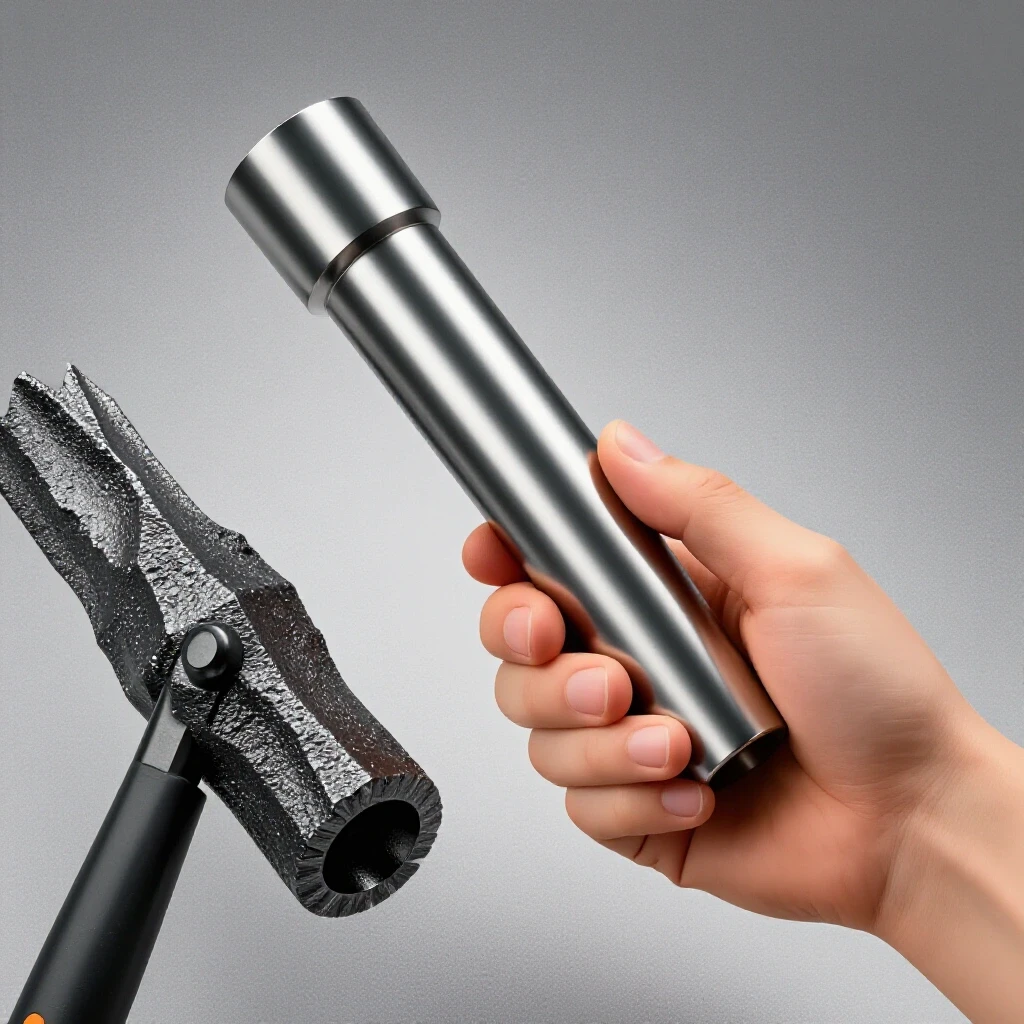
I have seen many intermediate fabricators try to fix a warped frame by hitting it with a sledgehammer. This rarely works because the internal stresses are locked into the molecular structure of the steel. Instead, we must focus on “heat management” to ensure those stresses are balanced across the entire structure.
Defining the Heat Affected Zone (HAZ)
The Heat Affected Zone, or HAZ, is the area of base metal that did not melt during welding but had its microstructure and properties altered by the intense heat. This zone is often where structural failures begin because the metal can become more brittle or lose its original yield strength.
In mild steel, the HAZ is usually visible as a discolored band next to the weld bead. If your HAZ is too wide, it means you have put too much heat into the part, which significantly increases the risk of warping. Keeping your travel speed consistent and your amperage within the correct range helps minimize the size of this zone.
Understanding Material Yield Strength
Yield strength is the maximum amount of stress a material can withstand before it begins to deform permanently. For common A36 mild steel, the yield strength is typically around 36,000 PSI (pounds per square inch).
When a weld cools and shrinks, the force it exerts can easily exceed the yield strength of the surrounding steel. This is why a frame “pulls” out of shape. You aren’t just joining two pieces; you are creating a tug-of-war between different sections of the metal.
Managing Heat Input Through Welding Parameters
Controlling heat input involves adjusting your amperage, voltage, and travel speed to ensure a strong bond without saturating the steel with unnecessary thermal energy. Excessive heat is the primary driver of distortion in thin-walled and medium-gauge steel frames.
One of the most common errors I see in garage fabrication is “over-welding.” If a 1/4-inch fillet weld is sufficient for the load, laying down a 1/2-inch bead doesn’t make it twice as strong. It just adds more heat and more shrinkage force, which leads to a twisted frame.
I recommend using a “stitch welding” technique for long joints. Instead of one continuous bead, you lay down short 1-inch sections and allow them to cool slightly before moving to the next. This spreads the heat across the entire length of the frame rather than concentrating it in one spot.
Optimizing Welding Gas Flow Rate
Welding gas flow rate refers to the volume of shielding gas, such as an Argon/CO2 mix, that protects the molten puddle from atmospheric contamination. This is measured in Cubic Feet per Hour (CFH) and is vital for maintaining a stable arc and clean weld.
For most indoor frame fabrication using MIG (GMAW), a flow rate of 15–20 CFH is the standard. If your flow is too low, you get porosity, which is a structural metal failure where tiny gas bubbles weaken the joint. If it is too high, you waste gas and can actually create turbulence that draws in air.
Identifying Internal Weld Defects
A weld defect is any flaw that compromises the integrity of the joint, such as lack of fusion, undercut, or slag inclusions. These defects often occur when the operator is struggling to compensate for a warping frame.
If you notice the metal pulling away from you, do not try to “fill the gap” with more heat. Stop, let it cool, and check your alignment. A common defect called “undercut” happens when the heat is too high, melting away the base metal at the edge of the weld and creating a thin, weak spot that can crack under stress.
| Defect Type | Cause | Visual Indicator | Solution |
|---|---|---|---|
| Porosity | Low gas flow or wind | Small holes like a sponge | Increase gas to 15-20 CFH |
| Undercut | Excessive heat/Amperage | Groove at the weld toe | Lower amperage or increase speed |
| Lack of Fusion | Travel speed too fast | Weld sits on top of metal | Slow down; ensure arc hits the root |
| Cracking | High internal stress | Thin line through center | Use pre-heat or better tacking |
Strategic Fixturing and Tacking Sequences
Fixturing and tacking are the methods used to hold steel components in their correct orientation before the final welding begins. Proper sequencing uses the cooling forces of the tacks to help maintain the squareness of the frame.
I never start a frame by welding one corner completely. Instead, I place small, strong tacks at every single joint in the entire assembly. For a 2-inch square tube, I place a 1/4-inch tack on all four sides of the joint. This creates a rigid “skeleton” that resists the pulling forces of the final weld beads.
Think of tacks as temporary anchors. If you only tack one side, the heat will pull the joint open like a hinge. By tacking the opposite side immediately, you create a counter-force that holds the metal in place.
The Balanced Welding Sequence
A balanced welding sequence involves moving around the project to distribute heat evenly, rather than finishing one side at a time. This prevents one side of the frame from getting significantly hotter than the other.
- Weld the inside corners first on all joints.
- Move to the outside corners diagonally across the frame.
- Allow the metal to become cool enough to touch with a gloved hand before starting the long flat runs.
- Always weld toward the “rigid” part of the frame to minimize movement.
Using Strongbacks and Clamps
A strongback is a temporary piece of stiff material, like a heavy angle iron or thick plate, clamped to your workpiece to prevent it from bowing. This is a common tool in professional shops that helps maintain a 2:1 or 4:1 safety factor regarding structural alignment.
When I build long frames, I often clamp a piece of heavy C-channel to the back of my workpiece. I leave it there until the welds are completely cold. If you remove the clamps while the metal is still “blue” or “straw” colored from the heat, it will likely spring out of position.
Workshop Safety and PPE Integration
Garage fabrication safety requires a combination of personal protective equipment and a well-organized workspace to prevent injuries from heat, light, and fumes. Welding produces intense ultraviolet (UV) and infrared (IR) radiation that can cause permanent eye damage.
I have seen many hobbyists use cheap, fixed-shade helmets that make it hard to see the joint clearly. This leads to poor weld quality and increased heat input because the user is moving too slowly. Investing in a high-quality auto-darkening helmet allows you to see your tacks and your puddle with precision.
PPE Shade and Rating Recommendations
Your welding helmet must have a filter lens rated for the process you are using. For MIG or Stick welding at 100 to 200 amps, a Shade 10 to 12 is generally required. If you are working at higher amperages, you should move to a Shade 13.
Beyond eye protection, you need flame-resistant (FR) clothing. Synthetic fabrics like polyester can melt to your skin if hit by a spark. I always wear a heavy leather apron and gauntlet-style gloves when doing heavy frame work to protect against the 500-degree radiant heat coming off the steel.
Ventilation and Air Currents
Ventilation is the process of moving fresh air into the workspace and removing hazardous welding fumes. Fumes from mild steel contain manganese and iron oxide, which can be harmful if inhaled over long periods.
In a home shop, a simple box fan is not enough. You need an exhaust system that pulls the smoke away from your face. However, be careful: if the air current is too strong and hits your welding torch directly, it will blow away your shielding gas, leading to the porosity issues we discussed earlier.
Structural Load Testing and Verification
Diagnostic inspection is the process of checking your welds and frame alignment after the project is finished to ensure it meets your design requirements. Even if a frame looks straight, it may have internal stresses that could lead to a brittle fracture under load.
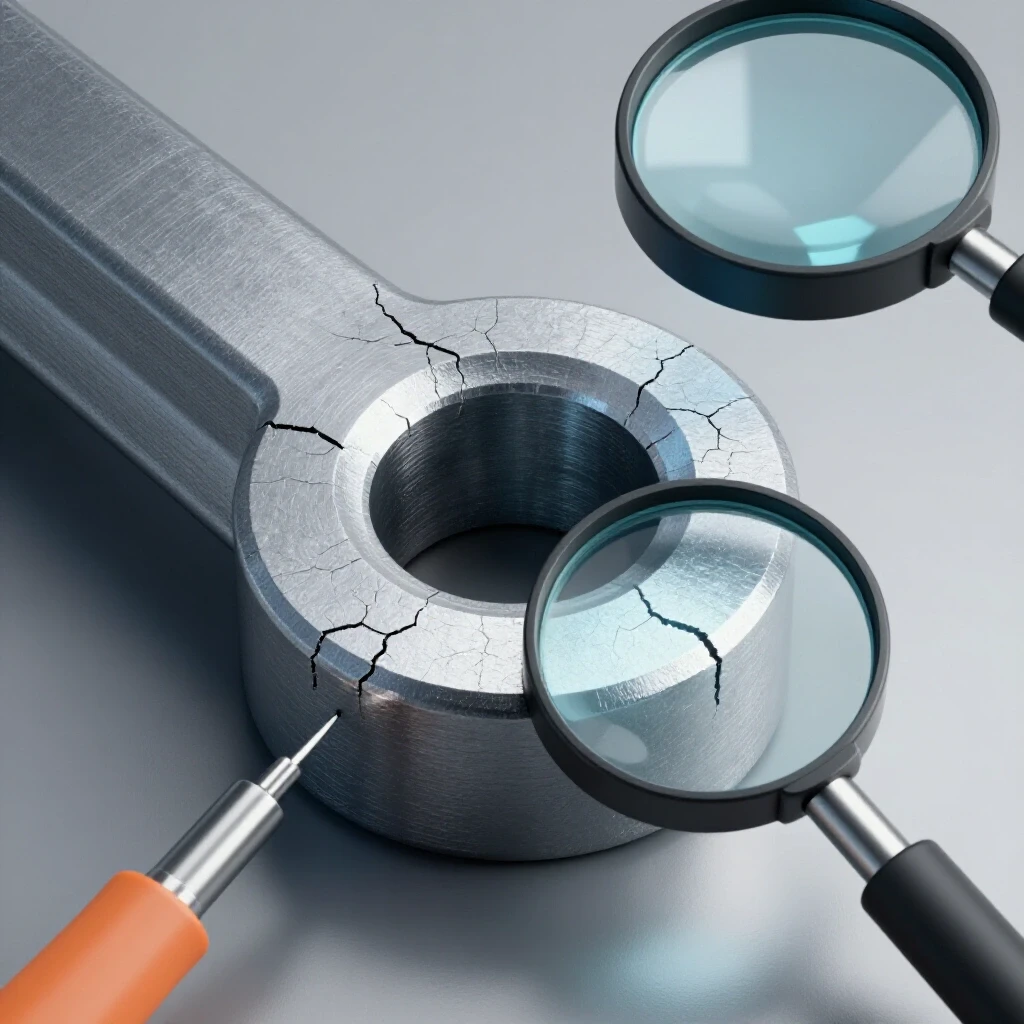
I use a simple “ring test” on heavy frames. If you strike the steel with a small hammer, it should produce a clear, bell-like ring. A dull “thud” can sometimes indicate a large internal crack or a weld that has not fused properly to the base metal. For critical projects, I use a dye penetrant kit to check for surface cracks that are invisible to the naked eye.
Understanding Structural Metal Load Capacity
Load capacity is the maximum weight a structure can safely support before failing. When you weld a frame, you are creating a “load path.” If your welds are poor, the weight will not transfer through the joints correctly, causing the frame to buckle.
For most shop projects, I design with a 4:1 safety margin. This means if I expect the frame to hold 500 pounds, I build it to handle 2,000 pounds. This accounts for the slight loss of strength in the Heat Affected Zone and any minor imperfections in the welding process.
Workshop Safety Checklist for Frame Building
- Check that all flammable materials (gas cans, rags) are at least 35 feet away.
- Inspect the welding lead and ground clamp for frayed insulation.
- Ensure the welding gas cylinder is secured upright with a chain.
- Set the gas flow rate to 18 CFH for indoor MIG work.
- Verify the helmet lens is clean and set to at least Shade 10.
- Test the ground connection on a clean, grinded piece of the frame.
- Keep a fire extinguisher (Class ABC) within a 5-second reach.
Troubleshooting Common Fabrication Failures
When a project goes wrong, it is usually due to a combination of poor joint preparation and uncontrolled heat. If you find that your frame is twisting, the first thing to check is your joint fit-up. Gaps between pieces of steel act as “shrinkage reservoirs” that pull the metal much harder than a tight-fitting joint.
I once worked on a trailer frame where the user had 1/8-inch gaps in all the corners. As he welded, the gaps closed up, pulling the entire frame out of square by two inches. I had to teach him that “grinding to fit” is not just about aesthetics; it is about controlling the volume of weld metal and the resulting shrinkage.
Corrective Techniques for Warped Frames
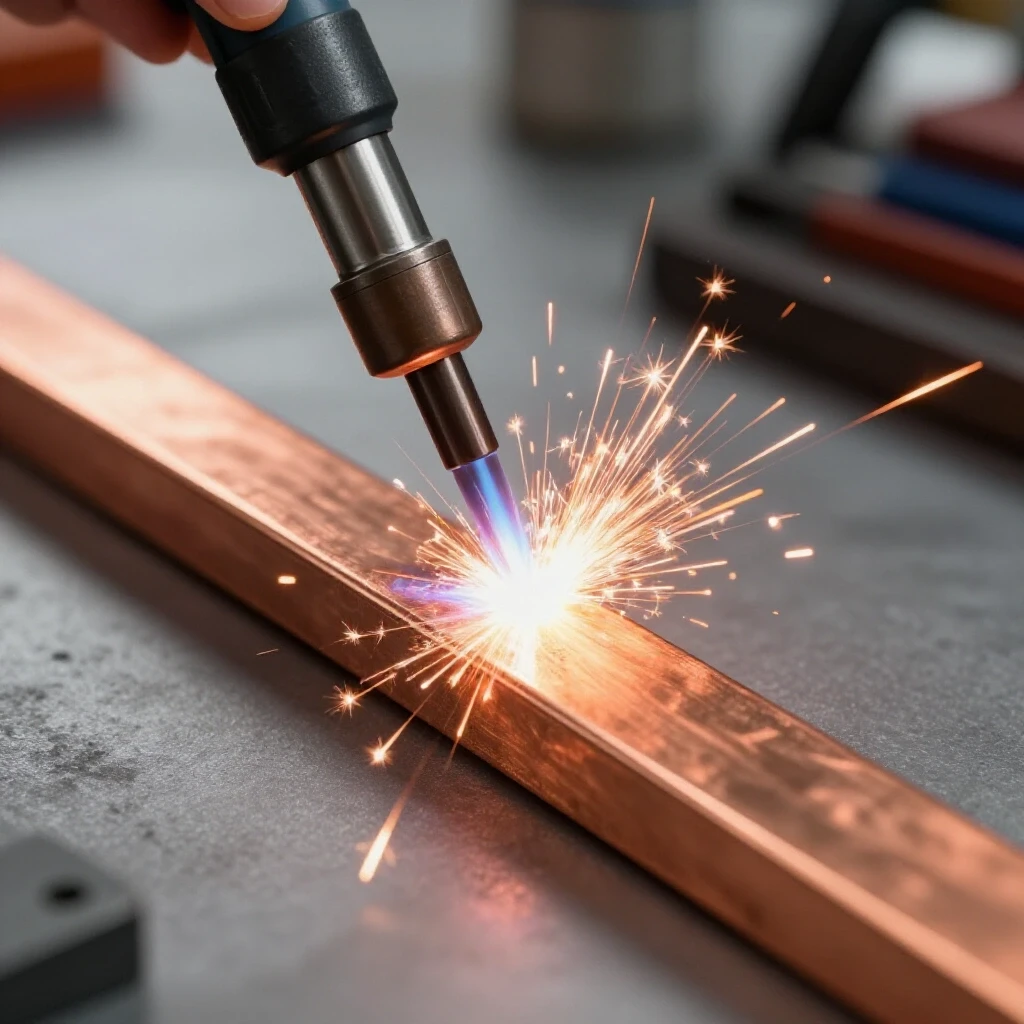
If a frame has already warped, you may be able to use “heat shrinking” to pull it back. This involves heating a small triangular spot on the opposite side of the warp with an oxy-acetylene torch. As that spot cools, it shrinks and pulls the metal back toward the center.
This is a delicate process and should be a last resort. It is far better to prevent the distortion through proper tacking and heat management. If the twist is minor, mechanical force (such as a large bench vise or a hydraulic jack) can sometimes be used to “cold-straighten” the frame, provided you do not exceed the yield strength and cause a fracture.
| Material Property | Value for A36 Mild Steel | Why it Matters |
|---|---|---|
| Melting Point | ~2,800°F | Determines the heat needed for fusion |
| Yield Strength | 36,000 PSI | The point where the frame warps permanently |
| Tensile Strength | 58,000 – 80,000 PSI | The point where the weld or metal snaps |
| Thermal Expansion | 6.7 x 10^-6 in/in/°F | Calculates how much the metal grows when hot |
Conclusion
Building a straight, true steel frame is a challenge that requires patience and a deep respect for thermal dynamics. By focusing on small, strategic tacks, maintaining a balanced welding sequence, and controlling your heat input, you can produce professional-grade results in your own shop.
The most important step you can take today is to slow down. Before you lay a single bead, ensure your joints are tight, your frame is securely tacked, and your safety gear is ready. Fabrication is as much about the preparation as it is about the arc. If you treat every weld as a data point in your learning process, you will quickly find that warping becomes a rare occurrence rather than a constant frustration.
Frequently Asked Questions
Why does my steel frame always pull toward the side I weld first? Steel shrinks as it cools. The first weld you lay down creates a strong pulling force as the liquid metal solidifies. Without tacks or welds on the opposite side to provide a counter-force, the frame will naturally bend toward that initial heat source.
What is the best way to keep a square frame square while welding? The most effective method is to use a “star pattern” or “staggered” welding sequence. After tacking all corners, weld a short section on one corner, then move to the diagonally opposite corner. This keeps the heat distribution even and prevents one side from shrinking more than the rest.
Can I use water to cool my welds faster and stop warping? No, you should never quench a weld in water. Rapid cooling can cause the steel to become extremely brittle, leading to “hydrogen cracking” or a brittle fracture. Always allow the steel to cool naturally in the air to maintain its structural integrity.
How many tacks are enough for a standard tube frame? For square or rectangular tubing, I recommend a minimum of four tacks per joint—one on each flat surface. For larger sections over 4 inches, you may need tacks every 2 inches to ensure the joint doesn’t move during the final pass.
Does the thickness of the steel affect how much it warps? Yes. Thinner steel (like 16-gauge or 1/8-inch) warps much faster because it has less mass to absorb the heat. Thicker sections (1/4-inch and up) are more rigid and can dissipate heat better, but they also require more heat to achieve proper penetration.
What should I do if I see porosity in my weld? Stop immediately. Porosity is a sign that your shielding gas isn’t reaching the puddle. Check your gas flow (aim for 15-20 CFH), look for drafts in your shop, and make sure your nozzle isn’t clogged with spatter. You must grind out the porous weld and redo it to ensure a safe joint.
How do I know if I have put too much heat into the metal? Look at the Heat Affected Zone (HAZ). If the discolored band around your weld is wider than the weld itself, you are likely moving too slowly or using too much amperage. A wide HAZ is a primary indicator that the frame is at risk of significant warping.
Is it safer to weld a frame flat on a table or standing up? It is generally safer and more accurate to weld a frame flat on a dedicated welding table. This allows you to use the table as a reference plane and makes it easier to use clamps and strongbacks to resist thermal movement.
What is the “safety factor” and why does it matter for hobbyists? A safety factor (like 4:1) is a design buffer that ensures your project can handle much more weight than you ever intend to put on it. This is crucial for home fabricators because it accounts for potential internal weld defects or material fatigue that might not be visible.
Can I fix a twist in a frame after it has cooled? Minor twists can sometimes be corrected using a heavy vise or a hydraulic press, but you must be careful not to crack the welds. For major twists, you may need to cut the welds, realign the frame, and re-weld using better heat management techniques.
(This article was written by one of our staff writers, James Harlan. Visit our Meet the Team page to learn more about the author and their expertise.)