Most Accurate Marking Tools for Layout on Steel (Checklist)
In my 17 years as a maintenance machinist and fabricator, I have learned that a project is often won or lost before the first spark ever flies. I have spent thousands of hours diagnosing why parts don’t fit, only to find the error started with a dull scribe or a cheap, flexible square. We often get distracted by the latest high-end welders or heavy-duty mills, but the foundation of any successful build is how we translate a drawing onto a piece of raw steel.
Marketing departments love to sell “precision” as a buzzword, but in the shop, precision is a measurable reality. It is the difference between a 0.01 mm line and a 0.5 mm smudge. When you are working with structural steel or heavy plate, a line that is “close enough” results in wasted material and hours of rework. I have torn down enough machinery to know that even the most expensive lathe cannot fix a poorly marked workpiece. This guide focuses on the mechanical realities of the instruments we use to mark steel and how to separate rugged, reliable gear from low-quality imitations.
The Role of Layout Fluids in Enhancing Visual Contrast
Layout fluids, often called “blueing,” are thin coatings applied to steel surfaces to provide a high-contrast background. They allow a scribe to remove a microscopic layer of dye, exposing the bright metal underneath for maximum visibility. This contrast is essential for achieving repeatable accuracy under standard workshop lighting conditions.
In my experience, the quality of the fluid determines how clean your line will be. If the fluid is too thick, it flakes off when the scribe passes through it, creating a jagged edge that is hard to follow. If it is too thin, it doesn’t provide enough contrast against the dark scale of hot-rolled steel. I always look for a fluid that dries in under two minutes and resists shop oils.
Applying these fluids correctly is a skill in itself. You must degrease the steel first. I have seen many fabricators complain about “poor” layout fluid when the real culprit was a thin film of shipping oil left on the plate. Once the surface is clean, a single, even coat is better than multiple thick layers. A thick layer can actually hide the very surface you are trying to mark, leading to a slight loss in vertical accuracy.
| Fluid Characteristic | Ideal Specification | Workshop Impact |
|---|---|---|
| Drying Time | 90–120 Seconds | Reduces downtime between prep and marking |
| Film Thickness | 0.005 mm – 0.01 mm | Prevents flaking and maintains line crispness |
| Chemical Resistance | High (to cutting oils) | Prevents the layout from washing away during machining |
| Color Contrast | Deep Blue or Red | Improves visibility under fluorescent or LED shop lights |
Mechanical Integrity of Scribing Instruments
A scribe is a hardened tool used to scratch a fine line into a steel surface. The accuracy of this line depends on the sharpness of the tip, the hardness of the material, and the rigidity of the tool body. A quality scribe should feel balanced in the hand and resist flexing under pressure.
When I evaluate a scribe, I look at the tip material first. Tungsten carbide is the industry standard for a reason. It is significantly harder than the steel you are marking, meaning it won’t dull after a few feet of layout. However, carbide is brittle. I’ve seen many beginners drop a carbide scribe and shatter the tip. Hardened tool steel tips are tougher and can be reground, but they require much more frequent maintenance to keep a fine point.
Tip geometry is the next factor. A 60-degree included angle is common, but for ultra-fine work, a steeper angle can produce a thinner line. The goal is to create a “V” groove in the metal. The narrower that “V” is, the more precisely you can locate your center punch or saw blade. If your scribe line looks like a wide canyon under a magnifying glass, your tool is likely dull or made of inferior metal.
- Tungsten Carbide: Best for longevity and marking through hard mill scale.
- Hardened Tool Steel: Better for high-impact use; requires frequent sharpening.
- Replaceable Tips: Convenient for high-volume shops but check for “tip wobble” in the housing.
- Body Material: Knurled steel or aluminum provides the best grip when hands are oily.
Stability and Alignment in Height Gauges
Height gauges are vertical measuring instruments used on a surface plate to mark precise heights or measure distances. They rely on a heavy, stable base and a rigid vertical beam to prevent deflection when scribing lines on steel workpieces. A high-quality height gauge is the backbone of any precision layout setup.
One of the biggest mistakes I see is using a height gauge on a workbench that isn’t flat. These tools are designed to work in tandem with a granite or cast iron surface plate. The base of the gauge must be lapped flat so it glides across the surface without rocking. If there is any “play” or “rock” in the base, your vertical measurement will be off by several thousandths of an inch before you even touch the steel.
The beam’s rigidity is equally important. When you extend a height gauge to its upper limits, the weight of the scribe arm can cause the beam to lean forward. This is called “deflection.” In cheaper models, the beam is thin, and the deflection is noticeable. I prefer gauges with a wide, thick beam and a fine-adjustment screw. This allows you to “dial in” your measurement with a level of control that a sliding scale simply cannot match.
- Base Flatness: Check for light gaps between the base and the surface plate.
- Column Rigidity: Apply light pressure to the top of the beam and observe any movement.
- Vernier Clarity: Ensure the graduations are etched deeply and are easy to read without a magnifying glass.
- Locking Mechanism: The slide should lock firmly without shifting the measurement.
Mechanics of Center Punches for Hole Registration
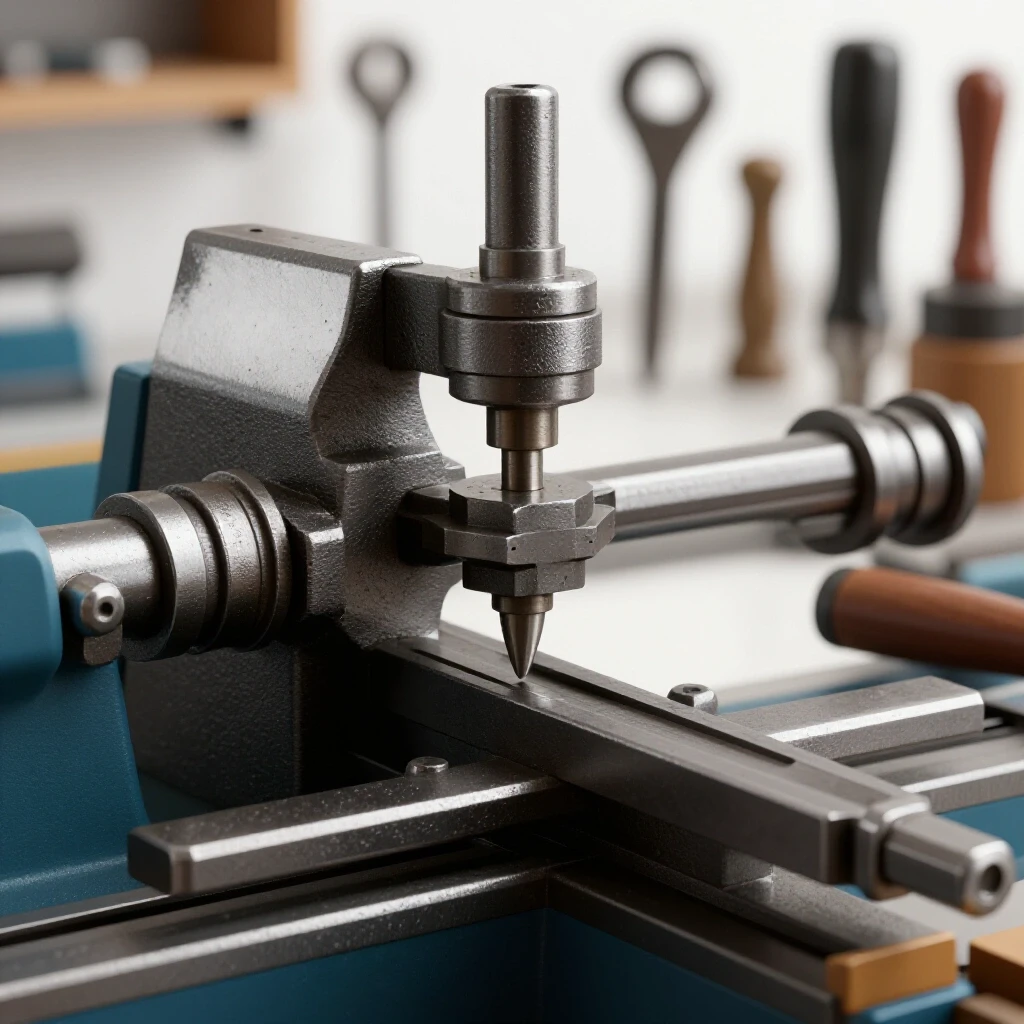
A center punch creates a physical indentation in steel to guide a drill bit or a divider point. Whether manual or spring-loaded, the punch must have a hardened tip to resist deformation and a mechanism that delivers a repeatable force. This indentation ensures the drill doesn’t “walk” across the surface.
I have a love-hate relationship with automatic center punches. They are incredibly convenient because they don’t require a hammer. However, the internal spring and firing pin are wear items. Over time, the spring loses its tension, and the punch becomes inconsistent. For structural work where I need a deep, reliable mark, I always go back to a solid manual punch and a 16-ounce ball-peen hammer.
The tip angle of the punch should match the task. A “prick punch” usually has a 30- to 60-degree angle and is used for the initial, light marking of a scribe line intersection. A “center punch” has a wider 90-degree angle, which better fits the web of a standard twist drill. I always start with the prick punch to get the location perfect, then follow up with the center punch to enlarge the hole for the drill bit.
- Manual Punches: Offer the most control and the deepest marks; virtually indestructible.
- Automatic Punches: Great for fast layout on thinner plate; check internal components for wear.
- Tip Hardness: Look for S7 or O1 tool steel heat-treated to at least 58-60 HRC.
- Knurling: A deep diamond knurl is essential for keeping the punch steady on a polished steel surface.
Evaluating Squareness and Angular References
Precision squares and protractors establish the geometric relationship between two edges or surfaces. In steel layout, these tools must be made of hardened steel to resist wear and maintain their 90-degree or angular accuracy over time. A square that is “out” by even a fraction of a degree will cause massive alignment issues.
In my shop, I test every square using the “flip test.” You press the square against a known straight edge, scribe a line, then flip the square over and see if the edge aligns with the line. If there is a gap that widens at the top or bottom, the square is junk. For steel layout, I avoid the thin, stamped squares found in home centers. I look for “solid” squares where the blade and stock are joined with high precision or machined from a single block of steel.
Protractors for angular layout follow the same rules. The pivot point must be tight, with zero side-to-side play. If the arm can wiggle, your angle is just a suggestion. I prefer protractors with a vernier scale, which allows for settings down to 5 minutes of a degree (1/12th of a degree). This level of detail is necessary when you are fabricating complex frames or heavy machinery mounts where angles must be exact.
| Tool Type | Accuracy Standard | Best Application |
|---|---|---|
| Machinist Square | +/- 0.01 mm over 100 mm | Squaring ends of bar stock |
| Combination Square | +/- 0.05 mm over 300 mm | General layout and depth checking |
| Vernier Protractor | +/- 5 minutes of arc | Complex angular transitions and gussets |
| Beveled Edge Square | High (Line contact only) | Checking surface flatness and light gaps |
Assessing Surface Plates as a Layout Foundation
A surface plate is a massive, flat slab used as the primary reference plane for all layout work. While often made of granite or cast iron, its purpose is to provide a “true zero” from which all other measurements are taken. Without a flat foundation, even the best marking tools will produce inaccurate results.
I’ve seen many shops try to use a heavy steel workbench as a layout table. The problem is that steel plate, unless it’s been ground, is rarely flat. It has “high spots” and “low spots” from the rolling process. A granite surface plate is preferred because it is thermally stable and does not burr if you accidentally nick it. If you drop a tool on a cast iron plate, it creates a “crater” with raised edges that will throw off your height gauge. Granite simply chips, leaving the rest of the surface flat.
Maintenance of the plate is critical. I use a dedicated surface plate cleaner to remove the oils and metal dust that accumulate during layout. Even a single grain of metal dust trapped under your height gauge base can lift the tool by 0.02 mm, which is enough to ruin a precision fit. Always keep the plate covered when not in use to prevent atmospheric dust from settling on it.
- Grade Selection: Grade B (Toolroom Grade) is usually sufficient for most fabrication shops.
- Support Points: Ensure the plate is supported at the three points recommended by the manufacturer to prevent sagging.
- Cleanliness: Wipe the surface before every single measurement.
- Calibration: Have the plate checked for flatness every few years if you are doing high-tolerance work.
Environmental and Human Factors in Steel Layout
The accuracy of a layout is not just about the tools; it is also about the environment and the person using them. Lighting, temperature, and parallax error are the three “silent killers” of precision in a fabrication shop. If you cannot see the line clearly, or if you are looking at it from an angle, your mark will be off.
Parallax error occurs when you view a scale or a scribe line from an angle rather than straight on. This is especially common with vernier scales and rulers. I always tell my apprentices to “get their eyes over the work.” If you are leaning to one side, you will consistently mark lines a fraction of a millimeter to the left or right. Good lighting—preferably a mix of overhead and adjustable task lighting—is essential to eliminate shadows that can hide the true center of a scribe line.
Thermal expansion is another factor often ignored in general fabrication. Steel expands when it gets hot. If you layout a 3-meter beam in a 40-degree Celsius shop and then move it to a 20-degree assembly area, the dimensions will change. While this doesn’t matter for a small bracket, it matters immensely for large-scale structural assemblies. I try to do all my critical layout at a consistent temperature to ensure the marks remain valid throughout the build process.
- Lighting: Use high-CRI (Color Rendering Index) LED lights to see the blueing contrast clearly.
- Magnification: A 5x or 10x jeweler’s loupe is a great tool for verifying that your punch is exactly on the scribe intersection.
- Stance: Stand squarely in front of the workpiece to minimize parallax.
- Temperature: Allow large steel sections to “soak” at shop temperature before marking.
A Practical Checklist for Tool Inspection
Before you start any major project, you should run through a quick audit of your marking gear. I do this once a month or before any high-stakes build. It only takes a few minutes, but it prevents the “compounding error” effect where small mistakes add up to a scrapped part.
First, check your scribes. Are the tips sharp enough to catch a fingernail? If they feel dull or “skate” across the steel without biting, sharpen or replace them. Second, check your squares for light gaps. A square that has been dropped is no longer a square. Third, inspect your height gauge for smooth movement. Any grittiness in the slide means there is grit or rust on the beam, which will affect the “feel” of your measurements.
- Scribe Sharpness: Verify the tip produces a line thinner than 0.1 mm.
- Square Alignment: Perform the “flip test” on all primary squares.
- Punch Tip Condition: Ensure the center punch hasn’t “mushroomed” at the striking end or dulled at the tip.
- Fluid Freshness: Shake your layout fluid; if it’s clumpy or won’t dry, toss it.
- Scale Readability: Clean any rust or oil off your steel rules and height gauge scales.
- Surface Plate Cleanliness: Wipe down the reference surface with a dedicated cleaner.
Frequently Asked Questions
Why should I use layout fluid instead of a permanent marker? Permanent markers create a line that is often 0.5 mm to 1 mm wide. On steel, the ink can also be thick enough to “bead,” making it hard to see exactly where the center of the line is. Layout fluid is much thinner and provides a crisper “break” when the scribe cuts through it, allowing for much higher precision.
How do I sharpen a carbide-tipped scribe? Carbide is extremely hard and cannot be sharpened with a standard bench grinder stone. You must use a diamond wheel or a diamond lap. I prefer using a fine-grit diamond hone and rotating the scribe by hand to maintain a perfect point. Never quench carbide in water if it gets hot, as it will crack.
What is the difference between a prick punch and a center punch? A prick punch has a sharper, narrower point (usually 30-60 degrees). It is used for the initial “spotting” of a location because it is easier to place accurately on a scribe line. A center punch has a blunter point (90 degrees) and is used to enlarge the mark so a drill bit has a stable place to start.
Can I use a height gauge without a surface plate? Technically yes, but your accuracy will be limited by the flatness of your work surface. A standard cold-rolled steel plate or a wooden workbench can have ripples and bows that will tilt the height gauge, leading to significant errors over the height of the tool.
How often should I check my squares for accuracy? I check mine every time they are dropped or at the start of a new, high-precision project. Even a small bump against a steel table can knock a square out of alignment. The “flip test” takes thirty seconds and can save hours of frustration.
Does the color of the layout fluid matter? Blue is the most common because it provides the best contrast against bright steel. However, red is often used on dark, heat-treated parts or when you need to distinguish between two different sets of layout lines on the same part.
What is parallax error and how do I avoid it? Parallax error occurs when the measurement scale is not on the same plane as the object being measured, and you view it from an angle. To avoid it, ensure your eyes are directly perpendicular to the scale and the scribe line you are checking.
Why is my automatic center punch firing inconsistently? This is usually due to internal wear or a lack of lubrication. The internal hammer and sear mechanism can get gummed up with shop dust. A tiny drop of light machine oil often fixes the issue, but if the internal spring is fatigued, the tool should be replaced.
How do I remove layout fluid once the job is done? Most layout fluids are alcohol-based and can be removed with denatured alcohol or a dedicated layout fluid remover. In a pinch, a quick wipe with acetone will take it right off, but be careful of any painted surfaces nearby.
What is the most accurate way to mark a long straight line on a steel plate? For lines longer than a standard rule, a precision ground straight edge and a sharp scribe are the best manual tools. Ensure the straight edge is clamped firmly so it doesn’t shift midway through the scribe’s travel. For very long sections, you may need to use a transit or a tight wire, though these are more common in large-scale structural work.
(This article was written by one of our staff writers, Steven Brooks. Visit our Meet the Team page to learn more about the author and their expertise.)