Overrated Welding Tools You Should Avoid Buying (Checklist)
When I first opened my own shop sixteen years ago, I fell into a trap that claims many talented fabricators. I assumed that better tools would automatically lead to better margins. I spent thousands on specialized jigs and “time-saving” gadgets that promised to revolutionize my workflow. In reality, most of those items gathered dust while my core overhead climbed. I quickly learned that in a small-batch fabrication environment, your biggest enemy isn’t a lack of equipment; it is the accumulation of low-utility assets that fail to pay for themselves.
Transitioning from a hobbyist to a side-hustle owner requires a shift in how you view every dollar spent. You are no longer buying a toy; you are investing in a machine that must generate a return. If a tool does not directly reduce your labor time or improve your billable quality, it is likely a drain on your shop’s financial health. To stay profitable, you need to master the math behind your workshop and learn which shiny accessories are actually anchors on your bank account.
Establishing a True Shop Rate and Avoiding Equipment Bloat
A shop rate is the total dollar amount you must charge per hour to cover all expenses and still take home a profit. Many new owners guess this number, often landing around $30 or $40 an hour because it sounds “fair.” However, once you factor in electricity, insurance, and the gradual wearing down of your machines, that number usually needs to be between $65 and $120 per hour.
When you buy a piece of equipment that doesn’t get used daily, you are effectively raising your shop rate without increasing your output. For example, if you buy a $500 specialized pipe notcher that you only use once every three months, that tool is costing you money in “dead capital.” That money could have been used for bulk material purchases or a more efficient welder that you use every single day.
Mapping Machinery Amortization and Tool Lifecycles
Amortization is the process of spreading the cost of a tool over its expected useful life. Instead of looking at a $2,000 welder as a one-time hit, you should view it as a monthly expense over, say, five years. This helps you understand exactly how much each hour of shop time needs to “earn” to pay for that machine.
If you buy an accessory that breaks after six months or provides no measurable speed advantage, your amortization rate for that item is incredibly high. I always recommend looking at the “Cost Per Use” metric. A $100 clamp used 500 times costs $0.20 per use. A $300 “universal” positioner used twice costs $150 per use. The latter is a financial leak that most small shops cannot afford.
| Equipment Type | Initial Cost | Expected Life | Annual Depreciation | Hourly Burden (at 500 hrs/yr) |
|---|---|---|---|---|
| Entry-Level MIG Welder | $1,200 | 5 Years | $240 | $0.48 |
| High-End Plasma Cutter | $2,500 | 7 Years | $357 | $0.71 |
| Specialized “One-Off” Jig | $450 | 2 Years | $225 | $0.45 |
| Heavy-Duty Steel Table | $1,500 | 20 Years | $75 | $0.15 |
Identifying Low-Utility Accessories That Drain Your Budget
In the world of metalworking, there is an endless supply of gadgets designed to solve problems that don’t really exist for the small shop owner. Many of these items are marketed to hobbyists who value convenience over ROI. As a business owner, you must be more cynical. Every square inch of your table and every dollar in your pocket must be defended.
One common example is the “universal” welding positioner found in budget catalogs. These often lack the rigidity needed for actual fabrication work. They tend to slip under the weight of even moderate workpieces, leading to frustration and wasted time. I once bought a set of expensive magnetic ground clamps that promised to make grounding easier on odd shapes. Within a month, the magnets lost their strength due to the heat of the weld, and I went back to a standard $15 brass spring clamp. That was $80 wasted because I chose a “cool” gadget over a proven tool.
Why Inefficient Setup Aids Increase Your Labor Costs
Labor is your most expensive “consumable.” If a tool promises to speed up your setup but takes ten minutes to calibrate every time you move it, it is actually costing you money. High-utility tools are those that are “set and forget” or can be adjusted in seconds.
I see many side-hustlers buy complex, multi-jointed clamping arms. While they look impressive, they often vibrate during grinding or slip during high-heat welding. A simple set of C-clamps and some scrap square tubing usually provide a more stable and faster setup. When you are billing $80 an hour, every minute spent fiddling with a poorly designed tool is $1.33 out of your pocket.
Building a Custom Job Quote Without Hidden Overhead Leaks
Fabrication job costing is the art of predicting exactly how much a project will cost before you ever strike an arc. The biggest mistake I see is “flat-rate” quoting based on a gut feeling. To be profitable, you must account for every variable: material, labor, consumables, and a “shop burden” factor.
A shop burden factor is a percentage added to your labor and material costs to cover things like rent, lights, and the “invisible” wear on your tools. For most small shops, a burden of 15% to 20% is a safe starting point. If you ignore this, you might find that while your bank account is growing, you don’t have the cash on hand to replace your chop saw blade or refill your shielding gas.
Tracking Consumable Usage for Accurate Bidding
Welding consumable tracking is often overlooked because items like wire, gas, and grinding discs seem cheap. However, they can easily account for 10% to 15% of your total project cost. I recommend keeping a simple log next to your gas cylinder. Note the pressure when you start a job and when you finish. Over time, you will realize that a “quick” project actually used $15 worth of Argon.
If you don’t track these, you are essentially giving away your profit to the gas supplier. I once audited a shop that was losing $400 a month simply because they weren’t charging for the specialized flap discs they used for stainless steel finishing. They thought they were making a 30% margin, but their actual profit was closer to 12%.
| Consumable Item | Typical Unit Cost | Usage Rate (per hour) | Estimated Hourly Cost |
|---|---|---|---|
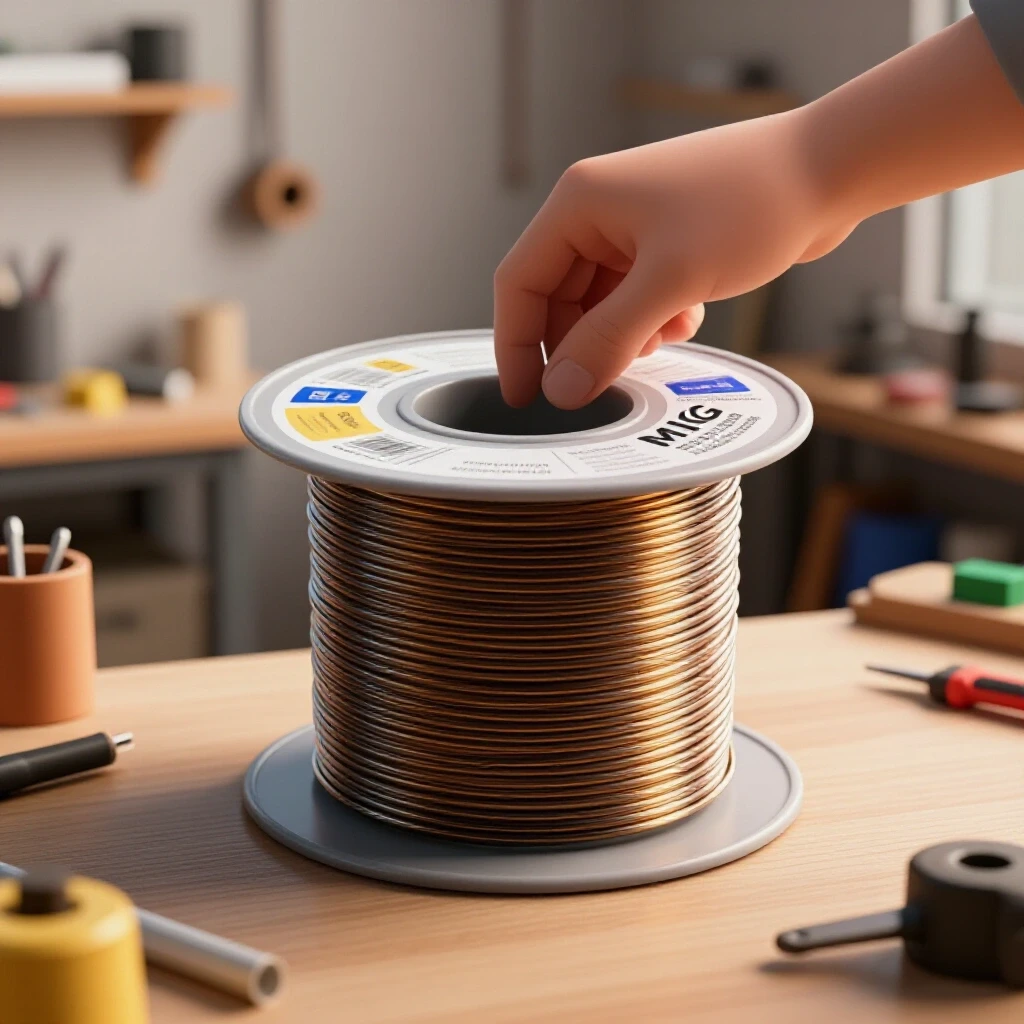
| ER70S-6 MIG Wire | $45 (33lb spool) | 1.5 lbs | $2.05 |
| 75/25 Shielding Gas | $60 (Refill) | 20 CFH | $3.50 |
| Grinding/Flap Discs | $4.00 (Each) | 0.5 discs | $2.00 |
| Electricity | $0.14 per kWh | 5 kW | $0.70 |
| Total Hourly Burden | $8.25 |
Sourcing Strategies for Small-Batch Fabrication
Where you buy your metal can make or break your profitability. For a hobbyist, driving to a local big-box store and buying a three-foot section of angle iron is fine. For a side-hustle, it is financial suicide. Those “convenience” pieces are often marked up 300% or more compared to what a local steel service center charges.
I suggest establishing a relationship with a local supplier and buying in “full sticks” (usually 20 or 24 feet). Even if you only need 10 feet for a current job, the cost of a full stick is often only slightly more than a cut piece from a retail store. You can then inventory the remainder for the next job, essentially getting your material for “free” on future projects.
Analyzing Post-Job Profits and Tool Performance
After every major project, you should perform a post-job reconciliation. This is where you compare your initial quote to what you actually spent. Did you spend more time on prep than you thought? Did you go through more grinding discs than planned?
This is also the best time to evaluate your equipment. If you found yourself struggling with a specific “time-saving” jig, it’s time to admit it was a bad purchase. On the other hand, if you realize that a high-quality band saw would have saved you three hours of manual cutting, you have just found a tool with a high ROI. This data-driven approach removes the emotion from tool buying and focuses purely on what makes the shop more efficient.
A Framework for Evaluating New Equipment Purchases
Before you pull the trigger on a new piece of gear, run it through this “Business Filter.” This will help you avoid the common trap of buying tools that look good on a shelf but don’t contribute to the bottom line.
- The Labor Reduction Test: Will this tool save me at least 15 minutes of labor for every hour I use it?
- The Frequency Test: Will I use this tool on at least 40% of my upcoming jobs?
- The Precision Test: Does this tool allow me to take on higher-paying work that I currently cannot do?
- The Maintenance Test: Does this tool require expensive proprietary consumables or frequent repairs?
- The Resale Test: If my side-hustle closes tomorrow, can I sell this for at least 60% of what I paid?
If the answer to more than two of these is “No,” then the tool is likely a distraction. I have found that the most profitable shops are often the ones with the simplest, most robust tools. They focus on mastering the basics rather than chasing the latest “smart” welding technology.
Digital Tools for Modern Shop Management
While physical gadgets can be a trap, digital tools for tracking and quoting are often worth their weight in gold. You don’t need expensive enterprise software; a few simple apps can help you stay organized.
- QuickBooks or FreshBooks: Essential for tracking expenses, sending professional invoices, and monitoring your tax liability.
- Google Sheets: Create a custom “Side-Hustle Metalworking” calculator to input material lengths and labor hours for instant quoting.
- Evernote or OneNote: Use this to snap photos of your material receipts so you never lose track of what you actually paid.
- Square or PayPal: Having a way to accept credit cards on-site can often be the difference between closing a sale and a customer “thinking about it.”
Conclusion: Making Profitable Operational Decisions
Building a successful metal fabrication side-hustle isn’t about having the fanciest shop in town. It is about understanding the flow of money as clearly as you understand the flow of a weld puddle. By focusing on your true shop rate, being ruthless about which tools you bring into your space, and tracking every consumable, you create a business that is built to last.
Every time you avoid buying a low-utility gadget, you are essentially paying yourself. That saved capital can be used to weather a slow month or to invest in a piece of equipment that truly moves the needle. Start small, track everything, and let your data tell you when it’s time to upgrade. Your bank account will thank you.
Frequently Asked Questions
What is a realistic shop rate for a part-time welder?
Most side-hustlers should aim for $65 to $95 per hour. This covers your overhead, consumables, and a modest profit. If you are doing highly specialized work like TIG welding stainless or aluminum, you can often push that to $120 per hour.
How do I calculate the “burden” of my welding gas?
Track how many hours of arc time you get out of a single tank. Divide the cost of a refill by those hours. For a standard 80cf tank of 75/25, you are likely looking at $3.00 to $4.50 per hour of trigger time.
Should I charge for the time I spend picking up material?
Yes. Your time is your product. If it takes you an hour to drive to the steel yard and back, that is an hour you aren’t welding. Charge your standard shop rate or a flat “delivery/sourcing fee” of at least $50.
What is the most common “wasteful” tool purchase?
In my experience, it is budget-grade magnetic squares and “universal” clamping kits. They often lack the strength for real work and end up causing more setup delays than they solve.
How much should I mark up my materials?
A standard markup is 20% to 50%. This covers the time you spent sourcing it, the electricity to cut it, and the cost of storing it. Never sell material at your cost; you are a business, not a non-profit.
How do I account for the depreciation of my welder?
Take the purchase price and divide it by five years (or however long you expect it to last). Then divide that by the number of hours you use it per year. This “hourly depreciation” should be part of your shop rate.
Is it better to buy a used industrial machine or a new hobbyist machine?
For a side-hustle, a well-maintained used industrial machine is often a better investment. They are built for higher duty cycles and usually hold their resale value much better than entry-level “big box” store welders.
How often should I review my pricing?
At least once every six months. Material costs and gas prices change frequently. If you don’t adjust your quotes, your profit margins will slowly disappear.
What is the best way to track small consumables like grinding discs?
Add a flat “consumable fee” to every quote based on the project size. For a small job, $10-$15. For a large project, calculate it as 10% of the material cost. This ensures you aren’t paying for discs out of your own pocket.
Should I buy a plasma cutter or an oxy-fuel torch first?
For most small shops, an oxy-fuel torch is more versatile. It can cut, heat for bending, and braze. A plasma cutter is faster for thin sheet, but the ROI is often harder to justify unless you are doing high-volume cutting.
(This article was written by one of our staff writers, Michael Hargrove. Visit our Meet the Team page to learn more about the author and their expertise.)