Overhyped Shop Tools You Do Not Need to Buy (Buying Guide)
After 17 years of tearing down machinery and rebuilding spindles in my shop, I have learned that a flashy paint job often hides a world of mechanical shortcuts. I have stood over countless “entry-level” lathes and mills that looked perfect on a website, only to find they lacked the basic structural integrity to hold a tolerance. In my career as a maintenance specialist, I have seen the same story play out: a fabricator buys a machine based on a marketing brochure, only to realize the internal components are not up to the task.
The modern tool market is flooded with gear that looks professional but performs poorly under load. My goal is to help you look past the branding and evaluate the actual steel, iron, and copper that make a machine worth your money. We are going to dig into the mechanical realities of shop equipment so you can avoid the high-cost traps that offer more hype than horsepower.
Evaluating Machinery Frameworks and Structural Integrity
The framework of a machine is its skeleton, providing the necessary rigidity to resist the forces generated during cutting or forming operations. A weak frame leads to vibration, which ruins surface finishes and destroys cutting tools prematurely.
When you are choosing workshop machinery, the weight and material of the frame are your first indicators of quality. Most high-quality stationary tools use gray cast iron because of its unique ability to absorb vibration. This is often called “dampening.” If a machine frame is made of thin, stamped sheet steel, it will ring like a bell when you start a cut. That ringing is energy that should be going into the chip, but instead, it is shaking your tool bit and your workpiece.
Why Heavy Castings Dampen Harmonics
Cast iron dampening refers to the material’s internal structure, which acts like thousands of tiny shock absorbers to neutralize vibration during operation. This characteristic is vital for maintaining accuracy in metalworking.
In my experience, “Meehanite” or high-grade gray iron (Class 25 or 30) is the gold standard for machine beds. These materials are aged to ensure they do not warp over time. When I inspect a new mill or lathe, I look at the underside of the castings. You want to see thick ribbing and clean surfaces. If the casting looks porous or “sandy,” the manufacturer likely used cheap scrap metal.
- Gray Iron Class 25: Standard for most quality hobbyist and light industrial machines; good dampening.
- Gray Iron Class 40: High-strength iron found in heavy-duty industrial equipment; excellent wear resistance.
- Ductile Iron: Used for parts that need to flex without breaking, but it has lower dampening qualities than gray iron.
| Feature | Cast Iron (Gray) | Stamped Sheet Steel |
|---|---|---|
| Vibration Dampening | High (Excellent) | Low (Poor) |
| Rigidity | Very High | Moderate to Low |
| Weight | Heavy (Stable) | Light (Tends to move) |
| Thermal Stability | High | Low |
The True Cost of Thin Steel Frames
A thin frame is a common compromise in budget machinery to save on shipping costs and material, but it significantly limits the machine’s workload capacity.
I once worked on a “contractor grade” band saw that used a thin steel spine. Every time the blade entered a piece of thick plate, the entire frame would flex by nearly 0.040 inches. This caused the blade to lead to one side, making a straight cut impossible. No amount of “premium” blade guides could fix a structural failure like that. When you evaluate a tool, check the thickness of the main support members. If you can flex the frame by hand, it will never be a precision instrument.
Motor Designs and Electrical Drive Systems
The motor and its controller are the heart of any power tool, determining how much torque is available at the spindle and how long the machine will last under continuous use.
Marketing departments love to use “Peak Horsepower,” which is a misleading metric. Peak HP is the amount of power a motor produces right before it burns out or trips a breaker. What you actually need to know is the “Continuous Duty” or “RMS” horsepower. This is the power the motor can safely provide all day long without overheating.
The Reality of Horsepower Ratings
Continuous horsepower is the actual work capacity of a motor under a constant load, whereas peak horsepower is a theoretical maximum that cannot be sustained.
In my shop, I prefer to see a motor rated in Amps rather than just Horsepower. A 1.5 HP motor that pulls 15 Amps at 115V is a much beefier unit than a “3 HP” motor that only pulls 10 Amps. The math doesn’t lie, even if the sticker on the motor does. If you are comparing two machines, always look at the motor’s data plate for the FLAs (Full Load Amps).
- Induction Motors: Reliable, quiet, and great for stationary tools like drill presses or saws.
- Universal Motors: Loud, use carbon brushes, and are common in portable tools; they tend to wear out faster.
- Brushless DC (BLDC): High torque at low speeds and very efficient, but the electronics are complex to repair.
Inverter vs. Transformer Electrical Efficiency
Electrical efficiency in welding and machining determines how much of the power from your wall outlet actually reaches the work surface versus being wasted as heat.
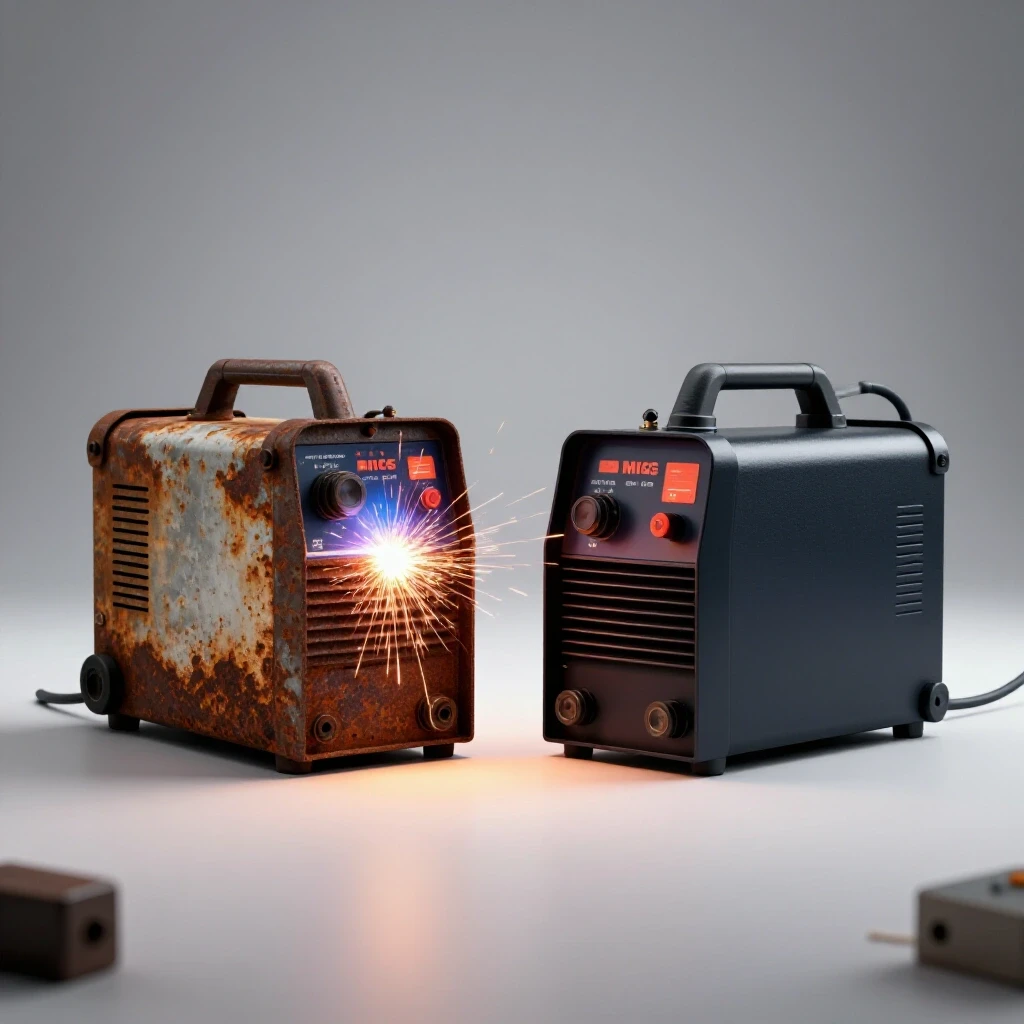
In the welding world, the debate between old-school transformers and modern inverters is ongoing. Transformers are incredibly durable—I have seen units from the 1950s that still run perfectly. However, inverters offer much better “arc control” and use significantly less electricity. For a small shop, an inverter-based welder is often the better choice because it can run on lower-amperage circuits while providing a smoother weld.
| Feature | Transformer Welder | Inverter Welder |
|---|---|---|
| Duty Cycle | Usually Lower | Usually Higher |
| Weight | Very Heavy (50-100+ lbs) | Light (15-30 lbs) |
| Power Draw | High | Low |
| Arc Stability | Good | Excellent (Digital Control) |
Precision and Tolerances in Spindles and Bedways
Precision is measured by how closely a machine can follow a commanded path or maintain a specific geometric relationship between its parts.
When I conduct machine tool reviews, I focus heavily on “runout.” If a spindle has high runout, every hole you drill will be oversized, and every part you turn on a lathe will be out of round. You cannot “adjust” your way out of a poorly machined spindle or a sloppy set of bearings.
Measuring Total Indicated Runout (TIR)
Total Indicated Runout (TIR) is the difference between the maximum and minimum measurements of a rotating surface, indicating how much it wobbles or oscillates.
To test this, I use a dial test indicator with 0.0005-inch graduations. I place the indicator tip on the inside taper of the spindle and rotate it by hand. For a hobbyist mill or lathe, I look for a TIR of less than 0.001 inches. Anything over 0.002 inches is a sign of poor manufacturing or damaged bearings. This is a critical step in choosing workshop machinery because it tells you exactly how much “slop” is built into the tool.
- Clean the spindle taper thoroughly with a lint-free cloth.
- Mount a high-quality dial test indicator on a magnetic base.
- Place the indicator tip against the internal surface of the spindle.
- Slowly rotate the spindle 360 degrees.
- Note the total movement of the needle; this is your TIR.
Spindle Bearing Styles and Lifetimes
Bearings are the components that support the rotating spindle, and their quality determines the machine’s ability to handle heavy cuts and maintain accuracy over years of use.
Most budget machines use standard “deep groove” ball bearings. While these are cheap to replace, they are not designed to handle the “axial” loads (pushing forces) found in milling or heavy drilling. Higher-end machines use “tapered roller bearings” or “angular contact bearings.” These are designed to take loads from multiple directions.
- Tapered Roller Bearings: Excellent for lathes; they can handle heavy pressure and are often adjustable.
- Angular Contact Bearings: Found in high-speed milling spindles; they provide great precision but are expensive.
- Shielded vs. Sealed: Shielded bearings allow some grease to move, while sealed bearings keep contaminants out entirely.
Digital Add-ons and Modern Features
Modern shop tools often come with digital readouts (DROs) and variable speed controllers (VFDs), which can either be a massive productivity boost or a way to hide a weak mechanical design.
A Digital Readout (DRO) shows you exactly where your tool is located, down to the thousandth of an inch. While these are great, I have seen manufacturers put a fancy DRO on a mill with “backlash” (slop in the lead screws) so bad that the machine is still frustrating to use. A DRO is a tool to help you work faster, but it is not a cure for a mechanically loose machine.
Why Variable Frequency Drives (VFD) Matter
A Variable Frequency Drive (VFD) is an electronic device that controls the speed of an AC motor by changing the frequency of the power supplied to it.
In the past, changing speeds on a lathe meant moving heavy rubber belts between pulleys. With a VFD, you just turn a dial. This is a huge advantage for metal lathe comparison guides because it allows you to find the perfect “surface speed” for the material you are cutting. However, be wary of “variable speed” machines that use a simple brush-motor and a rheostat; these lose almost all their torque at low speeds. A true 3-phase motor with a VFD maintains much better power across the RPM range.
- Check for Torque: Turn the machine to its lowest RPM and try to (safely) put a small load on it. If it stalls instantly, the speed controller is poor.
- Heat Dissipation: VFDs generate heat. Look for a controller housed in a metal box with a dedicated cooling fan.
- Programming: Higher-end VFDs allow you to program “ramp-up” and “ramp-down” times, which saves wear and tear on the motor and gears.
Avoiding Redundant and Over-Marketed Tool Categories
One of the biggest mistakes I see in new shops is the purchase of “all-in-one” machines. These are the tools that claim to be a lathe, a mill, and a drill press all in one footprint.
In my 17 years of maintenance, I have never seen a 3-in-1 machine that did any of those three jobs well. They are usually a nightmare to set up. Every time you want to switch from milling to turning, you have to tear down your setup. Furthermore, the structural compromises required to combine these tools usually result in a machine that lacks the rigidity of a dedicated unit. You are almost always better off buying a small, dedicated lathe and a separate benchtop mill.
Identifying the “Jewelry” Tools
“Jewelry” tools are items that feature high-end finishes, anodized aluminum parts, and sleek designs but offer no functional advantage over a standard, well-made tool.
I often see woodworkers and metalworkers spend hundreds of dollars on fancy, branded squares or setup blocks. While accuracy is important, a $200 square does not make your cuts any straighter than a $40 precision square from a reputable industrial supplier. When you are evaluating milling machine buying tips, focus on the “travels” (how far the table moves) and the “quill diameter” rather than how many LED lights are built into the head.
- Laser Guides: Often inaccurate on drill presses and saws; a sharp pencil line and a good eye are more reliable.
- Plastic Handwheels: These feel cheap and can break or slip under heavy use; always look for cast iron or steel wheels.
- Quick-Change Systems: Only useful if you are doing production work; for a hobbyist, a standard tool post is often more rigid.
The Inspection Checklist for Shop Machinery
Before you hand over your hard-earned money, you need a systematic way to evaluate a machine’s build quality. This checklist is based on my years of diagnosing failures in the field.
When I go to look at a used machine—or even a new one in a showroom—I bring a few basic tools: a flashlight, a set of feeler gauges, and a magnetic base with a dial indicator. If a seller won’t let you test the spindle runout or check the bedways for wear, walk away. There is no such thing as a “perfect” machine, but you need to know exactly what flaws you are buying.
Step-by-Step Mechanical Evaluation
- Inspect the Bedways: Look for “scoring” or deep scratches on the surfaces where the machine parts slide. This indicates a failure in lubrication.
- Check the Backlash: Turn the handwheels and see how far they move before the table or carriage actually starts to move. On a new machine, this should be less than 0.005 inches.
- Listen to the Bearings: Run the machine at its highest RPM. It should hum, not growl or scream. A high-pitched whining noise usually means the bearings are dry or misaligned.
- Feel for Heat: After running the spindle for 10 minutes, touch the bearing housing (carefully). It should be warm, but not so hot that you can’t keep your hand on it.
- Verify the Squareness: Use a known-good square to check the relationship between the spindle and the table. This is often called “tramming.”
Planning for Spare Parts and Support
A machine is only as good as the parts available to fix it. This is where many budget-friendly, imported tools fail the long-term test.
Before buying, I always check the manufacturer’s website for a parts manual. If they don’t list individual part numbers for gears, bearings, and switches, you are buying a “disposable” machine. I prefer brands that have a domestic warehouse with a phone number you can actually call. In my shop, a machine that is down for three weeks waiting for a part from overseas is a machine that is costing me money.
- Manual Availability: Does the machine come with a detailed exploded-view diagram?
- Standardized Parts: Does it use standard belt sizes and bearings that you can buy at a local industrial supply house?
- Community Support: Is there a robust online forum or user group for this specific model? This is often more helpful than the official tech support.
Final Verdict on Workshop Investments
Building a shop is a marathon, not a sprint. It is tempting to buy the “complete kit” of tools all at once, but you will end up with a lot of overhyped gear that you rarely use. I have found that the most successful fabricators start with the “Big Three”: a solid way to cut metal (like a cold saw or a high-quality band saw), a way to join it (a reliable welder), and a way to shape it (a lathe or mill).
Focus your budget on the “iron”—the heavy, structural parts of the machine. You can always add a DRO or a better motor later, but you can never add rigidity to a flimsy frame. Trust your hands and your measurements more than the marketing copy. If a deal looks too good to be true, it’s usually because the manufacturer saved money on the parts you can’t see.
Frequently Asked Questions
What is the most common sign of an overhyped tool? The most common sign is a focus on “convenience” features (like lasers, digital displays, or plastic quick-adjust levers) over fundamental mechanical specs like casting weight, motor amperage, and spindle runout. If the marketing focuses on how “easy” it is to use rather than how “accurate” or “durable” it is, be cautious.
Is a heavier machine always better? In the world of stationary metalworking tools, yes. Mass equals stability. A heavier machine will vibrate less, allowing for cleaner cuts and better accuracy. When comparing two similar lathes, the one that weighs 100 pounds more is almost always the superior choice, provided the bearings are in good shape.
How do I know if a motor is truly powerful enough for my needs? Ignore the “Peak HP” or “Max Developed HP” stickers. Look at the motor’s data plate for the “Continuous Duty” rating and the “Full Load Amps” (FLA). For a standard 110V circuit, a motor pulling 14-15 Amps is about as powerful as you can get. If a tool claims 3 HP but only pulls 10 Amps on 110V, the rating is highly exaggerated.
Should I buy a new budget machine or a used industrial one? If you have the skills to inspect and potentially repair a machine, a used industrial tool (like an old Bridgeport mill or South Bend lathe) will almost always outperform a new budget import. The quality of the iron and the precision of the original manufacturing are usually much higher. However, if you need a machine that works “out of the box” and has a warranty, a high-quality new import may be safer.
What is “Backlash,” and how much is too much? Backlash is the “play” or “slop” in a lead screw. It occurs when you turn a handwheel, but the table doesn’t move because the screw is rotating within a gap in the nut. On a manual machine, some backlash is normal (0.003 to 0.007 inches). If a new machine has more than 0.010 inches of backlash, it indicates poor fitment and will make precision work very difficult.
Why is cast iron better than steel for machine bases? Cast iron has a high carbon content in the form of graphite flakes. These flakes act as a dampening agent, absorbing the vibrations (harmonics) created by cutting tools. Steel is more elastic and tends to vibrate or “ring,” which can lead to “chatter” marks on your workpiece.
What is a VFD, and do I really need one? A Variable Frequency Drive (VFD) allows you to change the speed of a 3-phase motor electronically. It is highly recommended for lathes and mills because it allows you to change speeds instantly without fumbling with belts. It also provides “soft-start” capabilities, which reduces the mechanical shock on your gears when you turn the machine on.
Are digital readouts (DROs) worth the extra cost? Yes, for most users. A DRO eliminates the need to count handwheel revolutions and compensates for backlash, which makes you much faster and reduces the chance of a “math error” ruining a part. However, ensure the machine is mechanically sound first; a DRO on a wobbly machine is a waste of money.
(This article was written by one of our staff writers, Steven Brooks. Visit our Meet the Team page to learn more about the author and their expertise.)