Proper Pre-Weld Surface Prep for Mild Steel Plates (Guide)
I remember the exact moment I realized my shop flow was broken. I was standing over a 4×8 sheet of 1/4-inch mild steel, fighting a grinder to move through thick mill scale while my CNC plasma table sat idle. I had spent thousands on automation, yet I was still losing hours to basic cleaning. For twenty years, I have refined the transition from a hobbyist mindset to a production-focused operation. The biggest lesson I learned is that the quality of your finished product is decided long before the arc is struck. If you are scaling up, you have to stop treating the removal of surface contaminants as an afterthought. It is a core stage of your manufacturing process that requires dedicated space, power, and airflow.
Why Material Flow Dictates Your Cleaning Efficiency
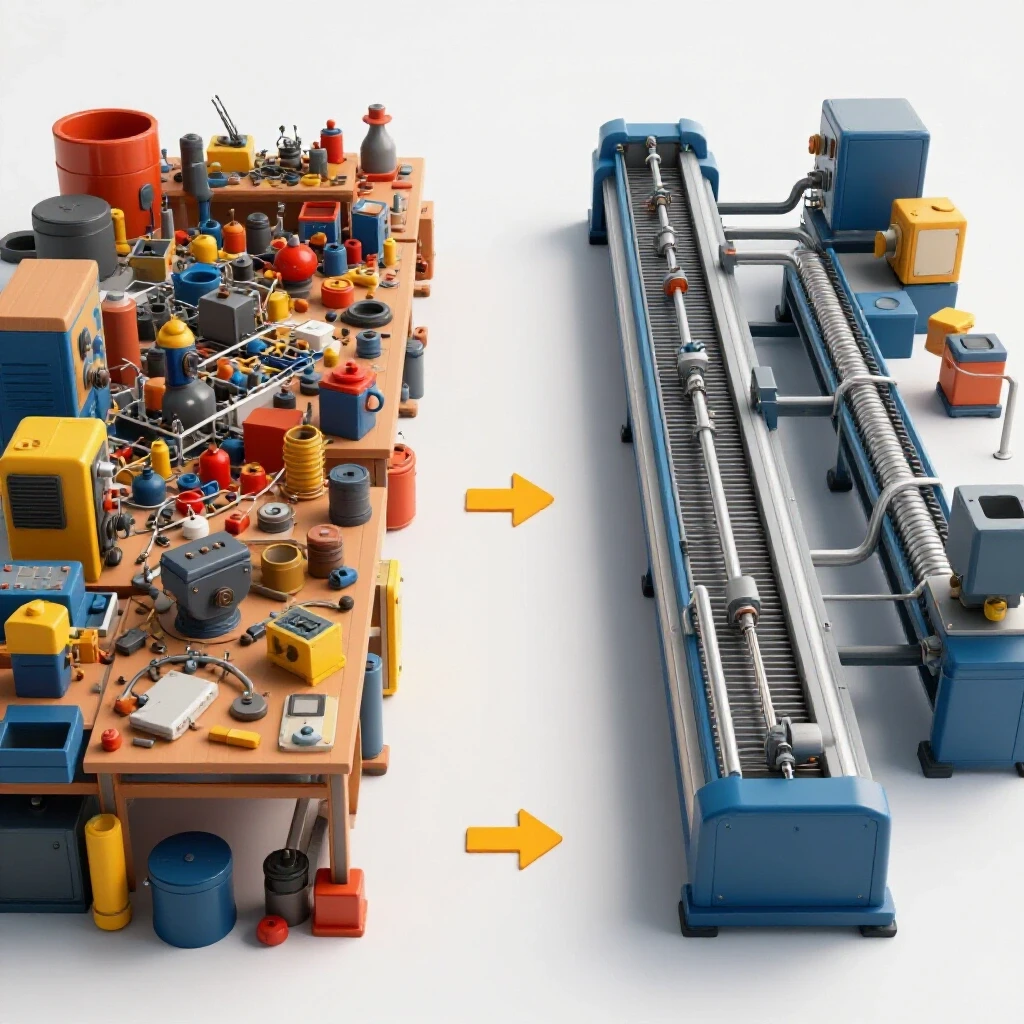
The path raw steel takes from the storage rack to the cleaning station determines how much time is wasted on non-value-added movement. In a high-output shop, every time you move a heavy plate across the floor, you are losing money. Efficient shops treat the cleaning stage as a mandatory checkpoint in a linear path rather than a task performed wherever there is an open table.
When I first started, I cleaned plates right on my welding bench. This was a mistake. The dust from the mill scale and the residue from solvents contaminated my fixtures and settled into the delicate electronics of my nearby equipment. Now, I advocate for a dedicated “dirty zone” located immediately after material intake but before the CNC or welding stations. This prevents the spread of metallic dust and ensures that only clean material moves deeper into the shop.
A linear flow pattern usually looks like this: Intake -> Cleaning/Degreasing -> CNC Cutting -> Deburring -> Assembly. By keeping your cleaning station near the door, you minimize the distance dirty, oily steel travels through your clean workspace. This setup also makes it easier to manage the waste products, like used flap discs and contaminated rags, without dragging them across the entire facility.
| Layout Type | Travel Distance | Contamination Risk | Efficiency Rating |
|---|---|---|---|
| Centralized Prep | High | High | Low |
| Station-Specific | Moderate | Moderate | Medium |
| Linear Flow (Zoned) | Low | Low | High |
Scaling Your Electrical Infrastructure for Heavy-Duty Surface Cleaning
High-output cleaning often requires industrial-grade grinders or tumblers that demand stable, often three-phase power to maintain consistent RPM under load. As you move from small handheld tools to larger stationary equipment, your standard 240V single-phase residential service may start to feel the strain. Integrating a rotary phase converter can be a game-changer for a growing shop.
A rotary phase converter (RPC) takes single-phase power and uses a generator motor to create a third leg of electricity. This allows you to run industrial-grade wide-belt sanders or large-scale vibratory finishers that strip mill scale much faster than a handheld grinder. When I installed my first 20HP RPC, the difference in my heavy-duty grinders was immediate. The tools no longer bogged down when I applied pressure, which meant I could strip a plate in half the time.
If you are planning an electrical upgrade, you must consider the “starting load” of your cleaning equipment. Motors used in heavy abrasion tools often draw three to five times their running amperage during startup. I recommend sizing your phase converter at least 2:1 for the largest motor you plan to run. This ensures that when you kick on that 5HP pedestal grinder to clean the edges of a thick plate, you don’t brown out your CNC controller in the next room.
- Rotary Phase Converter: Best for varying loads and multiple machines.
- Static Phase Converter: Cheaper, but only provides 2/3 of the motor’s rated horsepower.
- Variable Frequency Drive (VFD): Excellent for single-machine control and speed adjustment.
Managing Air Quality During High-Volume Scale Removal
Mechanical cleaning of mild steel generates significant particulate matter that requires dedicated filtration to protect both the machinery and the operator. When you are stripping rust or mill scale with a wire wheel or flap disc, you are launching fine metallic dust and abrasive grit into the air. Without a high-volume air scrubbing system, this dust finds its way into your lungs and your CNC lead screws.
In my shop, I learned the hard way that a standard shop vac is not a dust collection system. For effective particulate management, you need a system that can move between 1,000 and 2,000 Cubic Feet per Minute (CFM). This volume of air is necessary to capture the dust at the source before it can dissipate. I designed my current system using 6-inch rigid ducting to minimize static pressure loss, which is the resistance air faces as it moves through the pipes.
To calculate your needs, look at the “capture velocity” required for metallic dust. You generally need about 3,500 to 4,500 feet per minute (FPM) of air velocity inside the duct to keep heavy metal particles from settling and clogging your lines. If your ducting is too large, the air slows down, and the dust drops out. If it is too small, the friction limits your CFM. It is a balancing act that requires careful planning before you bolt anything to the ceiling.
- Identify Source Points: Place hoods directly behind grinders or over cleaning tables.
- Calculate Duct Run: Keep runs as short and straight as possible.
- Select a Cyclone Separator: This removes the heavy metal chunks before the air hits your fine filters.
- Monitor Filter Loading: Use a magnehelic gauge to track when filters are getting clogged.
Mechanical vs. Chemical: Choosing the Right Method for Your Output
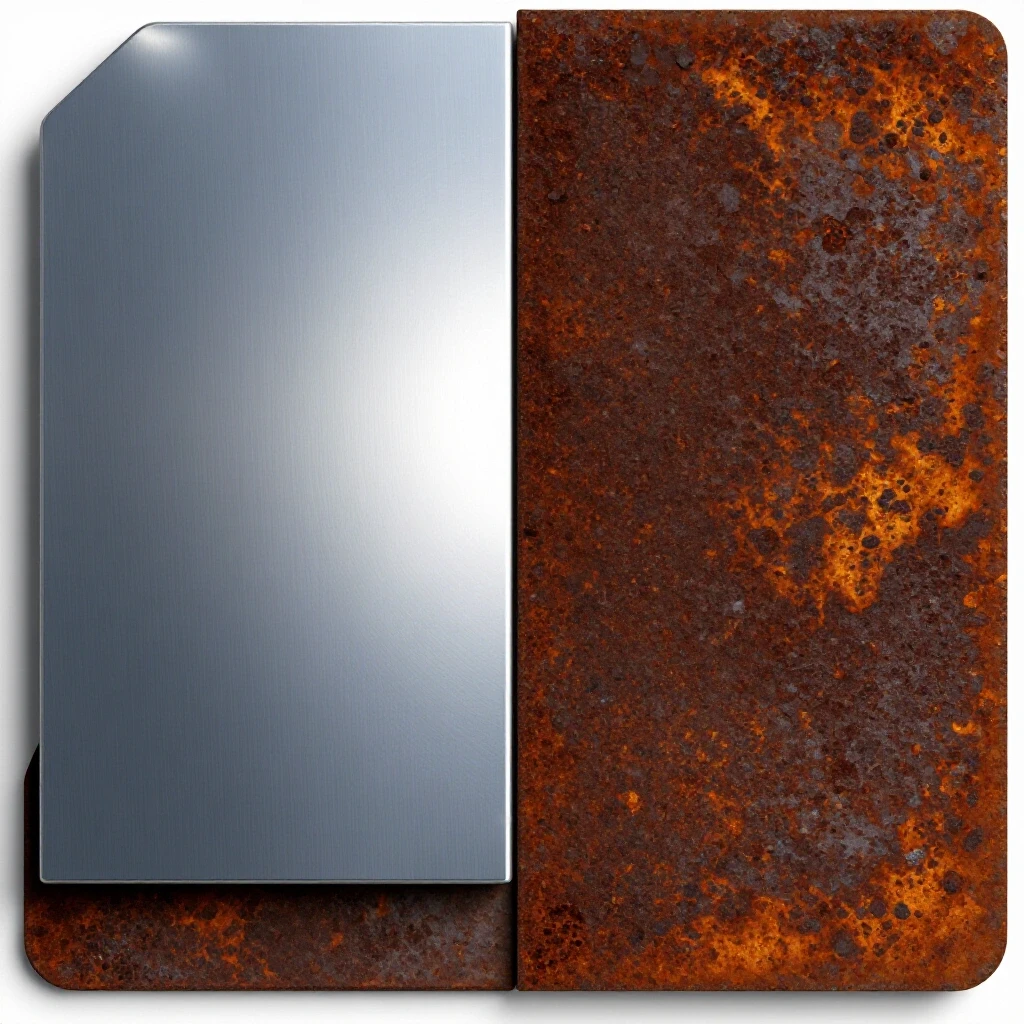
Deciding between abrasive grinding and solvent-based degreasing depends on the volume of steel and the specific contaminants present on the plate. Most mild steel comes from the mill with a layer of blue-grey iron oxide known as mill scale. This scale is hard, brittle, and non-conductive, making it a nightmare for both CNC plasma grounding and high-quality weld fusion.
For high-volume shops, mechanical abrasion is usually the primary choice. Flap discs in the 40 to 60 grit range are workhorses for removing scale without gouging the base metal. Interestingly, I have found that using a dedicated scale-removal wheel, which is a non-woven abrasive, works faster than a standard grinding stone and leaves a more uniform finish. It costs more upfront, but the time savings on a 50-plate run are undeniable.
Chemical cleaning, on the other hand, is essential for removing the oils and greases used during the milling and shipping process. Even if the steel looks clean, a quick wipe with a solvent is necessary. I prefer using acetone or a dedicated wax and grease remover. Avoid anything with chlorine, like some brake cleaners, because they can produce toxic phosgene gas when exposed to the heat of an arc. Always apply the solvent to a clean rag first, rather than spraying it directly on the metal, to control consumption and fumes.
| Contaminant | Removal Method | Tool/Chemical |
|---|---|---|
| Mill Scale | Mechanical | 40-60 Grit Flap Disc |
| Heavy Rust | Mechanical | Wire Wheel or Sanding |
| Shipping Oil | Chemical | Acetone or Degreaser |
| Paint/Markings | Mechanical/Chemical | Stripping Wheel or Solvent |
Integrating Surface Preparation into CNC Plasma Workflows
One of the biggest hurdles in moving to CNC automation is realizing that the machine is only as good as the material you put on it. If you place a plate with heavy mill scale on a plasma table, you will struggle with arc starting and height control. The plasma torch needs a solid electrical ground to function correctly. If the scale is too thick, the ohmic sensing—which tells the torch where the plate is—can fail, leading to torch crashes.
Building on this, I have integrated a “pre-burn cleaning” step into my CNC workflow. Before a sheet ever touches the slats, I run a large orbital sander or a wide-belt sander over the areas where the ground clamp will attach and where the torch will start. This ensures a clean circuit and consistent cut quality. It might seem like an extra step, but it prevents the “re-do” that happens when a torch loses its path due to a bad ground.
Furthermore, if you are using a water table on your CNC, the chemistry of the water can actually contribute to flash rusting on your freshly cleaned plates. I use a sodium nitrite-based additive in my water table to prevent this. It keeps the steel from oxidizing immediately after the cut, which saves me from having to re-clean the parts before they move to the welding station.
The Financial Reality of Equipment Amortization
When you are scaling up, the temptation to buy every new tool is high. However, as someone with a manufacturing operations background, I look at every purchase through the lens of amortization. If a $5,000 wide-belt sander saves me five hours of labor a week, and my shop rate is $75 an hour, the machine pays for itself in about 13 weeks.
Building a professional-grade cleaning station involves significant capital. You have the cost of the 3-phase converter ($1,500 – $3,000), the dust collection system ($2,000 – $5,000), and the tools themselves. I recommend tracking your prep time for one month. If you are spending more than 20% of your total shop time just getting metal ready to weld, it is time to invest in better infrastructure.
- Initial Investment: The “sticker price” of the equipment.
- Operating Costs: Electricity, replacement abrasives, and filter media.
- Labor Savings: The reduction in man-hours required for the same output.
- Opportunity Cost: The value of the other work you could be doing if you weren’t grinding.
Designing the Ultimate Cleaning Cell
To maximize every square foot, your cleaning cell should be self-contained. This means having your grinders, abrasives, solvents, and PPE all within arm’s reach. I use a 3-foot minimum access zone around my stationary equipment to ensure I can handle large plates without bumping into other machines. This safety margin is not just for comfort; it is a requirement for maintaining a professional workflow.
I also installed “point-of-use” storage for my consumables. I have a rack specifically for different grits of flap discs and a fire-proof cabinet for my solvents. By organizing the cell this way, I eliminated the “walk-about” time spent searching for a fresh disc. In a lean manufacturing environment, we call this “reducing motion waste.” It sounds simple, but it is the difference between a shop that feels chaotic and one that runs like a factory.
Finally, consider your lighting. Removing contaminants requires being able to see the “sheen” of the base metal. I installed high-output LED shop lights directly over my cleaning station, angled at 45 degrees. This side-lighting makes it much easier to spot remaining patches of mill scale or oil streaks that might be missed under flat, overhead light.
Common Mistakes in High-Volume Metal Prep
Even experienced fabricators fall into traps when scaling up. One of the most common is “over-prepping.” You don’t need a mirror finish on mild steel; you just need to reach the base metal. Spending ten minutes polishing a joint that only requires a quick scuff is wasted time. I teach my team to look for the “bright metal” stage and stop there.
Another mistake is neglecting the edges. Many people clean the face of the plate but leave the mill scale on the vertical edge. When you go to tack your parts together, that edge scale can cause porosity in your weld. I use a dedicated edge-deburring tool or a quick pass with a file to ensure the entire mating surface is clean.
- Using Dirty Rags: Wiping oil with a dirty rag just moves the oil around. Use a fresh surface for every wipe.
- Ignoring the Backside: If you are doing full-penetration welds, the back of the plate needs to be as clean as the front.
- Mixing Abrasives: Never use a disc on mild steel that you previously used on another material, as it can embed contaminants.
- Poor Grounding: A clean surface is useless if your ground clamp is attached to a rusty part of the table.
Implementing a Systematic Maintenance Schedule
As you integrate more automation and 3-phase equipment, your maintenance needs will increase. A clogged dust collector or a worn-out phase converter can shut down your entire production line. I keep a simple logbook next to my main power panel. Every Monday morning, I check the tension on my RPC belts and the pressure drop across my air filters.
For my handheld grinders, I’ve moved to a “batch replacement” system. Instead of replacing brushes one by one as they fail, I service all my grinders on the first of the month. This ensures that a tool never dies in the middle of a critical job. It is this level of systematic thinking that separates a micro-manufacturer from a hobbyist.
- Daily: Empty the heavy chips from the dust collector.
- Weekly: Blow out the cooling fins on the 3-phase converter.
- Monthly: Inspect all electrical cords for fraying or heat damage.
- Quarterly: Deep clean the entire cleaning cell to prevent dust buildup.
Final Steps Toward a Professional Workflow
Transitioning your shop is a marathon, not a sprint. Start by mapping your current material path with a piece of chalk on the floor. If you see lines crossing back and forth, you have a bottleneck. Address your layout first, then your power, and finally your specialized cleaning equipment.
By treating the removal of surface oxides and oils as a technical discipline rather than a chore, you will see an immediate improvement in your CNC cut quality and your overall shop throughput. The anxiety of scaling up fades when you have a system that supports your growth rather than hindering it.
FAQ
What is the fastest way to remove mill scale from large mild steel plates? For most advanced shops, a 5-inch or 7-inch angle grinder equipped with a 40-grit ceramic flap disc or a dedicated silicon carbide stripping wheel is the most efficient. If you have the budget and 3-phase power, a wide-belt “timesaver” style sander can process entire sheets in a single pass.
How do I know if I need a rotary phase converter for my cleaning tools? If you are moving beyond 120V or standard 240V single-phase tools to industrial equipment like large vibratory finishers or 5HP+ pedestal grinders, you will likely need a phase converter. Check the data plate on the motor; if it says “3-Phase” or “208-230/460V,” you need a converter.
Can I use a standard shop vacuum for dust collection when grinding? No. Shop vacuums have high static pressure but very low CFM. They cannot capture the volume of dust generated by heavy grinding. You need a dedicated dust collector with at least 1,000 CFM and a 1-micron filter to safely manage metallic particulates.
Is acetone the best solvent for degreasing mild steel? Acetone is excellent because it evaporates quickly and leaves no residue. However, it is highly flammable. Denatured alcohol or specialized water-based degreasers are also effective and can be safer in some environments. Always ensure the solvent is completely evaporated before welding or cutting.
Why does my CNC plasma torch struggle to fire on new mild steel? The most common culprit is the mill scale. This oxide layer is an insulator. If your ground clamp is on the scale, or if the torch is trying to fire through it, the electrical circuit won’t complete. Cleaning a small spot for the ground and the path of the cut will solve this.
How much space should I leave around my cleaning station? I recommend a 3-foot “clear zone” around all stationary equipment and at least 6 feet of clearance for handling full 4×8 sheets. This ensures you can move material safely without hitting other machines or tripping over cords.
How do I prevent flash rust after I’ve cleaned the steel? If you aren’t welding immediately, you can use a weld-through primer or a light coat of a specialized rust preventative that doesn’t interfere with the welding process. In many cases, simply keeping the material in a climate-controlled area is enough for short-term storage.
What is the difference between a wire wheel and a flap disc for prep? A wire wheel is excellent for removing loose rust and scale without removing the base metal. A flap disc is more aggressive and will remove the mill scale and smooth out the metal surface. For most weld prep, a flap disc is the preferred tool for reaching “bright metal.”
Should I clean the steel before or after cutting it on the CNC? Ideally, you should do a basic cleaning (removing oils and heavy scale) before it goes on the CNC to ensure good grounding and cut quality. A final, more thorough cleaning of the specific weld joints should be done after the parts are cut.
How do I calculate the CFM I need for my shop? A good rule of thumb is to look at the diameter of your dust collection ports. A 4-inch port generally requires about 400 CFM, while a 6-inch port needs about 800-1,000 CFM. Total your most-used simultaneous machines and add 20% for ducting losses.
(This article was written by one of our staff writers, Edward Sinclair. Visit our Meet the Team page to learn more about the author and their expertise.)