Scheduling Templates for Part-Time Custom Welding (Review)
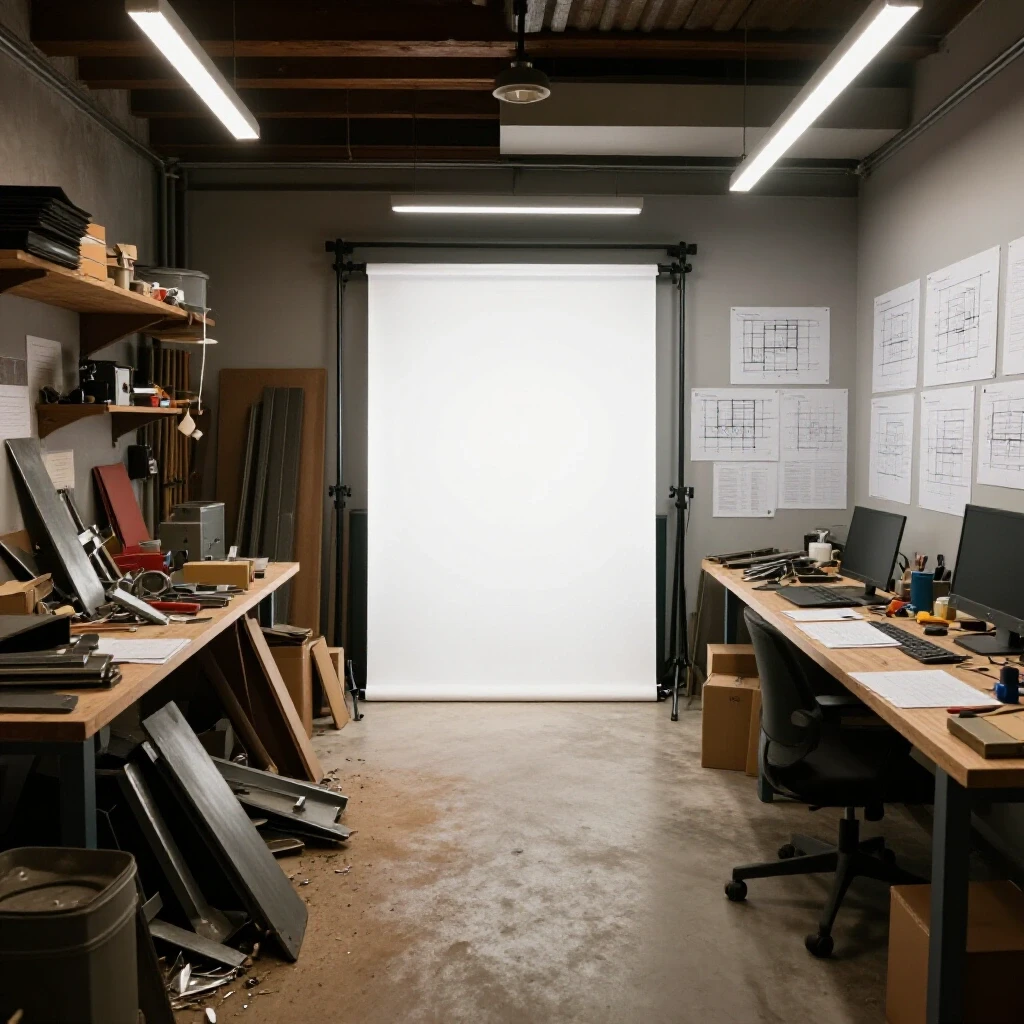
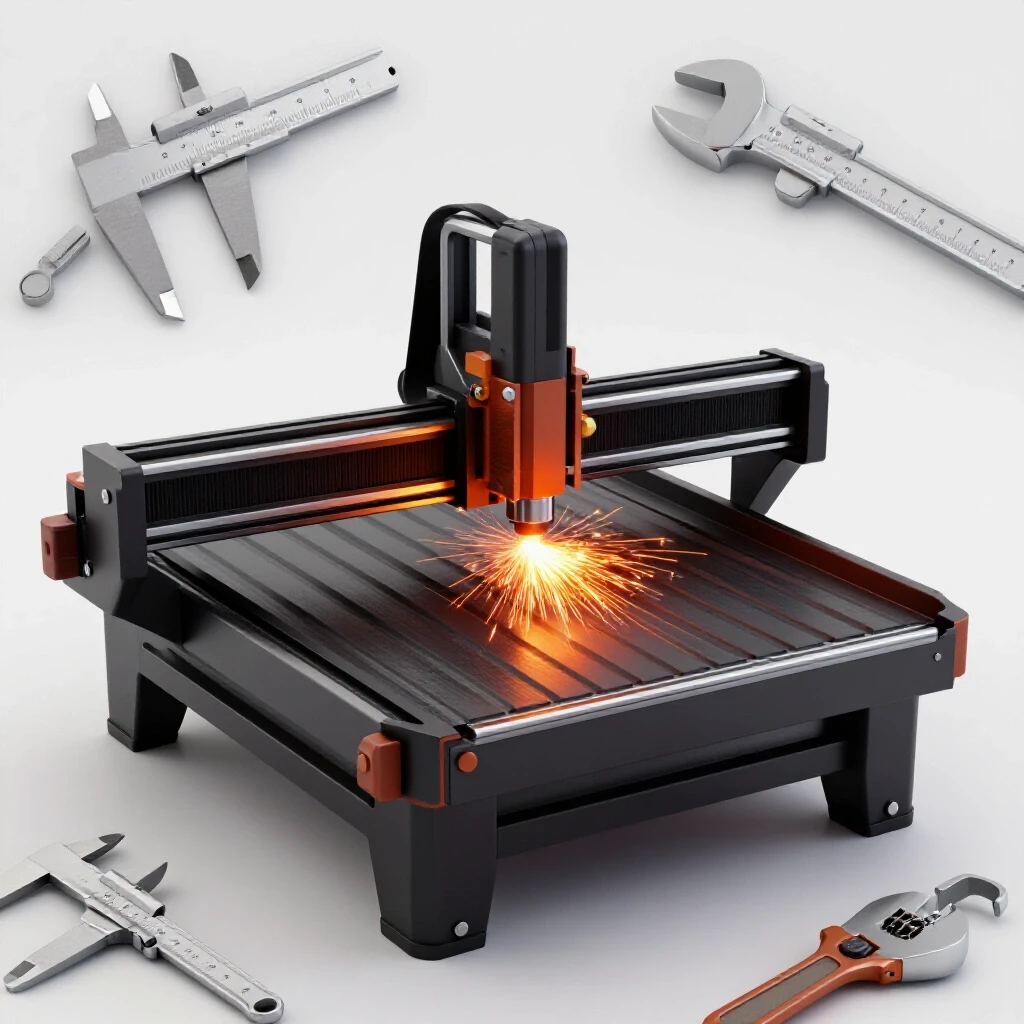
I remember the specific Tuesday evening when my workshop floor became a maze of unfinished projects and tangled leads. I had just brought in a new CNC plasma table, and while the machine was a marvel, my existing workflow was not prepared for the speed of automated cutting. After twenty years in manufacturing operations, I realized that the bottleneck wasn’t my hands; it was the lack of a systematic approach to how I allocated my limited shop hours. Transitioning from a hobbyist mindset to a semi-professional operation requires more than just better tools. It demands a rigorous look at how we map our time, our floor space, and our utility capacity to ensure every hour spent under the hood is productive.
Scaling a fabrication setup in a home-based or micro-manufacturing environment brings a unique set of stresses. You are often balancing a primary career or family obligations with high-output fabrication. This tension makes every minute of “arc-on” time precious. To find success, we must move away from “winging it” and toward structured project sequencing. By using dedicated planning worksheets and layout strategies, we can reduce the mental load of shop management. This allows us to focus on the technical challenges of metal-joining and precision machining without the constant friction of a disorganized workspace.
Mapping Material-Flow Loops and Floor Capacity
Analyzing the physical path raw steel takes from delivery to the finished product ensures the floor can support heavy machinery like CNC plasma tables. A well-planned advanced workshop layout minimizes the physical effort required to move heavy sheets and long bars between stations.
When I first integrated a 4×4 plasma table, I ignored the floor load ratings of my slab. Most residential garage floors are four inches thick, rated for approximately 3,000 to 4,000 PSI. While this sounds substantial, the concentrated weight of a water table filled with several hundred gallons of fluid, plus the gantry and the steel plate, can push those limits. I had to reinforce my layout by placing heavy machinery near the thickened edges of the slab where the footings provide more support.
Workflow optimization tips often center on the “U-shaped” or “Linear” flow. In a small shop, a linear flow is usually superior. You want your raw material storage near the door, leading directly into your primary cutting station. From there, parts should move to a deburring and prep zone, then to the welding table, and finally to finishing and shipping. This prevents the “back-and-forth” travel that eats up time and energy.
- Minimum Access Zones: Maintain a 3-foot clearance around all stationary machinery for maintenance and safety.
- Material Paths: Ensure paths are at least 4 feet wide to accommodate a standard sheet of plywood or steel on a cart.
- Floor Loading: For CNC systems, aim for a 6-inch reinforced concrete slab if you are pouring a new foundation.
| Layout Type | Material Travel | Space Efficiency | Best Use Case |
|---|---|---|---|
| Linear Flow | Low (Direct) | High | Narrow, long shops |
| U-Shape Flow | Medium | Medium | Wide, square shops |
| Island Layout | High (Circular) | Low | Multi-operator environments |
Measuring Power Limits and Building Balanced 3-Phase Systems
Evaluating the residential or light-commercial electrical panel’s ability to handle high-amperage equipment through phase conversion technology is critical for scaling. Most of us start with standard single-phase power, but professional-grade welders and CNC spindles often require 3-phase power for peak efficiency.
A common mistake is assuming a simple static converter will suffice for sensitive electronics. In my experience, a rotary phase converter (RPC) is the gold standard for a growing shop. An RPC takes single-phase input and uses a custom-wound motor to generate a third leg of power. This third leg must be balanced to within 5% to 10% of the voltage of the other two legs to prevent overheating your CNC motors or welding inverters.
When planning your 3-phase power converter installation, you must calculate your total “Full Load Amps” (FLA). If your shop runs on a 200-amp service, a 20-HP rotary converter might pull 50 to 60 amps just to start. This leaves limited headroom for your compressor, lighting, and HVAC. I always recommend a “staggered start” approach where the converter and compressor are never allowed to cycle on at the exact same moment.
- Identify Load Requirements: List every machine that requires 3-phase power and its peak amperage.
- Select Converter Size: Choose an RPC rated for double the horsepower of your largest single motor.
- Monitor Voltage Balance: Use a multimeter to check the “manufactured leg” under load to ensure it stays within safe tolerances.
- Install Dedicated Sub-Panels: Keep your 3-phase circuits separate from your 120V lighting to simplify troubleshooting.
Designing High-Volume Air Filtration and Duct Networks
Creating a system to extract welding fumes and plasma dust using calculated airflow metrics and static pressure considerations is vital for long-term health. CNC plasma cutting, in particular, produces a massive volume of fine particulates that can quickly coat every surface in your shop and damage your lungs.
Dust collection duct design is more of a science than many realize. You cannot simply run flexible dryer vents and expect results. You need smooth-walled pipe, preferably 6-inch diameter for main runs, to maintain a high “conveying velocity.” If the air moves too slowly, the dust will settle in the pipes, eventually clogging the system. For a standard plasma table or grinding station, you should aim for 1,000 to 2,000 CFM (Cubic Feet per Minute) at the source.
Static pressure loss is the “friction” the air encounters as it moves through bends and filters. Every 90-degree elbow in your ductwork is roughly equivalent to adding 10 feet of straight pipe. I learned this the hard way when my first “high-power” extractor barely pulled a breeze because I had used too many tight turns. Use long-radius elbows and “Y” junctions instead of “T” junctions to keep the air flowing smoothly.
- CFM Targets: 1,000 CFM for light welding; 1,500+ CFM for CNC plasma tables.
- Filter Grades: Use HEPA or MERV 15+ filters for fine metal dust.
- Static Pressure: Keep total system resistance under 6 to 8 inches of water column (wc) for hobby-grade blowers.
Integrating CNC Plasma Workflows into Part-Time Operations
Transitioning from manual cutting to automated gantry systems requires managing the steep learning curve of CAD/CAM software and machine calibration. The jump to automation is often where part-time fabricators lose the most time due to “software friction” and setup errors.
When setting up a CNC plasma table, gantry leveling is the most tedious but important step. If the rails are out of parallel by even a fraction of an inch, the motors will bind, leading to “lost steps.” This is especially true for systems using stepper motors, which lack the closed-loop feedback of more expensive servo motors. In my shop, I spent three days shimming the water table legs just to get the slats perfectly level with the torch travel.
The real secret to making automation work in a part-time capacity is the “tooling library.” Instead of recalculating feed rates and pierce delays every time you cut 10-gauge mild steel, you should have a verified file that stores these metrics. This allows you to go from a drawing to a finished cut in minutes rather than hours.
- Stepper Motors: Cost-effective but can lose position if the torch hits a tip-up.
- Servo Motors: Faster and more reliable, as they “know” their exact position at all times.
- Torch Height Control (THC): An absolute necessity for thin materials that warp under heat.
Time-Management Frameworks for Project Sequencing
Using structured worksheets to organize job stages, material arrival, and machine time allows you to maximize limited shop hours. When you only have a few hours on a Saturday morning, you cannot afford to spend ninety minutes looking for a specific grinding disc or waiting for a CAD file to update.
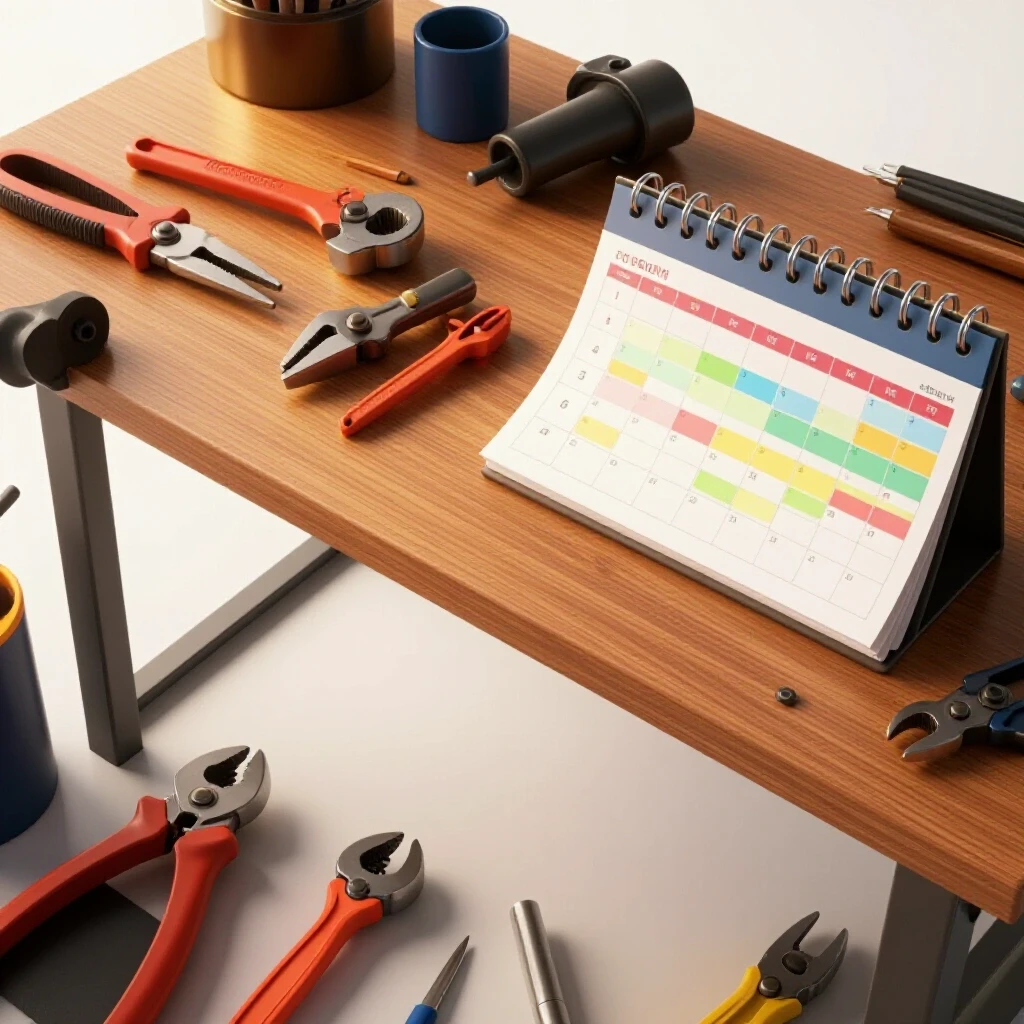
I utilize a “Job Sequencing Worksheet” that breaks every project into four distinct phases: Prep, Cut, Join, and Finish. By looking at my upcoming week, I can allocate “Shop Slots.” For example, I might use a Wednesday evening for CAD design and material ordering—tasks that don’t require me to be in the shop. This leaves my Saturday morning open for high-noise, high-energy tasks like plasma cutting and welding.
This method of slot allocation also helps manage material lead times. There is nothing more frustrating than having the time to work but lacking the 2-inch square tubing needed to finish a frame. By tracking these milestones on a simple paper or digital worksheet, you create a visual “to-do” list that keeps the momentum moving forward.
- Phase 1: Design/Prep: CAD work, nesting parts, and ordering steel.
- Phase 2: Primary Fabrication: CNC cutting and initial deburring.
- Phase 3: Assembly: Tacking, squaring, and final welding.
- Phase 4: Post-Process: Grinding, painting, and packaging.
Amortization and Capital Planning for Advanced Tooling
Calculating the long-term cost and recovery period for major equipment upgrades ensures the shop remains financially viable. Investing $15,000 in a CNC system and 3-phase power is a major decision that needs to be backed by data, not just a desire for better toys.
I look at equipment through the lens of “Amortization Timelines.” If a machine costs $10,000 and I expect it to last five years, it needs to generate at least $2,000 in value per year just to break even. In a part-time shop, this “value” can be found in two places: direct profit from custom jobs or “time saved.” If the CNC table saves me 100 hours of manual grinding and cutting per year, and I value my time at $50 an hour, the machine pays for itself in two years.
Maintenance intervals must also be factored in. CNC tables require consumables like nozzles and electrodes, and 3-phase converters need occasional bearing inspections. I keep a simple logbook for every major tool, tracking hours of use and money spent on repairs. This data-driven approach removes the emotion from shop upgrades and helps you decide when it is truly time to scale.
| Equipment | Initial Cost | Est. Lifespan | Annual Maint. | Time Savings (Est.) |
|---|---|---|---|---|
| CNC Plasma Table | $8,000 – $15,000 | 7-10 Years | $500 | 60% vs Manual |
| Rotary Phase Conv. | $1,500 – $3,000 | 15+ Years | $50 | Enables Pro Tools |
| Air Scrubbing Sys. | $1,200 – $2,500 | 5-7 Years | $200 | Health/Cleanliness |
Key Takeaways for Workshop Evolution
The transition from a basic hobby space to an advanced, semi-professional shop is a marathon, not a sprint. It requires a disciplined focus on layout, power, and air quality before the first spark is even struck. By prioritizing a linear material flow and ensuring your electrical and ventilation systems can handle the load, you create a foundation for growth.
My biggest piece of advice is to start with a “paper pilot.” Before buying a single machine, draw your shop to scale and use cutouts to represent your equipment. Move them around to see how a 10-foot stick of steel will navigate the room. This simple exercise can save you hundreds of hours of frustration and thousands of dollars in electrical rework. Once the physical space is optimized, use project sequencing worksheets to manage your time as effectively as you manage your tools.
Frequently Asked Questions
How much space do I really need for a CNC plasma table? While a 4×4 table occupies 16 square feet, the actual footprint is closer to 64 square feet. You must account for the gantry overhang, the control console, and at least three feet of walking space on all sides for loading material and cleaning the water table.
Can I run a CNC table on a 100-amp residential service? It is possible, but very tight. A plasma cutter can pull 40-50 amps, and a compressor can pull another 20-30 amps. If your home’s HVAC or water heater kicks on simultaneously, you risk tripping the main breaker. A 200-amp service is highly recommended for advanced shops.
What is the best way to handle plasma dust in a small shop? A water table is the most effective first line of defense, as it traps about 90% of the dust. However, you still need a high-CFM exhaust fan or an air scrubber to handle the fine “smoke” that rises during the cut.
Do I need a rotary phase converter or can I use a VFD? Variable Frequency Drives (VFDs) are excellent for single motors, like a drill press or a lathe. However, for a CNC machine that has multiple motors and complex onboard electronics, a rotary phase converter provides a more stable and “clean” 3-phase power source.
How do I calculate duct size for my dust collector? Start with the CFM requirement of your tool. For 1,200 CFM, a 6-inch duct is standard to maintain an air velocity of about 4,000 feet per minute, which is the “sweet spot” for keeping metal dust suspended in the air.
Is CAD/CAM software difficult to learn for someone over 40? The learning curve is real but manageable. Modern software has become much more intuitive. I recommend starting with basic 2D sketching before moving into 3D modeling. Consistency is key—spend 30 minutes every night practicing, and you will be proficient in a month.
How often should I maintain my 3-phase converter? Rotary converters are remarkably robust. You should blow out the dust every month and check the wire connections for tightness every six months. Listen for any changes in bearing noise, which is usually the first sign of wear.
What is the most common mistake in shop layout? The most common mistake is “land-locking” material. This happens when you place a large machine in a spot that prevents you from bringing in full sheets of steel or long bars. Always map your material entry and exit points first.
How do I track my shop time effectively? Use a simple job sequencing worksheet. Break your projects into small, 2-hour “Shop Slots.” This makes it easier to fit fabrication into a busy schedule without feeling overwhelmed by the total project scope.
What is the “static pressure” I keep hearing about in ventilation? Think of static pressure as the resistance the air faces. Small pipes, corrugated hoses, and dirty filters all increase resistance. If the resistance (static pressure) is too high, your fan won’t be able to move enough air to keep the shop clean.
(This article was written by one of our staff writers, Edward Sinclair. Visit our Meet the Team page to learn more about the author and their expertise.)