Steel vs Aluminum Material Choice for DIY Fabrication (Guide)
I remember the first time I saw a structural joint fail under a static load. It wasn’t a dramatic explosion; it was a slow, sickening groan of metal giving way. I was three years into my career as a mechanical engineer, standing in a shop where we had built a heavy-duty storage rack using lightweight aluminum. We had calculated the weight correctly, but we underestimated how the welding process had softened the metal near the joints. That day taught me that choosing the right material isn’t just about weight or cost—it is about understanding how that material behaves under stress and heat.
Over the last 14 years, I have transitioned from the design desk to the shop floor, inspecting thousands of welds and structural frames. I have seen hobbyists build beautiful projects that failed within a month because they treated aluminum like steel, or vice versa. My goal is to help you navigate these choices by looking at the hard data of material science. We are going to look at why things break and how you can prevent those failures in your own garage or workshop.
Understanding Structural Metal Load Capacity and Mechanical Stress
Structural metal load capacity is the measure of how much force a material can handle before it fails. In a home workshop, this involves analyzing tensile strength, which is the resistance to being pulled apart, and yield strength, the point where metal permanently bends. Understanding these limits prevents structural collapse and ensures your project can handle its intended weight.
When you are deciding between a ferrous metal like steel and a non-ferrous option like aluminum, the first thing I look at is the yield strength. For common A36 structural steel, the yield strength is typically around 36,000 PSI. This means the metal can be stressed up to that point and still spring back to its original shape. In contrast, 6061-T6 aluminum, a very common hobbyist choice, has a yield strength of about 35,000 to 40,000 PSI. On paper, they look similar, but the way they reach those limits is very different.
The Impact of Yield Strength on Project Stability
Yield strength represents the “point of no return” for any metal component under a load. Once a material is stressed beyond this threshold, it undergoes plastic deformation, meaning it stays bent even after the weight is removed. Monitoring this limit is vital for ensuring that frames and supports do not sag or fail over time.
In my experience, the danger with aluminum isn’t its initial strength, but how quickly that strength can vanish. Steel is generally more forgiving. If you overload a steel bracket, it usually gives you a warning by bending slowly. Aluminum is more prone to “work hardening” and can sometimes crack without much warning if it has been stressed repeatedly. When I design a project, I always aim for a safety factor of at least 2:1 for static loads, and 4:1 if the object will be moving or supporting people.
Comparing Modulus of Elasticity and Material Stiffness
The modulus of elasticity measures a material’s stiffness, or how much it deflects under a specific load before reaching its yield point. Steel is roughly three times stiffer than aluminum, meaning an aluminum beam will deflect significantly more than a steel beam of the same dimensions under the same weight.
This stiffness gap is a common trap for those new to fabrication. If you build a workbench frame out of aluminum using the same tube sizes you would use for steel, you will notice the table feels “bouncy.” This isn’t necessarily a sign of impending failure, but it can lead to vibration issues and poor tool performance. To get the same stiffness as steel, you often have to use much thicker aluminum sections, which can quickly erase the weight savings you were looking for.
| Property | A36 Structural Steel | 6061-T6 Aluminum |
|---|---|---|
| Yield Strength | 36,000 PSI | 35,000 – 40,000 PSI |
| Density | 0.284 lb/in³ | 0.098 lb/in³ |
| Modulus of Elasticity | 29,000,000 PSI | 10,000,000 PSI |
| Melting Point | 2,500°F – 2,800°F | 1,100°F – 1,200°F |
Managing Heat Affected Zone Weakness in Welded Joints
The Heat Affected Zone, or HAZ, is the area of base metal that has not been melted but has had its microstructure and mechanical properties altered by the heat of welding. This zone is often the weakest point of a completed fabrication. Managing HAZ weakness is critical to preventing joint failure in load-bearing structures.
I have spent a lot of time with a magnifying glass looking at cracked welds, and the HAZ is almost always where the trouble starts. When you apply a massive amount of heat to a concentrated area, you are essentially heat-treating the metal in a way you didn’t intend. In steel, the HAZ can become brittle if cooled too quickly. In aluminum, the heat can actually “undo” the strength that was gained during the manufacturing process.
Why Aluminum Softens Near the Weld
Aluminum alloys like 6061-T6 gain their strength through a process called precipitation hardening, or aging. When you weld this material, the intense heat acts like a “reset” button on that hardening. The area immediately surrounding your weld bead can lose up to 50% of its strength, reverting to a much softer state known as the “O” temper.
This is a major safety concern for garage fabrication safety. If you weld a structural gusset onto an aluminum trailer frame, the metal right next to that weld is now significantly weaker than the rest of the beam. I always tell builders to over-design aluminum joints by increasing the surface area of the connection. Using longer weld seams or adding mechanical fasteners as a backup can help distribute the load away from the softened HAZ.
While the HAZ in steel can become hard and brittle—a condition that can lead to “cold cracking”—the overall loss of tensile strength is much less dramatic than in aluminum. For most DIY projects, the structural integrity of a steel joint remains high as long as you avoid quenching the metal with water.To keep your steel joints safe, focus on pre-heating thick sections (over 1/4 inch) and allowing the piece to air-cool slowly. This prevents the formation of martensite, a very hard but brittle grain structure that can snap under impact. I’ve seen many hobbyists “quench” their parts in a bucket of water to save time, only to have the weld snap like glass later that day. Patience is a safety tool.
Essential Workshop Safety Checklist for Metal Fabrication
A workshop safety checklist is a systematic way to identify and mitigate risks before you strike an arc or start a cut. It covers everything from fire prevention to personal protective equipment (PPE). Following a strict safety protocol ensures that you can focus on the technical quality of your work without risking injury.
Safety in a home shop isn’t just about wearing goggles; it’s about managing the environment. I’ve seen more accidents caused by cluttered floors and poor lighting than by actual tool failure. Before you even touch your material, you need to ensure your workspace is configured to handle the specific hazards of the metal you have chosen.
Selecting Proper PPE Shade and Filter Ratings
Your eyes are your most valuable tool, and they are also the most vulnerable. Welding arcs produce intense ultraviolet (UV) and infrared (IR) radiation that can cause permanent damage. Selecting the correct shade for your auto-darkening helmet is non-negotiable for long-term safety and weld quality.
- For MIG welding steel (100-250 amps): Use a Shade 10 to 12.
- For TIG welding aluminum (50-200 amps): Use a Shade 11 to 13. Aluminum reflects more light, making the arc appear much brighter and more taxing on your eyes.
- Grinding Shield: Always switch to a dedicated grinding mode or a clear face shield. I once had a sliver of steel bypass my safety glasses because I wasn’t wearing a full-face shield while cleaning a root pass.
Managing Welding Gas Flow Rates and Ventilation
Proper gas flow ensures that your weld pool is protected from atmospheric contamination, while adequate ventilation protects your lungs from toxic fumes. Balancing these two factors is a key part of maintaining a safe and productive environment. Inconsistent gas flow often leads to hidden defects that compromise structural integrity.
When welding, I generally set my welding gas flow rate between 15 and 20 CFH (Cubic Feet per Hour). If you go too low, you get porosity; if you go too high, the turbulence can actually pull air into the weld. For aluminum, which is incredibly sensitive to oxygen, I might bump this up to 25 CFH if there is a slight draft. However, never weld in a heavy breeze. If you are in a garage, use a smoke extractor or a fan positioned to pull fumes away from your face, not blow across the weld.
Welding Defect Troubleshooting for Home Fabricators
Welding defect troubleshooting involves identifying visual and internal flaws in a weld bead that could lead to failure. Common issues include porosity, undercut, and lack of fusion. By learning to spot these “red flags” early, you can grind out the mistakes and re-weld them before the project is put into service.
I view every weld as a data point. If a weld looks bad on the outside, it is almost certainly worse on the inside. Most structural failures I have inspected didn’t happen because the metal wasn’t thick enough; they happened because the weld had a hidden defect that acted as a stress riser.
Identifying Shielding Gas Porosity
Porosity looks like tiny holes or “Swiss cheese” on the surface or inside the weld bead. It is caused by gas being trapped in the metal as it solidifies. This is a major issue because those tiny bubbles significantly reduce the effective cross-sectional area of your joint, making it much weaker than a solid bead.
In my shop, if I see even a single pinhole, I stop. Porosity in aluminum is often caused by moisture or oil on the surface of the metal. Since aluminum is porous itself, it “soaks up” contaminants. To prevent this, I use a dedicated stainless steel wire brush that has never touched steel to clean the joint immediately before welding. For steel, porosity usually comes from a welding gas flow rate that is too low or a nearly empty gas cylinder.
Detecting Internal Weld Defects with Visual and Dye Tests
Not all defects are visible to the naked eye. Internal flaws like “lack of fusion”—where the weld metal doesn’t actually bond with the base metal—can hide under a pretty bead. Using simple diagnostic tools can help you verify that your joints are actually solid.
- Visual Inspection: Look for “undercut,” which is a groove melted into the base metal next to the weld. This creates a thin spot that will crack under stress.
- Dye Penetrant Kit: This is a simple three-step spray process. You spray a red dye on the weld, wipe it off, and then apply a white developer. The developer pulls any dye out of hidden cracks, making them glow bright red.
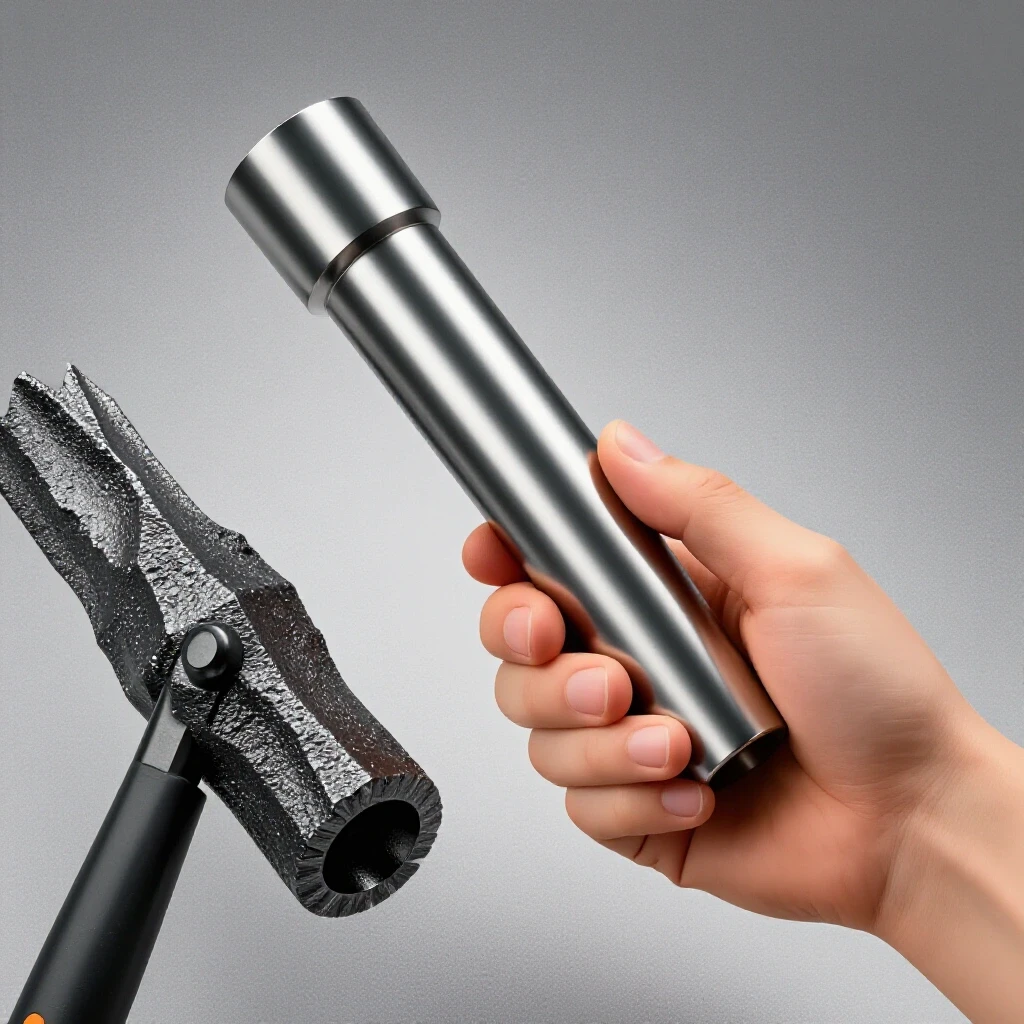
- The “Hammer Test”: For non-critical steel brackets, a firm strike with a 3lb sledgehammer can reveal a “cold” weld. If it snaps off with one hit, you didn’t have enough penetration.
Design Principles for Load Paths and Safety Margins
Designing for safety means understanding how weight travels through your structure, a concept known as the load path. Every bolt, weld, and beam must be able to transfer that weight to the ground without bottlenecking. Incorporating safety margins ensures that your project can handle unexpected “shock” loads or minor fabrication errors.
When I am planning a build, I draw the load path with an arrow. If the arrow has to take a sharp turn or passes through a single small weld, that is a failure point. You want the weight to move through the strongest parts of your material, usually in a straight line or through a well-supported triangle (triangulation).
Implementing Structural Safety Margins (Factors of Safety)
A safety margin is the “extra” strength built into a design to account for uncertainty. For home projects, you aren’t an industrial engineer with a million-dollar testing lab, so you need to be conservative. A safety factor of 3:1 means if you expect a shelf to hold 100 lbs, you design it to hold 300 lbs.
- Static Loads (Workbenches, Racks): Use a 3:1 safety factor.
- Dynamic Loads (Engine hoists, trailers): Use a 5:1 safety factor.
- Steel vs. Aluminum Consideration: Because aluminum loses strength in the HAZ, I often add an extra 20% to my safety margin when welding 6061-T6 compared to steel.
- Material Thickness: Never use the absolute minimum thickness. If the math says 1/8″ is “just enough,” I move up to 3/16″ to account for my own potential welding errors.
Practical Steps for Structural Load Testing
Once a project is finished, I never trust it until I have tested it. Structural load testing in a DIY setting doesn’t require fancy machines. It requires a controlled environment where you can safely apply weight and measure how the metal reacts.
- Baseline Measurement: Measure the distance from the center of your beam to the floor with no weight.
- Incremental Loading: Add weight in 25% increments of the intended maximum load.
- Deflection Check: Measure the sag at each step. If the sag does not disappear when you remove the weight, you have exceeded the yield strength, and the structure is unsafe.
- Listen and Look: Use a flashlight to inspect joints for “flaking” paint or mill scale, which is a sign that the metal is stretching. Listen for “pings” or “cracks,” which indicate a weld is failing internally.
Summary of Key Takeaways
Building things that last requires a shift in mindset from “making it fit” to “making it hold.” Steel is a fantastic, forgiving material for heavy frames and high-stress applications because of its stiffness and predictable heat response. Aluminum is excellent for reducing weight and resisting rust, but it demands much cleaner prep and a deep understanding of how welding weakens its structure.
Always prioritize your workshop safety checklist and never skip the cleaning phase. A clean joint is a safe joint. By respecting the mechanical limits of these metals and verifying your work through inspection and testing, you can build projects that aren’t just functional, but are structurally sound and safe for years to come.
FAQ: Common Fabrication and Material Questions
1. Is aluminum harder to weld than steel for a beginner? Yes, aluminum is generally more difficult. It has high thermal conductivity, meaning it pulls heat away from the weld area very fast. It also doesn’t change color as it gets hot, so you can’t see when it is about to melt through. Steel is much more visual and forgiving of slight variations in travel speed.
2. Why does my aluminum weld look like it has black soot on it? That “soot” is usually oxidized magnesium or aluminum. It often means your welding gas flow rate is too low, your tungsten is contaminated (for TIG), or you are holding too long of an arc. It can also happen if you didn’t clean the surface with a dedicated stainless brush.
3. Can I use the same gas for both steel and aluminum? No. Steel MIG welding typically uses a mix of 75% Argon and 25% CO2. Aluminum requires 100% pure Argon. Using a CO2 mix on aluminum will result in a violent, messy arc and a weld that has zero structural integrity.
4. How do I know if I have “Heat Affected Zone” weakness? Assume you have it the moment you finish a weld on 6061-T6 aluminum. The area about 1/2 inch to 1 inch away from the bead will be significantly softer. You can test this with a simple “center punch” test—the punch will leave a much deeper dent in the HAZ than in the untouched metal.
5. What is the best way to prevent warping in thin steel? Warping is caused by uneven heating and cooling. To prevent it, use “stitch welding”—welding 1 inch, moving to the other end of the project, and welding another inch. This keeps the overall heat input low and balanced across the structure.
6. Do I really need a Shade 13 lens for aluminum? If you are TIG welding at high amperages, yes. Aluminum is highly reflective, and the arc is much “shorter” and more intense than steel. If you finish a session and feel like you have “sand in your eyes,” your shade is too light.
7. Is it safe to build a car trailer out of aluminum in a home shop? It can be, but it is high-risk. Because trailers experience high dynamic loads (bouncing) and aluminum has a lower fatigue limit than steel, the engineering must be perfect. For most DIYers, steel is a much safer choice for trailers because it handles vibration and road stress more reliably.
8. How can I tell if my steel is A36 or something else? Most “mild steel” sold at local metal yards is A36. It usually has a dark grey “mill scale” on the surface. If the steel is shiny and has very sharp corners, it might be “cold rolled,” which is slightly stronger and more precise but more expensive.
9. What should I do if I see a crack in my weld? Never just weld over a crack. You must grind out the entire weld until the crack is completely gone, then clean the area and re-weld it. Welding over a crack just hides the defect while the crack continues to grow underneath.
10. Does thickness make up for poor weld quality? No. A thick beam is only as strong as the joint holding it. A common mistake is using 1/4″ plate but only getting 1/16″ of weld penetration. The joint will fail at the thin point regardless of how thick the plate is. Always ensure your weld penetration matches the thickness of your thinnest material.
(This article was written by one of our staff writers, James Harlan. Visit our Meet the Team page to learn more about the author and their expertise.)