When to Replace Your Old Welding Gear to Save Money (Tips)
I remember the exact moment I realized my “reliable” old transformer welder was actually a financial anchor. I was halfway through a custom gate project for a local client, and the arc started fluttering. I spent forty minutes troubleshooting a loose internal connection and another twenty cleaning up a messy weld. When I sat down to look at my books that night, I realized those sixty minutes of downtime had effectively erased my profit margin for the entire day.
In my sixteen years of managing fabrication work, I have learned that the equipment we use is either a tool for generating revenue or a source of hidden costs. For those of you balancing a side business with a full-time job, time is your most precious resource. You cannot afford to spend it fighting with gear that should have been retired years ago. If you are tracking your shop hours and material expenses correctly, the data will usually tell you exactly when it is time to move on to a newer model.

Most small shop owners struggle with the transition from hobbyist to professional because they view equipment as a one-time expense rather than a depreciating asset. To run a profitable business, you must understand how your gear affects your hourly rate and your ability to provide accurate quotes. This guide will help you navigate the math of equipment replacement so you can keep your shop in the black.
The Financial Foundation: Setting Your True Shop Rate
A shop hourly rate is the total amount you must charge per hour to cover all expenses and provide a profit. This number includes your labor, your rent or mortgage, utilities, insurance, and the gradual wear and tear on your machinery. Without a calculated rate, you are simply guessing at your profitability.
Establishing a realistic shop rate is the first step in deciding if your current gear is still viable. For a part-time fabrication business, a typical rate ranges between $65 and $120 per hour. If you are using old equipment that requires constant adjustment, you might find that you are only productive for 40 minutes out of every hour. This means your “effective” shop rate is much lower than you think.
When I consult with small shop owners, I use a simple formula to help them see the impact of their gear:
- Labor Rate: What you want to pay yourself (e.g., $40/hr).
- Overhead Burden: Total monthly shop costs divided by billable hours (e.g., $15/hr).
- Consumable Factor: Usually 10% of the labor rate to cover gas and wire (e.g., $4/hr).
- Equipment Reserve: A fund for future tool purchases (e.g., $6/hr).
If your current welder is slow or unreliable, you are forced to raise your hourly rate to cover the extra time spent on a job. This can make your quotes uncompetitive. By replacing an old power source with a modern, efficient one, you can often lower your required shop rate while increasing your take-home pay because you are finishing jobs faster.
Spotting the Tipping Point: When Maintenance Costs Outpace Value
The break-even point for equipment is the specific moment when the cost of maintaining and repairing an old tool exceeds the financial benefit of keeping it. For a side-hustle shop operating 5 to 15 hours a month, this point is often reached when a single repair costs more than 40% of a new machine’s price.
I once spent $300 on a new circuit board for an entry-level machine that was ten years old. Two months later, the cooling fan died. If I had simply looked at the repair-to-value ratio, I would have seen that I was throwing good money after bad. For small shops, the “50% Rule” is a safe benchmark: if a repair costs half of what a modern replacement would cost, buy the replacement.
Consider the following comparison for a typical 200-amp MIG welder used 10 hours a month:
| Feature | Old Transformer Unit | Modern Inverter Unit |
|---|---|---|
| Power Draw (Idle) | High (Constant) | Low (Energy Efficient) |
| Duty Cycle at 150A | 20% (Wait for cool down) | 60% (Continuous work) |
| Annual Maintenance | $150 – $300 (Parts/Time) | $0 – $50 (Cleaning) |
| Estimated Lifespan | Ending | 5 – 8 Years |
| Project Time Savings | 0% | 15% – 20% Faster |
If a new machine costs $1,200 and saves you just 2 hours of frustration per month at an $80 shop rate, the machine pays for itself in just 7.5 months. This is what we call a “Payback Period,” and it is a much better metric than the sticker price of the tool.
Hidden Profit Bleeds: Cables, Regulators, and Gas Waste
Degradation in secondary components refers to the wear and tear on leads, torches, and gas flow devices that reduce weld quality. These items are often overlooked because they do not “break” all at once; instead, they slowly leak money through wasted shielding gas and poor electrical conductivity.
I have seen shops lose hundreds of dollars a year simply because they were using old, stiff welding cables with frayed ends. These frayed wires increase resistance, which makes your welder work harder and produces more heat at the connection than at the arc. This leads to inconsistent welds and more time spent grinding.
Gas regulators are another common culprit. An old regulator that “creeps” or leaks slightly can waste a significant amount of expensive shielding gas. If you are paying $60 to $80 for a tank refill, a 10% leak is essentially a $7 tax on every project you do.
- Check your liners: A worn MIG liner causes “bird-nesting” and wire feed issues. Replace them annually if you weld regularly.
- Inspect your leads: If the insulation is cracked or the copper is visible, your power delivery is compromised.
- Test for leaks: Use a simple soapy water solution on your regulator and hose connections every time you swap a tank.
By spending $150 to refresh your cables and regulators, you can often make an old machine feel new again. However, if the machine’s internal components are also failing, these small fixes are just Band-Aids on a larger problem.
The ROI of New Technology: Inverters and Power Efficiency
Inverter technology uses electronic components to convert power, offering better control and lower weight than traditional copper-wound transformers. For a small shop owner, the primary benefit of an inverter is not just the weight—it is the electricity bill and the “clean” arc.
Old transformer machines are notoriously inefficient. They pull a massive amount of “inrush” current when you strike an arc, which can trip breakers in a home garage. Inverters are much more stable. In my own experience, switching to an inverter-based system reduced my shop’s monthly energy bill by about 12% while allowing me to weld thicker material on the same 220V circuit.
Another factor is the “Duty Cycle.” This is the amount of time a machine can weld within a 10-minute period without overheating. Old entry-level machines often have a 20% duty cycle at their maximum setting. This means you weld for 2 minutes and wait for 8. A modern machine might offer a 40% or 60% duty cycle.
- Productivity Gains: If you spend less time waiting for the machine to cool down, you can bill more hours per day.
- Arc Stability: Modern electronics adjust the arc thousands of times per second, leading to less spatter.
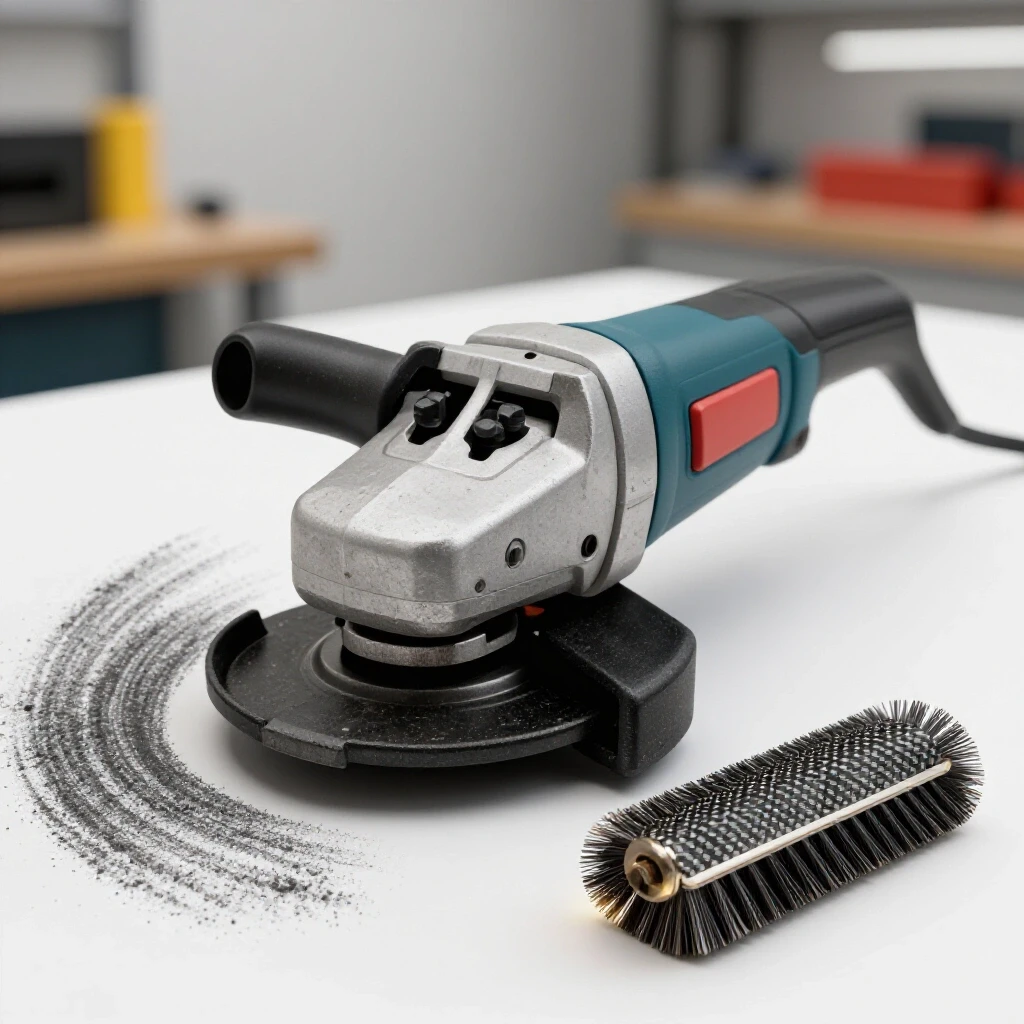
- Less Cleanup: Less spatter means less time with a grinder, which saves you money on abrasive discs and labor time.
Practical Bidding: Factoring Equipment Depreciation into Quotes
Fabrication job costing is the process of estimating the total expense of a project to ensure you make a profit. Many side-hustlers forget to include “Machine Depreciation” in their quotes. If you buy a $2,000 welder and expect it to last 2,000 hours of arc time, that machine costs you $1.00 for every hour it is running.
When I create a quote for a client, I use a “Consumable Burden Factor.” This is a percentage added to the material cost to cover the stuff you can’t easily measure, like welding wire, gas, and the wear on the machine. A standard burden is 10% to 15%.
If you are using old gear that is prone to failure, you must increase this burden to account for the risk. This makes your pricing higher and your business less competitive. Here is how I structure a basic quote:
- Material Cost: Raw steel + 20% markup for sourcing and transport.
- Consumables: 15% of the material cost (covers gas, wire, and abrasives).
- Labor: Estimated hours multiplied by the $80/hr shop rate.
- Equipment Surcharge: A flat $10-$20 fee for high-wear tools (like specialized TIG setups).
By using reliable, modern gear, you can keep your “Estimated Hours” low and your “Consumable” waste to a minimum. This allows you to bid lower while keeping more of the money for yourself.
A Systematic Approach to Tool Replacement Cycles
You should not wait for a machine to die before you think about replacing it. A “Sinking Fund” is a dedicated savings account where you set aside a small portion of every paycheck or project fee specifically for equipment upgrades.
For my consulting clients, I recommend a 5-year replacement cycle for primary welding power sources used in a side business. This aligns with most tax depreciation schedules and ensures you are always using technology that is relatively current. If you set aside just $20 from every job, you will have $1,000 saved in fifty jobs—enough to buy a high-quality new machine without touching your personal savings.
- Track your hours: Keep a simple log of how many hours your machine runs each month.
- Monitor your “Grind Time”: If you are spending more than 20% of your time grinding welds instead of making them, your gear (or your settings) is failing you.
- Watch the market: Technology shifts every 3 to 4 years. When a new generation of machines is released, the previous generation often goes on sale, offering a high ROI for a small shop.
Essential Tools for Shop Management and Tracking
To manage the financial side of your shop effectively, you need a way to track your expenses and income. You don’t need a degree in accounting, but you do need consistency. Here are the tools I recommend for most side-hustle fabricators:
- QuickBooks Self-Employed: Great for tracking mileage to the steel yard and snap-shooting receipts for consumables.
- Excel or Google Sheets: I use a custom “Job Costing Template” to calculate my shop rate and project quotes.
- Wave Invoicing: A free tool for sending professional invoices and accepting payments, which helps maintain a professional image.
- A Simple Hour Meter: If your welder doesn’t have a built-in timer, buy a cheap vibration-activated hour meter. This gives you hard data on how much you are actually using the machine.
Analyzing Post-Job Profits to Inform Future Purchases
The most important part of the process happens after the job is done. I call this the “Post-Mortem.” You must compare your estimated costs to your actual costs. Did you use more gas than expected? Did the machine overheat and slow you down?
If you consistently find that your “Actual Hours” are higher than your “Estimated Hours” due to equipment issues, you have a data-backed reason to upgrade. For example, if you overshot your labor estimate by 5 hours on a project because of a finicky wire feeder, that mistake cost you $400 in lost shop time. That $400 could have been the down payment on a brand-new, high-performance feeder.
- Review every invoice: Look for patterns in material waste or time overruns.
- Adjust your markup: If consumables are getting more expensive, move your markup from 10% to 15%.
- Be honest about your gear: If a tool is frustrating you, it is costing you money. Frustration leads to mistakes, and mistakes in metalwork are expensive to fix.
Frequently Asked Questions
How do I know if my welding helmet needs to be replaced? If you notice the auto-darkening filter (ADF) flickering or if you experience “eye flash” (a gritty feeling in your eyes after welding), replace it immediately. Modern helmets also offer better “True Color” technology, which reduces eye strain and allows you to see the weld puddle more clearly, leading to better quality and less rework.
Is it worth repairing an old 220V transformer welder? Only if the repair is minor, such as a new power cord or a simple switch. If the transformer itself or the main circuit board is failing, the cost of labor and parts will usually approach the price of a more efficient inverter-based machine.
How much should I mark up the cost of steel? A standard markup is 20% to 30%. This covers your time spent driving to the supplier, the fuel for your truck, and the “holding cost” of storing the material in your shop. Never sell material at your cost; you are a business, not a non-profit.
What is the most common hidden cost in a small welding shop? Abrasives and shielding gas. People often forget to charge for the five grinding discs they used to prep a frame or the $80 tank of 75/25 Argon/CO2. Tracking these as a “Consumable Burden” is the only way to ensure they are paid for by the client.
Should I buy used gear to save money? Used gear can be a great value, but only if you can test it under load before buying. For a side-hustle where reliability is key, a new machine with a 3-year warranty is often a better financial move because it eliminates the risk of an unexpected $500 repair bill.
How do I calculate my electricity cost for a project? For most small shops, electricity is a small part of the overhead. However, you can estimate it by looking at the machine’s “Input Amps” and your local kilowatt-hour rate. Usually, it amounts to less than $1-$2 per hour of arc time, which is easily covered by your shop rate.
When should I upgrade from a manual helmet to a high-end auto-darkening one? Upgrade as soon as you start taking paid work. A high-quality helmet with a large viewing area and fast switching speed reduces neck fatigue and improves weld accuracy. If it saves you one hour of “re-work” per month, it pays for itself in a single season.
Is a 110V welder enough for a side business? A 110V machine is fine for light repairs and thin sheet metal, but it will limit your profitability on larger projects. Moving to a 220V machine allows you to weld thicker material in a single pass, which significantly reduces your labor time per project.
What is the “Equipment Reserve” I should include in my rate? This is a small fee (e.g., $5 per billable hour) that you set aside. If you work 10 hours a week, you save $200 a month. In a year, you have $2,400 to replace a welder or buy a new bandsaw without taking a loan.
How do I handle a job that takes longer than I quoted? If the delay was caused by your equipment failing, you should generally honor the original quote and eat the cost. This is a painful lesson, but it provides the “financial sting” necessary to motivate you to upgrade to more reliable gear.
How often should I replace my MIG gun liner? For a part-time shop, once a year is a good rule of thumb. If you notice the wire “stuttering” or if you are using lower-quality wire that flakes, you may need to replace it more often. A $15 liner can save you $100 in wasted wire and frustration.
What is the best way to track my “billable hours”? Use a simple app on your phone or a physical logbook in the shop. Start the timer when you begin prep work and stop it when the shop is cleaned up. Most people underestimate how much “non-welding” time goes into a fabrication project.
(This article was written by one of our staff writers, Michael Hargrove. Visit our Meet the Team page to learn more about the author and their expertise.)