Where is the Best Place to Put a Shop Workbench? (Layout)
When I walked into my first 200-square-foot garage workshop in 2013, I had exactly $1,850 in my pocket and a head full of conflicting advice from internet forums. I spent the first three days just staring at the concrete floor, paralyzed by the fear of bolting a heavy workbench in the wrong spot. As a former industrial maintenance technician, I knew that a poorly planned layout wasn’t just an inconvenience; it was a safety hazard and a drain on my limited budget. In a professional setting, we call this “workflow optimization,” but in a home shop, it’s simply about making sure you don’t trip over a welder lead while carrying a hot piece of steel.
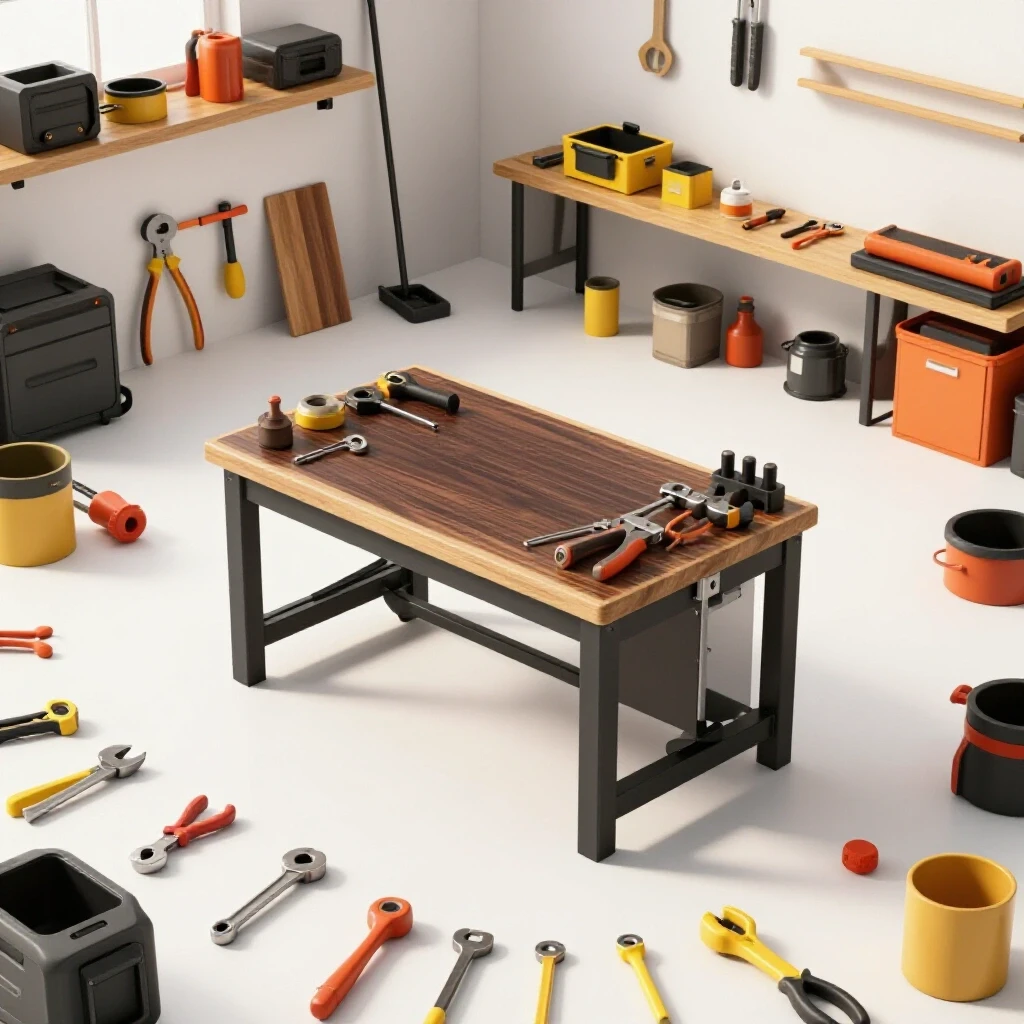
Setting up a functional fabrication space on a budget requires a shift in mindset. You are not just buying tools; you are building a system. Every decision, from where you plug in your grinder to where you rest your measuring tapes, dictates how much you will enjoy the hobby and how safe you will be. My goal is to help you navigate these choices by sharing the data-backed methods I’ve used to help hundreds of beginners turn empty garages into capable metalworking hubs without overspending on unnecessary equipment or making dangerous electrical errors.
Evaluating Your Available Floor Space and Electrical Capacity
Before moving a single piece of equipment, you must understand the physical and electrical limits of your garage. This involves measuring the footprint of your intended tools and calculating if your existing circuits can handle the simultaneous load of machines and lighting. A mistake here can lead to expensive rewiring or, worse, a fire.
Determining Circuit Load for Beginner Welder Power Requirements
Every tool pulls a specific amount of current, measured in Amps. In a home shop, most outlets are on 15A or 20A breakers. Knowing your tool’s peak draw prevents tripped breakers and electrical fires during critical fabrication tasks. Most entry-level MIG welders require a 20-amp circuit to run at their full capacity, even if they can “plug into” a standard 15-amp household outlet.
When I started, I didn’t realize that running a shop vacuum and a grinder on the same circuit would pop the breaker every time. I learned to map my garage outlets to specific breakers in the main panel. If you are planning a starter metal workshop layout, you must identify which outlets are shared with other rooms. Using a simple plug-in circuit tester, you can label each outlet with its corresponding breaker number. This simple record-keeping task costs almost nothing but saves hours of frustration.
Calculating Tool Footprint and Operator Clearance Zones
A tool’s footprint is the physical space it occupies on the floor, but the “operator zone” is the space you need to move safely around it. For a standard 24-inch by 48-inch workbench, you need at least 36 inches of clear space in front of it to stand, move, and react if something goes wrong. In a confined space, these inches are your most valuable currency.
I recommend using blue painter’s tape to mask out your planned equipment locations on the floor. This “ghost layout” allows you to walk through a typical project—like cutting a piece of square tubing and taking it to the bench for deburring—without lifting a heavy tool. If you find yourself squeezing between a drill press and a wall, your layout needs adjustment. This phase of planning is where you catch the mistakes that would otherwise cost you time and muscle strain later.
Strategic Positioning for Efficient Material Flow and Stock Clearance
A functional starter metal workshop layout relies on how metal moves through the room. You need to account for the “swing” of long steel bars and the “clean zone” needed for precise measurements before you start cutting or welding. Metalworking is unique because the raw material is often much larger than the finished product.
Managing Clearance for Long Stock and Raw Materials
Metal often arrives in 10-foot or 20-foot lengths. If your main work surface is pinned in a corner, you won’t be able to feed material into a saw or drill press. Planning for “in-feed” and “out-feed” space is essential for safety. When I built my second shop, I positioned my main assembly table in the center of the floor, which allowed me to pass long stock across it from any direction.
If you are working in a single-car garage, consider placing your primary cutting station near the garage door. This allows you to support the “tail” of a long beam outside the building while the “head” is inside being cut. This “indoor-outdoor” workflow is a classic budget-friendly solution for small spaces. Just ensure you are following local noise ordinances and safety practices when working near the property line.
Establishing the Clean Zone for Precision Measurement
Metalworking is a messy process involving sparks, oil, and metal shavings. However, your layout must include a “clean zone” where you keep your precision measuring tools like calipers, squares, and micrometers. This area should be located on the opposite end of the workbench from your grinding and welding stations.
In my experience, keeping a dedicated 2-foot section of the workbench covered with a rubber mat helps define this space. This prevents your expensive measuring tools from being coated in abrasive dust, which can ruin their accuracy over time. According to industrial maintenance standards, even a microscopic layer of grit can cause a “thou” (0.001 inch) of error in your measurements.
Integrating the Central Work Surface with Primary Machinery
Your workbench is the heart of the shop. Its location should minimize the steps between your measuring tools, your cutting equipment like a bandsaw, and your finishing tools like a bench grinder or lathe. Every extra step you take is an opportunity for a trip-and-fall hazard, especially when carrying heavy steel.
Aligning with Lathes, Mills, and Stationary Tools
Precision machines require stable environments and easy access to hand tools. Placing your assembly area too far from these machines increases fatigue and the risk of dropping sensitive parts during transport across the shop floor. If you plan to add a benchtop lathe or mill in the future, leave a dedicated 4-foot “expansion zone” next to your main workbench.
Interestingly, many beginners make the mistake of placing their workbench directly against a wall. While this saves floor space, it limits your access to only one side of the project. If your budget allows, building a workbench on heavy-duty locking casters is a game-changer. This allows you to pull the bench into the center of the room for large projects and tuck it away when you need to park a vehicle.
| Tool Class | Typical Power Draw (Amps) | Minimum Clearance (Inches) | Priority Level |
|---|---|---|---|
| Angle Grinder (4.5″) | 6 – 10A | 24″ | High |
| Bench Grinder | 3 – 5A | 18″ | Medium |
| MIG Welder (140A) | 15 – 20A | 48″ | High |
| Chop Saw / Cold Saw | 15A | 60″ (for stock) | High |
| Drill Press | 5 – 8A | 24″ | Medium |
Balancing the Budget for Affordable Fabrication Tools
Financial discipline is as important as a straight weld. Allocating funds correctly ensures you don’t end up with a high-end welder but no money for safety gear or quality measuring instruments. I’ve seen many beginners spend their entire $2,000 budget on a name-brand welder, only to realize they can’t afford the $400 in electrical upgrades and $300 in safety gear required to actually use it.
The 30% Rule for Safety and Measurement
A common pitfall is neglecting the “hidden costs” of a workshop. I recommend allocating 30% of your total budget to high-quality safety gear and measuring tools. This includes a self-darkening welding helmet, flame-resistant clothing, ANSI Z87.1 rated eye protection, and a reliable set of digital calipers.
| Budget Category | Allocation Percentage | Example Items |
|---|---|---|
| Primary Machinery | 40% | Welder, Saw, Drill Press |
| Safety & Measuring | 30% | Helmet, PPE, Calipers, Squares |
| Consumables | 15% | Grinding wheels, Wire, Gas |
| Workbench & Storage | 15% | Steel table, Shelving, Lighting |
Why Cheap Abrasives Cost More in the Long Run
When selecting budget metalworking tools, do not skimp on abrasives. Cheap grinding wheels and flap discs wear down much faster than professional-grade options. In a study I conducted over three years in my own shop, I found that a $5 high-quality flap disc lasted as long as four $1.50 “bargain” discs. Not only did the cheaper discs cost more in the long run, but they also created significantly more dust, which increased the load on my ventilation system.
Safety Standards and Garage Workshop Ventilation
Working with metal creates fine dust and toxic fumes. Proper airflow, measured in Cubic Feet per Minute (CFM), ensures that you aren’t breathing in hazardous particulates while grinding or welding in a confined residential space. OSHA guidelines for industrial spaces are strict, and while they don’t legally apply to your garage, they provide an excellent safety roadmap.
Calculating CFM Requirements for Home Fabrication
To maintain safe air quality, you should aim for at least 10 to 15 air changes per hour in your work zone. For a standard two-car garage (approx. 3,000 cubic feet), you would need a fan setup capable of moving about 500 to 750 CFM. This can often be achieved with a high-velocity floor fan positioned to blow fumes away from your face and out an open door or window.
However, simply moving air isn’t enough. You need “source extraction” for welding fumes. A simple, budget-friendly method is to use a flexible duct connected to a powerful inline fan, positioned within 12 inches of your welding arc. This pulls the hexavalent chromium and other toxins out of your breathing zone before they can disperse into the rest of the garage.
Spark Zones and Fire Prevention
Metalworking is an inherently “hot” hobby. When you are grinding, sparks can travel up to 20 feet. Your workshop layout must account for this “spark zone.” Ensure that flammable materials—like gasoline cans, cardboard boxes, or wood scraps—are stored in a different area or protected by welding blankets.
I keep a 5-pound ABC-rated fire extinguisher within arm’s reach of my workbench at all times. I also make it a rule to stay in the shop for at least 30 minutes after the last spark flies. This “fire watch” is a standard industrial practice that prevents a smoldering spark from turning into a structure fire while you are inside having dinner.
Implementing a Workshop Electrical Setup Checklist
A systematic approach to wiring and outlet placement prevents the “extension cord jungle.” This checklist helps you organize power drops near high-use areas while maintaining compliance with basic safety principles. Extension cords should be a temporary solution, not a permanent part of your layout.
- Map the Breakers: Identify every outlet’s circuit and label the amperage.
- Dedicated Welding Circuit: If possible, have a licensed electrician install one dedicated 20A or 30A circuit for your welder.
- Overhead Lighting: Install LED shop lights (5000K color temperature) to eliminate shadows on your work surface.
- Cord Management: Use retractable cord reels mounted to the ceiling to keep trip hazards off the floor.
- Emergency Shut-off: Ensure your main electrical panel is easily accessible and not blocked by storage.
Tracking Costs and Layout Performance Over Time
Keeping a log of your expenses and how often you have to move tools helps you refine your setup. A “living” layout evolves as you realize certain configurations work better for your specific projects and physical comfort. I use a simple spreadsheet to track my “Cost Per Project,” which includes material, consumables, and any tool upgrades.
The Value of a Shop Journal
I highly recommend keeping a notebook on your workbench. Every time you find yourself frustrated by a tool’s location, write it down. After a month, look for patterns. If you’ve written “the drill press is too far from the bench” four times, it’s time to move the drill press. This data-driven approach removes the guesswork and helps you build a space that truly fits your workflow.
Digital Layout Tools for Beginners
You don’t need expensive CAD software to plan your shop. Many free online floor planners allow you to input your garage dimensions and drag-and-drop tool shapes. This is a great way to visualize different configurations before you do the heavy lifting. I’ve found that spending two hours on a digital plan can save two days of physical labor.
Practical Steps for Your First Weekend
Setting up your first shop can feel overwhelming, but you can make significant progress in just a few days if you stay focused on the fundamentals. Don’t worry about having a “magazine-ready” shop on day one. Focus on safety, power, and the central work surface.
- Saturday Morning: Clear the space and map your electrical circuits. Use the painter’s tape method to “ghost” your layout.
- Saturday Afternoon: Build or assemble your main workbench. Focus on making it heavy and level.
- Sunday Morning: Install your lighting and basic ventilation. Even a simple box fan in a window is better than nothing.
- Sunday Afternoon: Set up your “clean zone” and organize your primary safety gear. Perform a “dry run” of a simple project to test the flow.
By following these steps, you are not just throwing tools into a room; you are engineering a workspace. You are respecting the physics of the materials and the limits of your budget. Metalworking is a journey of precision and patience, and that journey begins with the very first piece of tape you lay on the floor.
FAQ: Optimizing Your First Metalworking Layout
1. Can I put my workbench against a wall in a small garage?
Yes, but you will limit your ability to work on large projects. If you must use a wall, ensure you have at least 4 feet of clear space on either side of the bench. A better option for small spaces is a mobile workbench on heavy-duty casters that can be moved to the center of the floor when needed.
2. How much space do I really need around a MIG welder?
You should maintain a 48-inch clear zone around your welding area. This provides enough room to move your arms freely, keeps your welding leads from tangling, and ensures that you have a “buffer zone” for sparks.
3. What is the best height for a metalworking workbench?
For most people, a height of 34 to 36 inches is ideal for general fabrication. However, if you do a lot of detailed assembly or TIG welding, you might prefer it slightly higher (38 inches) to reduce back strain. The goal is to work with your elbows at a 90-degree angle.
4. Do I need a dedicated circuit for my bench grinder?
While a bench grinder doesn’t pull as much power as a welder, it’s best to keep it on a separate circuit from your lighting. If the grinder stalls and trips a breaker, you don’t want to be left in the dark with a spinning wheel.
5. How do I handle ventilation if I don’t have a window?
If your garage lacks windows, you must use a high-quality fume extractor or leave the main garage door open at least 12 inches with a floor fan blowing outward. Never weld in a completely sealed residential space.
6. Should my workbench be made of wood or steel?
For metalworking, a steel-topped workbench is the standard. It allows you to ground your welder directly to the table and provides a fireproof surface for hot parts. If you are on a budget, you can top a sturdy wooden frame with a 3/16-inch or 1/4-inch steel plate.
7. How do I prevent my tools from rusting in a garage?
In unheated garages, temperature swings cause condensation. Keep your precision tools in a drawer with desiccant packs, and apply a light coat of machine oil or a specialized rust preventative to cast-iron tool surfaces (like drill press tables).
8. What is the most common layout mistake beginners make?
The most common mistake is failing to account for “material swing.” Beginners often place their saws or drills in corners, only to realize they can’t cut a long piece of metal because the wall is in the way. Always plan for the longest piece of material you expect to use.
9. Is it safe to use a standard power strip for my tools?
No. Most household power strips are not rated for the high inductive loads of power tools. Use a heavy-duty, metal-cased power strip rated for 15 or 20 amps, or better yet, plug high-draw tools directly into the wall outlet.
10. How do I organize my metal scraps without cluttering the floor?
Vertical storage is your friend. Use a “rolling scrap bin” or a wall-mounted rack to keep offcuts organized by size and material type. Keeping the floor clear is one of the most effective ways to maintain a safe workshop layout.
(This article was written by one of our staff writers, Michael Thompson. Visit our Meet the Team page to learn more about the author and their expertise.)