Why You Should Upgrade to 240V Outlets in Your Shop (Guide)
When I built my first garage shop in 2013, I had exactly $2,000 and a lot of ambition. Like many of you, I spent hours scrolling through forums, trying to figure out which welder would give me the most “bang for my buck.” I eventually settled on a small 120V unit that plugged into a standard wall outlet. Within a week, I was frustrated. Every time I tried to weld a piece of 1/4-inch steel, the breaker tripped, my lights flickered, and the weld beads looked like cold popcorn.
The reality of metalworking is that heat is our primary tool, and heat requires significant energy. My background as an industrial maintenance technician taught me that efficiency isn’t just about the tool itself; it is about the infrastructure supporting it. Transitioning your workspace to accommodate higher-voltage connections is often the single most important step in moving from a hobbyist who “sticks metal together” to a fabricator who builds structural, reliable projects.
Assessing Your Workshop Power Capacity and Needs
Evaluating your workshop’s electrical capacity involves calculating the total energy demand of your machinery versus what your current circuits can provide. This step prevents equipment damage and ensures that your tools operate at their intended performance levels without overloading your system.
In a standard garage, most outlets are on a 15A or 20A circuit at 120V. While this is fine for a drill or a small grinder, it is insufficient for serious fabrication. When you run a welder on a standard circuit, you are often pushing the tool to its absolute limit. This causes the voltage to “sag,” meaning the tool doesn’t get the pressure it needs to work correctly.
By moving to a 240V setup, you are essentially doubling the “pressure” of the electricity coming into the machine. This allows the tool to pull the same amount of power while using half the amperage. For a budget-conscious beginner, this means your equipment runs cooler, lasts longer, and performs more consistently. I learned the hard way that a tool running at its limit is a tool that is destined for the scrap heap.
| Tool Class | Typical Voltage | Amperage Draw | Power Stability |
|---|---|---|---|
| Small Angle Grinder | 120V | 6A – 10A | High |
| Entry-Level Welder | 120V | 15A – 20A | Low (Frequent Trips) |
| Mid-Range Welder | 240V | 20A – 50A | Very High |
| 5HP Air Compressor | 240V | 15A – 30A | Necessary for Start-up |
| Plasma Cutter | 240V | 20A – 40A | Critical for Clean Cuts |
The Impact of Higher Voltage on Machine Performance
Higher voltage circuits provide a more stable and efficient flow of electricity to heavy-duty workshop machinery. This stability reduces the risk of voltage drops, which can lead to motor overheating in saws and poor arc stability in welding equipment.
When I upgraded my shop to include 240V outlets, the first thing I noticed was the “arc quality.” In welding, the arc is the bridge of electricity between your torch and the metal. On a 120V circuit, that bridge is shaky. If someone turns on a vacuum or a refrigerator kicks in elsewhere, your weld puddle can fluctuate.
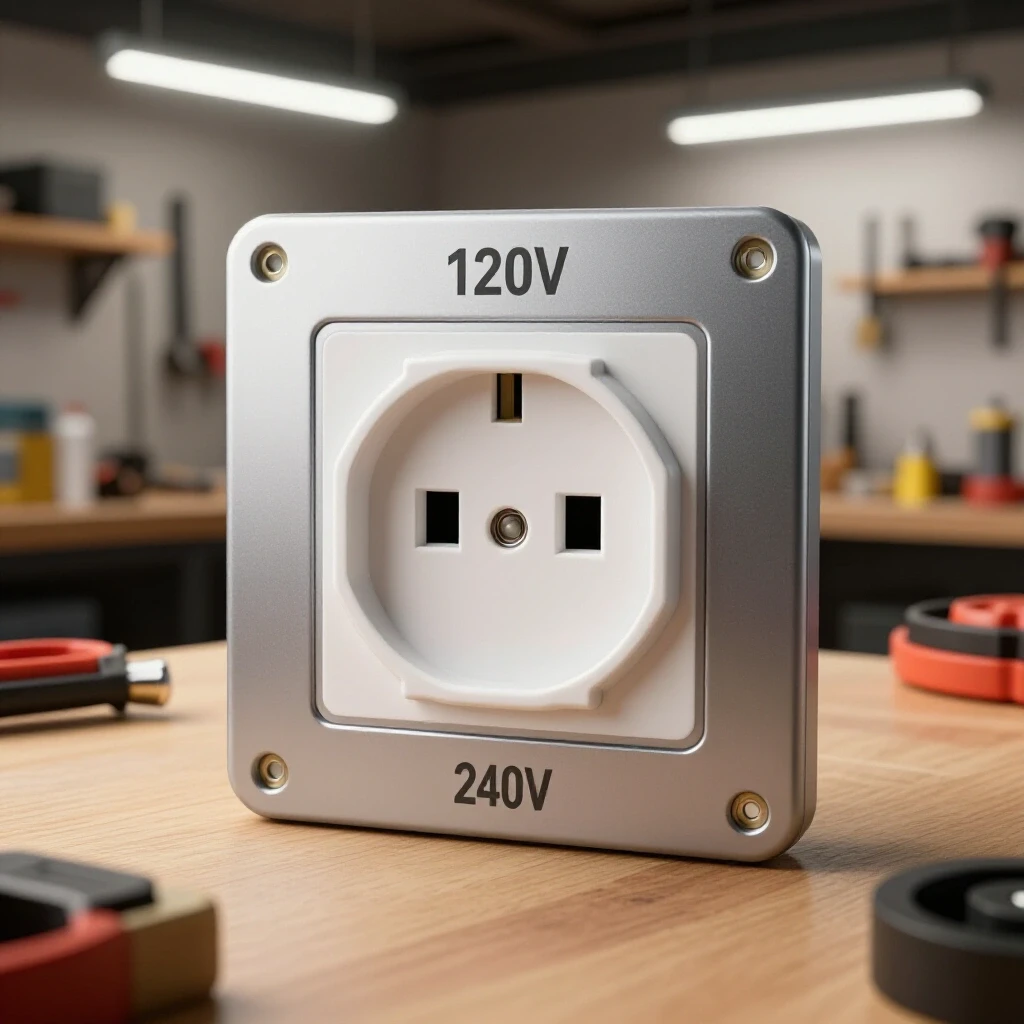
With a 240V connection, usually using a NEMA 6-50 or 14-50 receptacle, the machine has a dedicated “lane” of power. This is particularly important for tools like air compressors. A large compressor requires a massive “surge” of energy to start the motor. On 120V, this surge often dims the lights and can even damage the motor over time. On 240V, the motor starts effortlessly, reaching full pressure faster and with less strain on the internal components.
Optimizing Tool Duty Cycles through Improved Infrastructure
A duty cycle is the amount of time a machine can operate within a ten-minute period before it needs to cool down. Improved electrical infrastructure allows machines to run more efficiently, often extending these working windows and preventing premature thermal shutdowns.
If a welder has a 20% duty cycle at 90 amps on a 120V circuit, it means you can weld for two minutes and must let the fan run for eight minutes. That is a lot of standing around. Interestingly, many modern “multi-voltage” machines see a significant jump in duty cycle when switched to a 240V outlet.
For example, a machine might go from a 20% duty cycle on 120V to a 40% or even 60% duty cycle on 240V at the same amperage. This happens because the internal transformer doesn’t have to work as hard to convert the incoming power. As a result, the machine generates less internal heat. For a beginner, this means you spend more time practicing your beads and less time waiting for a “thermal overload” light to turn off.
- 120V Constraints: High heat generation, shorter run times, limited material thickness.
- 240V Advantages: Lower internal temperatures, longer run times, ability to weld thicker plate (up to 1/2 inch or more).
- Maintenance Tip: Always check your machine’s manual for the specific duty cycle ratings at different voltages before starting a long project.
Designing a Functional Starter Metal Workshop Layout
A functional workshop layout prioritizes the placement of high-draw machinery near power sources while maintaining clear paths for material handling. Proper planning ensures that electrical drops are accessible and that “dirty” tasks like grinding don’t interfere with “clean” tasks like precision measuring.
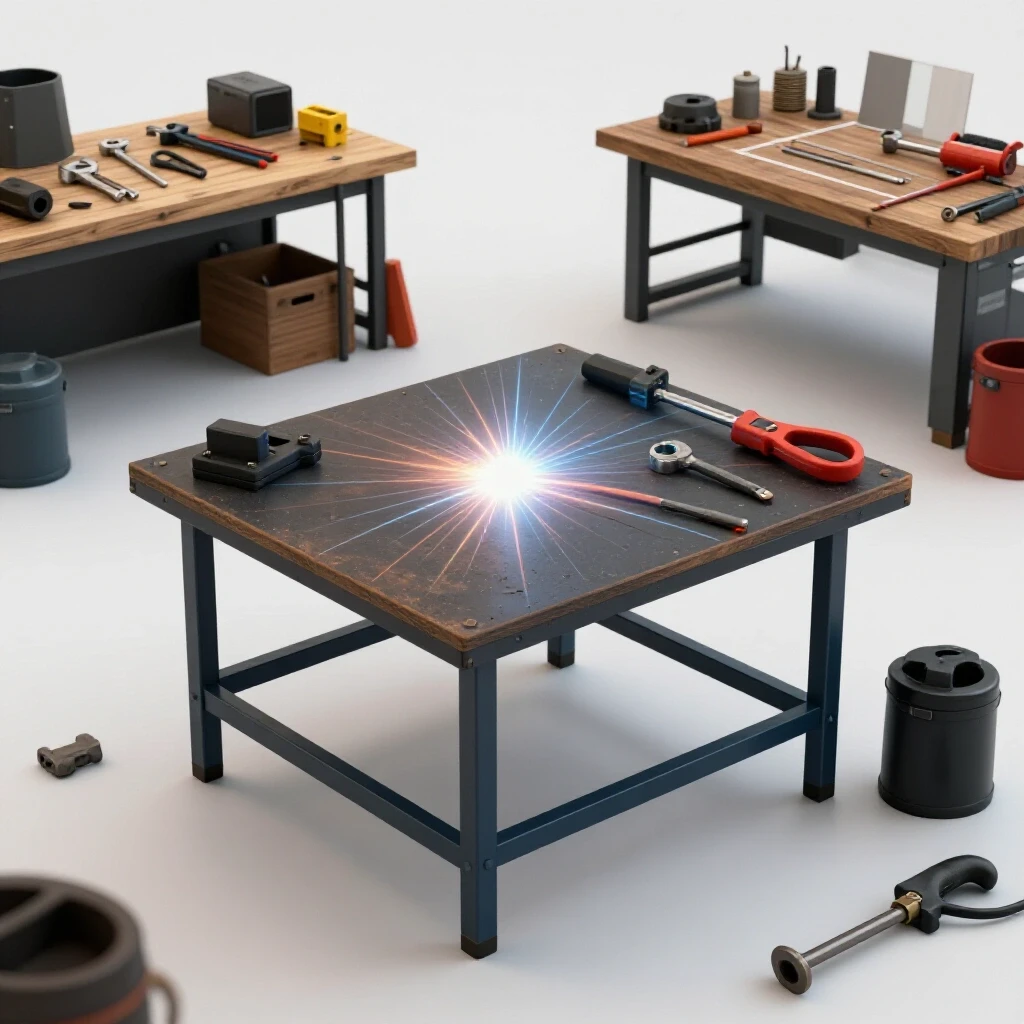
When I planned my 400-square-foot garage layout, I used a “zone” system. I kept my welding table and 240V outlets in one corner, which I call the “Hot Zone.” I placed my workbench for assembly and measuring in the “Clean Zone” on the opposite wall. This prevents grinding dust from getting into my precision tools.
You should aim for at least 3 feet of clearance around your main welding table. This gives you room to move around a project without tripping over cords. Speaking of cords, having 240V outlets means you can use shorter, thicker power leads. Long extension cords on 120V tools are a major cause of power loss and can actually be a fire hazard if they aren’t rated for the amperage.
- Identify the Power Drop: Place your heaviest machines (welder, compressor) closest to your electrical panel to minimize long wire runs.
- Establish Clearance: Maintain a 36-inch safety perimeter around stationary tools like drill presses or bandsaws.
- Material Flow: Ensure you have a clear path to bring in 20-foot lengths of steel without hitting your electrical drops.
- Lighting: Plan for overhead LED lighting that is on a separate circuit from your machinery to avoid going dark if a breaker trips.
Essential Safety Equipment and Electrical Load Management
Safety in a metal shop involves both personal protective equipment (PPE) and the management of the electrical loads to prevent circuit failures. Following established standards like those from the American Welding Society (AWS) ensures that both the operator and the facility remain protected.
Budget-conscious beginners often make the mistake of spending all their money on the tool and none on the safety gear. I recommend allocating at least 30% of your initial budget to high-quality PPE and measuring tools. This includes an auto-darkening helmet with a fast reaction time (rated at 1/20,000 of a second or better) and fire-resistant clothing.
From an electrical standpoint, you must understand the “80% Rule.” This industrial standard suggests that you should never continuously load a circuit to more than 80% of its rated capacity. If you have a 50A circuit for your welder, you should aim for a continuous draw of no more than 40A. This provides a safety buffer that prevents the wires from overheating inside your walls.
| Safety Category | Standard/Rating | Recommended Allocation |
|---|---|---|
| Eye Protection | ANSI Z87.1+ | 10% of Budget |
| Respiratory | N95 or P100 (for fumes) | 5% of Budget |
| Electrical Safety | 80% Load Rule | N/A (Planning) |
| Fire Suppression | Class ABC Extinguisher | 5% of Budget |
| Measuring Tools | Precision Calipers/Squares | 10% of Budget |
Why Cheap Abrasives and Low Power Cost More Over Time
Investing in high-quality consumables and a robust power supply reduces the long-term cost of workshop operation by increasing tool lifespan and reducing material waste. Low-quality abrasives wear out quickly and require more physical effort, while poor power leads to failed welds that must be ground out and redone.
When I first started, I bought the cheapest grinding wheels I could find. I thought I was saving money. However, I noticed that the cheap wheels wore down to the hub in minutes, while the high-quality wheels lasted five times longer. The same logic applies to your power setup.
Running a welder on an undersized 120V circuit often results in “cold lap,” where the weld sits on top of the metal rather than penetrating it. You then have to grind that weld off, wasting wire, gas, and abrasives, and try again. By investing in a 240V upgrade early on, you get the weld right the first time. This saves money on consumables and prevents the “analysis paralysis” that comes from wondering why your equipment isn’t performing like the videos you see online.
Workshop Ventilation and Air Exchange Requirements
Ventilation is the process of replacing contaminated shop air with fresh outdoor air to remove welding fumes, grinding dust, and solvent vapors. A functional fabrication space must have a calculated air exchange rate, measured in Cubic Feet per Minute (CFM), to maintain a safe breathing environment.
Metalworking produces fine particulate matter and hexavalent chromium (when welding stainless steel), which are hazardous. A standard garage door being open is often not enough. You need active ventilation. For a typical two-car garage, you should aim for an exhaust fan that can move at least 1,000 to 2,000 CFM.
If you are working in a confined space, the importance of this cannot be overstated. When you have a stable power supply, you can also run a dedicated shop air filtration system alongside your tools without worrying about blowing a fuse. This creates a “layered” safety approach: a respirator on your face, a fume extractor at the source, and a whole-shop fan clearing the air.
- Natural Ventilation: Open doors and windows (Minimum requirement).
- Mechanical Ventilation: High-CFM exhaust fans (Recommended for welding).
- Source Capture: Fume extractors that sit right next to the weld (Best practice).
Tracking Costs and Tooling-to-Machine Ratios
Effective budget management in a new shop requires tracking every expense and understanding that the “sticker price” of a machine is only a portion of the total investment. A realistic ratio helps beginners avoid the trap of owning a machine they cannot afford to actually use.
In my experience, the machine itself usually accounts for only 50% to 60% of the total cost of getting that machine operational. The rest goes toward the electrical setup, initial consumables, and the necessary safety gear. I keep a spreadsheet of every dollar spent, which helped me realize that my “cheap” $400 welder actually cost $800 by the time I had a gas bottle, a helmet, and the proper power connection.
| Machine Type | Base Cost (Est.) | Setup/Tooling Cost | Total Investment |
|---|---|---|---|
| MIG Welder | $600 | $400 (Gas, Wire, PPE) | $1,000 |
| Plasma Cutter | $500 | $300 (Consumables, Air) | $800 |
| Cold Cut Saw | $400 | $150 (Extra Blades) | $550 |
| 240V Power Setup | N/A | $200 – $500 (Materials) | $200 – $500 |
Actionable Steps for Transitioning Your Workspace
- Audit Your Panel: Look at your electrical panel to see if there are open slots for a double-pole breaker. This is the first step in determining if your space can handle a higher-voltage circuit.
- Map Your Layout: Use masking tape on the floor to mark where your welder, workbench, and “clean zone” will be. Ensure your high-voltage outlets will be within reach of the machine’s factory power cord.
- Prioritize the Circuit: If you have a choice between buying a “fancier” welder or a standard welder plus a 240V shop upgrade, choose the power upgrade every time.
- Establish a Safety Log: Create a simple notebook to track tool maintenance, such as when you last changed your respirator filters or inspected your power cords for nicks.
- Test Your Workflow: Before starting a big project, run a few test beads on scrap metal. This confirms your settings are correct and your circuit can handle the sustained load.
Setting up a shop is a marathon, not a sprint. By focusing on the foundational power needs of your equipment, you are building a space that can grow with your skills. I’ve seen many beginners give up because their tools were constantly underperforming, not realizing the issue was the wall outlet, not their talent. When you provide your machines with the energy they were designed to use, the process of metalworking becomes much more intuitive and rewarding.
Frequently Asked Questions
What is the main difference between 120V and 240V for a beginner? The main difference is the amount of power (wattage) available to the tool. A 240V outlet provides more “pressure,” allowing tools like welders to handle thicker materials and run longer without overheating. For a beginner, this means more consistent results and fewer tripped breakers.
Do I need a 240V outlet if I only plan on doing small DIY projects? While you can do very light work on 120V, you will quickly hit a “wall” when trying to weld anything thicker than 1/8-inch steel. If you plan on building furniture, car parts, or structural brackets, the upgrade is almost always necessary for safety and quality.
Will running tools on 240V increase my electricity bill significantly? Actually, it can be more efficient. Because the tools run more effectively and for shorter durations to achieve the same result, your overall energy consumption may stay the same or even decrease slightly compared to a tool struggling on an undersized 120V circuit.
What does “NEMA 6-50” mean? NEMA 6-50 is the standard type of plug and outlet used for most 240V welding equipment in North America. It has three prongs: two “hot” wires and one ground. It is rated for 50 amps, which is more than enough for almost any home shop welder.
Can I use an extension cord with my 240V welder? You should avoid standard extension cords. If you must use one, it needs to be a heavy-duty cord specifically rated for 240V and the amperage of your machine (usually 8-gauge or 10-gauge wire). Shorter runs are always better to prevent voltage drop.
How does higher voltage affect the lifespan of my tools? Tools running on 240V generally run cooler because they don’t have to pull as much amperage to do the same work. Heat is the primary enemy of electric motors and transformers, so a cooler-running tool will typically last many years longer.
What is a “dedicated circuit” and why do I need one? A dedicated circuit is a power line that runs from your electrical panel to a single outlet with no other lights or tools attached to it. This ensures that your welder gets the full power available without interference from other appliances in the shop.
Is it safe to run a plasma cutter on the same circuit as my welder? You can use the same outlet for both, but you should never run them at the same time. Most home shop panels cannot handle the simultaneous draw of two high-voltage fabrication tools. Always turn one off before starting the other.
What happens if my voltage drops while I am welding? A voltage drop usually causes the welding arc to become unstable or “stutter.” This leads to poor penetration and a weak weld. In some cases, a significant drop can cause the wire to stick to the metal or damage the welder’s internal circuit board.
How do I know if my welder is “dual voltage”? Dual-voltage machines usually come with two different power plugs or an adapter. They are designed to sense the incoming power and adjust their internal settings automatically. These are great for beginners because they offer flexibility as you grow your shop.
(This article was written by one of our staff writers, Michael Thompson. Visit our Meet the Team page to learn more about the author and their expertise.)