Crucial Metalworking Rules Every Beginner Must Know (Tips)
When I started my first garage shop in 2013, I had exactly $1,850 in my savings account and a lot of nervous energy. Like many of you, I spent hours scrolling through forums, paralyzed by the fear of buying a tool that would break in a week or, worse, setting up a shop that wasn’t safe for my family home. My background as an industrial maintenance technician taught me that precision and safety aren’t just for big factories; they are even more critical when you are working in a tight 12-by-20-foot space.
The transition from a professional industrial environment to a residential garage was a wake-up call. I quickly learned that you cannot simply plug industrial-grade equipment into a standard household outlet and expect it to work. My first attempt at running a small flux-core welder and a shop vacuum simultaneously resulted in a dark garage and a tripped breaker within seconds. That moment forced me to stop guessing and start recording every amp, every square foot, and every dollar spent.
Building a functional fabrication space on a budget is not about finding the cheapest items on the shelf. It is about strategic prioritization. In this guide, I will share the data-backed methods I used to turn a cluttered storage area into a productive metalworking zone. We will look at how to assess your power limits, choose tools that grow with your skills, and arrange your layout to ensure you are following the best practices for safety and efficiency.
Assessing Your Shop Capacity and Power Limits
Evaluating the electrical capacity of your home garage is the first step in creating a functional fabrication space. This involves identifying breaker sizes, calculating total tool draw, and ensuring your wiring can handle the sustained loads required by welding machines and high-torque grinders without tripping circuits or causing heat damage.
Before you buy a single tool, you must understand your electrical constraints. Most standard garages are wired with a single 15-amp or 20-amp circuit that is shared with the garage door opener and a few overhead lights. In my first shop, I had to map out every outlet to realize that my “workshop” was actually sharing a circuit with the kitchen refrigerator on the other side of the wall.
A standard 120V, 20-amp circuit can technically handle 2,400 watts, but for continuous loads, you should only utilize 80% of that capacity (1,920 watts). Metalworking tools like grinders and welders have high “inrush” currents, meaning they draw a massive spike of power the moment you turn them on. If your circuit is already near its limit, that spike will trip the breaker every time.
| Tool Class | Typical Amperage (120V) | Wattage Requirement | Circuit Recommendation |
|---|---|---|---|
| Angle Grinder (4.5″) | 6A – 10A | 720W – 1200W | 15A Dedicated |
| Entry-Level Welder | 15A – 20A | 1800W – 2400W | 20A Dedicated |
| Bench Grinder | 3A – 5A | 360W – 600W | Shared 15A |
| Shop Vacuum | 8A – 12A | 960W – 1440W | 20A Dedicated |
| Drill Press | 4A – 7A | 480W – 840W | Shared 15A |
- Identify your breakers: Look at your main electrical panel. If you see “15” or “20” on the switch, that is your limit.
- Test your outlets: Plug a lamp into an outlet and flip breakers until it turns off. This tells you exactly what is on each circuit.
- Calculate duty cycles: A welder’s duty cycle tells you how many minutes out of ten it can run at a specific power level before it needs to cool down. Budget machines often have a 20% duty cycle, meaning 2 minutes of work followed by 8 minutes of rest.
Understanding Dedicated Circuits for Fabrication
A dedicated circuit is an electrical line that serves only one outlet. This is essential for machines that draw high power, such as a welder or a large air compressor. Without a dedicated line, your lights will flicker every time you strike an arc, which is both distracting and a sign of electrical strain.
When I upgraded my shop, I installed two dedicated 20-amp circuits. One was for the welder, and the other was for my “dust and sparks” tools like the grinder and the vacuum. This separation prevents the vacuum from starving the grinder of power, which can lead to tool motor burnout. If you are renting and cannot change the wiring, you must learn to work with “one tool at a time” discipline, ensuring everything else is unplugged before you start a heavy cut.
Developing a Strategic Tool Acquisition Plan
Selecting the right tools for a new workshop requires balancing immediate needs with long-term durability. Instead of buying a massive “all-in-one” kit, a beginner should focus on the three pillars of metalworking: cutting, joining, and finishing. This approach prevents overspending on specialized equipment that might only be used once.
The most common mistake I see beginners make is spending 90% of their budget on a shiny new welder and leaving only 10% for everything else. In reality, welding is only a small fraction of the time you spend on a project. Most of your work will involve measuring, cutting, and grinding. If you have a $1,000 welder but a $10 tape measure and a dull hacksaw, your final product will reflect those limitations.
I recommend the “30/70 Rule” for budget allocation. Spend 30% of your total budget on high-quality safety gear and precision measuring tools. These items do not go out of style and rarely need replacing if you treat them well. The remaining 70% can be split between your power tools and raw materials.
- Measuring and Marking: A high-quality steel square, a scribe, and a reliable tape measure are your foundation.
- Cutting: A portable band saw or a cold-cut chop saw is safer and cleaner than an abrasive chop saw for a small garage.
- Joining: For beginners, a multi-process welder that handles flux-core and MIG is often the most versatile choice.
- Finishing: A 4.5-inch angle grinder is the workhorse of the metal shop. I suggest owning two: one for grinding and one for flap discs, to save time on tool changes.
Why Quality Abrasives Save Money
It is tempting to buy the cheapest grinding wheels available in bulk. However, low-quality abrasives wear down faster and require more pressure to cut, which puts unnecessary stress on your grinder’s motor. I tracked my abrasive usage over a year and found that one high-quality $5 flap disc lasted as long as four $1.50 “budget” discs.
Furthermore, high-quality abrasives are safer. Cheap wheels are more prone to “exploding” or shattering if they catch an edge. Following American National Standards Institute (ANSI) B7.1 guidelines for abrasive wheel safety is non-negotiable. Always check the RPM rating on the disc and ensure it exceeds the maximum RPM of your grinder.
Implementing Safety Standards in a Residential Setting
Safety in a home workshop involves more than just wearing goggles; it requires a systematic approach to fire prevention, eye protection, and respiratory health. Because garages often lack the high-volume ventilation of industrial plants, you must proactively manage the hazards of metal dust, welding fumes, and grinding sparks.
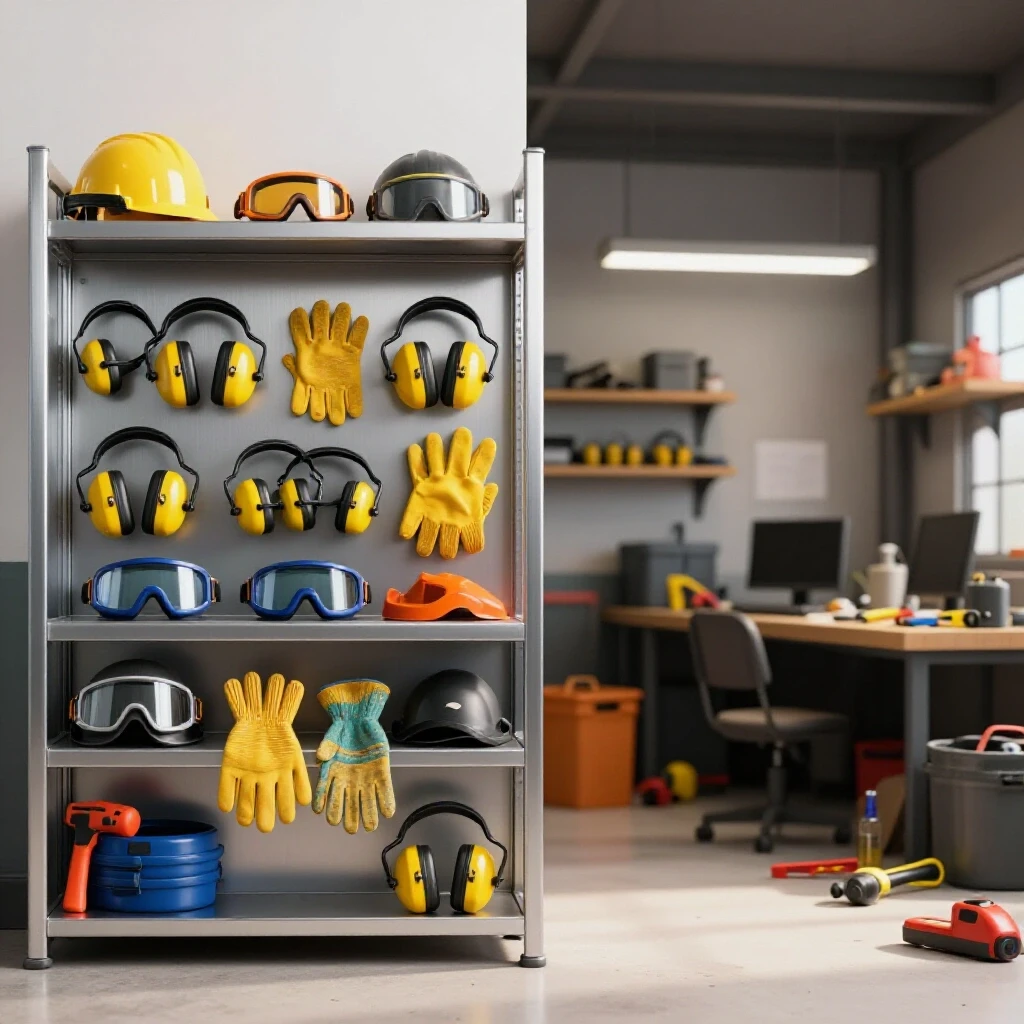
In a professional shop, OSHA standards dictate everything from the height of a railing to the type of fire extinguisher on the wall. In a home shop, you are the safety officer. Metalworking creates three primary hazards: fire, projectiles, and fumes. When I set up my space, I treated these as “non-negotiable” costs in my budget spreadsheet.
- Fire Safety: You must have a 10lb ABC-rated fire extinguisher within arm’s reach of your welding table. Never weld on a wooden surface without a fire-resistant barrier like a 1/4-inch steel plate or a welding blanket.
- Eye Protection: Safety glasses must be rated ANSI Z87.1. For welding, a shade 10 or 11 lens is standard for most hobbyist-level work, but an auto-darkening helmet makes the learning curve much easier for beginners.
- Skin Protection: Ultraviolet (UV) radiation from welding can cause “welder’s flash” (sunburn on the eyes) and skin burns. Always wear long sleeves made of natural fibers like cotton or leather; synthetic materials like polyester will melt to your skin if hit by a spark.
Managing Air Quality and Ventilation
Welding and grinding produce microscopic particles that you do not want in your lungs. A standard garage door being open is often not enough “active” ventilation. You need to move the air. Industrial standards often suggest a minimum of 2,000 Cubic Feet per Minute (CFM) for general shop ventilation, but for a small garage, you can focus on “source capture.”
| Ventilation Type | Estimated Cost | Effectiveness | Best For |
|---|---|---|---|
| Open Garage Door | $0 | Low | General cooling only |
| High-Velocity Floor Fan | $50 – $100 | Medium | Moving fumes away from face |
| Thru-Wall Exhaust Fan | $150 – $300 | High | Total room air exchange |
| Portable Fume Extractor | $400 – $800 | Very High | Direct capture at the weld |
If you are on a tight budget, position a high-velocity fan so it blows across your work area, pulling the fumes away from your face and out the door. Never position the fan so it blows directly onto your weld puddle, as this will disturb the shielding gas and cause porous, weak welds.
Optimizing Your Fabrication Workflow and Layout
A well-organized workshop layout minimizes movement and maximizes safety by separating “hot zones” from “clean zones.” By planning your workspace configuration around the flow of materials—from raw stock storage to the final assembly area—you can work more efficiently even in a very confined space.
My first shop layout was a disaster. I had my metal storage rack behind my welding table, which meant I had to move my heavy table every time I needed a new piece of steel. I eventually adopted the “Work Triangle” concept used in kitchen design, adapted for metalworking.
- The Raw Material Zone: This is where you store your full-length tubes and sheets. It should be near the entrance so you don’t have to carry 20-foot sticks of steel through the whole shop.
- The Processing Zone: This area contains your saws and your workbench. This is where you measure and cut your pieces to size.
-
The Hot Zone: This is a dedicated area for welding and grinding. It should be clear of flammable materials like sawdust, gasoline cans, or cardboard boxes.
-
The 36-Inch Rule: Try to maintain at least 36 inches of clear floor space around your main workbench. This gives you enough room to move safely while holding hot or heavy metal.
- Mobile Bases: In a small shop, put everything on heavy-duty locking casters. Being able to roll your welder or saw into a corner when not in use is the only way to stay organized in a single-car garage.
- The Clean Zone: If you also use your garage for woodworking or car maintenance, keep a “clean zone” for electronics and precision tools. Metal dust is conductive and can ruin computers or power tool chargers if it settles inside them.
Building a Budget-Friendly Welding Table
You don’t need a $2,000 precision-ground fixtures table to start. My first table was a simple 2×3 foot frame made of 2-inch square tubing with a 3/8-inch thick steel plate on top. The key is to ensure the top is as flat as possible. A thick plate (at least 1/4 inch) is necessary because thin sheet metal will warp the first time you high-heat weld on it.
When designing your table, include a “grounding tab”—a small piece of scrap metal welded to the frame where you can permanently attach your welder’s ground clamp. This ensures your entire table is grounded, allowing you to clamp your workpiece anywhere on the surface and maintain a strong electrical circuit.
Tracking Costs and Tool Vetting
Maintaining a detailed record of your tool purchases, consumable usage, and maintenance logs is the best way to avoid the “hidden costs” of metalworking. By tracking how long your tools last and where you spend the most on materials, you can make informed decisions about when to upgrade and when to stick with entry-level gear.
To keep my shop under budget, I used a simple spreadsheet to track every purchase. I quickly noticed that I was spending more on “cheap” drill bits than I would have on one high-quality set of cobalt bits. This data-driven approach takes the emotion out of tool buying.
- Tool Vetting: Before buying a used tool, check the “brushes” on the motor and listen for any grinding sounds in the bearings. For new tools, read the manual specifically for the “duty cycle” and “rated capacity” to ensure it matches your needs.
- Consumable Log: Keep a small notebook near your bench. Note when you change a grinder disc or a roll of welding wire. This helps you predict your monthly operating costs.
-
Maintenance Schedule: Metal dust is the enemy of machinery. Once a week, use compressed air to blow the dust out of your welder’s cooling vents and your grinder’s motor housing.
-
Initial Setup Goal: Under $2,500.
- Safety Gear Allocation: $400 (Helmet, jacket, gloves, fire extinguisher, respirator).
- Primary Tooling: $1,200 (Welder, 2 grinders, portable band saw).
- Workspace/Storage: $500 (Steel for table, casters, shelving).
- Consumables/Misc: $400 (Wire, gas, abrasives, clamps).
By following these structured guidelines, you move away from the “guess and check” method of shop building. You aren’t just buying tools; you are building a system. This system ensures that every time you walk into your garage, you are stepping into an environment designed for success, safety, and steady progress in the craft of metalworking.
Frequently Asked Questions
Can I weld on a standard 15-amp household outlet? While you can technically plug a small 120V welder into a 15-amp outlet, you will likely trip the breaker if you try to weld thicker materials. Most entry-level welders require a 20-amp circuit to reach their full potential. If you must use a 15-amp circuit, keep your weld settings low and avoid using long extension cords, which cause voltage drops.
What is the most important safety item for a beginner? Beyond eye protection, a high-quality respirator is often overlooked. Metal fumes (especially from galvanized steel) and grinding dust can cause long-term respiratory issues. An N95-rated mask specifically designed for welding fumes is a critical investment for anyone working in a confined garage space.
How do I prevent my garage from catching fire while welding? Always maintain a “fire watch” for at least 30 minutes after you finish welding. Sparks can smolder in sawdust or rags for a long time before igniting. Keep your floor swept clean of flammable debris and ensure you have a 10lb ABC-rated fire extinguisher visible and accessible.
Is an auto-darkening welding helmet worth the extra cost? For a beginner, yes. An auto-darkening helmet allows you to see exactly where your torch is positioned before you strike an arc. This leads to more accurate welds and less frustration. Look for one that meets the ANSI Z87.1+ standard for impact and UV protection.
What is the difference between MIG and Flux-Core welding for a home shop? MIG welding uses a solid wire and a bottle of shielding gas (usually a mix of Argon and CO2), which produces very clean welds with little cleanup. Flux-core welding uses a hollow wire filled with flux, which creates its own shield. Flux-core is cheaper to start because you don’t need a gas bottle, but it creates more smoke and “spatter” that must be cleaned off the metal.
How can I tell if a used power tool is a good deal? Check the cord for any frays or exposed wires, which indicate poor maintenance. Turn the tool on and look for excessive sparking inside the motor housing; this often means the carbon brushes are worn out. Finally, check for any “play” or wobbling in the spindle or blade, as this suggests the bearings are failing.
Do I really need a dedicated metalworking table? You need a non-combustible, flat, and grounded surface. While you can start with a pair of steel sawhorses and a thick piece of plate, a dedicated table allows you to use clamps and fixtures to hold your work in place. Proper clamping is the secret to preventing heat-induced warping in your projects.
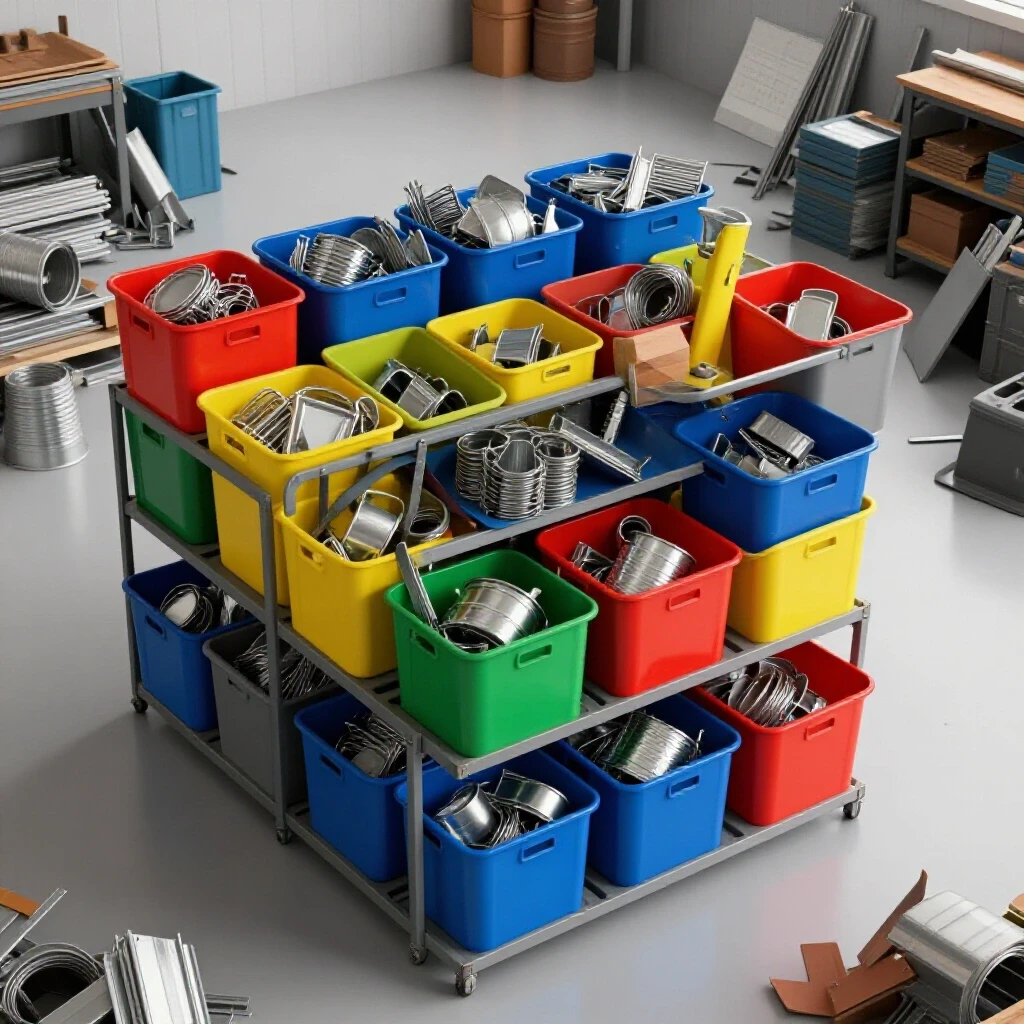
What is the best way to store metal in a small garage? Vertical storage is the most space-efficient. A simple rack made of heavy-duty brackets can hold your long bars against a wall. For smaller scraps, use labeled bins or buckets categorized by material type (e.g., “Aluminum,” “Steel Square Tube,” “Flat Bar”).
How loud is a home metal shop? Metalworking is significantly louder than woodworking. An angle grinder can reach 100-110 decibels, which can cause hearing damage in minutes. Always wear earplugs or earmuffs with a high Noise Reduction Rating (NRR), and be mindful of your neighbors if you live in a high-density residential area.
Why shouldn’t I use an abrasive chop saw in my garage? Abrasive chop saws throw a massive amount of hot sparks and fine dust across the room. In a confined garage, this creates a significant fire hazard and covers everything in a layer of conductive grit. A “cold-cut” saw or a portable band saw is much cleaner, quieter, and safer for residential environments.
(This article was written by one of our staff writers, Michael Thompson. Visit our Meet the Team page to learn more about the author and their expertise.)