How to Choose the Right Cutting Fluid for Drilling (Guide)
In my fourteen years as a mechanical engineer and fabricator, I have seen many projects fail not because of a bad design, but because of a single hole. I remember inspecting a heavy equipment trailer frame where a series of mounting holes had been drilled “dry” through half-inch structural steel. The heat generated during that process had created localized brittle spots, leading to stress cracks that eventually spiderwebbed across the main rail. This was a classic case of underestimating the physics of friction.
When we drill into metal, we are performing a violent act of shearing. The drill bit must overcome the material’s yield strength, which is the point where the metal permanently deforms. For common A36 structural steel, this yield point is roughly 36,000 PSI. Without a way to manage the heat and friction of this process, the tool fails, the material hardens, and the structural integrity of your project is compromised.
Understanding the Physics of Heat and Friction in Metal Fabrication
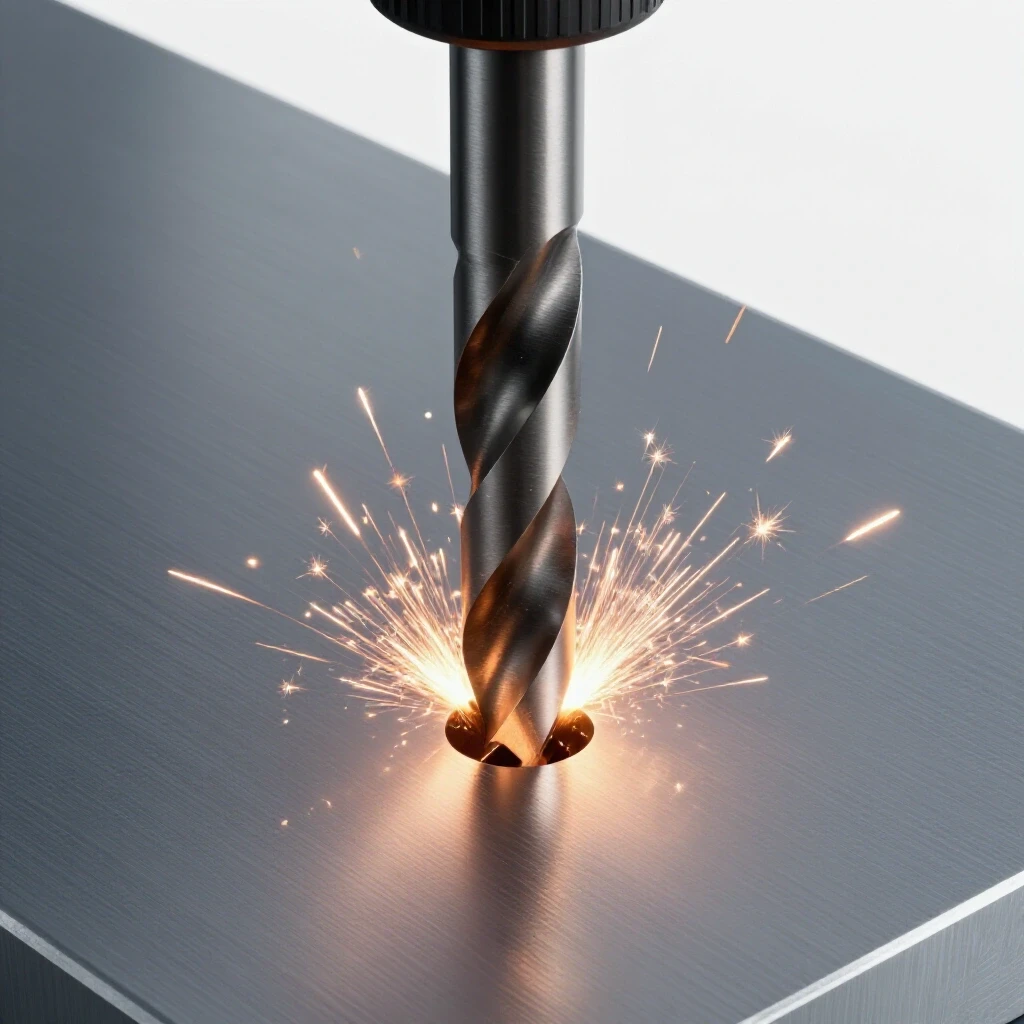
Heat is the primary enemy of metal integrity during any machining process. When a drill bit rotates against a workpiece, the friction generates thermal energy that can quickly exceed the tempering temperature of the tool. If the bit loses its hardness, it will dull instantly, leading to even more heat and potential structural damage to the surrounding metal.
In the workshop, we often talk about the Heat-Affected Zone (HAZ). This is the area of metal that has not been melted but has had its microstructure and mechanical properties altered by intense heat. In drilling, an uncontrolled HAZ can make the metal around the hole brittle. This increases the risk of a “brittle fracture,” where the metal snaps without warning under a load instead of bending safely.
To prevent this, we must use a medium to intervene between the tool and the workpiece. This medium serves two main purposes: reducing the friction that creates heat and carrying away the heat that is already there. By managing these forces, we maintain the material’s design strength and ensure our structural safety margins—typically a 2:1 or 4:1 ratio—remain intact.
Distinguishing Between Lubricity and Cooling Capacity
Lubricity refers to the ability of a substance to reduce friction between two moving surfaces. Cooling capacity is the ability of that substance to absorb and transfer heat away from the work zone. While many people use these terms interchangeably, they perform very different roles depending on the metal you are drilling.
When you are drilling at low speeds with high pressure, lubricity is your priority. You need a “slippery” barrier to keep the cutting edges of the bit from rubbing too hard against the metal. This is common when using large diameter bits or working with tough alloys. At high speeds, cooling becomes more important because the sheer volume of heat generated can ruin a bit in seconds.
- Lubricity Focus: High-viscosity oils that cling to the bit and the hole walls.
- Cooling Focus: Water-based fluids or thin oils that can flow quickly and dissipate heat.
- The Balance: Most workshop tasks require a fluid that offers a bit of both, often referred to as a “cutting oil” or “coolant.”
Metal Load and Stress Tolerances During Drilling
| Metal Type | Yield Strength (PSI) | Primary Drilling Risk | Fluid Priority |
|---|---|---|---|
| A36 Carbon Steel | 36,000 | Tool dulling / HAZ brittleness | Lubricity |
| 6061 Aluminum | 35,000 | Chip welding / Galling | Lubricity (Non-staining) |
| 304 Stainless Steel | 30,000 | Work hardening | Cooling & Lubricity |
| Grade 8 Bolts | 130,000 | Tool shattering | High-Pressure Lubricity |
Matching Fluid Properties to Specific Material Challenges
Every metal reacts differently to the stress of being drilled. If you treat stainless steel the same way you treat mild steel, you will likely destroy your drill bit and leave a hardened “glaze” in the hole that is nearly impossible to remove. This is why selecting the correct fluid properties is a critical part of your workshop safety checklist.
For carbon steels and low-alloy steels, a standard mineral-based cutting oil is usually sufficient. These oils have high lubricity, which helps the chips (the metal curls) slide up the flutes of the drill bit. This prevents the chips from packing into the hole, which is a leading cause of bit breakage. I always look for fluids with “extreme pressure” (EP) additives, which often contain sulfur or phosphorus to help the oil work under the heavy loads of a drill press.
Stainless steel is a different beast entirely. It has low thermal conductivity, meaning the heat stays right where the bit is cutting rather than spreading through the metal. It also “work hardens,” meaning it gets harder as you deform it. If you don’t use a fluid with high cooling capacity to keep the temperature down, the metal will become harder than the drill bit itself.
- Aluminum: Use thin, light fluids to prevent “chip welding,” where the soft metal melts onto the bit.
- Cast Iron: Often drilled dry because the graphite in the iron acts as a natural lubricant, though a light mist can help control dust.
- Hardened Tool Steel: Requires high-sulfur oils to handle the extreme friction and prevent the bit from “skating” on the surface.
Identifying Signs of Thermal Failure and Poor Lubrication
You don’t need a laboratory to know when your drilling process is failing. Your eyes and ears will tell you everything you need to know if you understand what to look for. During my years of inspecting industrial frames, I learned that the color of the metal chips is the most honest indicator of whether the lubrication strategy is working.
If you are drilling steel and the chips come out straw-colored or light brown, you are in the “sweet spot” of heat management. However, if the chips turn a deep blue or purple, the temperature at the cutting edge has exceeded 500 degrees Fahrenheit. At this point, the structural integrity of the metal around the hole is being altered, and your drill bit is likely losing its temper.
- Squealing or Chirping: This high-pitched sound indicates high friction and a lack of lubricity. Stop immediately and apply more fluid.
- Smoke: While some smoke is normal with oil, heavy white or acrid smoke means the fluid is burning rather than lubricating.
- Rough Hole Walls: If the inside of the hole looks torn or jagged, the fluid isn’t helping the bit cut cleanly, or the chips are galling the surface.
Application Techniques for the Manual Fabricator
In a home shop, you likely don’t have a flood-coolant system that pumps gallons of fluid over the work. You are likely applying fluid manually. The key to manual application is consistency. You cannot simply put a drop of oil on the metal and expect it to last for a two-inch deep hole.
I recommend the “peck drilling” technique combined with frequent fluid application. Drill down a small distance—perhaps half the diameter of the bit—then retract the bit fully while it is still spinning. This clears the chips out of the flutes and allows you to apply fresh lubricant directly into the hole and onto the tip of the bit.
- Clear the chips: Use a brush or compressed air (carefully) to remove old chips before reapplying fluid.
- Apply to the bit and the hole: Don’t just hit the top of the hole; make sure the fluid coats the cutting edges of the tool.
- Monitor the flow: If the fluid disappears or turns into a thick paste, it is being overwhelmed by heat and needs to be refreshed.
Maintaining Workshop Safety and Structural Integrity
Properly managing the drilling process is a core part of garage fabrication safety. Beyond the structural risks of overheating metal, there are immediate physical risks. A dry bit is more likely to catch and “bind” in the metal. If you are using a hand drill, this can result in a sprained wrist or the drill being kicked back into your face. On a drill press, a binding bit can spin the entire workpiece if it isn’t clamped properly.
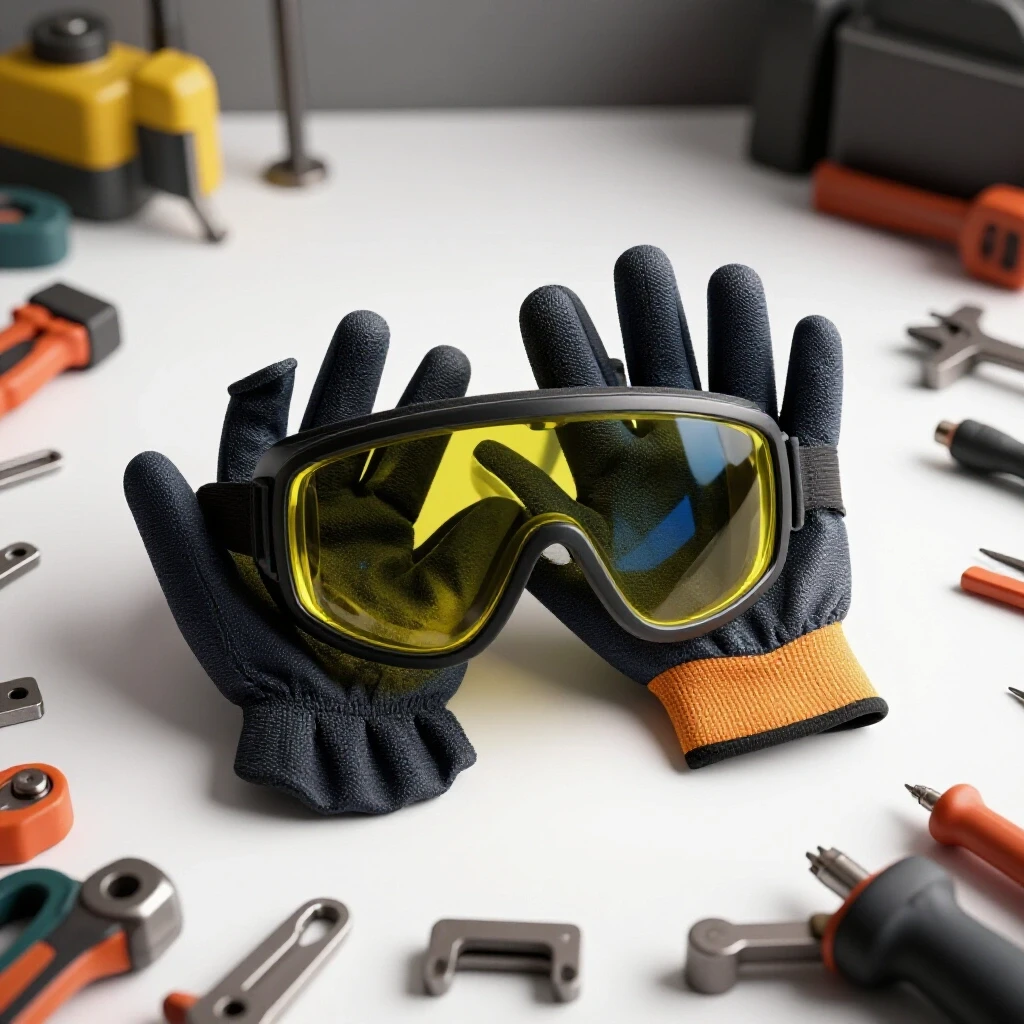
Always ensure your work is secured with heavy-duty clamps or a drill press vise. Your safety gear should include high-impact eye protection, as the combination of cutting fluid and spinning bits can throw hot, oily chips several feet. I also recommend a “safety zone” layout in your shop where flammable materials are kept far away from the drilling station, as hot chips can ignite oily rags or sawdust.
- PPE Check: Always wear a face shield and safety glasses when using cutting fluids.
- Cleanliness: Wipe up excess oil immediately to prevent slip hazards on the shop floor.
- Ventilation: Some cutting fluids release fumes when heated; ensure your workspace has adequate airflow.
Structural Load Testing and Inspection After Drilling
Once the holes are drilled, your job isn’t quite finished. A quick visual inspection can save you from a major failure later. Look for “bluing” around the rim of the hole. If you see a dark blue ring, that area has been overheated, and the yield strength may be compromised. In critical structural joints, I use a simple dye penetrant kit to check for micro-cracks that might have formed due to thermal stress.
For projects that will carry significant weight, such as a gantry crane or a vehicle trailer, consider the “load path.” This is the route that force takes through your structure. If a hole is drilled poorly, it creates a “stress riser”—a point where force concentrates. A smooth, well-lubricated hole distributes stress evenly, whereas a jagged, overheated hole is a starting point for a crack.
Workshop Safety and Quality Checklist
- Verify Material: Identify if the metal is carbon steel, aluminum, or stainless.
- Select Fluid: Match the lubricity and cooling needs to the material.
- Check Bit Sharpness: A dull bit creates more friction regardless of the fluid used.
- Secure Workpiece: Use at least two points of contact for clamping.
- Set RPM: Slower speeds for harder metals; consult a speed and feed chart.
- Apply Fluid: Use the peck drilling method for deep holes.
- Inspect Hole: Check for discoloration (blue/purple) and surface roughness.
- Clean Up: Remove all oil and metal shavings to maintain a safe floor.
Summary of Best Practices for Hole-Making Success
Choosing the right intervention for the friction in your workshop is about more than just making a hole; it is about preserving the life of your tools and the safety of your builds. By understanding the balance between lubricity and cooling, you can prevent the thermal damage that leads to structural cracking.
Remember that a small investment in the correct fluid and a few extra seconds of application can prevent the frustration of a snapped bit or a ruined project. Keep your chips straw-colored, your bits sharp, and your workspace clean. These habits are what separate a hobbyist from a true fabricator who builds structures meant to last.
Frequently Asked Questions
Can I use motor oil as a substitute for cutting fluid? While motor oil provides some lubricity, it is designed to work in a closed system at specific temperatures. It often contains detergents and additives that can produce toxic smoke when burned by the heat of a drill bit. Real cutting fluids contain sulfur or chlorine additives specifically designed to bond to metal under the extreme pressure of a cutting edge, which motor oil cannot do.
Why does my drill bit keep “walking” even with fluid? “Walking” usually happens because the bit cannot bite into the surface, often due to the metal being too hard or the bit being dull. While fluid helps the cutting process, you must first create a “dimple” with a center punch. This gives the bit a physical starting point so the lubricant can pool in the right spot.
Is it ever okay to drill metal completely dry? Only in very specific cases, such as drilling cast iron or using specialized carbide-tipped bits at very high speeds where the heat is designed to be carried away by the chip itself. For 95% of workshop tasks involving High-Speed Steel (HSS) bits and structural metals, using no fluid will significantly shorten tool life and risk material damage.
How do I know if I have the right “feed pressure” when drilling? If you are using the right fluid, you should see long, continuous curls of metal (in ductile steels). If you are pushing hard but only getting fine dust or tiny splinters, you either have a dull bit or you aren’t using enough lubricant to help the cutting edge penetrate the surface.
What is the best way to clean off cutting fluid before painting or welding? This is a critical step for structural integrity. Use a high-quality degreaser or acetone. Any leftover oil will contaminate a weld, leading to “porosity” (tiny bubbles in the weld), which creates a weak joint. Always clean the area twice to ensure no residue remains in the pores of the metal.
Does the color of the fluid matter? Generally, no. Different manufacturers use dyes to distinguish their products. However, some “dark” oils contain high amounts of sulfur, which is excellent for heavy-duty steel but can stain non-ferrous metals like aluminum or brass. Always check the label for material compatibility.
Can I use water as a coolant for drilling? Water is an excellent coolant but a terrible lubricant. It also causes immediate rust on your tools and workpiece. If you need a water-based solution, use a “soluble oil” or “synthetic coolant” concentrate that you mix with water. These provide the cooling of water with the lubrication and rust prevention of oil.
How often should I sharpen my drill bits? You should touch up the edge as soon as you notice the cutting fluid is no longer preventing “silvery” or “shiny” edges on your chips. A shiny chip edge means the bit is rubbing rather than cutting. Regular sharpening ensures the lubricant can actually reach the point of contact.
Will using the wrong fluid cause a weld to fail later? Indirectly, yes. If the fluid causes the metal to work-harden or become brittle, the heat of the welding process might not be enough to “reset” that grain structure. Furthermore, if the fluid isn’t cleaned out of the hole, it can wick into a nearby joint and cause weld defects like cracking or lack of fusion.
What is “chip welding” and how do I stop it? Chip welding occurs when the metal being drilled (usually aluminum) gets hot enough to melt and stick to the drill bit. Once this happens, the bit can no longer cut. Using a fluid with high lubricity specifically designed for aluminum creates a barrier that prevents the aluminum from bonding to the bit’s surface.
(This article was written by one of our staff writers, James Harlan. Visit our Meet the Team page to learn more about the author and their expertise.)