How to Identify and Choose Safe Steel Grades for DIY (Tips)
I have spent the last 14 years in the middle of flying sparks, the hum of transformers, and the heavy scent of ozone. My journey began on a crowded shop floor where I learned that a piece of steel is not just a “piece of metal.” It is a complex recipe of elements that reacts differently to heat, pressure, and weight. In my early days as a mechanical engineer transitioning to hands-on fabrication, I once assumed that all square tubing was created equal. I built a heavy-duty engine stand using what I thought was standard structural steel, only to watch the welds develop hairline fractures under the first real load. That failure taught me that guessing is the fastest way to create a hazard.
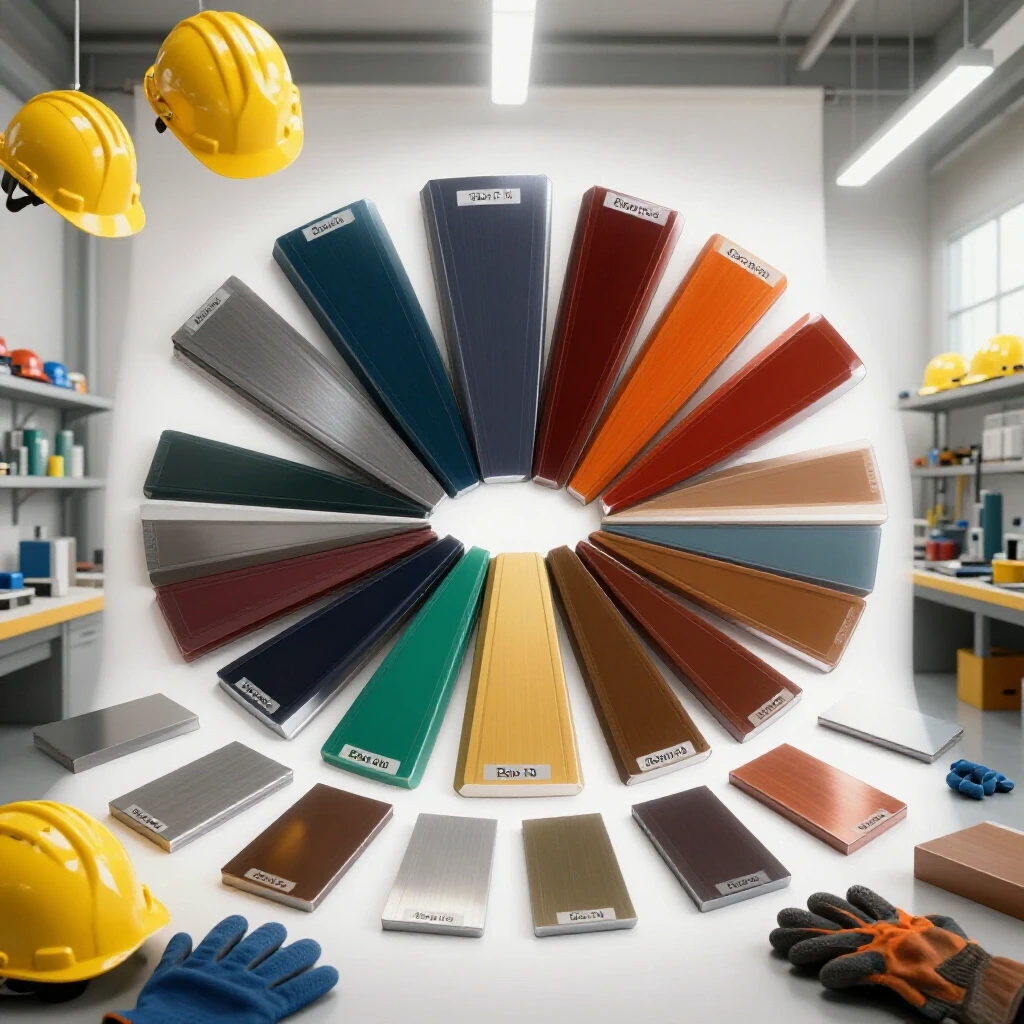
Structural safety in a home workshop starts long before you pull the trigger on a welding torch. It begins with knowing exactly what material is sitting on your saw horses. When we talk about selecting materials for a project, we are really talking about risk management. Whether you are building a workbench, a trailer frame, or a simple bracket, understanding how different steel grades behave under stress ensures your project stays in one piece and your workspace remains safe.
Understanding Structural Metal Load Capacity and Stress
Structural load capacity refers to the maximum amount of weight or force a metal component can support before it deforms or breaks. Stress is the internal resistance of the metal to that external force, often measured in pounds per square inch (PSI). Knowing these limits prevents catastrophic structural failure in your builds.
When I analyze a design, I look at two primary numbers: yield strength and tensile strength. Yield strength is the point where the metal will bend and stay bent. If you exceed this, your project is permanently ruined. Tensile strength is the point where the metal actually pulls apart or snaps. For most garage fabrication safety, we want to stay well below the yield strength.
In the workshop, we often use a safety factor. A safety factor of 2:1 means the material is twice as strong as the maximum expected load. For overhead lifting or critical frames, I prefer a 4:1 margin. This compensates for slight imperfections in my welds or unexpected side-loads that might occur during use.
| Steel Type | Typical Yield Strength (PSI) | Common Uses | Weldability |
|---|---|---|---|
| A36 (Hot Rolled) | 36,000 | General frames, brackets | Excellent |
| 1018 (Cold Rolled) | 54,000 | Shafts, pins, precision parts | Good |
| 1045 (Medium Carbon) | 45,000 – 60,000 | Gears, high-strength bolts | Fair (Requires Pre-heat) |
| 4130 (Chromoly) | 60,000 – 95,000 | Lightweight high-strength tubes | Good (Requires Care) |
Analyzing Load Shear Paths in Joint Design
A load shear path is the route that weight or force takes as it moves through a structure and across a welded joint. Understanding this path allows you to place welds in positions where they are least likely to fail under pressure. Poorly planned paths lead to joint separation.
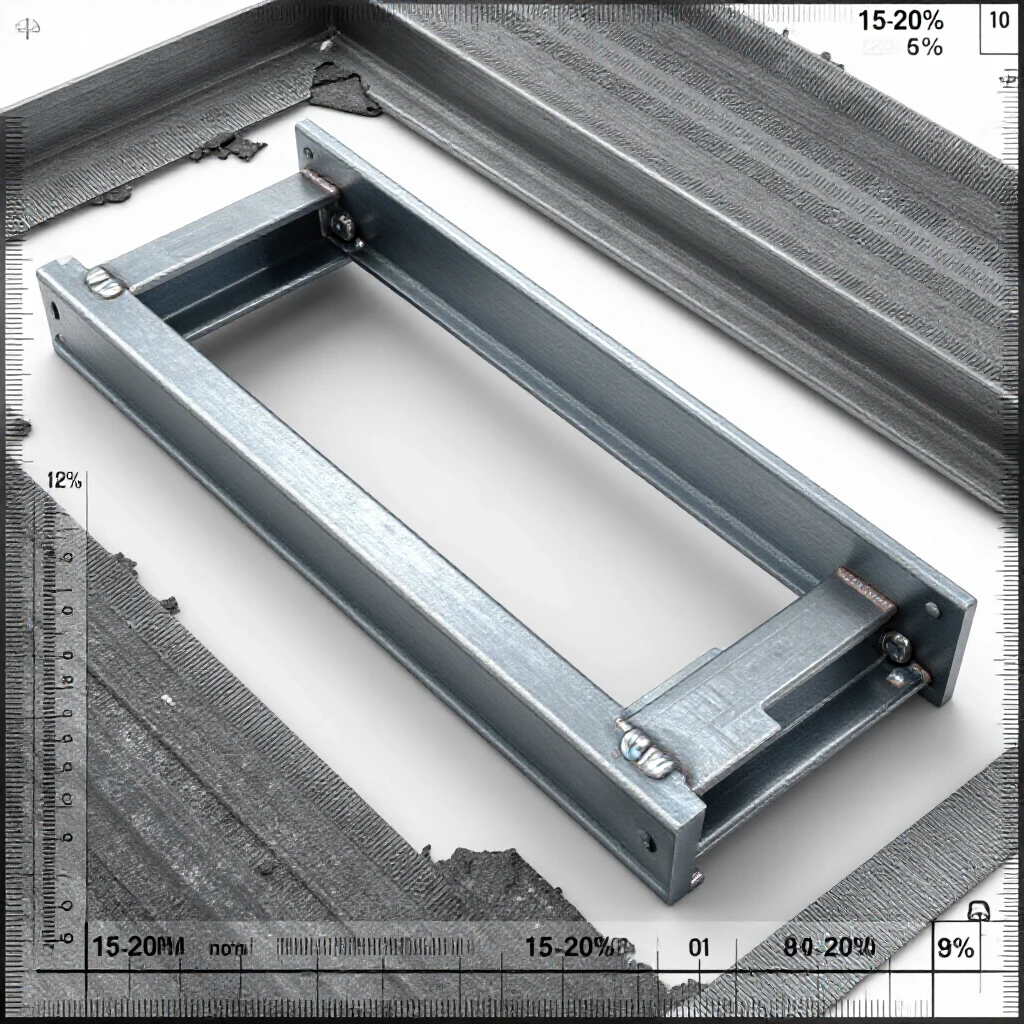
When I design a frame, I try to ensure the metal is doing the heavy lifting, not just the weld bead. If a cross-member sits on top of a vertical post, the weight is transferred directly through the metal. If the cross-member is welded to the side of the post, the entire load is sitting on the weld “shelf.” This puts the weld in shear, which is a much more demanding stress state.
- Always try to design joints where the load compresses the members together.
- Use gussets to spread the load over a larger surface area.
- Avoid placing welds at the exact point of maximum bending stress.
- Ensure the “throat” of the weld is thick enough to handle the calculated shear force.
Decoding Mill Markings and Visual Identification
Mill markings are stamps, paint codes, or stencils applied by the manufacturer to identify the specific alloy and production batch of the steel. Learning to read these marks is the most reliable way to verify you are using the correct material for a structural project.
When you walk into a local steel yard, you might see “A36” stenciled on the side of a wide-flange beam or a plate. This is an ASTM (American Society for Testing and Materials) designation. It tells me that this steel has a minimum yield strength of 36,000 PSI. If the steel is bare and has no markings, I have to rely on other identification methods, which adds uncertainty to the build.
Recognizing Surface Finish Differences
Surface finish refers to the texture and appearance of the steel, which usually indicates whether it was hot-rolled or cold-rolled during manufacturing. This finish provides clues about the material’s dimensional accuracy, internal stresses, and how easily it can be welded or machined.
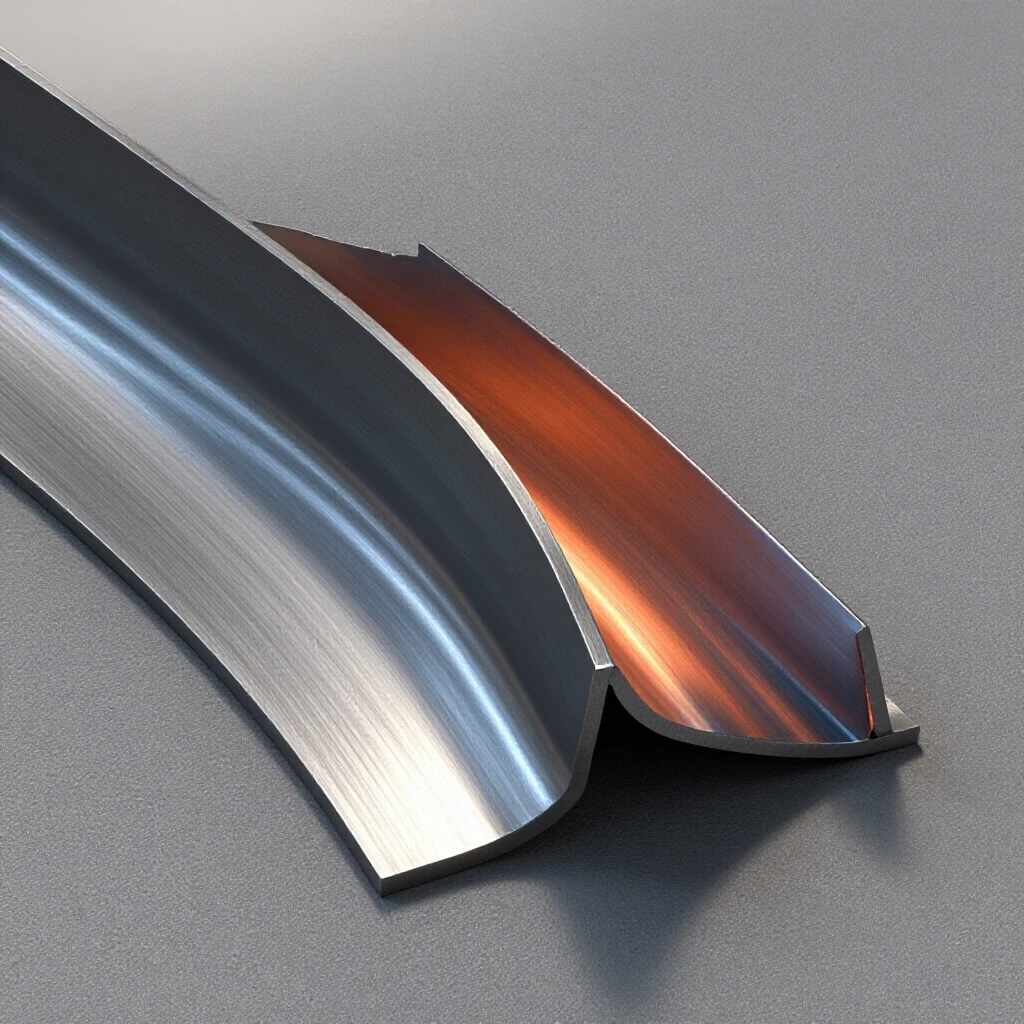
Hot-rolled steel (like A36) has a dark, flaky layer called mill scale. It is usually less expensive and has rounded corners. Cold-rolled steel is shiny, grey, and has very sharp, precise corners. In my experience, cold-rolled steel is much easier to use for parts that need to fit together perfectly, like a sliding T-track, but it contains more internal stress that can cause warping when you weld it.
- Hot-rolled: Scaly surface, wider tolerances, lower cost.
- Cold-rolled: Smooth surface, tight tolerances, higher strength.
- Pickled and Oiled (P&O): Hot-rolled steel with the scale removed, great for clean welding.
- Galvanized: Zinc-coated steel that looks dull grey or “spangled”; requires coating removal before welding to avoid toxic fumes.
Using Spark Testing for Material Verification
Spark testing is a traditional shop method used to identify the carbon content and alloy elements of a piece of steel by observing the sparks created when it is held against a grinder. It is a quick, non-destructive way to distinguish between low-carbon and high-carbon steels.
I use spark testing whenever I find a “mystery” piece of steel in the scrap bin. By touching the metal to a 60-grit grinding wheel, I can look at the color, length, and “bursts” of the sparks. A low-carbon steel like A36 will produce long, straight, orange-yellow streaks with very few bursts at the end. High-carbon steel, like a leaf spring or a file, will explode into a shower of white, bushy sparks.
| Metal Type | Spark Color | Streamer Length | Spark Burst Pattern |
|---|---|---|---|
| Low Carbon (1018/A36) | White/Yellow | Long | Very few, simple bursts |
| High Carbon (1095) | White | Short | Many “star” bursts |
| Cast Iron | Red/Orange | Short | Small, repeating “fines” |
| Stainless Steel | Straw/Yellow | Moderate | No bursts, jagged lines |
Calibrating Your Eye for Spark Bursts
Spark bursts are the tiny explosions that happen at the end of a spark streamer when carbon in the metal reacts with oxygen in the air. The frequency and intensity of these bursts are direct indicators of the carbon percentage in the steel.
If I see a lot of “forking” or “starry” explosions, I know the carbon content is high. This is a red flag for a structural project because high-carbon steel is prone to cracking if it isn’t pre-heated before welding. For a safe, general-purpose build, I am looking for those long, lazy, orange sparks that tell me the metal is mild and easy to weld.
- Use a consistent pressure against the grinding wheel for every test.
- Compare the mystery metal against a known sample of A36 steel.
- Perform the test in a dimly lit area to see the spark colors more clearly.
- Note that grinding sparks are a fire hazard; ensure your spark path is clear of flammables.
Assessing the Heat Affected Zone Weakness
The Heat Affected Zone (HAZ) is the area of base metal surrounding a weld that has not been melted but has had its microstructure altered by the intense heat. This zone is often the weakest point in a completed fabrication and where most structural cracks begin.
I have seen many projects fail not at the weld itself, but right next to it. When you apply 3,000 degrees to a piece of steel, you are essentially heat-treating that small section. In high-carbon or alloy steels, this can make the HAZ brittle like glass. In a garage fabrication safety context, managing the HAZ means controlling your heat input and allowing the metal to cool slowly.
Managing Welding Gas Flow Rate and Porosity
Welding gas flow rate is the volume of shielding gas (like Argon or CO2) delivered to the weld pool, measured in Cubic Feet per Hour (CFH). Proper gas coverage prevents porosity, which are tiny holes in the weld that drastically reduce structural integrity.
If your gas flow is too low, oxygen gets into the weld and creates bubbles (porosity). If it is too high, the turbulence actually sucks air into the weld. I generally set my regulator between 15 and 20 CFH for indoor work. If I see “pinholes” in my bead, I stop immediately. That weld is technically a sponge and has almost no structural load capacity.
- Check your gas cylinder pressure before starting.
- Listen for the “hiss” at the torch to ensure the solenoid is working.
- Keep the torch nozzle clean of “spatter” to ensure smooth gas flow.
- Use a gas flow tester at the nozzle if you suspect a leak in your lead.
Choosing Materials Based on Weldability and Machinability
Weldability is the ease with which a metal can be joined without cracking or losing strength, while machinability is how easily it can be cut or drilled. Balancing these two properties is essential for choosing the right steel grade for a functional DIY project.
For most of my projects, I prioritize weldability. A36 is the gold standard here. It is forgiving, cheap, and handles the heat of a MIG welder without complaining. However, if I am making a threaded part or a precision pin, I might choose 12L14 steel. It machines like butter but is notoriously difficult to weld safely because of its lead content. Knowing these trade-offs prevents you from choosing a “strong” steel that ends up being impossible to join correctly.
- A36: Excellent weldability, average machinability.
- 1018: Good weldability, good machinability (better for lathes).
- 4140: Poor weldability without specialized heat-treat knowledge, excellent strength.
- 304 Stainless: Good weldability, but requires high heat and can “warp” significantly.
Identifying Internal Weld Defects
Internal weld defects are flaws like lack of fusion, slag inclusions, or cold-lapping that are hidden beneath the surface of a weld bead. These defects can lead to sudden failure even if the weld looks perfect from the outside.
I call these “pretty failures.” A weld can look like a perfect row of pennies but have zero penetration into the base metal. This often happens if the welder is set too “cold” or if the travel speed is too fast. To avoid this, I always perform a “cut and etch” test on scrap pieces of the same thickness before I start my main project. I cut the weld in half and use a mild acid to see how deep the weld actually went.
- Lack of Fusion: The weld metal didn’t actually bond with the side walls.
- Cold Lap: The weld puddle just sat on top of the cold base metal.
- Slag Inclusions: Bits of flux trapped inside the weld (common in Stick or Flux-core).
- Undercut: A groove melted into the base metal next to the weld, thinning the material.
Implementing a Workshop Safety Checklist for Material Handling
A workshop safety checklist is a structured list of inspections and preparations performed before fabrication to minimize the risk of injury or equipment damage. It covers everything from personal protective equipment (PPE) to the stability of material storage.
Garage fabrication safety is about more than just wearing goggles. It is about how you move 20-foot sticks of steel and how you store them. I have seen more injuries from falling steel than from actual welding. I keep my heavy stock low to the ground and always use a cart or a “dead man” support when feeding long pieces into a saw.
- PPE Check: Are you wearing a Shade 10-13 helmet? Are your gloves free of holes?
- Environment Check: Is the floor dry? Are there flammable liquids nearby?
- Equipment Check: Is the welder ground clamp on clean metal? Is the gas flow set to 15-20 CFH?
- Material Check: Has the mill scale or galvanization been ground off the weld area?
- Ventilation Check: Is there a fan or fume extractor to pull smoke away from your face?
PPE Shade and Rating Recommendations
PPE ratings are standardized levels of protection provided by safety gear, such as the darkness of a welding lens or the impact resistance of a face shield. Using the correct rating is vital for preventing long-term eye damage and skin burns.
When I am TIG welding at low amperages, a Shade 10 is usually enough. But if I am burning thick plate with a MIG welder at 200+ amps, I move to a Shade 12 or 13. If your eyes feel “gritty” at the end of the day, your shade is too light. Don’t forget that your skin needs protection too; the UV light from a welding arc can give you a “sunburn” in minutes.
- Welding Helmet: Auto-darkening, Shade 9-13 adjustable.
- Safety Glasses: Z87+ rated for impact.
- Respirator: P100 rated filters for welding fumes (especially for galvanized or painted steel).
- Clothing: 100% cotton or leather; synthetic fabrics can melt to your skin.
Troubleshooting Common Welding Defects in Structural Joints
Welding defect troubleshooting is the process of identifying the cause of a poor weld—such as porosity, cracking, or warping—and adjusting your technique or settings to fix it. This ensures that every joint in your structure is sound and reliable.
If I am welding a structural frame and I hear a “ping” sound as it cools, I know I have a problem. That is the sound of a stress crack forming. This usually happens because the joint was too constrained, or the metal was too thick for a single pass. To fix this, I might need to change my welding sequence to balance the heat or add a pre-heat step with a torch.
| Defect | Likely Cause | Corrective Action |
|---|---|---|
| Porosity (Bubbles) | Low gas flow or wind | Increase CFH to 20; block drafts |
| Undercut (Grooves) | Voltage too high; travel too slow | Lower voltage; speed up travel |
| Spatter (BBs) | Wire speed too high; dirty metal | Adjust wire speed; grind to bright metal |
| Cracking | Brittle HAZ; rapid cooling | Pre-heat metal; wrap in welding blanket |
Using Non-Destructive Testing (NDT) Kits
Non-destructive testing (NDT) kits are sets of chemicals or tools used to find surface-breaking cracks and flaws in a weld without damaging the part. Dye penetrant is the most common NDT method used in small shops to verify joint integrity.
For any project that will hold significant weight, I use a simple three-can dye penetrant kit. You spray a cleaner, then a red dye, then a white developer. If there is a tiny crack I can’t see with my eyes, the red dye will bleed through the white developer and show me exactly where the failure is starting. It is an inexpensive way to get professional-level certainty in your garage.
- Clean the weld thoroughly with a wire brush and the provided cleaner.
- Apply the red penetrant dye and let it sit for 10-15 minutes.
- Wipe the surface clean so no red is visible on the flat areas.
- Spray a light, even coat of the white developer.
- Watch for “bleed out” of red dye, which indicates a crack or hole.
Final Steps for a Structurally Sound Project
Once the welding is done and the inspections are complete, the final step is a controlled load test. I never trust a critical build until I have tested it under 1.5 times its expected load in a safe, controlled environment. If I am building a bench designed for 500 lbs, I will carefully load it with 750 lbs of sandbags and look for any signs of deflection or popping.
Remember that fabrication is a skill that combines theory with “feel.” You can read all the data in the world, but your eyes and ears on the shop floor are your best tools. Listen to the arc—it should sound like bacon frying. Look at the puddle—it should be wetting into the edges smoothly. If something feels wrong, stop and check your material and your settings.
- Keep a project log of the steel grades and welder settings you used.
- Label your scrap bin so you don’t mix up high-carbon and mild steel.
- Regularly calibrate your gas regulator and clean your welding torch.
- Never weld on a closed container or a piece of metal you haven’t identified.
Building with steel is incredibly rewarding because of the permanence and strength of the material. By taking a data-driven approach to choosing your metal and verifying your joints, you can move from “hoping it holds” to “knowing it’s solid.”
FAQ
How can I tell the difference between aluminum and steel if they are both painted? The simplest way is with a magnet. Steel is magnetic (with the exception of some stainless steels), while aluminum is not. Additionally, steel is significantly heavier; a piece of steel will weigh about three times as much as an identical piece of aluminum.
Is it safe to weld steel that has rust on it? You should never weld over rust. Rust is iron oxide, and it will contaminate the weld pool, causing porosity and lack of fusion. Always use a flap disc or wire wheel to grind the weld area down to “bright metal” (shiny silver) before you start.
What happens if I use the wrong welding wire for my steel grade? Using the wrong filler metal can result in a weld that is much weaker than the base metal or one that is prone to cracking. For general A36 or mild steel, an ER70S-6 wire is the standard choice because it has a 70,000 PSI tensile strength, which exceeds the strength of the steel itself.
Why does my metal warp so much when I weld it? Warping is caused by the uneven expansion and contraction of the metal as it heats and cools. To minimize this, use “tack welds” to hold the project in place, weld in short sections rather than one long bead, and alternate sides of the joint to balance the heat input.
Can I weld “mystery metal” if I’m not sure what it is? It is risky for structural projects. If the spark test indicates high carbon (bushy, white sparks), the weld will likely be brittle and fail. If you must use it, perform a “bend test” on a sample weld to see if it snaps or bends.
What is the best steel grade for a beginner’s welding project? A36 hot-rolled steel is the best starting point. It is very forgiving, easy to find, and has excellent weldability with standard MIG, TIG, or Stick equipment.
How do I know if my welding gas is empty? Your regulator has two gauges. The one closest to the tank shows the remaining pressure. When the needle enters the “red” zone (usually below 500 PSI), you are running low. If the gas runs out mid-weld, you will immediately see brown soot and bubbles in your weld.
What is the “Heat Affected Zone” and why should I care? The HAZ is the metal right next to your weld that got hot but didn’t melt. This area often becomes brittle. In structural builds, this is where cracks usually start, so it is important not to “over-weld” or put too much heat into a single spot.
Is 1/8 inch thick steel strong enough for a workbench frame? For most hobbyist workbenches, 1/8 inch (11 gauge) square tubing is very strong. However, the design matters more than the thickness. Proper bracing and gussets will make a 1/8 inch frame much stronger than a 1/4 inch frame with poor joint design.
Do I need a respirator if I am only welding for a few minutes? Yes, especially if the steel is not perfectly clean. Even mild steel produces iron oxide fumes, and any leftover oil or mill scale can release toxic gases. A P100-rated “pancake” respirator fits under most welding helmets and provides essential protection.
(This article was written by one of our staff writers, James Harlan. Visit our Meet the Team page to learn more about the author and their expertise.)