Essential Quality Control Checks for Custom Fabrication (Fix)
Early in my career, I stood in a shop looking at a heavy equipment trailer that had snapped at the main tongue weld. The owner was lucky; it happened while he was pulling out of a driveway, not at highway speeds. As I ran my fingers over the grainy, crystalline surface of the broken metal, the mistake was obvious: he had prioritized a pretty bead over actual penetration and material compatibility. This moment stayed with me through 14 years of fabrication and engineering. It taught me that in the world of custom metalwork, what you can’t see—the internal stresses and the molecular changes in the steel—is often more important than what you can see. For those of us building in home shops or small garages, the stakes are high because we are the designers, the welders, and the inspectors all at once.
Understanding Structural Metal Load Capacity and Material Stress
Structural metal load capacity refers to the maximum amount of weight or force a specific piece of metal can handle before it either bends permanently or breaks. Understanding these physical limits helps you choose the right material thickness and grade to ensure your project doesn’t fail under its own weight.
In my workshop, I treat every project like a bridge. Before I even strike an arc, I look at the yield strength of my material. Yield strength is the point where a metal stops acting like a spring and starts acting like taffy; once you pass it, the metal is permanently deformed. For common A36 structural steel, this is usually around 36,000 PSI. If I’m building a gantry crane or a heavy-duty workbench, I never design for that limit. I use a safety factor, typically 3:1 or 4:1, meaning I design the structure to handle three to four times the expected load.
| Material Type | Yield Strength (PSI) | Common Use Case | Ductility (Ease of Bending) |
|---|---|---|---|
| A36 Carbon Steel | 36,000 | Frames, brackets, general shop use | High |
| 1018 Cold Rolled | 54,000 | Precision pins, shafts, high-stress bolts | Medium |
| 6061-T6 Aluminum | 35,000 | Lightweight frames, brackets | Low (prone to cracking) |
| 4130 Chromoly | 63,000 | Roll cages, bicycle frames | Medium (requires pre-heat) |
When you are planning a build, remember that load paths matter. Gravity wants to pull everything to the floor. If your design forces a weld to hold a heavy load in “shear” (sliding across the joint) rather than “tension” (pulling) or “compression” (pushing), you are asking for trouble. I always try to design my joints so the metal itself supports the weight, while the weld simply holds the parts in place.
Why Joint Preparation Dictates Final Strength
Joint preparation is the process of cleaning, beveling, and aligning metal pieces before welding to ensure the filler metal can reach the root of the connection. Proper fit-up prevents internal gaps that act as “stress risers,” which are tiny weak points where cracks often start.
I have seen many intermediate fabricators try to “bridge the gap” with a weld. If your two pieces of metal have a 1/4-inch gap between them, and you just fill it with weld wire, you haven’t made a structural joint; you’ve made a metal bridge that is likely full of trapped slag or air pockets. For any material thicker than 1/8-inch, I always grind a 30-to-45-degree bevel on the edges. This creates a “V” shape that allows the weld to penetrate all the way through the thickness of the metal.
- Clean to Bright Metal: Use a flap disc to remove mill scale, rust, and oil at least one inch back from the weld zone.
- Check for Square: Use a machinist square to ensure your parts are at the correct angle. A 1-degree error at the base of a 4-foot post becomes a massive misalignment at the top.
- Set the Root Opening: For critical structural joints, leave a small gap (about the thickness of a 3/32-inch welding rod) to allow the heat to pull the metal together.
- Tack Weld Strategically: Place small “tacks” at the corners to hold the shape. Check your measurements again after tacking, as the cooling metal will pull the joint out of alignment.
Identifying Heat Affected Zone Weakness
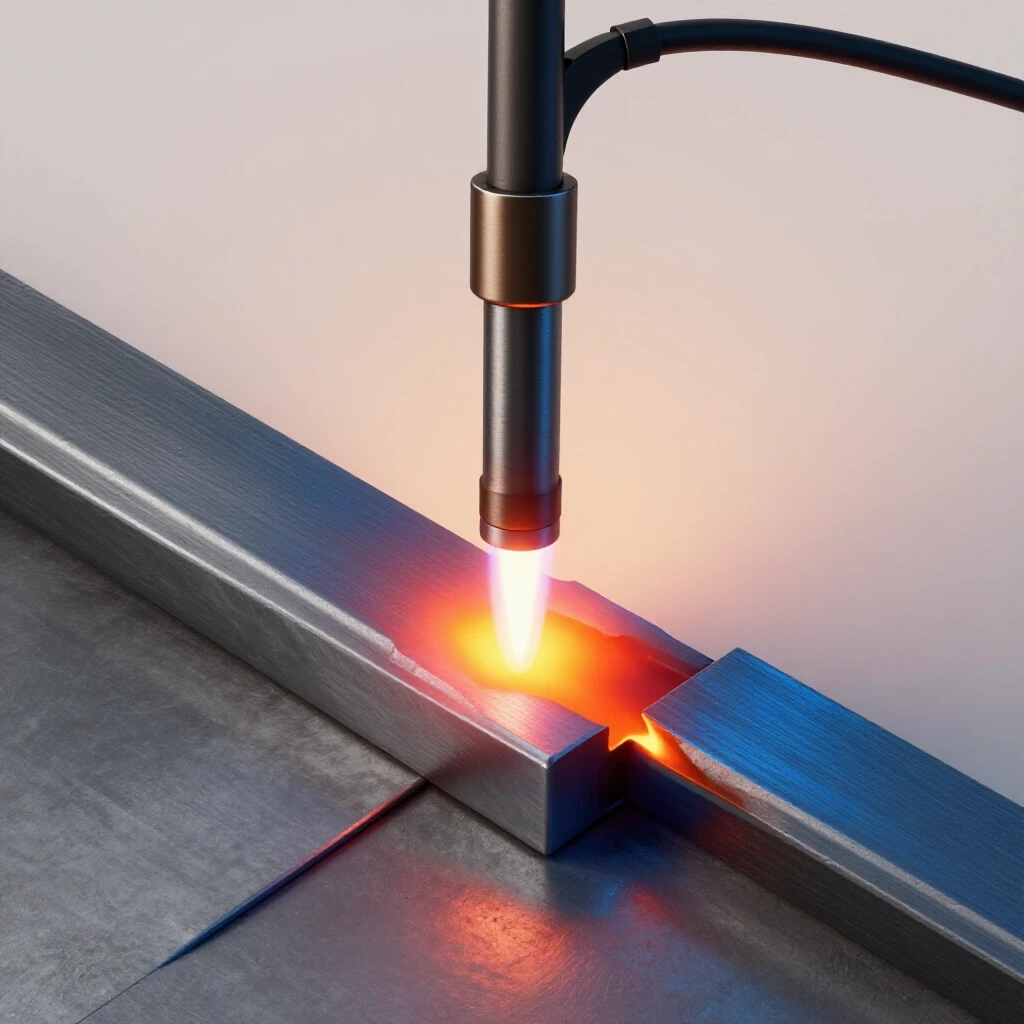
The Heat Affected Zone (HAZ) is the area of base metal surrounding a weld that has not melted but has had its internal structure changed by the high heat. This area is often the weakest part of a finished project because the heat can make the metal brittle or soft.
Think of the HAZ like a piece of bread that has been toasted only in the middle. The middle is hard, but the area right next to the toast is often crumbly. In steel, the HAZ is where most structural failures occur. If you spend too much time in one spot with your torch or welder, you “cook” the metal. I’ve seen frames snap perfectly along the line right next to a weld because the fabricator used too much heat, turning a tough piece of steel into something as brittle as glass.
To manage heat affected zone weakness, I use “stitch welding” on long seams. Instead of running one long, hot bead, I weld two inches, move to the other end of the project, weld two inches there, and rotate. This keeps the overall temperature of the workpiece lower. If the metal becomes a dull cherry red far away from the weld, you are putting in too much heat. Let it air cool; never quench structural welds in water, as this “shocks” the carbon molecules and almost guarantees a brittle fracture later.
Welding Defect Troubleshooting for Reliable Results
Welding defect troubleshooting is the practice of visually inspecting a finished weld to find flaws like porosity, undercut, or lack of fusion. By identifying these issues early, a fabricator can grind out the bad section and re-weld it before the project is put into service.
When I inspect a weld, I look for “undercut” first. This is a groove melted into the base metal right at the edge of the weld. It looks like a tiny canyon. Undercut is a major failure point because it reduces the thickness of the metal right where the stress is highest. Usually, this happens because the welding voltage is too high or the travel speed is too fast.
| Defect Name | What It Looks Like | Common Cause | The Fix |
|---|---|---|---|
| Porosity | Tiny holes (like Swiss cheese) | Lack of shielding gas or dirty metal | Check gas flow; clean surface |
| Undercut | A groove at the edge of the weld | Amperage too high; travel too fast | Lower heat; slow down |
| Lack of Fusion | Weld sits “on top” of the metal | Amperage too low; wrong torch angle | Increase heat; aim at the root |
| Cracking | A thin line down the center | Fast cooling; wrong filler metal | Pre-heat metal; allow slow cooling |
Another common issue is porosity. If your weld looks like a sponge, it’s because air got into the molten puddle. This usually happens in a garage when a breeze blows away your shielding gas or if you forgot to turn the gas bottle on. A porous weld has almost no structural integrity. If I see even three small pinholes in a row, I grind the weld out and start over. It’s a hard lesson, but it’s cheaper than a collapsed structure.
Calibrating the Welding Gas Flow Rate
The welding gas flow rate is the speed at which shielding gas (like Argon or CO2) leaves the torch to protect the molten metal from oxygen. Correct calibration ensures the weld stays pure and strong without wasting expensive gas or causing turbulence that sucks in air.
In my shop, I generally keep my flow meter set between 15 and 20 CFH (cubic feet per hour) for indoor MIG welding. Many beginners think that “more is better,” but if you crank the gas up to 40 CFH, it actually creates a vacuum effect (turbulence) that pulls oxygen into the weld. This results in the very porosity you were trying to avoid.
If you are working in a garage with the door open, even a slight 5 MPH breeze can strip away your gas coverage. I use a simple “rule of thumb”: if I can feel a draft on my neck, I need to set up a welding screen or close the door. Always check your regulator’s “ball” while the trigger is pulled; the static pressure when the gas isn’t flowing is often different from the working pressure.
Garage Fabrication Safety and PPE Integration
Garage fabrication safety involves setting up your workspace and wearing protective gear to prevent long-term health issues or immediate injury. This includes managing fire risks, ensuring proper ventilation for toxic fumes, and protecting your eyes from “arc flash” or UV radiation.
I don’t compromise on PPE (Personal Protective Equipment). I once spent a night with the sensation of “sand in my eyes” because I thought I could do a quick tack weld without a helmet. That’s a mistake I’ll never repeat. For MIG and Stick welding, I use a Shade 10 to 13 filter. If you find yourself with a headache after welding, your shade is likely too light.
- Ventilation: Welding produces hexavalent chromium and other nasty fumes, especially if you’re working on stainless or galvanized steel. I use a dedicated fume extractor or, at the very least, a high-powered fan positioned to pull air away from my face, not blow it across the weld.
- Fire Zone: Keep a 10-foot radius clear of sawdust, oily rags, or gasoline cans. I keep two fire extinguishers: one by the welder and one by the exit door.
- Clothing: Only wear 100% cotton or leather. Synthetic fabrics like polyester will melt into your skin if a spark hits them.
Practical Load Testing and Safety Margins
Load testing is the final check where you apply a controlled amount of weight to your finished project to verify it performs as designed. Using a safety margin ensures that even if there is a minor hidden defect, the structure remains safe for the user.
Once a project is finished, I perform a “static load test.” If I’ve built a shelving unit meant to hold 500 pounds, I will carefully load it with 1,000 pounds (a 2:1 safety factor) in a controlled environment. I use a dial indicator or a simple ruler to measure “deflection”—how much the metal bends under the weight. If the metal doesn’t return to its original shape once the weight is removed, I have exceeded the yield strength, and the design must be reinforced.
For anything overhead or life-critical, like an engine hoist, I aim for a 4:1 safety factor. This compensates for “dynamic loading,” which is the extra force generated when a load bounces or moves suddenly. A 500-pound engine can exert 1,500 pounds of force if it drops just two inches and is caught by a chain. Always assume the worst-case scenario when calculating your material needs.
A Workshop Quality Audit Checklist
To keep myself honest, I use a physical checklist for every major build. It prevents me from rushing through the “boring” parts and ensures the final product is sound.
- Material Verification: Is this A36 steel or a mystery metal from the scrap pile? (Mystery metal gets used for non-structural art only).
- Dimensional Check: Are the lengths within 1/16-inch of the plan? Are the diagonals equal (proving squareness)?
- Joint Prep: Is all mill scale removed? Are the thick sections beveled?
- Gas Check: Is the tank at least 200 PSI? Is the flow rate at 15-20 CFH?
- Visual Weld Inspection: Is there any undercut? Is the weld “bead” consistent in width?
- Deformation Check: Did the heat pull the frame out of alignment? (Straighten if necessary before final assembly).
Building things that last is about more than just a steady hand; it’s about respecting the physics of the materials. By checking your work at every stage—from the first grind to the final load test—you move from being someone who just “sticks metal together” to a true fabricator.
Frequently Asked Questions
How can I tell if I have good weld penetration without breaking the part? You can perform a visual check on the “back side” of the joint. On a properly penetrated butt weld, you should see a small “heat tint” or even a tiny bead of metal protruding through the bottom. If the back of the metal looks untouched and cold, you likely only have surface fusion.
Why does my metal warp even when I use clamps? Clamps hold the metal in place, but they don’t stop the internal shrinking forces of the cooling weld. Steel shrinks as it cools. To combat this, use “back-stepping” (welding toward the start of your previous weld) or “preset” your parts by angling them slightly away from the weld so they pull into the correct position as they cool.
Is it safe to weld galvanized steel in a home garage? It is dangerous without specific precautions. Galvanized steel is coated in zinc, which releases toxic “zinc chills” fumes when heated. If you must weld it, grind off the coating at least two inches away from the weld and wear a P100 respirator while working in a very well-ventilated area.
What is the best way to find a crack that I can’t see clearly? In a professional shop, we use dye penetrant kits. You spray a red dye on the weld, wipe it off, and then apply a white developer. If there is a crack, the red dye will “bleed” through the white powder, making the flaw very obvious. These kits are affordable and great for checking critical suspension or trailer parts.
Can I use a standard 110V welder for structural projects? Most 110V “household” welders are limited to 1/8-inch or 3/16-inch steel. If you try to weld 1/2-inch plate with a small welder, you won’t get enough “heat soak” to fuse the metal properly. For structural work on 1/4-inch steel or thicker, a 220V welder is generally the minimum requirement.
How do I know if my shielding gas is the right mix? For MIG welding carbon steel, a “75/25” mix (75% Argon, 25% CO2) is the standard for a clean, stable arc. Pure CO2 is cheaper and provides deeper penetration but creates a lot of “spatter” (metal droplets). Never use pure Argon for MIG welding steel; it’s meant for TIG or aluminum.
What should I do if I find a defect in my finished weld? Do not just weld over it. A second layer of weld won’t fix a crack or porosity underneath. You must use a grinding wheel or a “carbide burr” to remove the defective metal entirely until you see clean, solid steel, then re-clean and re-weld the area.
How much deflection is “too much” in a metal frame? As a general rule in structural design, deflection should not exceed “Length/360.” This means for a 10-foot (120-inch) beam, it shouldn’t bend more than 0.33 inches under full load. If it bends more, the structure will feel “bouncy” or unstable, even if it doesn’t break.
(This article was written by one of our staff writers, James Harlan. Visit our Meet the Team page to learn more about the author and their expertise.)