How to Organize Grinder Discs on a Rolling Shop Cart (Fix)
Restoring a 1940s South Bend lathe or a seized Buffalo Forge drill press requires more than just patience. It demands a systematic approach to every tool in the shop. In my 18 years of reviving neglected iron, I have learned that the chaos of a cluttered workspace is the primary enemy of precision. When you are deep into the delicate process of removing decades of scale from a cast-iron bedway, the last thing you need is to be hunting for a specific 60-grit flap disc buried under a pile of rusted fasteners.
Efficiency in a restoration shop is often found in the small details of how we manage our consumables. I have spent countless hours disassembling frozen headstocks and scraping ways back to factory tolerances. During these projects, I realized that my most frequent point of friction wasn’t the machinery itself, but the time lost searching for the right abrasive. Transitioning to a mobile, organized system for managing grinding media changed the rhythm of my restorations. It allowed me to bring the entire “prep station” directly to the heavy, immobile castings that populate my shop floors.
Systemizing Abrasive Storage for Mobile Restoration Kits
Developing a logical method for arranging grinding wheels and sanding discs within a portable unit ensures that every stage of metal preparation is within arm’s reach. This approach focuses on categorizing tools by their specific role in the restoration lifecycle, from heavy material removal to final polishing.
In the world of vintage machinery, we rarely deal with clean, new steel. We deal with “the crust”—a laminate of polymerized oil, flash rust, and lead-based paint. To tackle this, I use a variety of discs. Having them scattered in a drawer is a recipe for edge damage. By creating dedicated zones within a rolling cart, you protect the integrity of the abrasive and ensure you never grab a masonry wheel when you need a zirconium flap disc for stainless steel.
Segregating Discs by Grit and Material Composition
This involves grouping abrasives based on their aggressiveness and the specific metals they are designed to treat, such as cast iron, hardened steel, or brass. Proper segregation prevents cross-contamination of metallic particles, which is vital when preparing surfaces for precision scraping or painting.
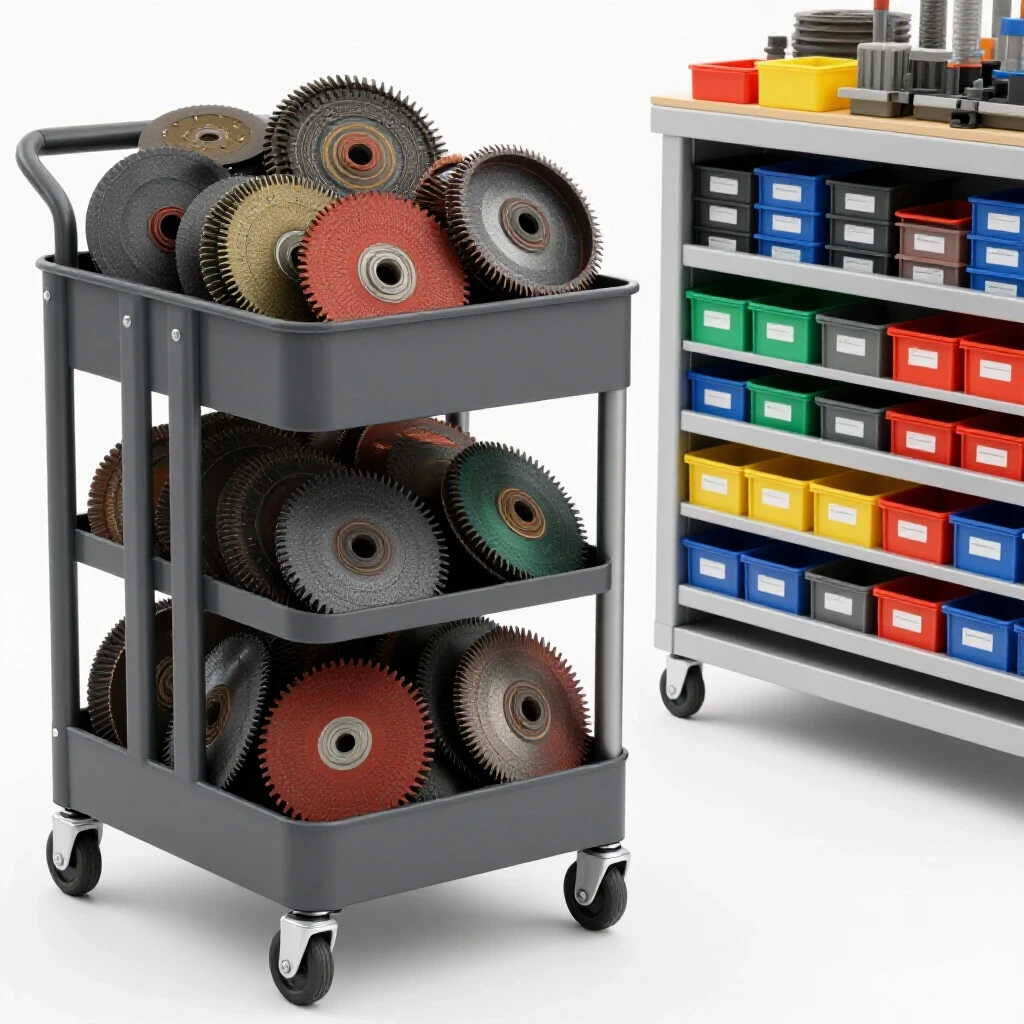
When I am working on a machine with heavy structural corrosion, I start with a coarse grinding wheel or a knotted wire cup. As the base metal appears, I move to lower-grit flap discs. If these items are mixed together, the fine discs can pick up heavy debris from the coarser ones. I prefer a vertical stacking method using internal dividers. This keeps the “business side” of the disc visible, allowing for quick identification of grit ratings without having to flip through a stack like a deck of cards.
Optimizing Vertical Space for Rapid Access
Vertical organization refers to using upright spindles or slotted dividers to store discs on their edges or stacked by type. This method maximizes the internal volume of a cart drawer or shelf while preventing the bottom-most discs from being crushed or warped under the weight of a stack.
In my experience, stacking discs horizontally leads to “the bottom of the pile” syndrome. You inevitably need the one at the bottom, and the weight of the others can actually micro-fracture the bonding agents in vitrified wheels. I use a series of wooden or plastic dowels mounted to a base plate inside my cart. Each dowel is sized to the 7/8-inch or 5/8-inch arbor hole of the discs. This keeps them concentric, upright, and prevents them from sliding around when I wheel the cart across an uneven shop floor.
| Abrasive Type | Restoration Use Case | Storage Priority |
|---|---|---|
| Cut-off Wheels | Removing seized bolts/pins | High (Front of cart) |
| Grinding Wheels | Leveling casting flash | Medium |
| Flap Discs (40-60) | Removing heavy scale/rust | High (Central) |
| Poly-stripping Discs | Paint removal without metal loss | High (Side access) |
| Wire Brushes | Cleaning threads/crevices | Low (Bottom shelf) |
Engineered Spindle Solutions for Rolling Tool Stations
Creating custom mounting points within a mobile cart involves fabricating or installing dedicated shafts that hold discs securely during transit. These spindles ensure that even when the cart hits a bump or a crack in the concrete, the abrasives remain sorted and undamaged.
One of the biggest risks to a grinding disc is “edge chipping.” A small nick in the edge of a high-speed wheel can lead to a catastrophic failure at 12,000 RPM. By securing them on spindles, you eliminate the “clashing” that happens when loose discs roll against each other. I have found that using 3/4-inch PVC pipe or turned hardwood dowels works perfectly for standard 4.5-inch grinder consumables.
Mitigating Edge Damage and Moisture Absorption
This practice focuses on protecting the physical perimeter of the disc and keeping the bonding resins dry. Many vintage tool restorers work in unheated garages where humidity can fluctuate, leading to moisture-wicking in fiber-backed discs.
Interestingly, the resins used in many abrasive discs are hygroscopic, meaning they can absorb moisture from the air. This weakens the disc and can cause it to “load” or clog prematurely. In my cart, I line the storage section with a thin layer of closed-cell foam. This provides a soft landing for the discs and acts as a minor thermal barrier. I also keep a few desiccant packets in the drawer to manage the local environment, ensuring my flap discs stay crisp and effective.
Implementing a “First-In, First-Out” Rotation System
A rotation system ensures that older abrasives are used before newer ones, preventing the degradation of bonding agents over time. By arranging discs in a sequence from front to back on a spindle, you naturally reach for the oldest stock first.
While we often think of rocks as being “forever,” the glues holding a grinding wheel together have a shelf life. Over five or ten years, these bonds can become brittle. When I restock my rolling cart, I place the new discs at the back of the spindle. This simple habit, which I picked up from a retired machinist, ensures that I am never using a “vintage” abrasive on a vintage machine—a combination that is rarely safe.
Integrating Abrasive Management into the Restoration Workflow
A well-organized cart acts as a mobile command center that follows the machine through its various stages of revival. From the initial “rough-in” of a rusted casting to the final deburring of a shop-made replacement part, the cart must adapt to the restorer’s physical position.
When I was restoring an 1890s camelback drill press, the base was too heavy to move to my bench. I had to bring the tools to the iron. Having my abrasives sorted by their “aggression level” allowed me to transition from stripping paint to cleaning the T-slots without ever standing up. This flow is essential for maintaining focus when you are dealing with the frustrations of a 100-year-old seized adjustment screw.
Why Seized Cast Iron Screws Crack Under Force
Seized fasteners in old machinery often fail because the restorer applies torque before addressing the “interstitial rust” between the threads. This rust acts like a wedge, increasing the effective diameter of the screw and locking it into the casting.
Before I ever reach for a grinder to cut off a stubborn bolt, I try a thermal release plan. This involves heating the surrounding casting—not the bolt—to expand the hole. If that fails, and I must use a cut-off wheel from my cart, I ensure I use a 0.045-inch thin kerf disc. These thin discs allow for surgical precision, minimizing the risk of “nicking” the original casting, which is often irreplaceable. Keeping these thin, fragile discs in a dedicated, tensioned slot in the cart prevents them from snapping under the weight of heavier tools.
Rust Removal Method Trade-offs for Classic Iron
Choosing the right way to strip a machine depends on the depth of the corrosion and the precision of the surface. While abrasives are fast, they are “subtractive,” meaning they remove the base metal along with the rust.
| Method | Material Removal | Speed | Precision Risk |
|---|---|---|---|
| Electrolysis Bath | Zero | Slow (12-24 hrs) | Very Low |
| Wire Wheel | Minimal | Medium | Low |
| Flap Disc (80 Grit) | Moderate | Fast | High |
| Grinding Wheel | High | Very Fast | Very High |
In my shop, I use the rolling cart to hold the “mechanical” options. If I am working on a non-critical surface, like the underside of a lathe bed, a 60-grit flap disc is my go-to. However, for a precision-ground surface, I would never use an abrasive. I would use a chemical chelator or an electrolysis setup (12V DC at 2-5 amps) to preserve every ten-thousandth of an inch.
Maintenance and Calibration of the Mobile Storage Unit
A rolling cart is a machine in itself and requires periodic maintenance to ensure it remains a reliable partner in the restoration process. This includes checking the casters for metal debris and ensuring the disc dividers haven’t loosened over time.
I make it a habit to vacuum out my abrasive cart once a month. Metal dust is conductive and abrasive; if it gets into the bearings of the cart’s wheels, it will eventually seize them. I also check the “tightness” of my spindle mounts. A loose spindle can vibrate, causing the discs to rattle and potentially chip their edges. A drop of thread-locker on the mounting bolts of your internal organizers is a small investment that pays off in long-term stability.
Establishing a “Ready-to-Work” Checklist
A checklist ensures that you are never caught mid-project without the necessary consumables. This is especially important when you are in the middle of a “flow state” during a complex disassembly.
- Count Cut-off Wheels: Ensure at least five thin kerf discs are available for emergency bolt removal.
- Inspect Wire Brushes: Check for “shedding” wires; if the brush is losing its bristles, it is a safety hazard and needs replacement.
- Check Grit Variety: Verify you have a progression from 40 to 120 grit for flap discs.
- Verify Arbor Adapters: Ensure the 5/8-11 to 7/8 adapters are in their designated tray.
- Caster Inspection: Clear any swarf or metal chips from the cart wheels to ensure smooth movement.
Safety Protocols for High-Speed Abrasives
Safety in a restoration shop is paramount, especially when using tools that rotate at high velocities. An organized cart contributes to safety by ensuring you always use the right tool for the job and that the tool is in good condition.
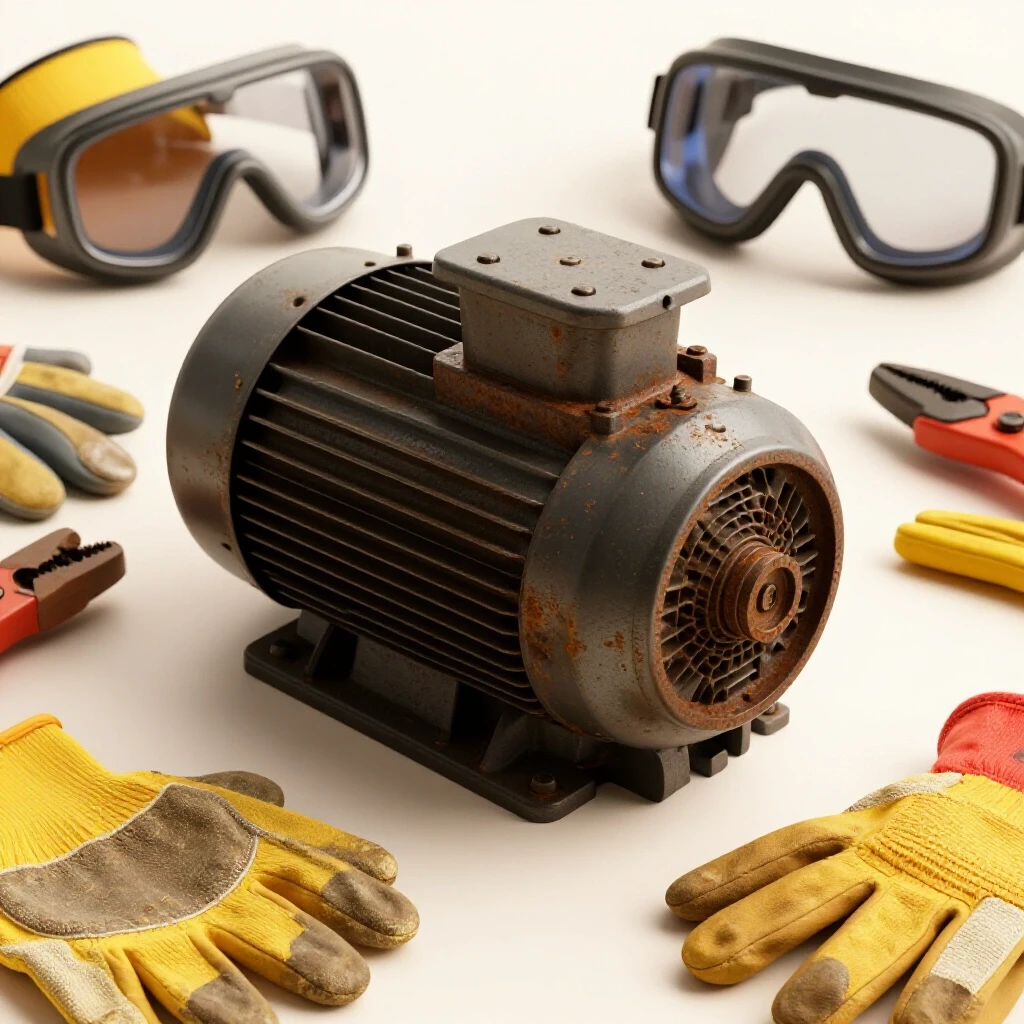
I have seen too many people try to use a “depressed center” grinding wheel for cutting because they couldn’t find a cut-off disc. This is how accidents happen. By having a clear, labeled home for each disc type in your mobile unit, you remove the temptation to use the wrong tool. Furthermore, I always keep a pair of high-impact goggles and a face shield attached to the side of the cart. If the safety gear is as mobile as the tools, you are much more likely to use it.
Dealing with Obsolete Fastener Patterns
When restoring pre-war machinery, you will often encounter “house standards” or obsolete thread pitches that don’t match modern bolts. When a bolt is so far gone that it must be ground off, you are committing to either finding a rare replacement or fabricating a new one.
Before I pull a cut-off wheel from my cart to remove a seized square-head bolt, I use a thread pitch gauge. If it’s a 1/2-12 (an old Whitworth or heavy hex standard) instead of a modern 1/2-13, I know I need to be extra careful with my abrasive. The organized cart allows me to keep my “precision cutting” discs separate from my “roughing” discs, ensuring I have the best possible tool for a high-stakes extraction.
Practical Benchmarks for Shop Efficiency
Measuring the success of your organization’s “fix” can be done by tracking how much time you spend “searching” versus “doing.” In a professional restoration, time is the most expensive component.
- Retrieval Time: You should be able to locate and mount any disc in under 30 seconds.
- Inventory Visibility: A 5-second glance should tell you if you are low on a specific grit.
- Mobility Factor: The cart should move with a single hand, even when fully loaded with 50+ lbs of abrasives.
- Damage Rate: Edge-chipped wheels should drop to zero after implementing spindle-based storage.
By following these principles, you turn a chaotic pile of “sandpaper on a stick” into a precision-managed inventory. This doesn’t just save money on wasted discs; it preserves your mental energy for the real challenges of machinery restoration—like figuring out how to pour a new Babbitt bearing or scraping a dovetail slide back to 0.001-inch accuracy.
Frequently Asked Questions
Why shouldn’t I just stack my discs in a drawer? Stacking discs horizontally leads to several issues. The weight of the stack can cause micro-fractures in the bottom discs, and the lack of airflow can trap moisture, leading to “loading” when in use. Additionally, searching through a stack wastes time and often results in edge damage as discs clatter against each other.
What is the best material for internal cart dividers? I prefer high-density polyethylene (HDPE) or sealed plywood. HDPE is slick, which makes it easy to slide discs in and out, and it doesn’t absorb moisture. If you use wood, ensure it is well-sealed with polyurethane to prevent it from wicking humidity into your fiber-backed abrasives.
How do I handle different arbor sizes in one cart? The most effective way is to use “stepped” spindles. You can turn a wooden dowel on a lathe to have a 7/8-inch base and a 5/8-inch top. This allows you to store both large-hole and small-hole discs on the same vertical axis without them wobbling.
Is it safe to store wire wheels next to grinding discs? Yes, provided they are physically separated. The main risk is the “wires” from a brush getting caught in the abrasive surface of a disc. Using a dedicated “bin” or a separate spindle for wire wheels within the cart prevents this “entanglement.”
How often should I inspect the discs in my cart? I perform a “ring test” on vitrified grinding wheels every time I pull them from the cart. Tap the wheel lightly with a screwdriver handle; it should produce a clear metallic ring. If it thuds, it’s cracked and should be discarded immediately.
Can I store my angle grinder wrenches in the same cart? Absolutely. I recommend mounting a magnetic strip on the side of the cart or inside the drawer lid. This keeps the wrenches, arbor nuts, and flange keys in the same “ecosystem” as the discs, further reducing downtime during tool changes.
How do I prevent my cart from tipping when fully loaded? Always store your heaviest items—like large 7-inch grinding wheels or heavy wire cups—on the lowest shelf of the cart. This lowers the center of gravity. Your lighter flap discs and cut-off wheels can occupy the higher drawers or spindles.
What is the “Fix” for discs that have already absorbed moisture? Unfortunately, once a resin-bonded disc has become “soft” from humidity, it is unsafe. It can disintegrate at high speeds. The best fix is prevention: keep your rolling cart in a dry area and use desiccant packs in the storage compartments.
How many discs are too many for a mobile cart? The limit is defined by the weight capacity of your casters. In my shop, I find that a “working set” of 10 cut-off wheels, 10 flap discs of various grits, and 5 grinding wheels is plenty for any single restoration project. Overloading the cart makes it harder to maneuver around heavy machinery.
Should I label my spindles? Yes. Using a simple label maker to mark “60 GRIT – STEEL” or “120 GRIT – FINISHING” on the base of each spindle eliminates guesswork. This is especially helpful if you have shop assistants or friends helping with a “tear-down” day.
(This article was written by one of our staff writers, Richard Beaumont. Visit our Meet the Team page to learn more about the author and their expertise.)