How to Prep Raw Steel for a Highly Durable Paint Finish (Fix)
In my 14 years as a mechanical engineer and shop floor fabricator, I have seen many projects fail long after they leave the workbench. Most of these failures do not happen because of a weak design or a bad calculation. They happen because of a slow, invisible process called corrosion. I once inspected a structural frame for a heavy equipment trailer that had been in service for only three years. On the outside, the paint looked decent, but large flakes were beginning to lift. When I tapped the steel with a hammer, the coating fell away to reveal deep pitting and orange dust. The builder had ignored the vital steps of surface conditioning, and the moisture had trapped itself between the steel and the paint.
This type of failure is a nightmare for any fabricator who cares about structural metal load capacity. When rust eats into a beam, it reduces the thickness of the metal. This changes your math. A beam designed for a specific weight becomes a safety hazard when its cross-section is compromised by oxidation. My goal is to help you move past the “wipe it with a rag” phase of building. We are going to look at the science of surface adhesion and the strict safety protocols required to handle raw steel correctly. By treating the metal surface as a critical part of the engineering process, you ensure that your hard work stays safe and functional for decades.
The Physical Reality of Surface Contamination and Bond Failure
Surface contamination is any substance on the metal that prevents a coating from making direct contact with the steel atoms. This includes mill scale, industrial oils, moisture, and even fingerprints. If these layers remain, the coating sticks to the dirt rather than the metal, leading to early peeling and structural rust.
When you buy steel from a supplier, it is rarely ready for a finish. Most hot-rolled steel arrives covered in mill scale. This is a hard, brittle, bluish-black layer of iron oxide that forms during the cooling process at the factory. While it looks like part of the metal, it is actually a separate layer. Under stress or temperature changes, mill scale can crack and flake off. If you have applied a finish over it, that finish will fall off too.
Another major issue is the light film of oil used to prevent rust during shipping. This oil is a bond-breaker. In my experience, even a small amount of oil can cause “fish-eyes” in a coating or lead to total delamination. To maintain the structural metal load capacity over time, we must achieve a “white metal” or “near-white metal” state where all these barriers are removed.
| Contaminant | Impact on Adhesion | Risk to Structural Integrity |
|---|---|---|
| Mill Scale | High: Causes flaking and peeling | High: Hides deep pitting and rust |
| Shop Oils | Very High: Prevents chemical bonding | Moderate: Leads to localized coating failure |
| Flash Rust | Moderate: Interferes with primer | High: Allows corrosion to spread under paint |
| Fingerprints | Low: Causes small spots of rust | Low: Aesthetic issue mostly |
Establishing a Workshop Safety Checklist for Surface Treatment
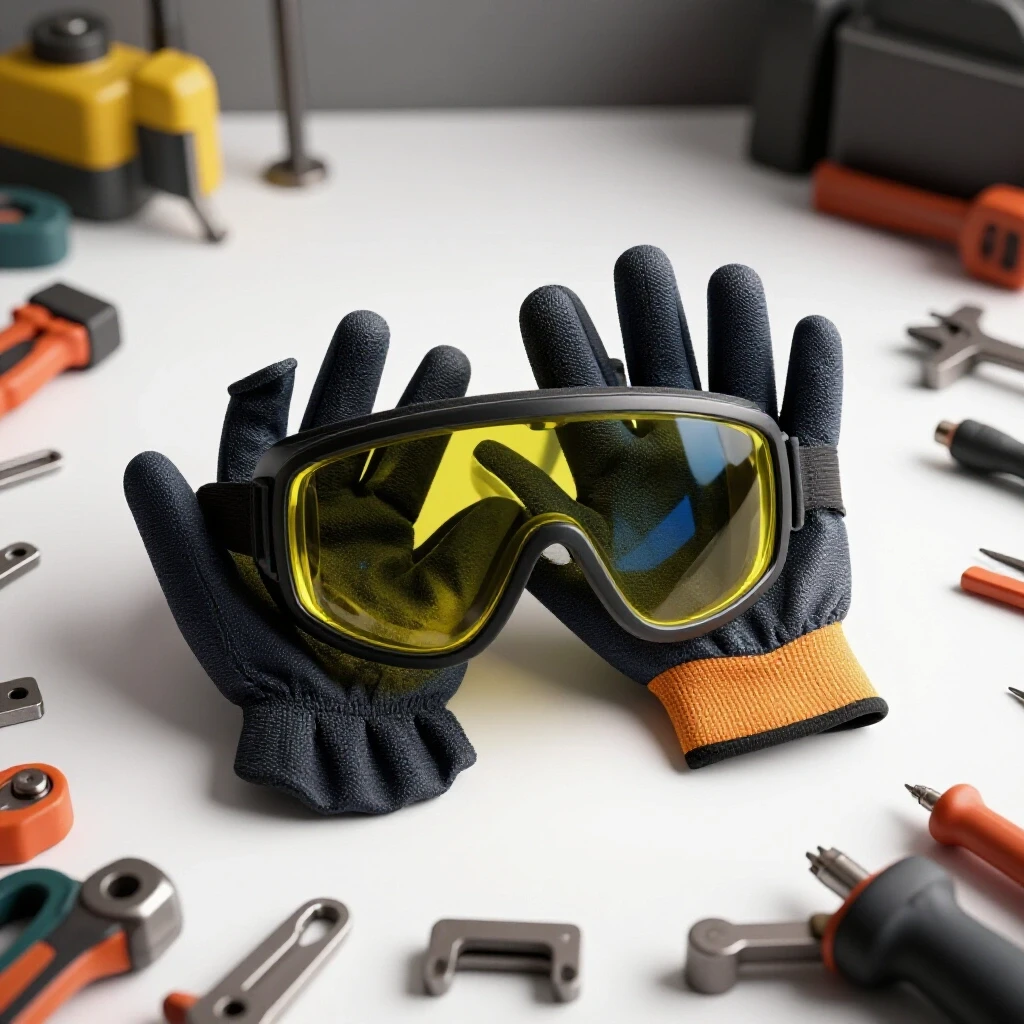
A workshop safety checklist for surface treatment is a set of rules that protects your lungs, eyes, and skin from the hazards of metal cleaning. This process involves high-speed abrasives that create fine dust and chemicals that emit toxic vapors. Without proper gear, you risk long-term respiratory issues or chemical burns.
I have had my share of close calls in the shop. Early in my career, I spent a day grinding mill scale without a proper respirator. By the evening, I was coughing up metallic dust. That was a wake-up call. Now, I never start a cleaning job without checking my PPE. For mechanical cleaning, you need a P100 rated respirator to filter out fine metal particles. For chemical cleaning, you need a respirator with organic vapor cartridges.
Garage fabrication safety is about more than just the person; it is about the environment. Many solvents like acetone or mineral spirits are highly flammable. I have seen a trash can catch fire because someone threw a solvent-soaked rag into a bin near a grinding station. Always store used rags in a sealed, water-filled metal container.
- Ensure your workspace has active ventilation (fans or open doors).
- Wear a face shield over your safety glasses when using wire wheels or grinding discs.
- Use nitrile gloves when handling solvents to prevent skin absorption.
- Keep a fire extinguisher within ten feet of any area where solvents are used.
- Check that your PPE shade or rating matches the task (e.g., impact-rated shields for grinding).
Mechanical Abrasion and the Importance of Surface Profile
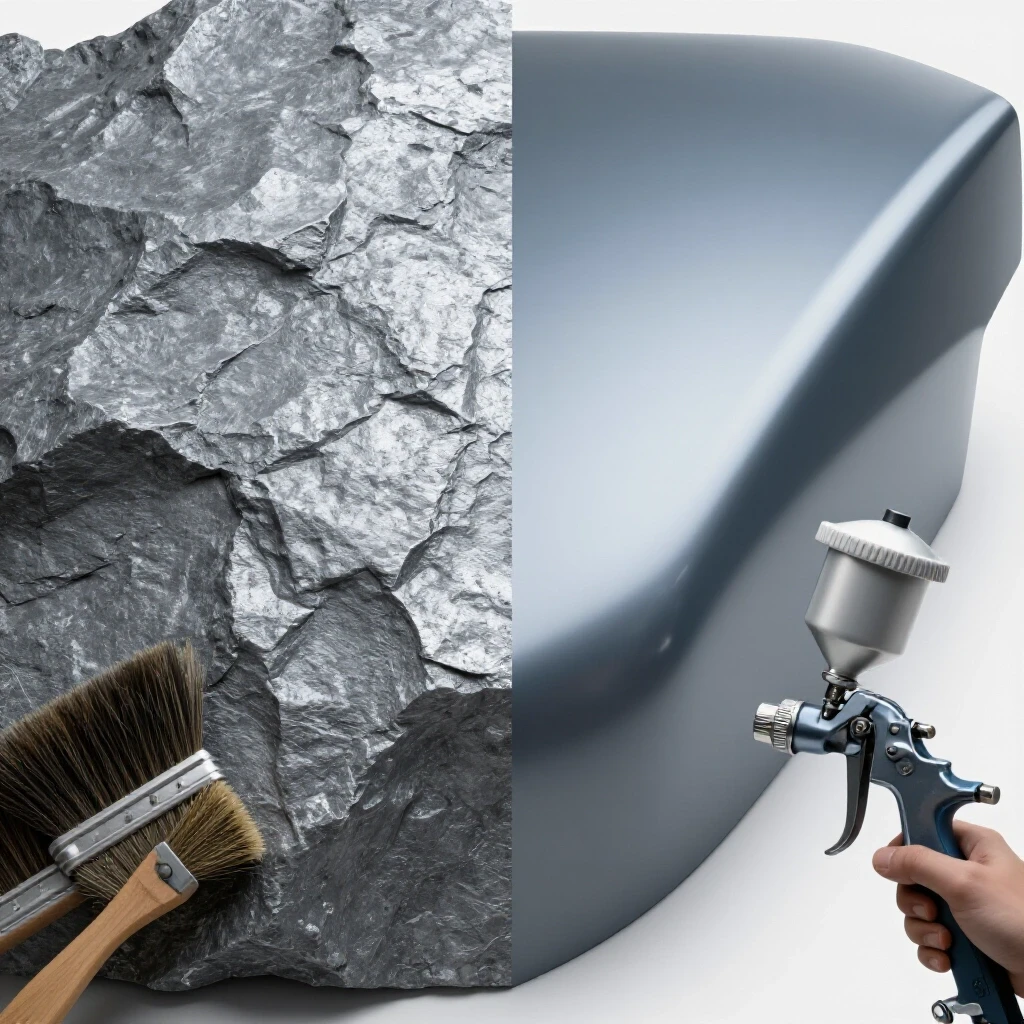
Mechanical abrasion is the process of using tools like grinders, sanders, or sandblasters to remove surface layers and create a rough texture. This texture, often called an “anchor pattern,” increases the surface area of the metal. This allows the coating to grip the steel mechanically, much like a hand gripping a rough rock.
In the world of structural verification, we measure this roughness in “mils” (thousandths of an inch). A smooth piece of steel is actually a bad surface for paint. You want a profile that looks like a series of tiny peaks and valleys under a microscope. If the profile is too shallow, the paint can slide off. If it is too deep, the peaks of the metal might poke through the paint, leading to “pinhole” rust.
For most garage projects, a 60-grit to 80-grit abrasive provides a solid balance. I prefer using flap discs on an angle grinder for large areas. They are more forgiving than solid grinding wheels and leave a more consistent finish. If you are working on a complex frame, a needle scaler or a small sandblasting cabinet can reach into the tight corners where a grinder cannot go.
- 80-grit: Good for light-duty parts and thin coatings.
- 60-grit: The standard for structural frames and heavy-duty primers.
- 36-grit: Used for removing heavy rust or thick old coatings, but requires smoothing afterward.
- Wire Brushes: Good for cleaning, but they often “burnish” or polish the metal rather than creating an anchor pattern.
Chemical De-scaling and Oxidation Neutralization
Chemical de-scaling involves using acidic solutions to dissolve mill scale and rust that mechanical tools might miss. This step is crucial for parts with complex shapes or internal surfaces. Neutralization is the follow-up step that stops the acid from continuing to eat the metal once the cleaning is done.
I often use phosphoric acid-based cleaners for this task. Phosphoric acid does something very helpful: it converts small amounts of iron oxide into iron phosphate. This creates a dull grey coating that is actually quite stable and provides a great base for primer. However, you must be careful. If the acid is left on too long or not rinsed properly, it can leave a powdery residue that ruins adhesion.
When working with acids, remember the rule of garage fabrication safety: always add acid to water, never water to acid. This prevents splashing and thermal reactions. Also, keep a box of baking soda nearby. It is a cheap and effective way to neutralize an acid spill on your workbench or floor.
- Apply the acid solution using a spray bottle or a brush.
- Let it sit for the time recommended by the manufacturer (usually 5-15 minutes).
- Scrub stubborn spots with a synthetic abrasive pad.
- Rinse thoroughly with deionized or distilled water to avoid leaving mineral deposits.
- Dry the metal immediately with compressed air or a clean heat gun to prevent flash rust.
Solvent Degreasing and Final Surface Preparation
Solvent degreasing is the final cleaning step performed right before applying a coating. It uses fast-evaporating chemicals to lift any remaining oils, waxes, or dust from the metal surface. This step is the “point of no return” where the metal must remain untouched by bare hands.
Selection of the right solvent is a common point of confusion. Many people use mineral spirits, but I find they can leave an oily residue behind. I prefer using a dedicated wax and grease remover or high-purity acetone. Acetone evaporates very quickly and leaves almost zero residue. However, it is very harsh on plastics and paint, so use it only on raw steel.
The “two-cloth method” is the industry standard for this step. You use one cloth soaked in solvent to dissolve the contaminants and a second, clean, dry cloth to wipe them away before the solvent evaporates. If you just let the solvent dry on the surface, the oils simply settle back down onto the metal.
| Solvent Type | Evaporation Rate | Residue Level | Best Use Case |
|---|---|---|---|
| Acetone | Very Fast | Very Low | Final wipe-down of small parts |
| Denatured Alcohol | Fast | Low | Removing light dust and fingerprints |
| Mineral Spirits | Slow | Moderate | Initial cleaning of heavy shipping oils |
| Wax & Grease Remover | Medium | Low | Large surface areas before priming |
Diagnostic Tests to Verify Surface Readiness
Diagnostic tests are simple, non-destructive checks used to confirm that the metal is clean enough for a finish. These tests take only a few minutes but can save you hours of rework. They provide the data needed to move from guessing to knowing that your bond will hold.
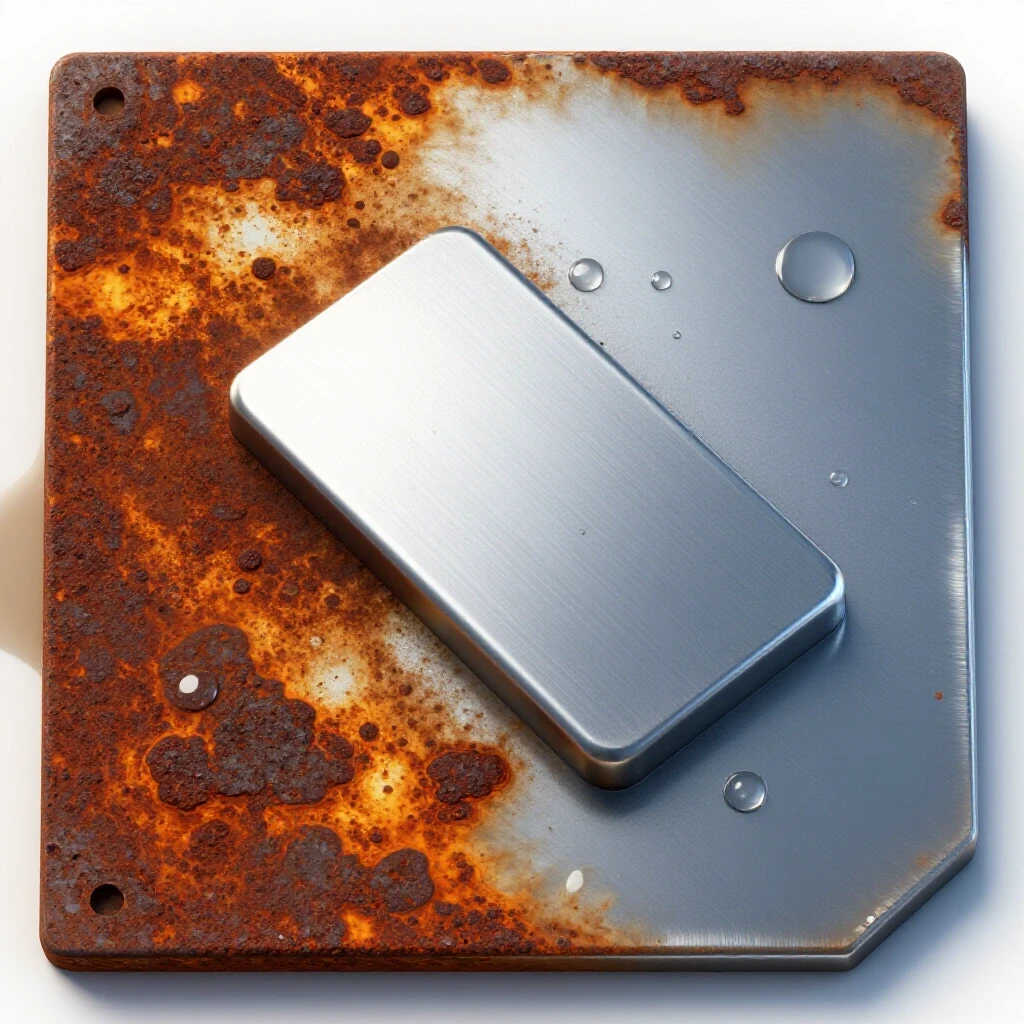
One of my favorite methods is the “Water Break Test.” It is based on the principle of surface tension. You pour clean water over the prepared steel. If the water spreads out in a smooth, continuous sheet, the metal is clean. If the water beads up like it does on a waxed car, there is still oil or grease on the surface. You must clean it again.
Another simple check is the “White Rag Test.” After your final solvent wipe, take a fresh, lint-free white cloth and rub it firmly across the metal. If the cloth stays white, you are ready. If it shows grey or black streaks, there is still loose dust or mill scale in the anchor pattern. This dust is a common cause of “welding defect troubleshooting” issues as well, as it can get sucked into a weld pool and cause porosity.
- Perform the Water Break Test on flat surfaces.
- Use the White Rag Test on corners and recessed areas.
- Inspect the surface under a bright LED light to check for missed spots of mill scale.
- Check for “flash rust,” which is a light orange dust that forms within minutes in humid environments.
- If flash rust appears, a light scuff with a Scotch-Brite pad and a quick solvent wipe is required.
Understanding Heat Affected Zone Weakness in Surface Prep
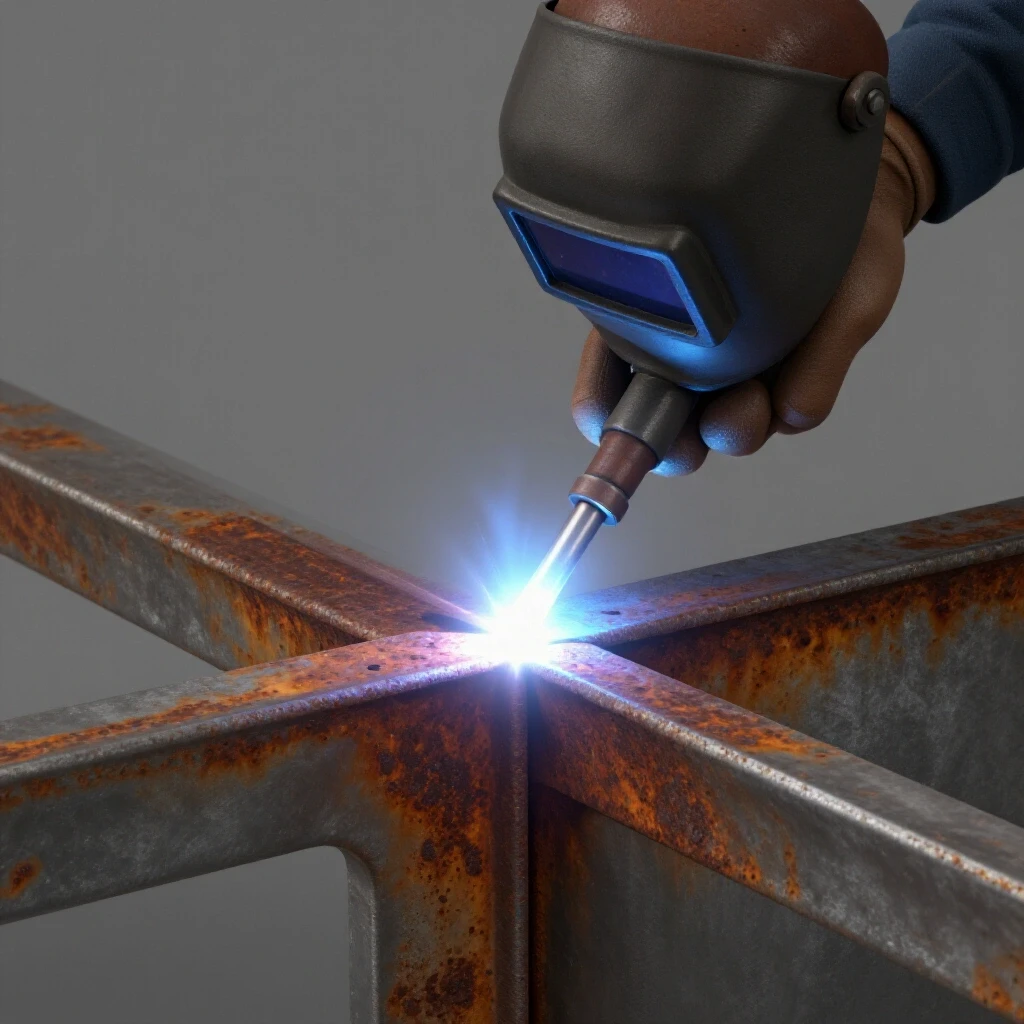
The Heat Affected Zone (HAZ) is the area of metal near a weld or cut that has had its properties changed by intense heat. In terms of surface preparation, the HAZ often has a different type of oxide layer that is harder to remove than standard mill scale. It also tends to be more prone to rapid rusting.
When I inspect heavy frames, I pay close attention to the areas around the joints. If the HAZ wasn’t cleaned back to bright metal, the paint often fails there first. This is dangerous because the joints are where the most stress occurs. If corrosion starts at the joint, it can lead to structural fatigue and eventual failure.
To handle the HAZ, you need to go a bit further with your mechanical abrasion. I usually grind about one to two inches past the weld bead to ensure I have reached unaffected metal. This ensures the coating protects the most vulnerable parts of the structure. This is a key part of maintaining the structural metal load capacity of the entire assembly.
- Grind away all “heat tint” (the rainbow colors near a weld).
- Ensure the surface profile is consistent across the weld and the base metal.
- Be careful not to remove too much base metal, which can thin the structural section.
- Use a stainless steel wire brush for cleaning stainless steel HAZ to avoid cross-contamination.
Adhesion Promotion and the Role of Primers
Adhesion promotion is the use of a specialized first layer, known as a primer, that is designed to bond chemically to the metal and provide a “sticky” surface for the final paint. A primer is the bridge between the raw steel and the protective topcoat.
For risk-averse fabricators, I highly recommend a self-etching primer or an epoxy primer. Self-etching primers contain a small amount of phosphoric acid that bites into the metal surface while depositing a thin protective film. Epoxy primers are thicker and provide a massive moisture barrier. They are the gold standard for parts that will be exposed to the elements or high stress.
In my workshop, I treat the priming step as part of the preparation, not the painting. You should apply your primer as soon as possible after the final cleaning. In high humidity, I try to prime within 30 minutes of the final wipe. If you wait overnight, an invisible layer of oxidation will form, and you will have to start the cleaning process over again.
- Self-Etching Primer: Best for fast projects and light-duty parts.
- Epoxy Primer: Best for structural frames and long-term durability.
- Zinc-Rich Primer: Provides “sacrificial” protection, great for highly corrosive environments.
- Avoid “All-in-One” spray cans for structural work; they rarely have enough resin to provide a real barrier.
Final Inspection Checklist for Metal Preparation
Before you move to the final coating, you must perform a final inspection. This is your last chance to catch an error that could lead to a structural failure later. I use a mental checklist every time I finish a prep job, and I encourage you to do the same.
- Visual Check: Is the metal a uniform grey color with no black spots?
- Touch Check: (Wear gloves!) Does the surface feel rough like fine sandpaper?
- Chemical Check: Did the water break test pass on all major surfaces?
- Safety Check: Are all solvent rags in the fire-safe bin?
- Environmental Check: Is the temperature and humidity within the primer’s specs?
- Coverage Check: Did I clean at least two inches past every weld and joint?
By following these steps, you are not just painting a project. You are engineering a protective system. This system keeps the steel strong by preventing the oxidation that leads to structural metal load capacity loss. It takes more time, and it is a dirty job, but the peace of mind that comes from a solid build is worth every minute of scrubbing.
Frequently Asked Questions
Why can’t I just paint over the black finish that comes on the steel? That black finish is mill scale. It is a brittle layer of iron oxide. While it looks solid, it is not bonded well to the underlying steel. Over time, moisture will get under it, or the metal will expand and contract with heat, causing the mill scale to flake off. If the mill scale falls off, your paint goes with it, leaving the steel open to rust.
Is it okay to use a wire wheel on a drill to prep the surface? Wire wheels are good for removing loose rust or dirt, but they are not ideal for final prep. They often “burnish” the metal, making it very smooth and shiny. Paint needs a rough “anchor pattern” to stick. If you use a wire wheel, follow up with 80-grit sandpaper to scuff the surface so the paint has something to grab.
What is the best way to clean steel if I don’t have a sandblaster? The most effective way is a combination of mechanical and chemical cleaning. Use an angle grinder with a 60-grit flap disc to remove the mill scale. Then, use a phosphoric acid-based metal prep solution to clean the pores of the metal. Finally, do a two-cloth wipe with acetone to remove any remaining oils.
How do I know if I have removed all the oil from the metal? The easiest way is the Water Break Test. Pour some clean water on the steel. If the water stays in a flat sheet, it is clean. If it beads up like water on a freshly waxed car, there is still oil or grease on the surface. You should keep degreasing until the water no longer beads.
What happens if I wait too long between cleaning and priming? Raw steel begins to oxidize almost immediately when exposed to air and moisture. This is called “flash rust.” Even if you cannot see it yet, a microscopic layer of rust can form within an hour in humid conditions. This layer will trap moisture under your paint. Always try to prime within 30 to 60 minutes of your final cleaning.
Can I use brake cleaner to degrease the metal? While brake cleaner is a strong degreaser, I do not recommend it for metal prep. Some brake cleaners contain chlorinated compounds. If even a tiny amount of residue is left and it gets heated (like by a welder or a heat gun), it can turn into phosgene gas, which is highly toxic. Stick to acetone or dedicated wax and grease removers.
Do I need to wear a respirator just for sanding steel? Yes. Sanding creates very fine dust made of iron and abrasive particles. These particles can get deep into your lungs and stay there, leading to long-term health issues. A simple N95 mask is okay, but a P100 respirator provides much better protection and is more comfortable for long periods.
What is the “Heat Affected Zone” and why does it matter for prep? The Heat Affected Zone (HAZ) is the metal around a weld or cut that was heated but not melted. This heat changes the metal’s structure and often creates a stubborn layer of oxide. This area is often the first place rust starts. You must grind this area back to bright, shiny metal to ensure your coating sticks.
Does the thickness of the steel change how I should prep it? The steps are the same, but thicker steel often has heavier mill scale that requires more aggressive grinding. Thinner steel can warp if you get it too hot with a grinder, so you should use a lighter touch or chemical strippers. Regardless of thickness, the goal is the same: a clean, textured, oil-free surface.
Can I use a “rust converter” instead of removing the rust? Rust converters are okay for non-structural, decorative items, but I do not recommend them for structural projects. They work by turning iron oxide into a more stable layer, but they don’t remove the underlying problem. For the best durability, it is always better to mechanically remove the rust and start with a clean surface.
(This article was written by one of our staff writers, James Harlan. Visit our Meet the Team page to learn more about the author and their expertise.)