How to Prepare and Bevel Metal Joints for Deep Welds (Fix)
In my 14 years on the shop floor, I have learned that a weld is only as strong as the empty space you create before you ever pick up a torch. I remember early in my career, I was tasked with building a heavy-duty engine hoist frame. I spent hours laying down what I thought were beautiful, thick beads of metal. To my eye, they looked like a row of perfect coins. But when we put that frame under a load test that mimicked its maximum structural metal load capacity, the joints didn’t just bend—they unzipped.
The failure wasn’t in the machine settings or my hand stability. The failure was in the preparation. I had tried to join two pieces of half-inch steel plate with a simple square-edge butt joint. Because I had not opened up the metal to allow the molten material to reach the center of the plate, the weld was only “skin deep.” We call this a lack of penetration, and in a structural setting, it is a recipe for disaster. This article is about how to ensure your heavy-duty projects never suffer that same fate.
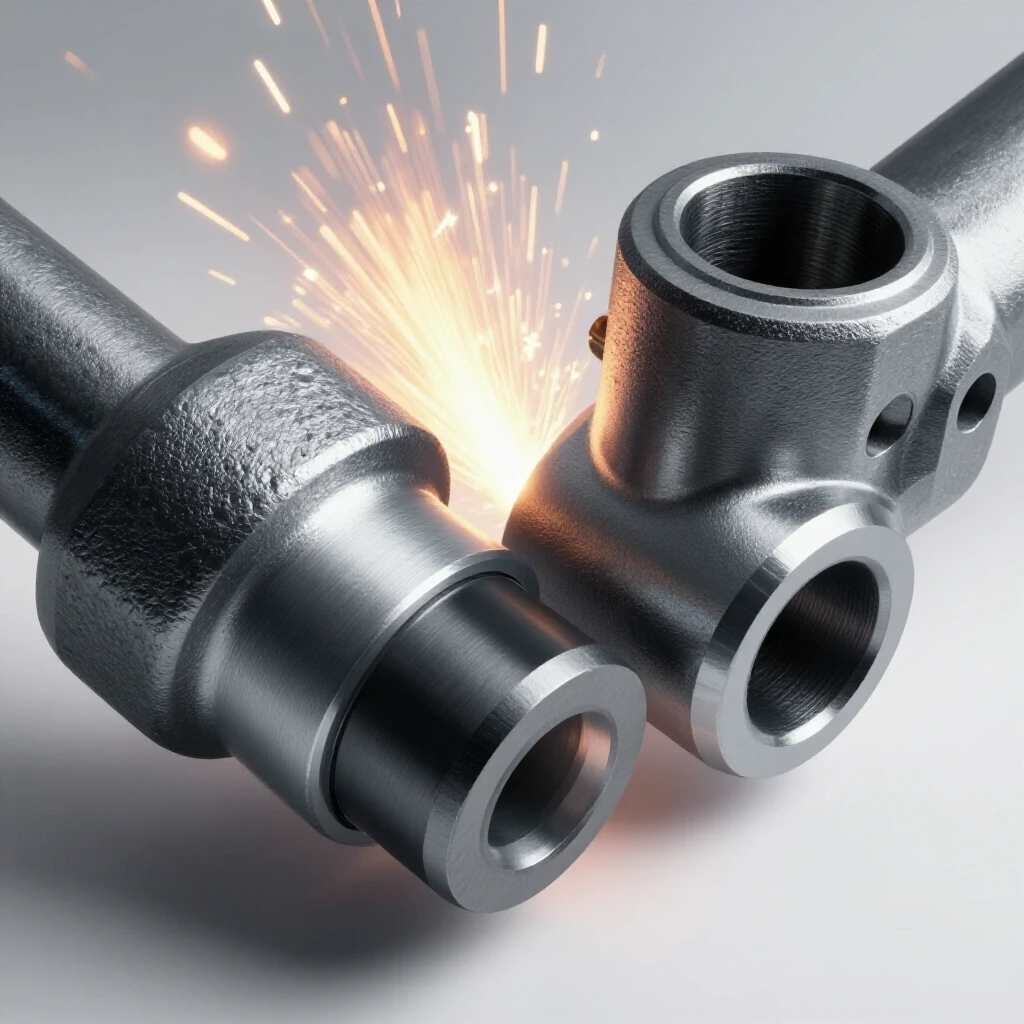
The Physics of Deep Joint Geometry and Load Distribution
Structural integrity in heavy plate fabrication depends on the “throat” of the weld, which is the shortest distance from the root to the face. On thick materials, a simple surface bead provides a very small throat relative to the thickness of the metal. By removing material and creating a void—a process known as beveling—you allow the weld to occupy the entire cross-section of the joint.
This ensures that the load path travels through the entire thickness of the steel rather than just the outer edges. When you ignore this, you create a “stress riser” at the center of the joint where the two plates are touching but not fused. Under tension or vibration, this internal gap acts like a pre-existing crack, leading to brittle fracture or fatigue failure.
Understanding Structural Metal Load Capacity in Heavy Joints
Structural load capacity refers to the maximum stress a joined component can withstand before it deforms or breaks. In fabrication, we often aim for a 4:1 safety factor, meaning the joint should be four times stronger than the highest expected load. This is only possible if the joint is designed for full-thickness fusion.
| Joint Type | Preparation Method | Load Path Efficiency | Best Use Case |
|---|---|---|---|
| Square Butt | No bevel, 1/16″ gap | Low (Thin stock only) | Sheet metal, non-structural |
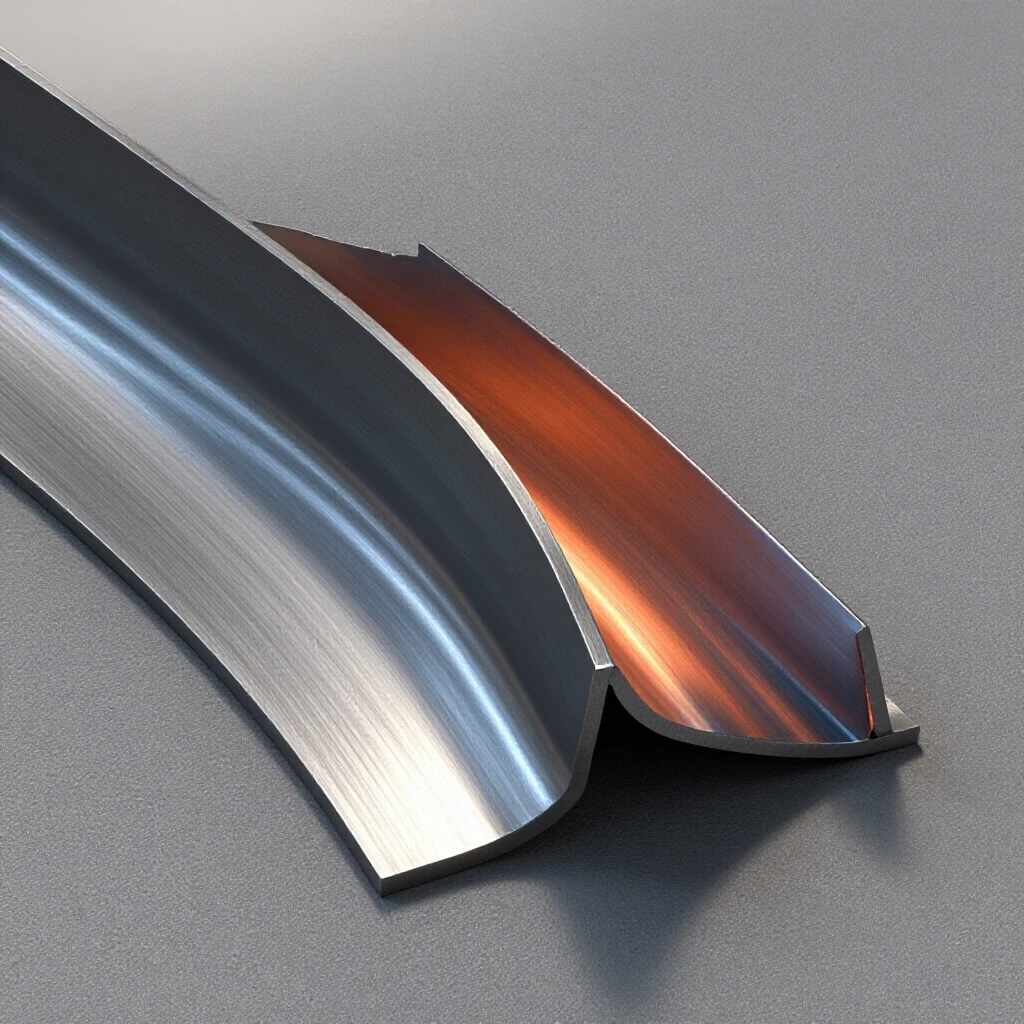
| Single V-Groove | 30-37.5° bevel on both sides | High | Plates up to 3/4″ thick |
| Double V-Groove | Bevel on top and bottom | Excellent | Plates over 3/4″ thick |
| J-Groove | Curved radius bevel | Very High | Heavy machinery, cast repairs |
The Heat Affected Zone Weakness and Its Impact
The Heat Affected Zone (HAZ) is the area of base metal that does not melt but undergoes changes in its microstructure due to the intense heat of the process. If a joint is not properly prepared, you often have to use excessive heat to try and “force” penetration. This enlarges the HAZ, which can lead to grain coarsening and a loss of toughness in the steel. Proper edge preparation allows for a more controlled heat input, keeping the HAZ narrow and preserving the mechanical properties of your material.
Mechanical Edge Preparation for Structural Stability
Creating a proper bevel is the most labor-intensive part of heavy fabrication, but it is also the most critical. For stock thicker than 1/4 inch, you must create a “groove” that allows the arc to reach the very bottom of the joint. This is typically done by grinding or machining the edge of the plate to a specific angle, usually between 30 and 37.5 degrees, creating a total “included angle” of 60 to 75 degrees when the two plates are brought together.
A common mistake in garage fabrication safety is failing to leave a “root land” or “root face.” This is a small flat section (usually 1/16 to 1/8 inch) left at the very bottom of the bevel. Without this land, the thin edge of the bevel will melt away instantly, making it nearly impossible to control the gap.
Choosing the Right Bevel Angle for Full Penetration
The angle of your bevel determines how much filler material you will need and how easily you can reach the bottom of the joint. If the angle is too narrow (under 45 degrees included), you risk “wagon tracks,” which are voids trapped at the edges of the weld. If the angle is too wide, you waste time and material filling a massive hole, which also increases the risk of warping due to excessive heat.
- Single-V Bevels: Best for plates where you can only access one side.
- Double-V Bevels: Best for very thick plate to balance the heat and prevent the metal from “tacoing” or pulling in one direction.
- Root Face (Land): Provides a heat sink to prevent the bottom of the joint from blowing out.
Tools for Creating Precise Bevels
While industrial shops use large milling machines, a home fabricator can achieve professional results with a few specific tools. The goal is a smooth, consistent surface. A jagged or uneven bevel will lead to inconsistent heat absorption and potential defects.
- High-Torque Angle Grinders: Use a 7-inch or 9-inch grinder for heavy plate to maintain consistent RPM under load.
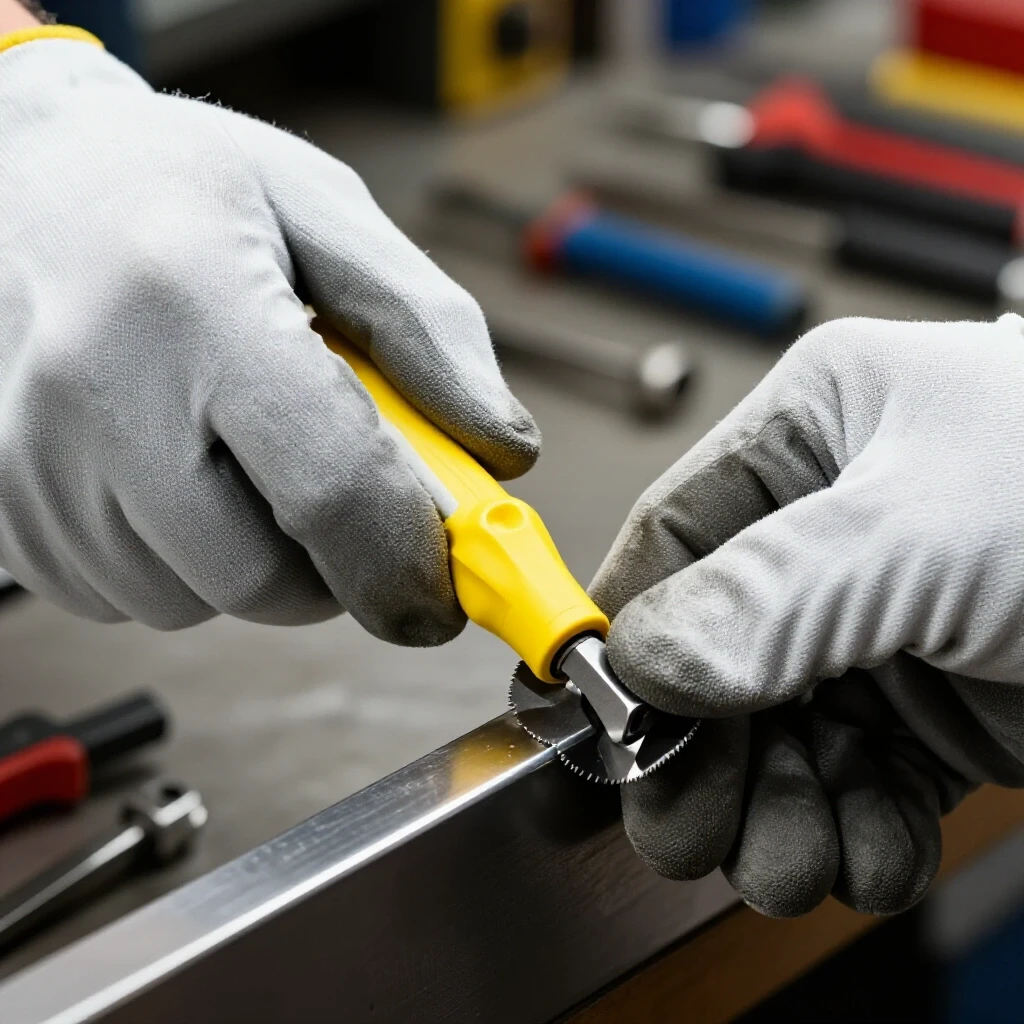
- Beveling Attachments: These wrap around the edge of the plate to ensure a perfect 30 or 45-degree angle.
- Plasma Cutters with Guides: A fast way to remove material, though the edge must be cleaned of dross and the “nitride layer” afterward.
- Carbide Burrs: Excellent for cleaning up J-grooves or tight corners where a disc cannot reach.
Surface Contamination and the Science of Clean Metal
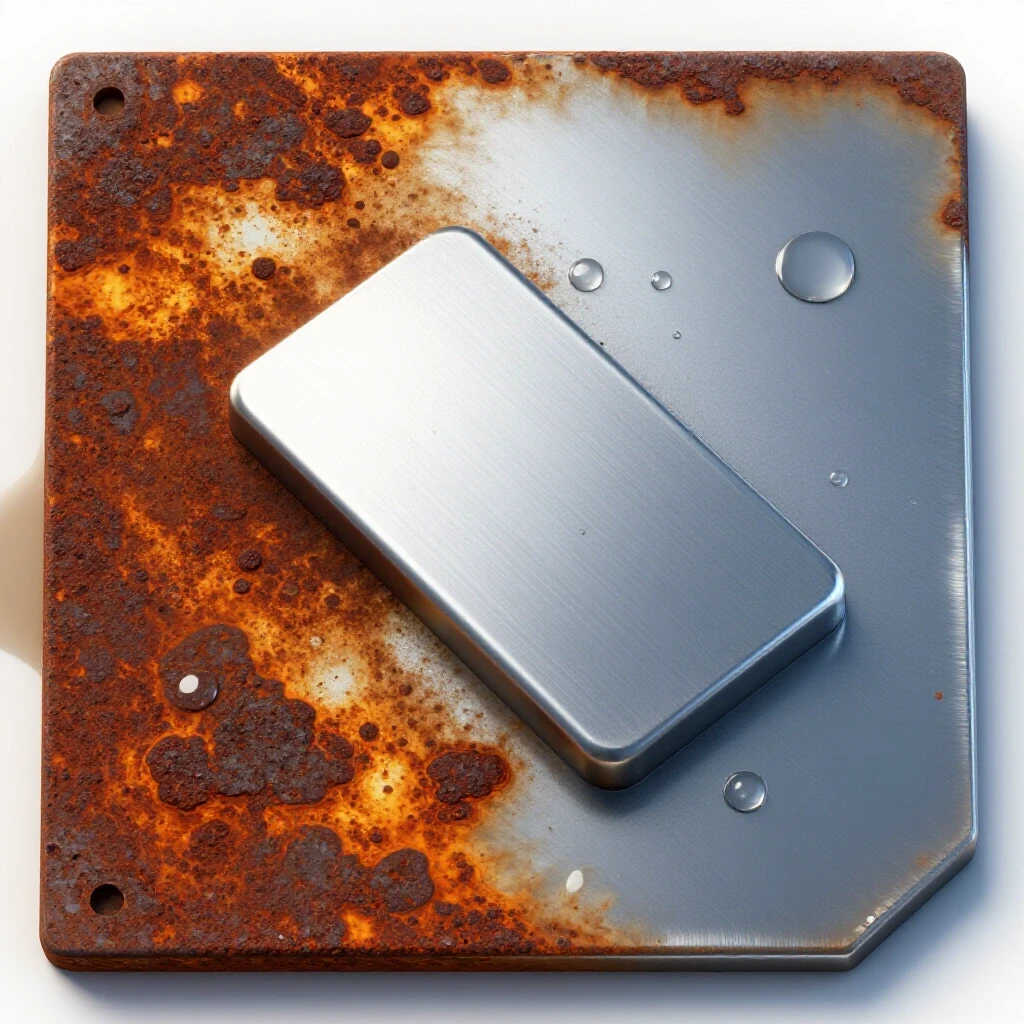
One of the most frequent causes of failure in heavy-duty projects is “mill scale.” This is the dark, flaky layer of iron oxide that forms on hot-rolled steel during manufacturing. Mill scale has a higher melting point than the steel itself. If you try to weld over it, the scale can get trapped inside the molten metal, causing porosity or “lack of fusion” defects.
Cleaning the metal is not just about looks; it is about chemistry. Any oil, grease, or paint left on the surface will vaporize and release hydrogen or carbon into the weld pool. This can lead to “hydrogen embrittlement,” where the joint looks fine but is actually as brittle as glass.
Removing Mill Scale and Oxides
You must clean the metal at least one inch back from the edge of the bevel. This ensures that as the metal gets hot, no contaminants are “sucked” into the joint.
- Flap Discs (40-60 Grit): Good for removing light rust and providing a smooth finish.
- Grinding Wheels: Necessary for heavy mill scale and shaping the bevel itself.
- Chemical Degreasers: Use these to remove any cutting oils from the machining or sawing process.
- Wire Brushes (Stainless Steel): Essential for non-ferrous metals like aluminum to remove the thick oxide layer that forms instantly.
Troubleshooting Prep-Related Defects
| Defect | Root Cause in Preparation | Corrective Action |
|---|---|---|
| Porosity | Moisture, oil, or mill scale on the surface | Grind to bright metal; wipe with acetone |
| Lack of Fusion | Bevel angle too narrow or dirty edges | Increase included angle; remove all oxides |
| Burn-Through | Root land too thin or gap too wide | Leave a 1/16″ to 1/8″ flat land on the bevel |
| Slag Inclusions | Rough, jagged bevel surfaces | Smooth the bevel face with a fine-grit disc |
Fixturing and Root Opening Management
Once the edges are beveled and cleaned, you must secure the parts so they don’t move. Metal expands when it gets hot and contracts as it cools. In a long structural joint, this “pull” can be powerful enough to snap heavy clamps or warp a 1-inch thick plate. Managing the “root opening”—the gap between the two pieces—is the key to a successful deep-penetration joint.
A root opening of 1/16 to 1/8 inch is standard for most structural work. This gap allows the heat to pass through to the back side of the plate, ensuring the two pieces are fused all the way through. If the gap is too tight, the weld will sit on top. If it is too wide, the molten metal will simply fall through the hole.
Using Spacers and Tacks for Alignment
To keep the gap consistent, I use “spacers” made from scrap wire or small pieces of sheet metal. These are placed in the joint, the parts are clamped, and then “tack welds” are applied every few inches.
- Bridge Tacks: These are tacks that jump over the gap without touching the root. They hold the plates together but are easily ground away as you perform the main pass.
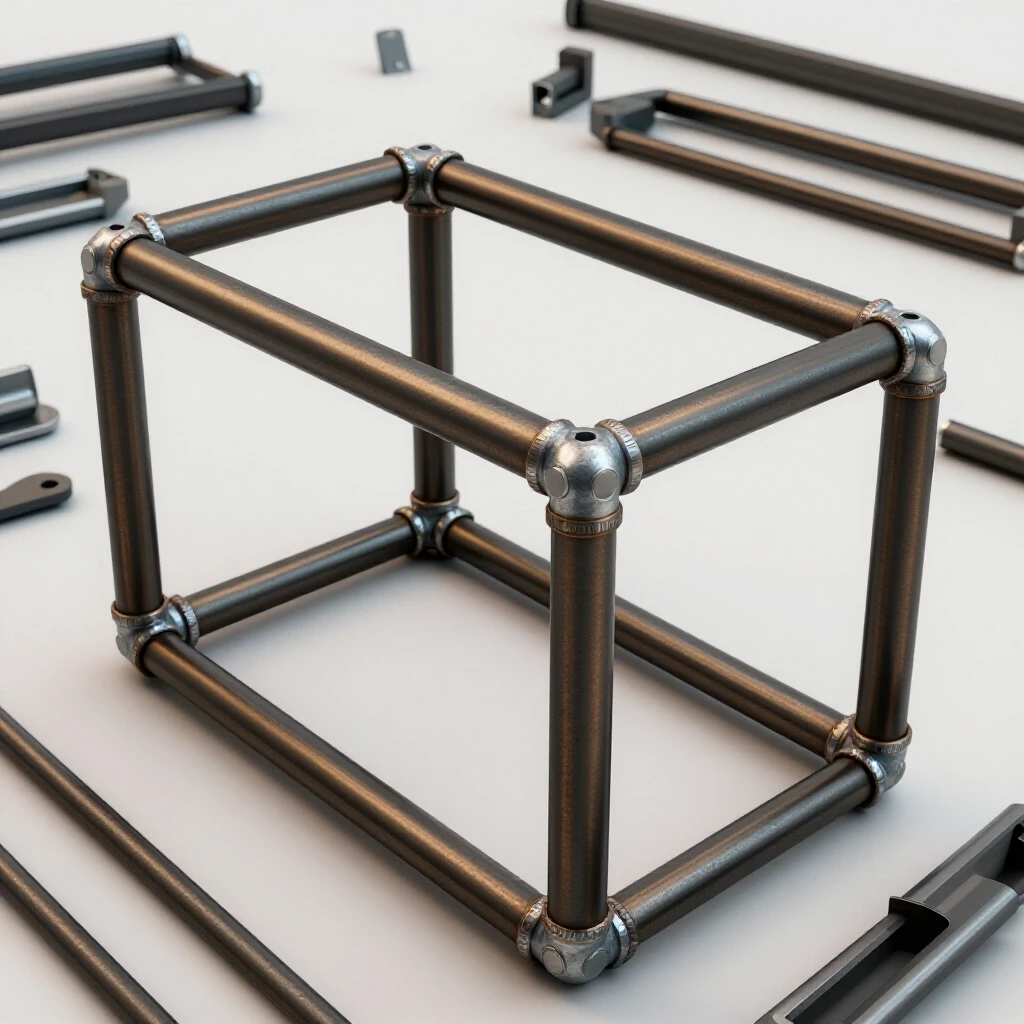
- Strongbacks: These are heavy pieces of scrap metal welded across the joint on the back side to prevent the plates from pulling upward (warping) during the process.
- Tack Spacing: For 1/2 inch plate, a 1-inch long tack every 6 to 8 inches is usually sufficient to hold the geometry.
Workshop Safety Checklist for Heavy Preparation
Preparation involves high-speed cutting and heavy lifting, both of which carry significant risks. Before you start grinding or positioning heavy plates, go through this safety check.
- Face Shield and Safety Glasses: Double protection is mandatory when using heavy grinding wheels that can shatter.
- Hearing Protection: High-decibel grinders can cause permanent damage in minutes.
- Fire Watch: Ensure all sparks are directed away from flammable materials; keep a fire extinguisher within reach.
- Ergonomics: Use sawhorses or a welding table at the correct height to avoid back strain when handling heavy stock.
- Ventilation: Grinding mill scale and cutting metal creates fine dust that should not be inhaled. Use a P100 respirator.
Atmospheric Preparation and Gas Coverage
While we aren’t discussing the welding process itself, you must prepare the environment to protect the joint once the work begins. Wind or drafts in a garage can blow away your shielding gas, leading to porosity. If you are working in a garage, ensure your welding gas flow rate is calibrated correctly—typically between 15 and 20 CFH (Cubic Feet per Hour)—and that you have shields in place to block any wind from open doors.
PPE Shade and Rating Recommendations
When you finally move from preparation to the arc, your safety gear must match the intensity of the work. Deep, multi-pass work on thick plate generates intense ultraviolet radiation and heat.
- Auto-Darkening Helmet: Ensure it is rated for Shade 10-13.
- Leather Apron and Sleeves: Essential for protecting against the heavy “spatter” common in deep-groove work.
- Respirator: A low-profile mask that fits under your helmet to filter out metal fumes.
Real-World Case Study: The Utility Trailer Tongue
A few years ago, a neighbor asked me to look at a trailer he had built. He had used 3/8-inch wall square tubing for the tongue. He had cut the pieces at a 45-degree angle to create a miter joint but didn’t bevel the edges. He simply pushed them together and welded the seam.
Six months later, while hauling a load of gravel, the tongue snapped. When I looked at the break, the “weld” was only about 1/16 of an inch deep. The rest of the 3/8-inch steel was untouched. We fixed it by grinding a deep V-groove into the break, leaving a 1/8-inch root land, and then rebuilding the joint. That trailer is still on the road today because the load is now carried by the entire thickness of the steel, not just a thin skin of metal on the surface.
Final Joint Verification Checklist
Before you begin the actual fusion process, use this checklist to verify your preparation. This is your last chance to catch an error that could lead to structural failure.
- Angle Check: Is the included angle at least 60 degrees?
- Root Land: Is there a consistent 1/16″ to 1/8″ flat face at the bottom?
- Root Opening: Is the gap consistent along the entire length of the joint?
- Cleanliness: Is the metal shiny and silver for at least one inch on all sides?
- Alignment: Are the two plates flush, or is one higher than the other (high-low)?
- Tack Integrity: Are the tacks strong enough to hold the weight and the thermal pull?
FAQ: Mastering Deep Joint Preparation
Why can’t I just turn up the heat instead of beveling?
Turning up the heat increases the risk of “burn-through” and creates a massive Heat Affected Zone (HAZ). This makes the surrounding metal brittle. Beveling allows you to reach the center of the plate with controlled heat, maintaining the metal’s strength.
How do I know if I need a single-V or a double-V bevel?
Generally, if the metal is over 3/4 inch thick and you have access to both sides, a double-V is better. It requires less filler metal and balances the heat, which reduces warping. For anything thinner, a single-V is usually sufficient.
What happens if I don’t remove the mill scale?
Mill scale acts as an insulator and an impurity. It can cause the arc to wander, prevent the metal from fusing properly, and trap gas bubbles (porosity) inside the joint, significantly weakening it.
What is the ideal root gap for 1/2 inch plate?
A gap of 3/32 to 1/8 inch is ideal. This allows the arc to penetrate to the back side while still providing enough metal for the “root pass” to bridge the gap.
Can I use a plasma cutter to make my bevels?
Yes, but plasma cutting leaves a “nitride layer” and dross on the edge. You must grind the face of the bevel back to bright, shiny metal to ensure the weld fuses correctly.
How do I prevent the gap from closing as I work?
Use heavy tacks and “bridge tacks” to hold the plates. For very long joints, you can also use “wedges” or spacers that you remove as you progress along the seam.
Is a 30-degree bevel angle mandatory?
It is a standard industry recommendation. An angle much smaller than 30 degrees (per side) makes it hard to get the torch into the bottom of the groove. An angle much larger wastes time and material.
Do I need to bevel both pieces in a T-joint?
For structural T-joints on thick plate, yes. Beveling one or both sides of the vertical member (the “web”) ensures that the joint is fused into the center of the plate rather than just sitting on the surface of the “flange.”
What is “High-Low” and why does it matter?
“High-Low” refers to one plate being slightly higher than the other at the joint. This creates an uneven load path and makes it difficult to get even penetration. Always use clamps or “dogs and wedges” to pull the plates flush before tacking.
Can I bevel with a regular 4.5-inch grinder?
You can, but it will take a long time and use many discs on thick plate. A larger 7-inch grinder or a dedicated beveling tool is much more efficient and produces a flatter, more consistent surface.
(This article was written by one of our staff writers, James Harlan. Visit our Meet the Team page to learn more about the author and their expertise.)