How to Safely Drill Holes in Hardened Metal Parts (Guide)
I remember the first time I tried to put a 1/2-inch hole through a piece of leaf spring for a custom heavy-duty trailer bracket. I was three years into my career, and I thought I knew my way around a drill press. I grabbed a standard high-speed steel bit, cranked the speed up to 1,000 RPM, and leaned into the handle. Within ten seconds, the screaming sound of metal-on-metal friction filled the shop, and the tip of my drill bit turned a dull, glowing orange before melting into a useless nub. I hadn’t even made a dimple in the steel.
That failure taught me that hardened alloys do not play by the same rules as mild steel. In the fourteen years since, inspecting industrial components and managing shop floor fabrication, I have learned that penetrating high-strength materials is a game of physics, heat management, and extreme patience. If you approach a hardened workpiece with the wrong tools or the wrong mindset, you will waste money on ruined bits and risk structural failure or personal injury.
This guide is for the fabricator who wants to avoid those “screaming metal” moments. We are going to look at the mechanical principles of cutting through hard stock, the specific tooling required for the job, and the safety protocols that keep your fingers and your projects intact.
Understanding Material Hardness and Structural Resistance
Material hardness is a measure of how well a metal resists permanent shape change when a force is applied. In the workshop, we usually measure this on the Rockwell C scale (HRC). While common mild steel sits low on the scale, hardened parts like grader blades, springs, or tool steels often range from 40 to 65 HRC, requiring specialized approach strategies.
When a metal is hardened, its internal structure is packed tightly to prevent the atoms from sliding past one another. This makes the material incredibly strong, but it also makes it brittle and resistant to cutting. If you try to use a standard drill bit on a part with a high HRC rating, the bit—which is often softer than the workpiece—will simply rub against the surface. This friction creates intense heat, which can actually make the metal even harder in a process known as work hardening, effectively creating a “glass” layer that no drill can penetrate.
Hardness Comparison and Drillability
| Material Type | Typical Rockwell Hardness (HRC) | Difficulty Level | Recommended Tooling |
|---|---|---|---|
| Mild Steel (A36) | 5 – 15 (converted) | Low | High-Speed Steel (HSS) |
| Grade 8 Bolts | 33 – 39 | Medium | Cobalt (M42) |
| Leaf Springs / AR400 | 40 – 45 | High | Cobalt or Carbide |
| File Steel / AR500 | 50 – 60 | Extreme | Solid Carbide |
| Bearing Races | 60+ | Critical | Specialized Carbide / Grinding |
Tooling Selection for High-Strength Alloys
Choosing the right tool is the difference between a clean cut and a shattered bit. For hardened materials, the two primary contenders are Cobalt and Solid Carbide. These materials are designed to maintain their hardness even when they get hot, which is the primary failure point for standard high-speed steel bits in a heavy-duty environment.
Cobalt bits, specifically the M42 grade, contain about 8% cobalt. This addition doesn’t necessarily make the bit harder, but it makes it much more heat-resistant. They are tough and can handle a bit of vibration without snapping. Solid carbide, on the other hand, is extremely hard and can cut through almost anything, but it is as brittle as glass. If your setup vibrates or if you tilt the drill even slightly, a carbide bit will shatter instantly.
- High-Speed Steel (HSS): Avoid these for hardened parts; they will dull almost instantly.
- Cobalt (M42): The “workhorse” for materials up to 45 HRC. They are affordable and resilient.
- Solid Carbide: Necessary for materials above 50 HRC. They require a very rigid setup, preferably a heavy drill press or milling machine.
- Carbide-Tipped: A middle-ground option that combines a tough steel body with a hard cutting tip, often used in masonry but specific versions exist for hard metal.
Calculating Rotational Speeds and Downward Pressure
In metalworking, the speed at which the cutting edge moves across the material is called Surface Feet Per Minute (SFM). Hardened metals require a very low SFM to prevent the cutting edge from burning up. Most beginners run their drills far too fast, which leads to immediate tool failure and potential material damage.
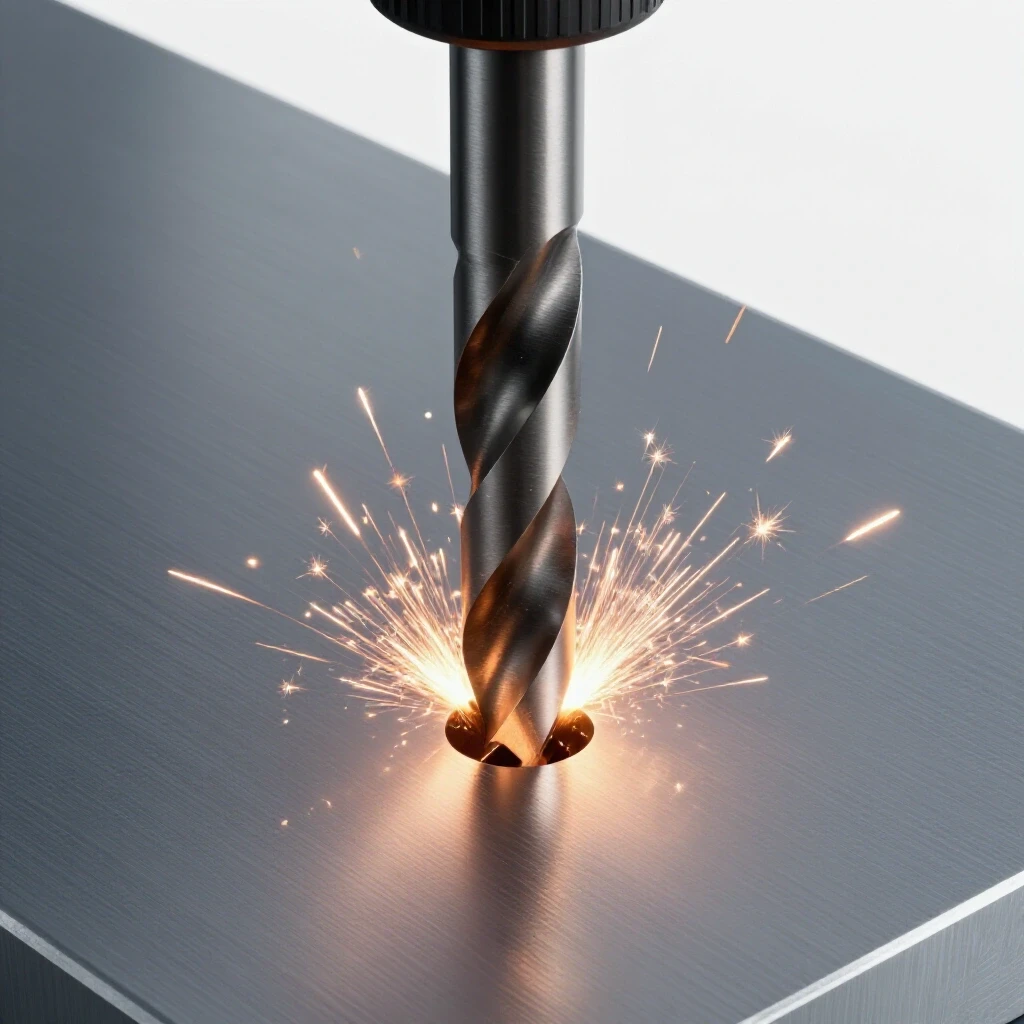
The goal is to produce actual metal chips, not fine dust or smoke. To do this, you need a slow RPM (Revolutions Per Minute) and high feed pressure. You must “force” the bit into the material so it stays under the surface of the metal. If the bit is allowed to spin without cutting, it will rub, create heat, and work-harden the spot you are trying to drill, making further progress nearly impossible.
RPM Estimation Table for Hardened Steel (30-45 HRC)
| Drill Diameter | Target SFM (15-25) | Recommended RPM |
|---|---|---|
| 1/8 inch | 20 | 600 – 800 |
| 1/4 inch | 20 | 300 – 400 |
| 3/8 inch | 20 | 200 – 250 |
| 1/2 inch | 20 | 150 – 200 |
- Formula: RPM = (SFM x 3.82) / Diameter.
- The “Chip Rule”: If you aren’t seeing silver or straw-colored curls of metal, you are likely running too fast or not pressing hard enough.
- The Sound Check: A healthy cut in hard metal should sound like a consistent, low-pitched growl, not a high-pitched squeal.
Heat Management and Lubrication Strategies
Heat is the primary enemy of any cutting operation. When drilling hard stock, the friction generated at the point of contact can easily exceed 1,000 degrees Fahrenheit. If this heat isn’t managed, the drill bit will lose its “temper” (its hardness) and the workpiece will become even more difficult to penetrate.
Using a high-quality cutting fluid is mandatory. These fluids are not just for cooling; they provide lubrication that reduces the friction in the first place. For hardened metals, I recommend heavy-duty sulfurized oils or molybdenum-based pastes. These “extreme pressure” lubricants stay on the cutting edge even under the heavy loads required to bite into hard steel.
- Avoid “Pecking”: While pecking (lifting the bit) is common in deep holes, doing it too much in hardened metal allows the surface to cool and work-harden between passes.
- Constant Flow: If possible, use a constant drip or a brush to keep the hole filled with oil.
- Chip Clearance: Stop only when chips clog the flutes, clear them, re-apply oil, and get back into the cut immediately.
Secure Workholding and Operator Safety Layouts
When you are applying the high levels of downward pressure required for hardened steel, the risk of the workpiece “spinning out” increases dramatically. If the drill bit catches on a chip or at the exit point of the hole, it can turn the workpiece into a spinning blade in a fraction of a second. This is often called the “helicopter effect,” and it is a leading cause of hand injuries in the shop.
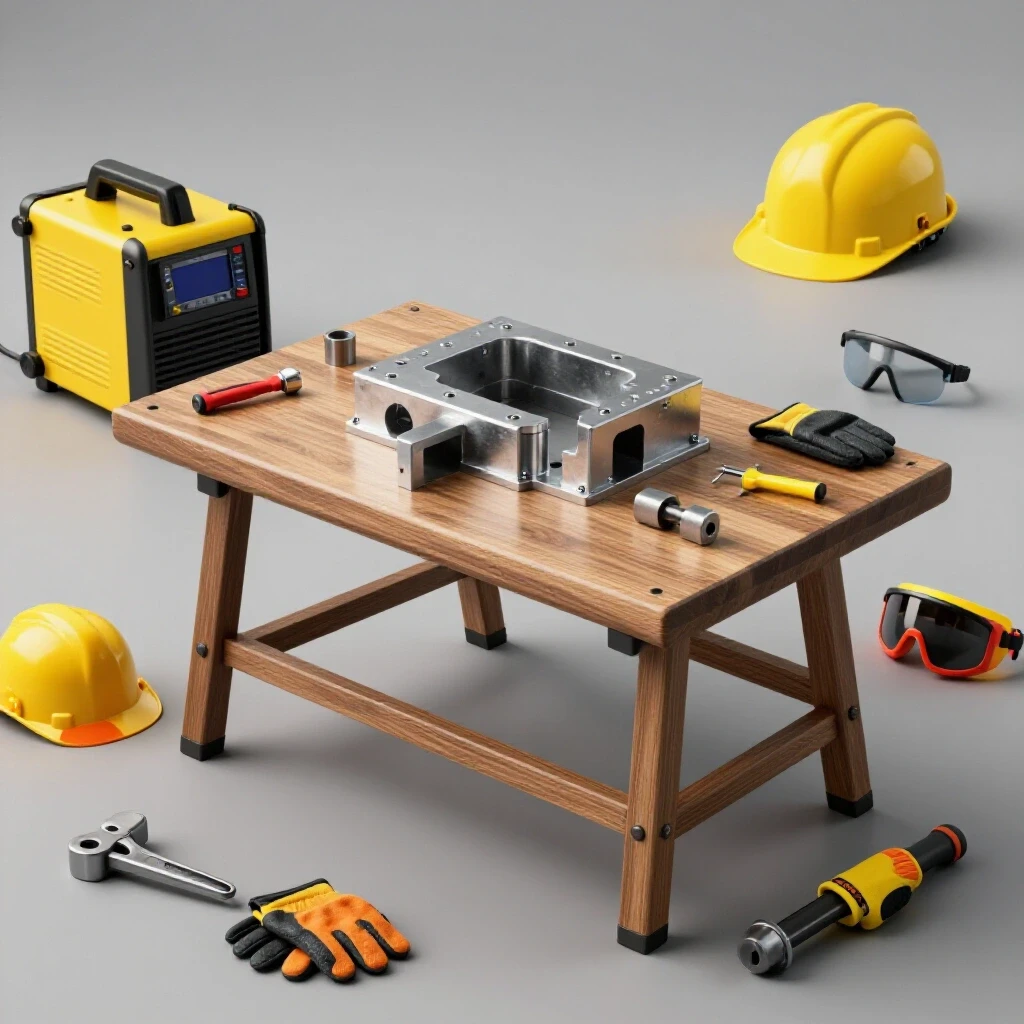
A safe workshop layout requires a clear “no-go” zone around the drill press and a mechanical means of securing the part. Never attempt to hold a hardened part by hand while drilling, even if you are wearing gloves. In fact, gloves can be a hazard around rotating machinery as they can get caught in the spindle and pull your hand into the tool.
Workshop Safety Checklist for Heavy Drilling
- Mechanical Clamping: Use a drill press vise that is bolted directly to the table.
- Backing Material: Place a piece of scrap mild steel or wood under the workpiece to prevent “breakout” damage and to protect the drill table.
- Eye Protection: Use a face shield over safety glasses; hardened chips are often hot and sharp, and carbide bits can shatter into many small pieces.
- Spindle Guard: Ensure the drill press has a guard to contain any shattered tooling.
- Emergency Stop: Know exactly where the power switch is before you start the spindle.
The Step-by-Step Process for Clean Apertures
Approaching the hole in stages can save your expensive bits and ensure the hole stays on center. Hardened metal is unforgiving; if you start off-center, you cannot easily “nudge” the bit back to where it belongs. I always start with a solid plan that involves marking, spotting, and then the final cut.
Because hardened steel is so difficult to center-punch, I often use a small carbide masonry bit or a specialized “spotting drill” to create a shallow starting dimple. This prevents the larger, more expensive bit from “walking” across the surface of the part. Once the center is established, you can move to your primary bit.
- Marking: Use a carbide-tipped scriber to mark your center point. A standard pencil or marker will likely be rubbed off by the cutting oil.
- Spotting: Use a short, rigid spotting drill (not a center drill, which can snap easily) to create a seat for the main bit.
- The Main Cut: Set your RPM based on the final hole size. Apply steady, heavy pressure.
- The Exit: This is the most dangerous part. As the bit begins to poke through the bottom, it is prone to catching. Reduce your pressure slightly but keep the bit moving to prevent it from seizing.
Identifying and Correcting Common Drilling Failures
In my 14 years on the shop floor, I’ve seen that most failures provide a visual clue before the disaster happens. If you know what to look for, you can stop the machine and adjust your strategy before you ruin the part. The most common sign of trouble is “glazing,” where the bottom of the hole starts to look like a mirror. This means you are rubbing, not cutting.
Another common issue is “chipping” of the drill flutes. This usually happens with carbide bits when there is too much vibration or if the workpiece isn’t clamped tightly enough. If you see small flakes of the drill bit in your oil, stop immediately. Those flakes are harder than the bit itself and will act like sandpaper, destroying the rest of the tool in seconds.
Troubleshooting Guide
| Symptom | Probable Cause | Corrective Action |
|---|---|---|
| Bit turns blue or black | Excessive RPM / Lack of oil | Reduce speed and increase lubrication. |
| Hole surface is shiny/glassy | Work hardening from rubbing | Increase pressure or use a sharper carbide bit. |
| Drill bit chatters loudly | Loose clamping or too high speed | Tighten all clamps and slow the spindle. |
| Bit snaps suddenly | Brittle failure (Carbide) | Check for vibration or misalignment. |
| Chips are tiny dust particles | Insufficient feed pressure | Lean into the handle more to force a chip. |
Structural Integrity and Load Path Considerations
When you drill a hole in a hardened structural component, you are creating a “stress riser.” Hardened materials do not handle stress concentrations well because they cannot deform to spread the load. If you place a hole too close to the edge of a hardened bracket, the material is likely to crack from the hole to the edge under load.
As a general rule in mechanical engineering, the distance from the center of the hole to the edge of the part should be at least 1.5 to 2 times the diameter of the hole. In hardened materials, I prefer to push that to 2.5 times to ensure a high safety margin. This prevents brittle fracture, where the part snaps suddenly without warning.
- Safety Factor: Aim for a 4:1 safety factor when designing holes in hardened load-bearing parts.
- Edge Distance: Keep holes away from bends or existing welds where the heat-affected zone may have already altered the material properties.
- Hole Quality: Ensure the inside of the hole is smooth. Scratches or “chatter marks” inside the hole can act as starting points for cracks.
Advanced Tools for the Modern Workshop
While traditional drill presses are the standard, new technology has made working with hard alloys much safer. Modern “smart” drill presses can monitor the load on the motor and automatically reduce speed if they detect the bit is binding. Additionally, non-destructive testing (NDT) kits, like dye penetrants, are now affordable for home shops. These allow you to check the area around your new hole for microscopic cracks that could lead to failure later.
If you find yourself frequently working with hardened stock, investing in a rigid, heavy-cast iron milling machine or a high-end magnetic base drill can provide the stability that a standard hobbyist drill press lacks. The more mass your machine has, the less vibration will reach the bit, which is the secret to making carbide tools last.
- Dye Penetrant Kits: Use these after drilling to ensure no micro-cracks formed in the brittle material.
- Digital Tachometers: A $20 handheld laser tachometer can verify your drill press is actually spinning at the low RPM you calculated.
- Carbide End Mills: Sometimes, “drilling” a hole is better done with a small carbide end mill in a milling machine, which can handle the lateral stresses better than a drill bit.
Practical Next Steps for Your Project
The key to success with hardened metals is preparation. Before you touch the bit to the workpiece, take five minutes to verify your setup. Check your RPM, ensure your clamps are tight, and make sure you have your safety gear on.
Start with a test piece if possible. If you are drilling a leaf spring, try to drill a hole in a scrap end first to get a feel for how much pressure is required. This “calibration” run will give you the confidence to execute the final cut on your actual project without the anxiety of a potential failure.
Remember, in the world of hardened fabrication, slow is smooth, and smooth is fast. By respecting the material’s limits and using the right physics-based approach, you can create professional, structurally sound projects that stand up to real-world loads.
FAQ: Frequently Asked Questions
Can I use a standard hand drill to create holes in hardened steel?
It is highly discouraged. Hardened metal requires extreme downward pressure and a very consistent angle. A hand drill lacks the rigidity to keep the bit from tilting, which will almost certainly shatter a cobalt or carbide bit. Furthermore, if the bit catches, the torque can easily wrench the drill out of your hands, causing wrist injuries.
What should I do if my drill bit gets stuck in the hole?
Do not try to force it out by running the drill in reverse. This often shatters the brittle flutes of the bit. Instead, disconnect power, loosen the chuck, and try to gently tap the workpiece or use pliers to rotate the bit manually. If it’s a carbide bit and it’s truly seized, you may have to carefully shatter the bit with a punch to remove the pieces.
How do I know if a part is “hardened” before I start?
The “File Test” is the quickest method. Take a standard metal file and try to bite into an edge of the material. If the file slides off like it’s on glass and doesn’t leave a mark, the material is likely 50+ HRC. If it bites slightly but with difficulty, it is likely in the 30-45 HRC range.
Why do my drill bits keep “walking” across the surface?
Hardened steel is too slick for standard drill points to grab. Use a carbide-tipped spotting drill or a very short, stubby bit to create a starting point. Ensure your workpiece is perfectly level; even a slight tilt will cause the bit to wander.
Is it okay to use water as a coolant?
No. Water can cause thermal shock in carbide bits, causing them to crack. Additionally, water does not provide the lubrication needed to reduce friction. Use a dedicated cutting oil or a high-pressure grease designed for machining.
Can I sharpen cobalt or carbide bits at home?
Cobalt bits can be sharpened on a standard bench grinder with a fine-grit wheel, though it takes practice to maintain the correct angles. Carbide bits require a diamond grinding wheel and a very steady hand or a specialized jig; they cannot be sharpened with standard aluminum oxide wheels.
What is “breakout” and how do I prevent it?
Breakout occurs when the drill bit pushes through the bottom of the material, often tearing a chunk of metal with it. To prevent this in hardened (brittle) metal, use a “sacrificial” backing plate of mild steel clamped tightly to the underside of your workpiece. This supports the material as the bit exits.
How much pressure is “enough” pressure?
You should see the drill press handle flex slightly (if it’s a light-duty machine) and see consistent metal chips forming. If you are leaning your full body weight into it and only getting dust, your bit is likely dull or your RPM is still too high.
Why did my hole end up slightly triangular instead of round?
This is common when using two-flute drills in thin, hard material. It’s called “lobing.” To prevent this, use a rigid setup and consider using a three-flute drill or a solid carbide end mill to “bore” the hole rather than drill it.
Can I use a masonry bit in a pinch?
In an absolute emergency, a high-quality carbide-tipped masonry bit can be reground with a sharper edge to penetrate hardened steel. However, the geometry is not ideal for metal and the hole quality will be poor. It is always better to use the correct tool for the job.
(This article was written by one of our staff writers, James Harlan. Visit our Meet the Team page to learn more about the author and their expertise.)