How to Safely Lift and Support Heavy Shop Machinery (Guide)
When the delivery truck pulls up to your driveway with a crate weighing half a ton, the excitement of starting a metalworking journey often turns into immediate anxiety. I remember my first major purchase in 2013—a vintage manual mill that looked much smaller in the photos than it did on the liftgate. I had a tight budget of $2,000 for my entire setup, and I quickly realized that if I didn’t handle that machine correctly, I could ruin the equipment, my garage floor, or my back before I ever made a single chip.
Managing the physical weight of large workshop tools is a foundational skill that often gets skipped in favor of learning how to weld or turn a lathe. However, understanding the mechanics of how to move and stabilize heavy equipment is what keeps a budget-conscious shop operational. If you drop a machine, the cost of repairs or replacement will likely wipe out your entire tooling budget. Over the years, I have learned that successful equipment placement relies on physics and patience rather than brute strength.

Planning Your Starter Metal Workshop Layout for Weight
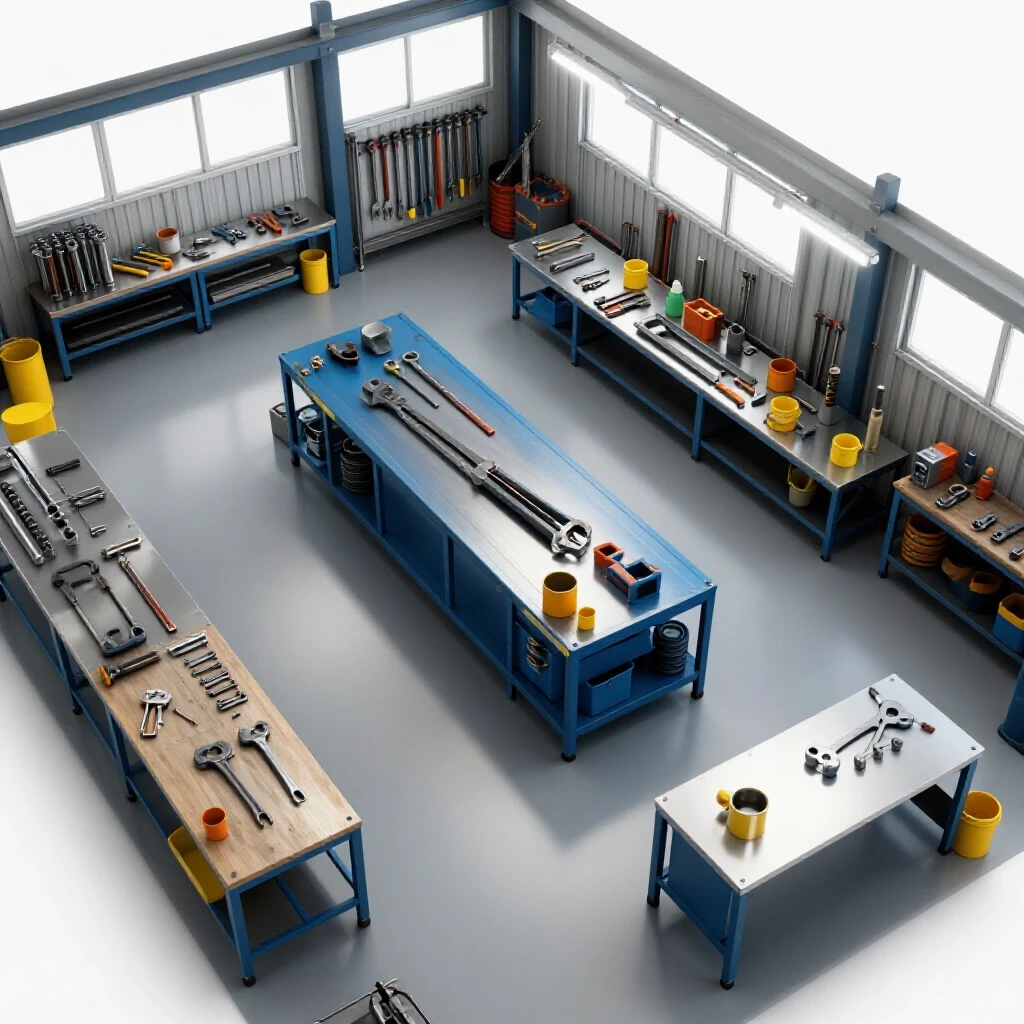
A starter metal workshop layout must account for more than just where the tools fit; it must consider how they get there and where the floor can actually support them. This phase involves mapping out the path from the driveway to the final destination while checking for obstacles like door thresholds and floor drains.
When I planned my first 400-square-foot space, I used a simple grid on paper to track tool footprint measurements. It is a common mistake to think only about the machine’s working area. You also need to account for the “swing zone” of the equipment and the clearance required for the mechanical aids you will use to move it. For instance, a hydraulic engine hoist needs several feet of clearance to maneuver its legs around a machine base.
- Machine Footprint: The actual dimensions of the base touching the floor.
- Operating Clearance: The space needed for handles, tables, and the operator to move safely (usually 36 inches).
- Moving Path: A clear lane at least 12 inches wider than your widest piece of equipment.
- Structural Check: Identifying any cracks or thin spots in the concrete slab that might fail under a concentrated load.
Evaluating Mechanical Aids for Moving Heavy Equipment
Mechanical aids are tools designed to provide a mechanical advantage, allowing a single person to move loads that would otherwise be impossible to budge. These include items like hydraulic jacks, toe jacks, and steel-wheeled dollies which are essential for a safe, budget-friendly setup.
In my early days, I tried to save money by using wooden rollers, but I quickly learned that dedicated, rated equipment is a better investment. For a beginner, allocating about 10% of your initial budget to moving and leveling gear is a smart move. You don’t need a forklift, but you do need tools that are rated for at least 1.5 times the weight of your heaviest machine. This creates a safety buffer that accounts for the dynamic forces generated when a machine starts or stops moving.
| Equipment Type | Typical Capacity | Best Use Case | Budget Estimate |
|---|---|---|---|
| Hydraulic Bottle Jack | 2–12 Tons | Vertical lifting for shim placement | $30 – $60 |
| Machinery Skates | 1–4 Tons | Moving heavy tools across flat floors | $100 – $250 |
| Toe Jack | 2–5 Tons | Lifting machines with low ground clearance | $150 – $300 |
| Pry Truck (Johnson Bar) | 5,000 lbs | Initial lift to get dollies underneath | $150 – $200 |
Identifying the Center of Gravity in Workshop Tools
The center of gravity is the specific point where the weight of an object is perfectly balanced in all directions. In metalworking machinery, this point is often much higher or more offset than beginners expect, making tools prone to tipping during a move.
Most of the machines you will buy for a home shop, like a vertical drill press or a small milling machine, are “top-heavy.” This means the bulk of the cast iron is located at the top of the column. When I moved my first drill press, I didn’t realize how easily it could tip until it started to lean. Always assume the center of gravity is high and keep the machine as close to the floor as possible during any movement. If you are lifting from the top using a crane or hoist, ensure the straps are positioned so the machine cannot slide or rotate unexpectedly.
- Tip Factor: The ratio of the machine’s height to its base width; taller machines require wider support bases during moves.
- Dynamic Loading: The shift in weight that occurs when a machine is pushed over a bump or a crack in the floor.
- Rigging Points: Specific locations on a machine, often designated by the manufacturer, where it is safe to attach lifting straps.
Selecting Rated Hardware for Secure Machine Placement
Rated hardware refers to bolts, straps, and chains that have been tested and certified to hold a specific amount of weight. Using non-rated hardware from a local big-box store is a significant risk because these items often fail without warning under heavy tension.
When I set up my current shop, I made it a rule to only use Grade 8 bolts or better for any permanent mounting or lifting applications. For those on a budget, it might be tempting to use old tie-down straps from a truck, but these are often degraded by sunlight or grease. Instead, look for polyester lifting slings with a visible “Work Load Limit” (WLL) tag. Following the American Welding Society (AWS) and OSHA-adjacent safety mindsets, you should never exceed the rated capacity of your hardware, even for a “quick move.”
- Lifting Slings: Use nylon or polyester slings for a “soft” grip that won’t mar the machine’s precision surfaces.
- Shackles: Use “D” or “Bow” shackles rated for the load to connect slings to lifting eyes.
- Leveling Mounts: Choose vibration-dampening mounts that allow for fine-tuning the machine’s height on uneven concrete.
- Anchor Bolts: If a machine is prone to walking or tipping, use wedge anchors to secure it to the floor.
Floor Load Calculations and Structural Integrity
Floor load calculation is the process of determining if your workshop floor can support the weight of your machinery without cracking or sinking. Most residential garage floors are 4 inches thick and can handle typical hobbyist machinery, but industrial-grade tools require closer inspection.
Before I moved my 2,000-pound lathe into my garage, I had to verify the concrete’s capacity. A standard 3,000 PSI concrete slab is generally sufficient for tools under 2,000 kg, provided the weight is distributed. However, if a machine has four small feet, the “point load” is very high. I often suggest placing thick steel plates (at least 1/2 inch) under the feet of heavy tools to spread that weight over a larger surface area. This prevents the feet from “punching” through the top layer of the concrete over time.
- Static Load: The weight of the machine while it is sitting still.
- Live Load: The weight of the machine plus the forces generated during operation (like a heavy part spinning in a lathe).
- Point Load: The amount of pressure exerted by a single foot of the machine on the floor.
- Slab Thickness: Typically 4 inches in modern homes, but older garages may have thinner or unreinforced sections.
Essential Safety Protocols for Solo Machine Handling
Safety protocols are a set of standardized procedures designed to minimize risk when working alone or with limited help. In a home shop, where you may not have a crew of riggers, these steps ensure that a simple mistake doesn’t lead to a catastrophic injury.
I have a “no-rush” rule in my shop. Most accidents happen when a person tries to beat a sunset or clear a space quickly. When moving heavy equipment, I always use the “rule of inches.” This means I never lift a machine more than one or two inches off the ground unless absolutely necessary. If a jack fails or a dolly slips, the machine only has an inch to fall, which minimizes the force of the impact and prevents it from gaining enough momentum to tip over.
- Clear the Area: Remove all trip hazards, oil spills, and loose tools from the path.
- Check the Weather: If you are moving a machine across a driveway, ensure there is no ice, rain, or high wind.
- Communication: If you have a helper, establish clear hand signals before you start the lift.
- Emergency Exit: Always maintain a path of retreat so you can move away if the load becomes unstable.
Budgeting for Moving and Support Equipment
A realistic budget for a first shop must include the “hidden costs” of getting the machines into place and keeping them stable. Many beginners spend their entire fund on the tool itself, only to realize they can’t afford the equipment needed to actually use it safely.
In my tracking of startup costs, I recommend allocating 5% to 8% of your total shop budget specifically for material handling. This includes the purchase or rental of jacks, dollies, and leveling pads. Interestingly, renting a high-quality toe jack for a weekend is often cheaper and safer than buying a low-quality, unrated version that you might only use once. I also suggest keeping a small “rigging kit” in a dedicated bin so you aren’t hunting for straps and shims when a new tool arrives.
- Rental vs. Purchase: Rent heavy-duty items like engine hoists; buy frequently used items like bottle jacks.
- Second-hand Gear: Be cautious with used lifting straps; if they are frayed or bleached by the sun, they are trash.
- Consumables: Factor in the cost of high-strength floor anchors and shimming material.
Levelling and Stabilizing Your Fabrication Space
Levelling is the process of ensuring a machine is perfectly horizontal, which is critical for both the accuracy of the work and the longevity of the machine’s bearings. Stabilization involves making sure the tool does not vibrate or move during operation.
When I set up my first lathe, I thought “close enough” was fine for the level. I was wrong. An unlevel lathe can actually twist its own bed over time, ruining its precision. I now use a machinist’s level, which is much more sensitive than a standard carpenter’s level. For a budget setup, you can use adjustable vibration-dampening feet. These allow you to turn a bolt to raise or lower each corner of the machine independently until it is perfectly stable.
- Clean the Floor: Remove all dust and debris from under the machine’s feet.
- Initial Placement: Get the machine into its final “starter metal workshop layout” position.
- Rough Leveling: Use a standard level to get the machine roughly in position.
- Fine Leveling: Use a precision level and adjust the mounts in small increments, checking both axes (front-to-back and side-to-side).
Common Mistakes in Heavy Machine Handling
Rookie mistakes often stem from a lack of respect for the sheer mass of metalworking tools. These errors can lead to broken castings, damaged floors, or personal injury, all of which are avoidable with proper planning.
One of the most common errors I see is using a “come-along” or winch attached to a structural member of the garage, like a roof truss. Most residential garages are not designed to take side loads or heavy hanging loads on the rafters. Another mistake is trying to “walk” a machine by rocking it back and forth on its base. This can easily result in the machine tipping past the point of no return. Always use a mechanical aid that keeps the machine’s weight supported by the floor at all times.
- Ignoring the Center of Gravity: Lifting a top-heavy machine from the bottom without side supports.
- Using Improper Slings: Using chains on precision-ground surfaces without padding.
- Rushing the Process: Skipping the “path check” and getting a machine stuck in a doorway.
- Overestimating Floor Strength: Placing a heavy tool on a cracked or hollow section of the slab.
Actionable Tracking Framework for Shop Setup
To keep your project on track, I recommend using a simple log to document your costs and the specifications of your equipment. This helps in the long run for maintenance and if you ever need to move the shop again.
- Equipment Weight Log: Record the weight of every machine you own.
- Hardware Inventory: Keep a list of your rated straps, their capacities, and their purchase dates.
- Floor Map: Mark the locations of any known thin spots or utility lines under the concrete.
- Maintenance Schedule: Note when you checked the level of your machines (I do this every six months as the house settles).
Frequently Asked Questions
How do I know if my garage floor can hold a 2,000 lb machine? Most standard 4-inch concrete garage floors can support 2,000 lbs if the weight is spread out. If the machine has four small feet, place 1/2-inch steel plates under them to distribute the load. Check for existing cracks; if a crack is wider than a nickel, avoid placing heavy weight directly on it.
Can I use a standard automotive jack to lift my mill? Automotive floor jacks are designed for cars, which have suspension. Machinery is “dead weight” and can be much more unstable. While a bottle jack can work for vertical lifting, a toe jack is safer because it allows you to get under very low clearances without tipping the machine excessively.
What is the safest way to move a top-heavy drill press? The safest method is to secure the drill press to a wide wooden pallet or a custom-built steel base. This widens the footprint and lowers the center of gravity. Move the pallet using a pallet jack or machinery skates rather than trying to move the drill press on its own feet.
How much should I spend on moving equipment for a $3,000 shop? Aim to spend about $150 to $250. This should cover a decent bottle jack, a set of basic machinery skates, and some high-quality shims. You can often rent the more expensive items like a pallet jack or an engine hoist for $40 a day.
Is it necessary to bolt my machines to the floor? It depends on the machine. Tall, narrow tools like a vertical bandsaw or a drill press should be bolted down to prevent tipping. Precision tools like lathes are often left “free-standing” on leveling pads to allow for vibration dampening, provided they are heavy enough to stay put.
What are machinery skates and are they worth it? Machinery skates are low-profile platforms with rollers. They are worth every penny because they allow you to move heavy loads with minimal effort. For a budget shop, a set of four basic skates can make rearranging your layout a one-person job rather than a dangerous struggle.
How do I find the center of gravity on an irregular machine? If the manufacturer doesn’t specify, assume the center of gravity is near the heaviest casting (usually the motor or the headstock). When lifting, do a “test lift” by raising the machine only an inch and seeing if it tilts. If it does, set it back down and adjust your lifting points.
Can I use wooden blocks to support a machine? Yes, but only if they are solid hardwood or thick plywood stacks. Never use hollow cinder blocks, as they can shatter without warning under a concentrated load. Hardwood “cribbing” is a standard industrial practice for supporting heavy loads during maintenance.
What should I do if a machine starts to tip during a move? The most important rule is: let it go. Never try to catch or stop a falling machine. Your safety is worth more than the equipment. This is why you should always have a clear “path of retreat” and keep the machine as low to the ground as possible.
How often should I check if my machinery is still level? I recommend checking every six months or after any major seasonal change. Concrete can expand and contract with temperature, and the ground beneath your shop can settle, which may throw off the precision of your tools.
Setting up your first fabrication space is a marathon, not a sprint. By focusing on the mechanics of weight and stability now, you are building a foundation that allows you to work safely and accurately for years to come. Start by measuring your space, checking your floor, and investing in the basic mechanical aids that make heavy lifting a controlled, predictable process.
(This article was written by one of our staff writers, Michael Thompson. Visit our Meet the Team page to learn more about the author and their expertise.)