How to Weld a Heavy Duty Rotating Small Engine Stand (Plan)
There is a specific kind of quiet that settles over a workshop when you are staring at a piece of history. Over the last 18 years, I have stood before dozens of rusted hulks—pre-war South Bend lathes, heavy cast-iron drill presses, and abandoned industrial saws—wondering if they could ever run again. The biggest challenge in these rescues isn’t just the rust or the seized bolts; it is the physical struggle of maneuvering heavy, awkward components while trying to perform precision work. Trying to scrape a bearing or chase a thread on a workbench while the part slides away from you is a recipe for frustration and injury.
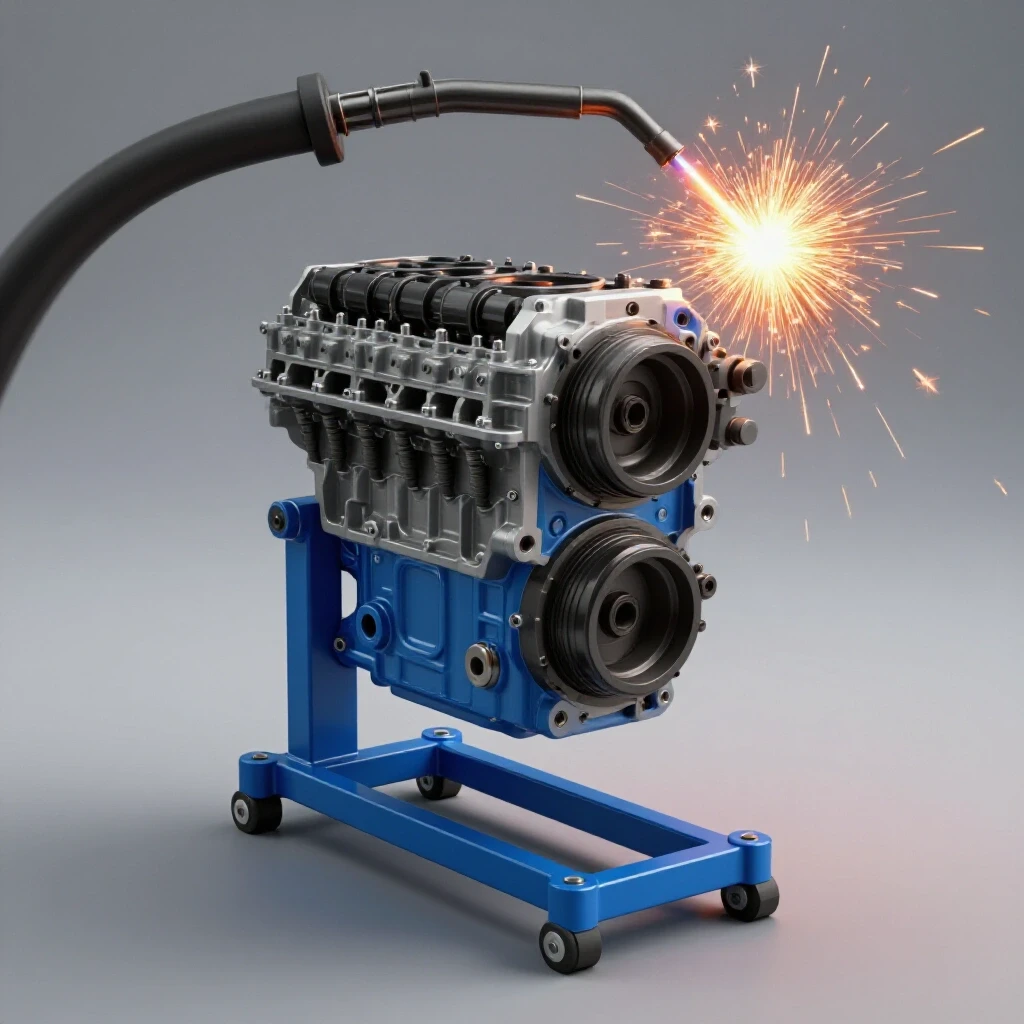
To solve this, I realized early on that I needed a dedicated, pivoting support fixture. A custom-built steel mount that allows for 360-degree rotation changes everything. It turns a back-breaking struggle into a controlled, methodical process. When you can lock a 90-pound cast-iron block at exactly the right angle, you can focus on the delicate work of restoration rather than the heavy lifting. This guide details how to fabricate a robust, rotating shop fixture designed to handle components up to 100 pounds with absolute stability.
Designing a Rigid Fabrication for Component Support
A structural support plan defines the dimensions, material thickness, and geometry required to hold heavy metal parts safely. It serves as the blueprint for transforming raw steel into a functional workshop tool that resists tipping and rotational torque. A well-designed plan ensures the center of gravity remains within the base footprint during all phases of rotation.
When I plan a build like this, I look at it through the lens of a machine restorer. We aren’t just building a rack; we are building a precision tool. For a fixture intended to hold up to 100 pounds, I recommend a “T-base” or “H-base” design. The “T-base” is excellent for floor space, while the “H-base” offers maximum lateral stability.
I prefer using 2-inch by 2-inch square steel tubing with a wall thickness of 3/16 of an inch. This provides the mass needed to dampen vibrations when you are hammering out a stuck pin or using a heavy wire wheel. If you go too light, the stand will “walk” across the floor. If you go too heavy, it becomes a chore to move around the shop.
- Base Width: 24 inches for lateral stability.
- Base Length: 30 inches to prevent forward tipping.
- Upright Height: 36 inches (adjustable based on your height for ergonomic scraping).
- Material: ASTM A36 structural steel (common and easy to weld).
Material Selection and Structural Integrity
Choosing the right steel involves balancing weight, weldability, and rigidity. In machinery restoration, we often deal with “dead weight”—cast iron that doesn’t bounce. Your material must be able to absorb the energy of a 100-pound mass without flexing, which could lead to weld fatigue or catastrophic failure over time.
For the main upright, square tubing is superior to angle iron. Angle iron tends to twist under rotational loads. Square tubing, because of its closed profile, handles torsional (twisting) stress much better. When you are rotating a heavy engine block to access the oil pan bolts, that torsional strength is what keeps the stand from feeling “springy.”
| Material Feature | Square Tubing (2″ x 3/16″) | Angle Iron (2″ x 1/4″) | Round Pipe (Schedule 40) |
|---|---|---|---|
| Torsional Rigidity | High | Low | Medium-High |
| Ease of Welding | Simple (Flat faces) | Simple | Difficult (Coping required) |
| Mounting Surface | Excellent | Poor | Poor |
| Cost | Moderate | Low | Moderate |
Building on this, I always source my steel from local metal recyclers or supply houses. If the steel has surface rust, it must be cleaned back to shiny metal before welding. I use a 4.5-inch angle grinder with a 40-grit flap disc. In my experience, trying to weld through mill scale or rust leads to porosity—tiny bubbles in the weld that weaken the joint.
Engineering the Rotational Pivot Joint
The pivot joint is the heart of the fixture, allowing the mounted component to rotate smoothly and lock into place. It consists of a male and female sleeve arrangement, often utilizing thick-wall pipe or machined bushings. This joint must support the full cantilevered weight of the workpiece without binding or excessive play.
In the world of vintage machinery, we often talk about “clearance.” For this pivot, you want a “running fit.” If the inner tube is 1.5 inches, the outer tube should have an inside diameter of roughly 1.56 inches. This 0.06-character gap allows for a film of heavy grease, which is essential for smooth movement.
- Outer Sleeve: A 6-inch length of 2.5-inch round tubing with a 1/4-inch wall.
- Inner Pivot: A 10-inch length of 2-inch round tubing that fits inside the sleeve.
- Locking Mechanism: Weld a 1/2-inch nut over a hole drilled in the outer sleeve. A T-handle bolt can then be tightened against the inner tube to lock the rotation.
- Thrust Washer: I often weld a large flat washer to the inner tube. This acts as a bearing surface against the face of the outer sleeve, preventing the two tubes from grinding together.
Interestingly, this is the same principle used in the sleeve bearings of an old lathe headstock. You need enough room for lubricant, but not so much that the assembly wobbles. A wobble of just 0.010 inches at the pivot can translate to a half-inch of movement at the end of a long engine block.
Welding Techniques for High-Stress Steel Joints
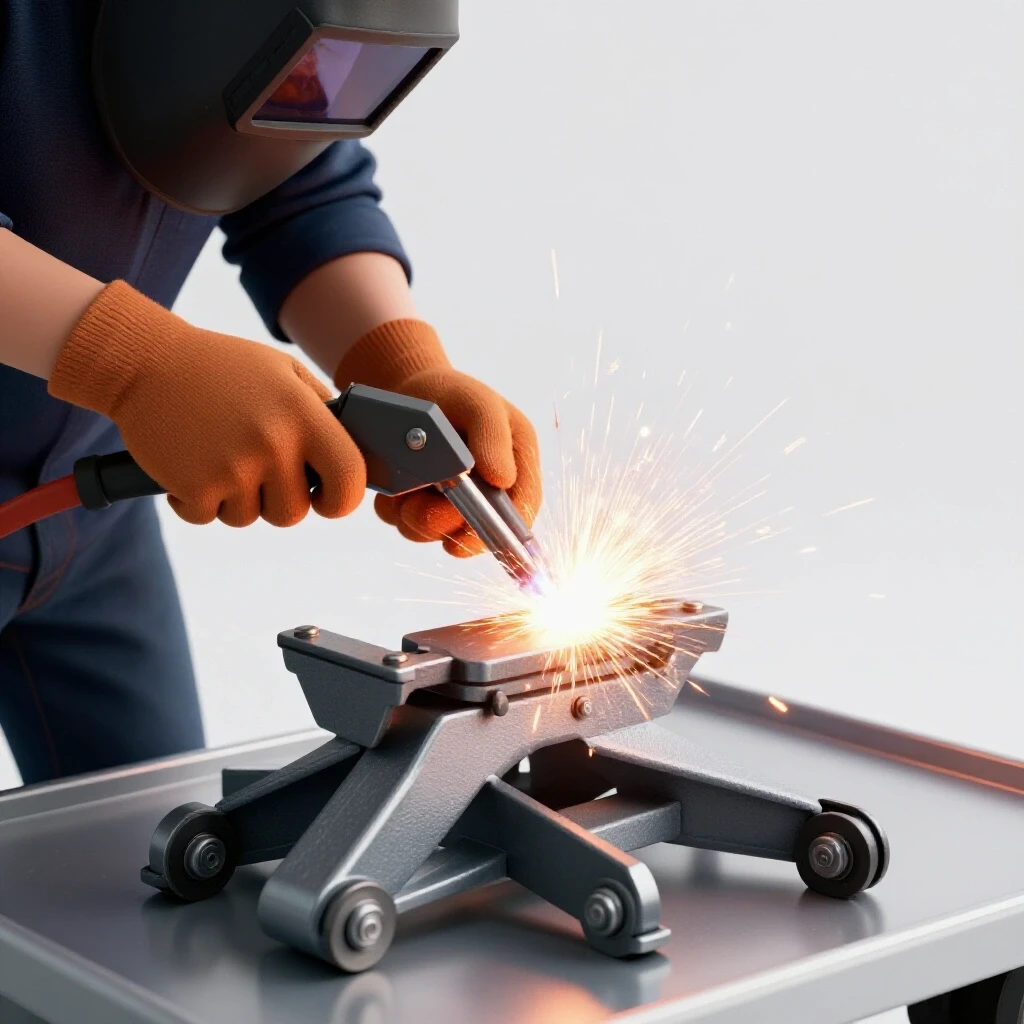
Welding for workshop fixtures requires deep penetration and consistent bead profile to ensure the joints can handle the leverage of heavy parts. Whether using MIG (Metal Inert Gas) or Stick (Shielded Metal Arc Welding), the goal is to fuse the base metals into a single, homogenous structure. Proper heat management prevents the warping of the precision-aligned uprights.
If you are using a MIG welder, I recommend 0.035-inch solid wire with a 75/25 Argon/CO2 gas mix. For 3/16-inch steel, your settings should be high enough to “sizzle” like frying bacon. If you prefer Stick welding, a 1/8-inch E7018 electrode is the gold standard for structural work. It provides a strong, ductile weld that can withstand the vibrations of a busy shop.
- Tack Welding: Always tack your pieces at the corners first. Steel moves as it heats up. If you weld one side completely, the upright will pull several degrees out of square.
- Fillet Welds: Use a multi-pass technique on the main upright-to-base joint. One “root” pass to ensure penetration, followed by two “cover” passes to build up the throat of the weld.
- Gusseting: Never rely solely on the butt weld of the tubing. Weld 45-degree triangular gussets (made from 1/4-inch flat bar) at the base of the upright. This triples the surface area of your connection.
As a restorer, I’ve seen many failed welds on old farm equipment. Usually, the failure happened because the welder didn’t “V-out” the joint. For any steel thicker than 1/8 inch, grind a bevel onto the edges of the parts. This allows the weld puddle to reach the very center of the material.
Precision Alignment and Footprint Stability
Alignment in fabrication ensures that the rotational axis is perfectly horizontal and the base is square to the floor. Using machinist levels and squares during the assembly process prevents the “lopsided” feel that plagues poorly made stands. A stable footprint prevents the entire assembly from tipping over when a heavy part is rotated to its furthest point.
I use a Starrett 98 machinist level to check my work. While a standard carpenter’s level is fine for a fence, it isn’t sensitive enough for machine work. When the stand is on a flat concrete floor, the upright should be within 0.005 inches per foot of vertical.
- Checking Square: Use the “3-4-5” rule or a large framing square to ensure the base legs are at 90 degrees to the main crossmember.
- Leveling Feet: Most shop floors are not perfectly flat. I weld 5/8-inch nuts to the ends of the base legs and use Grade 8 bolts as adjustable leveling feet. This allows you to “dial in” the stand so it doesn’t rock.
- Center of Gravity: The mounting plate where the engine or part attaches should be offset so that the center of the mass sits directly over the upright. If the weight is too far forward, the stand becomes a tipping hazard.
Why Seized Cast Iron Screws Crack Under Force—And How to Formulate a Real Thermal Release Plan
When you finally mount a rusted component to your new stand, you will likely face seized fasteners. Cast iron is brittle; it does not stretch like steel. If you apply too much torque to a stuck bolt in a cast-iron housing, the housing will often crack before the bolt turns. This is where the stability of your new stand becomes vital.
Before reaching for the long breaker bar, use a thermal release strategy. I use an oxy-acetylene torch to heat the casting around the bolt—not the bolt itself. As the casting expands, it breaks the bond of the rust (iron oxide).
- Clean the area: Remove grease to prevent fires.
- Apply heat: Aim for a dull red glow on the casting (approx. 400-500 degrees Fahrenheit).
- Apply penetrant: Once the heat is removed, drop a 50/50 mix of Acetone and ATF (Automatic Transmission Fluid) onto the threads. The cooling action “sucks” the fluid into the microscopic gaps.
- Vibration: Use a brass hammer to tap the head of the bolt. This shocks the threads without mushrooming the metal.
Post-Fabrication Finishing and Rust Prevention
Finishing is the process of removing sharp edges, slag, and mill scale before applying a protective coating. In a restoration environment, where degreasers and cutting oils are common, the finish must be chemically resistant. A high-quality epoxy primer and enamel topcoat prevent the new fixture from becoming just another rusted relic.
After the welding is done and the metal has cooled, I spend an hour with a deburring tool and a wire wheel. Every corner should be rounded. A sharp edge on a steel stand is a “shin-breaker” in a small shop.
- Degreasing: Wipe the entire stand down with mineral spirits or denatured alcohol. Even the oils from your skin can cause paint to peel later.
- Priming: Use a “self-etching” primer. It contains a small amount of phosphoric acid that bites into the steel for a superior bond.
- Painting: I prefer “Machine Gray” or “Safety Orange.” Gray looks professional and matches vintage tools, while orange makes the stand highly visible, preventing trips.
Tracking the Build: A Restorer’s Log
Maintaining a log of your fabrication process is a habit I picked up from restoring 19th-century machinery. It helps you track costs, material sources, and dimensions for future projects. If you decide to build a second stand for a friend, you won’t have to re-measure everything.
| Component | Dimensions | Material | Cost (Est.) |
|---|---|---|---|
| Main Base | 30″ Length | 2x2x3/16 Tubing | $15.00 |
| Cross Legs | 24″ Width | 2x2x3/16 Tubing | $12.00 |
| Vertical Upright | 36″ Height | 2x2x3/16 Tubing | $18.00 |
| Pivot Sleeve | 6″ Length | 2.5″ OD Pipe | $8.00 |
| Pivot Shaft | 10″ Length | 2″ OD Pipe | $10.00 |
| Hardware | Bolts/Nuts | Grade 8 | $12.00 |
| Total | $75.00 |
Building this yourself saves roughly $150 compared to buying a high-end commercial stand, and yours will likely be heavier and more stable. Most “off-the-shelf” stands use thin 1/8-inch wall tubing that flexes under a 100-pound load. Your custom build will be a tool you can pass down to the next generation of restorers.
Common Pitfalls in Shop Fixture Fabrication
Even seasoned restorers can run into trouble when rushing a build. One common mistake is neglecting the “swing radius.” Before you finish welding, hold a mock-up of your largest project (like a 4-cylinder block) against the pivot. Ensure that as it rotates, it doesn’t hit the main upright or the floor.
Another error is “cold-lapping” the welds. This happens when the welder is set too low, and the molten metal just sits on top of the steel rather than melting into it. It looks like a good weld, but it has no structural strength. Always test your settings on a piece of scrap from the same pile before touching the actual project.
- Check for Square: Re-check squareness after every three inches of welding.
- Avoid Over-Welding: Too much heat can warp the pivot sleeve, making it impossible to insert the shaft.
- Safety First: Always wear a proper welding helmet with a #10 shade or higher. The UV light from a MIG welder can cause “arc eye” (essentially a sunburn on your eyeballs) in seconds.
Final Assembly and Testing
Once the paint is dry, slide the pivot shaft into the sleeve with a generous coating of lithium grease. Attach your mounting plate—this is usually a 1/2-inch thick steel plate with slots or holes drilled to match the bolt patterns of the components you frequently restore.
Mount a “test weight” first. A heavy bucket of sand or a scrap piece of iron works well. Rotate it slowly. Listen for any creaks or groans from the metal. If the stand feels solid, you are ready to bring your next vintage rescue onto the stand.
The first time you use this fixture to scrape a bearing or clean a casting, you will wonder how you ever worked without it. The ability to bring the work to your eye level, securely and safely, is the hallmark of a professional restoration shop.
Frequently Asked Questions
What is the best way to ensure the pivot doesn’t seize over time? The best prevention is a combination of a grease zerk and regular maintenance. Drill and tap a hole in the outer sleeve for a 1/4-28 grease fitting. Every few months, pump in some marine-grade grease. This displaces moisture and prevents the “rust-welding” that occurs when steel sits against steel in a humid shop.
Can I use a round tube for the main upright instead of square? Yes, you can use Schedule 40 or Schedule 80 black iron pipe. However, round pipe is much harder to “square up” to a flat base. You will need to “cope” or notch the pipe so it sits flush against the base tubing. Square tubing is much friendlier for the home fabricator using basic tools.
How do I determine the hole pattern for the mounting plate? Since vintage machinery uses obsolete fastener patterns, I recommend making a “universal” plate. Drill several long slots starting from the center and radiating outward. This allows you to slide bolts to match various widths. Alternatively, keep a few blank plates on hand and drill them specifically for each new machine you restore.
Is MIG or Stick welding better for this project? Both are excellent if used correctly. MIG is faster and produces less mess (no slag). Stick welding is often preferred for “outdoor” or “scrap yard” steel because the flux can handle slight amounts of dirt or rust better than MIG wire. For a clean shop build, MIG is usually the go-to choice.
What should I do if my upright warps during welding? If the upright pulls to one side, you can often “counter-heat” the opposite side with a torch. As the heated spot cools, it shrinks and pulls the metal back toward the center. This is a technique called “flame straightening.” To avoid this entirely, use short, staggered welds rather than one long continuous bead.
How thick should the gussets be? I recommend 1/4-inch flat bar for gussets. They should be at least 3 inches long on each side of the 90-degree angle. This provides a massive increase in the “moment of inertia,” which is a fancy way of saying it makes the joint much harder to bend or break.
Why use Grade 8 bolts for leveling feet? Standard Grade 2 hardware store bolts are soft. Over time, the weight of the stand can deform the threads or even bend the bolt. Grade 8 bolts are hardened and can handle the localized pressure of a 100-pound stand plus a 100-pound engine without failing.
Can I add casters to this stand? You can, but be careful. If you add wheels, use locking swivel casters with a weight rating of at least 200 pounds each. Remember that casters increase the height of the stand and can make it less stable. I prefer “retractable” casters that allow the stand to sit firmly on its leveling feet when you are actually working.
How do I handle “slop” in the pivot joint? If the fit between your inner and outer tubes is too loose, you can weld “shim strips” of thin sheet metal onto the inner tube. Grind them down until you achieve a snug, sliding fit. A loose pivot will make precision work like thread chasing very difficult because the workpiece will bounce.
What is the best paint for a workshop fixture? I highly recommend an oil-based enamel like Rust-Oleum Professional. It is cheap, easy to touch up, and stands up well to the oils and solvents used in machinery restoration. Avoid “hammered” finishes, as they can hide cracks that might develop in your welds over years of use.
(This article was written by one of our staff writers, Richard Beaumont. Visit our Meet the Team page to learn more about the author and their expertise.)