How to Weld and Repair Broken Workshop Tools (DIY Guide)
I remember the first time I tried to fix a snapped handle on an old bench vise. I had just bought my first flux-core welder and thought the process would be a simple matter of “point and shoot.” I didn’t clean the metal, I didn’t set my parameters, and I certainly didn’t have any control over my hands. The result was a pile of gray slag that snapped the moment I put any pressure on it. That failure was the spark that started my 12-year journey into systematic metal fabrication.
Learning to join metal is not about luck. It is a physical discipline, much like playing an instrument or a sport. When you are working on restoring the utility of your workshop equipment, you are dealing with physics, chemistry, and muscle memory. The frustration of an inconsistent bead or a joint that won’t penetrate is something every fabricator faces. By focusing on the mechanics of your body and the data behind the arc, you can move past these plateaus and produce work that is both strong and visually professional.
Building a Foundation Through Body Mechanics and Stance
Proper body mechanics involves stabilizing your core and using your environment to support your arms. This reduces muscle fatigue and hand tremors, allowing for the steady, rhythmic movement required to produce high-quality, repeatable weld beads on various workshop equipment.
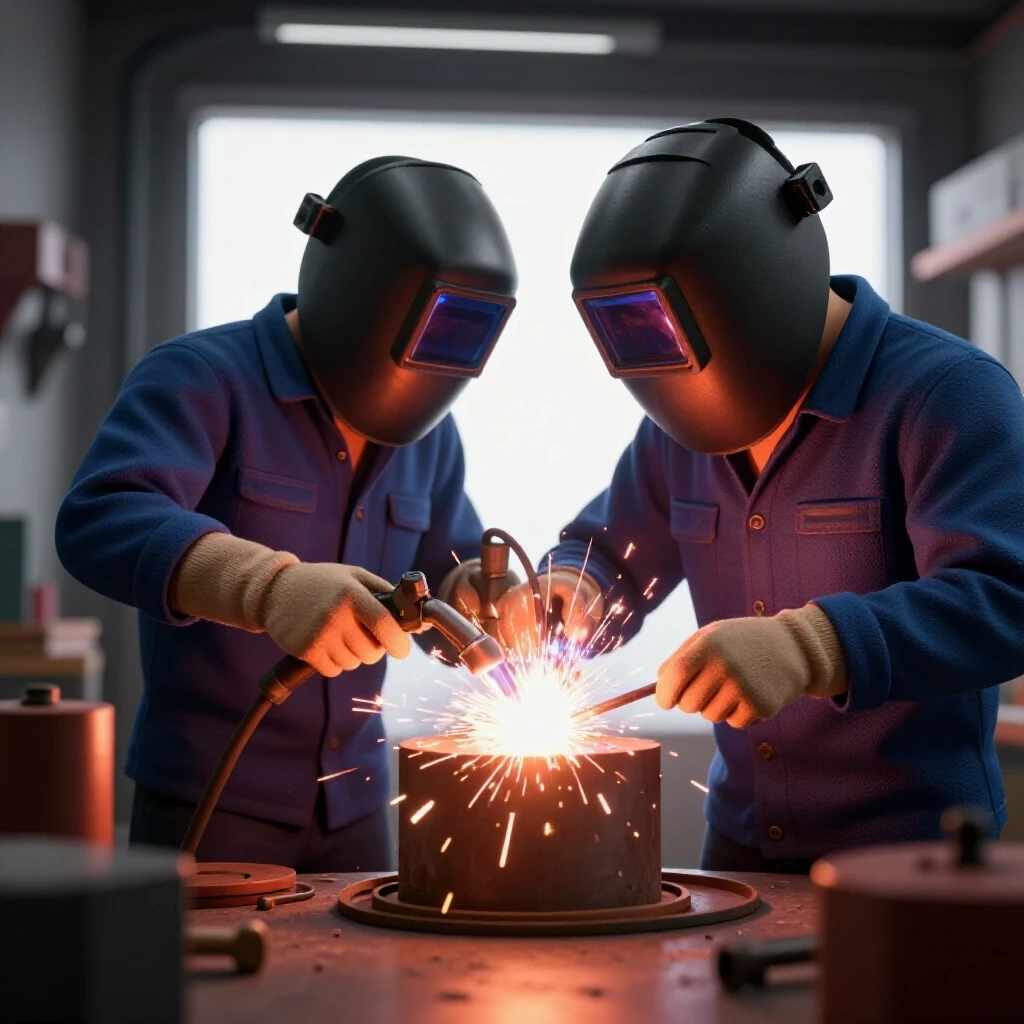
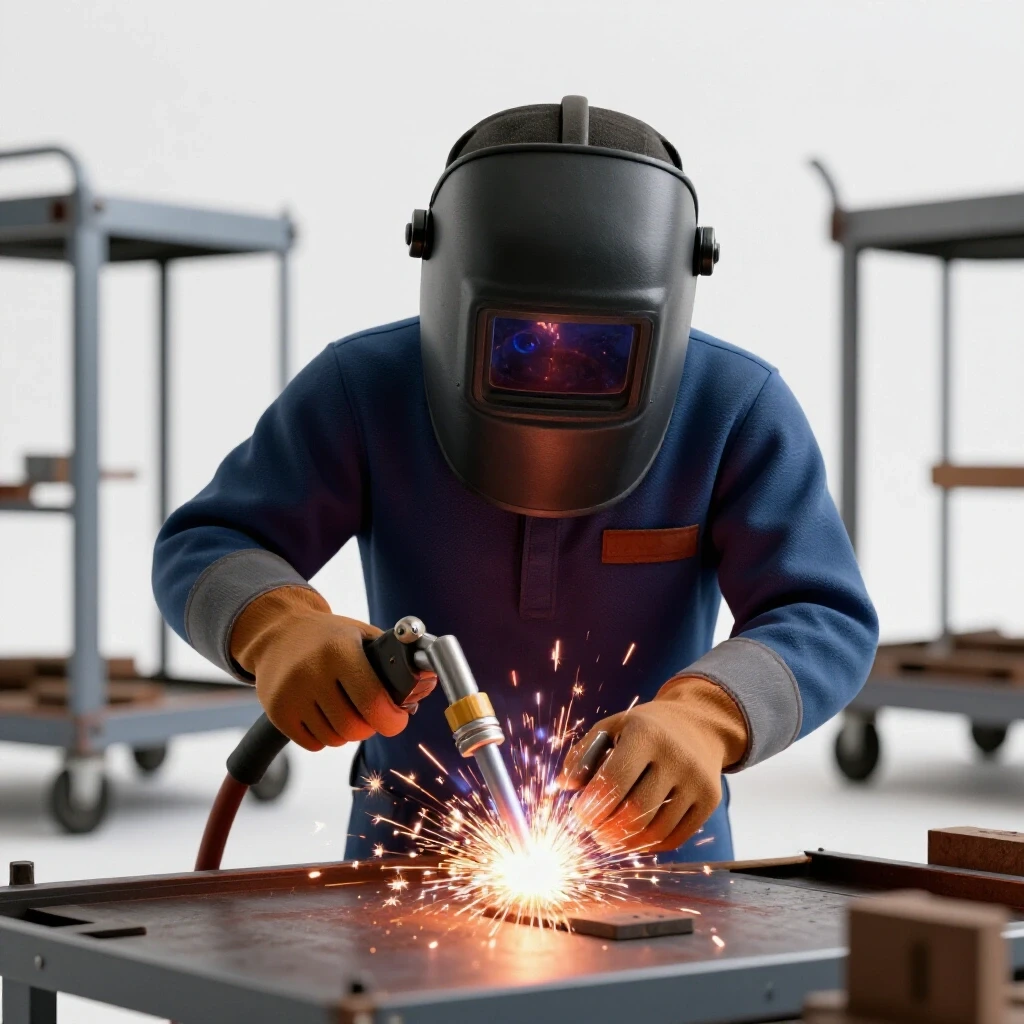
When I started, I used to “freehand” every weld, holding the torch with one hand while hovering over the table. My beads looked like a mountain range—unsteady and irregular. I eventually learned the “three-point stance.” This means your feet are planted, your non-dominant hip is braced against the welding table, and your off-hand is supporting your torch hand.
Think of your body as a tripod. If you are standing upright with no support, every heartbeat and breath will translate into a wiggle in your weld. By leaning into the work and resting your wrists or elbows on a steady surface, you isolate the movement to just your fingers and wrists. This is the first step in mastering torch control.
| Position Element | Purpose | Recommended Action |
|---|---|---|
| Feet | Stability | Shoulder-width apart, knees slightly bent. |
| Hips | Bracing | Lean against the welding table to lock your core. |
| Off-Hand | Guidance | Use your non-dominant hand to steady the torch neck. |
| Elbows | Pivot Point | Tuck elbows in or rest them on the table for a 10-15 degree range of motion. |
Understanding the Puddle: The Core of Metal Fusion
Reading the puddle is the act of observing the molten metal’s behavior in real-time to adjust your speed or angle. It is the most critical feedback loop in fabrication, telling you if you are moving too fast, too slow, or using the wrong heat.
The weld puddle is a small pool of liquid steel. It follows the heat. If you move the torch too fast, the puddle stays narrow and “frozen,” leading to poor penetration. If you move too slow, the puddle grows too wide and may eventually fall through the metal, a defect known as burn-through.
When you are practicing, your eyes should not be on the bright arc itself. Instead, look just behind the arc at the trailing edge of the puddle. You want to see the molten metal “wetting out” or flowing smoothly into the edges of your joint. In my trade school practice drills, I tell students to look for a consistent oval shape. If the oval becomes a sharp point, you are moving too fast. If it becomes a perfect circle, you are likely moving too slow.
Setting Baseline Parameters for Workshop Repairs
Baseline parameters are the starting voltage and wire feed speed or amperage settings on your welder. These values provide a stable starting point based on material thickness, which you then fine-tune based on how the metal reacts during your initial practice passes.
Every machine is different, but the physics of electricity remains the same. For most common workshop repairs involving 1/8-inch or 3/16-inch steel, you need a specific balance of “heat” (voltage or amperage) and “filler” (wire speed or rod consumption).
I spent years guessing these settings until I started keeping a logbook. I found that my MIG welder performed best on 1/8-inch steel at roughly 18 volts and 210 inches per minute (IPM) of wire speed. When using a stick welder, a 3/32-inch E7018 electrode usually runs well between 85 and 95 amps. Writing these numbers down allows you to return to a “known good” state whenever you start a new project.
- Voltage: Controls the width and “flatness” of the bead.
- Amperage/Wire Speed: Controls the depth of the penetration and the height of the bead.
- Arc Gap: In stick welding, keeping a gap roughly the diameter of the rod ensures a stable arc.
Preparing the Clean Zone for Reliable Repairs
The clean zone is the area around a joint that has been stripped of rust, paint, and mill scale. Proper preparation ensures the arc remains stable and prevents contaminants from entering the weld pool, which would otherwise lead to brittle and weak joints.
You cannot weld over dirt. I have seen many beginners try to repair a rusted tool handle by simply sparking up over the rust. This results in “porosity,” which looks like tiny holes in the metal. These holes are trapped gas bubbles that make the joint incredibly weak.
I follow the “one-inch rule.” I use a flap disc or a wire wheel to grind the metal until it is shiny and bright for at least one inch on every side of the joint. This is the “clean zone.” Removing the mill scale—that dark gray coating on new steel—is also vital because it has a higher melting point than the steel underneath, which can cause the arc to wander.
- Grind to bright metal.
- Bevel thick edges (over 3/16 inch) to a 30-degree angle to allow deep penetration.
- Degrease the area with a dedicated cleaner to remove oils.
- Ensure the ground clamp is attached to a clean, shiny spot on the workpiece.
Mastering Torch Control with Structured Practice Drills
Structured practice drills are repetitive exercises designed to build muscle memory and hand-eye coordination. By focusing on specific movements like straight-line beads or circular weaves, you train your body to maintain a consistent arc length and travel speed automatically.
To get better at welding technique progression, you must stop “building things” for a moment and just “run beads.” I call this “padding a plate.” Take a flat piece of scrap steel and run straight lines from left to right. Do this until you can produce ten beads that look exactly the same.
The key metric here is weld travel speed tips. For most manual processes, you should aim for a speed of 8 to 12 inches per minute. If you move at this rate, your bead will have a consistent width and a smooth ripple pattern. I often use a metronome or a timer to help students find a rhythm. Consistency in your hand movement is what creates professional-grade results.
| Joint Type | Torch Angle (Travel) | Work Angle | Common Mistake |
|---|---|---|---|
| Butt Joint | 10-15° Drag | 90° | Moving too fast, leaving a gap. |
| Lap Joint | 10-15° Drag | 45° | Melting the top edge too much. |
| T-Joint (Fillet) | 10-15° Drag | 45° | Failing to get into the “root” or corner. |
| Edge Weld | 10-15° Drag | 90° | Overheating and melting the edge away. |
Why Travel Speed Rules the Puddle
Travel speed is the rate at which the torch moves along the joint. It directly impacts the height and width of the weld bead, as well as the depth of penetration into the base metal.
If you are struggling with erratic bead shapes, your travel speed is likely the culprit. When I was learning metal fabrication, I noticed my beads would start thick and end thin. This happened because I was moving my whole arm instead of pivoting at the wrist. As my arm reached the end of its comfortable range, I would naturally speed up to finish the pass.
To fix this, practice “dry runs.” With the welder turned off, move the torch along the joint. Watch your hand. Does it snag? Do you run out of room? Adjust your stance before you ever pull the trigger. A smooth, uninterrupted motion is the only way to maintain a consistent heat input.
Self-Assessing and Correcting Common Weld Defects
Self-assessment is the process of visually inspecting your completed work against industry standards to identify flaws like undercut or porosity. Understanding why these defects occur allows you to make precise adjustments to your technique in the next practice session.
After you finish a repair on a workshop stand or a bracket, you must look at it critically. One of the most common issues is “undercut.” This is a groove melted into the base metal right next to the toe of the weld. It usually happens because your travel speed was too fast or your voltage was too high. It creates a “perforation” line where the metal is now thinner and more likely to snap.
Another issue is “overlap” or “cold lap.” This is when the weld metal just sits on top of the base metal without actually fusing. It looks like a rounded muffin top. This is a sign that you didn’t have enough heat or your travel speed was too slow, allowing the puddle to get ahead of the arc.
- Undercut: Slow down and reduce your arc length.
- Porosity: Check your gas flow or clean your metal better.
- Cold Lap: Increase your voltage or amperage.
- Spatter: Adjust your wire speed or check for contaminated metal.
Tracking Your Progress with a Systematic Practice Log
A practice log is a record of your welding sessions, including settings, materials, and visual results. This data-driven approach helps you identify plateaus, measure improvement over time, and move toward professional-grade consistency in your workshop projects.
I cannot emphasize enough how much a logbook helped me overcome my mid-level plateaus. When you are learning, you often feel like you aren’t getting better. However, looking back at a log from three months ago can prove otherwise. You might see that you used to struggle with 1/8-inch lap joints but now you can weld them at 10 IPM consistently.
Your log should include the date, the material thickness, the machine settings, and a “grade” for the weld. If you have a smartphone, take a photo of your best bead and your worst bead from each session. Use a slow-motion video analysis app to watch your hand movement. You will often see “micro-stutters” in your motion that you didn’t feel while you were under the hood.
- Date and Time: Track how many hours of “hood time” you are actually getting.
- Machine Settings: Volts, Amps, Wire Speed, Gas Flow (CFH).
- Physical Cues: Note if you felt stable or if your arm was tired.
- Visual Grade: Scale of 1-10 based on bead consistency and penetration.
Practical Steps for Fixing Broken Workshop Stands and Brackets
Repairing existing equipment requires a different mindset than building new things. You are often dealing with “unknown” steel or parts that have been stressed to the point of failure. When I repair a broken tool stand, I always look for the “root cause.” Did it break because the original weld was poor, or because the metal was too thin for the load?
If the original weld failed, you must grind out the old weld entirely. Never weld over a failed weld. You need to reach the base metal to ensure a new, strong bond. If the metal itself snapped, consider adding a “gusset”—a small triangular piece of steel—to reinforce the joint. This distributes the stress over a larger area.
Always “tack weld” your repair first. A tack weld is a tiny, temporary spot weld that holds the parts in alignment. Because metal expands and contracts when heated, a long weld will pull the parts out of square. Tacking the corners first keeps everything straight while you lay down the final beads.
Achieving Consistency Through Heat Input Calculations
Heat input is the amount of electrical energy put into the metal per inch of weld. It is calculated by multiplying the voltage and amperage and dividing by the travel speed. While you don’t need to do math for every repair, understanding the relationship helps you troubleshoot.
If you are welding a thin tool tray, you need low heat input to avoid warping the metal. If you are fixing a heavy-duty anvil stand, you need high heat input for deep penetration.
Heat Input Formula (Simplified): (Volts x Amps x 60) / Travel Speed (IPM) = Joules per inch.
By keeping your travel speed consistent (the 8-12 IPM we discussed), you make the heat input predictable. If you find that you are consistently burning through 1/16-inch tubing, you don’t necessarily need to turn the machine down; you might just need to increase your travel speed to 14 or 15 IPM. This is the “finesse” part of the trade school practice drills that comes with time.
Conclusion and Next Steps
Building the skills to restore and maintain your workshop equipment is a marathon, not a sprint. It took me years to move from “bird droppings” to beads that I was proud to show others. The key is to stop treating welding as a chore and start treating it as a measurable skill.
Start by setting up a dedicated practice area. Get a few pieces of flat scrap steel and spend 20 minutes just running straight beads before you ever try to fix a tool. Focus on your stance, watch the trailing edge of the puddle, and log your settings.
Over time, your hands will stop shaking. Your travel speed will become a natural rhythm. You will look at a broken bracket and know exactly how to prep it, what settings to use, and how to move the torch to make it stronger than it was when it was new. This systematic approach is the only true way to master the art of metal fabrication.
Frequently Asked Questions
Why is my weld bead sitting on top of the metal like a rope?
This is usually caused by “cold lap” or lack of fusion. It means your heat (voltage or amperage) is too low for the thickness of the metal, or your travel speed is too slow. The metal is melting, but it isn’t “wetting out” into the base material. Increase your heat or move the torch slightly faster to let the arc penetrate.
How can I stop my hand from shaking during a long pass?
Stability comes from the “three-point stance.” Never try to weld with your arms floating in the air. Brace your hip against the table and rest your wrists or elbows on a solid surface. If the joint is long, take a “dry run” to make sure your arms can move the full distance without snagging on your clothing or the table.
What is the “clean zone” and why is it mandatory?
The clean zone is the area of bare, shiny metal where you will be welding. Rust, paint, and oil act as insulators and contaminants. They can cause the arc to sputter and introduce gas pockets (porosity) into the weld. Grinding to bright metal for one inch around the joint is the single best way to improve your weld quality instantly.
How do I know if I have enough penetration?
For a proper repair, you want the weld to fuse through the entire thickness of the joint or at least deep enough to handle the load. On the back side of a butt joint, you should see a small “heat tint” or a slight bulge of metal. If the back of the metal looks untouched, you likely didn’t get enough penetration.
What is the best way to practice without wasting expensive metal?
Use “padding a plate.” Take one thick piece of scrap steel and run beads across it. Then, run another layer of beads right on top of the first ones, offset by half a bead width. This allows you to practice for hours on a single piece of steel while learning how to overlap beads correctly.
How do I adjust my speed for different metal thicknesses?
Thinner metal requires a faster travel speed to prevent burn-through. Thicker metal requires a slower speed to allow the heat to soak in and melt the base material. A good rule of thumb is to watch the puddle width; it should generally be about 2 to 3 times the diameter of your electrode or wire.
Why does my wire keep sticking to the contact tip in MIG welding?
This is often called a “burn-back.” It happens when your wire feed speed is too low or your “stick-out” (the distance between the tip and the metal) is too long. Keep your contact tip about 3/8-inch away from the metal and ensure your wire speed is high enough to keep the arc jumping to the puddle, not the tip.
How can I tell if my travel angle is correct?
For most workshop repairs, a “drag” angle of 10 to 15 degrees is standard. This means the top of the torch is leaning away from the direction of travel. If you lean it too far (over 25 degrees), you will lose gas coverage and get a turbulent, messy puddle. If you hold it perfectly vertical, you may have trouble seeing the puddle.
What should I do if I hit a skill plateau?
If your welds aren’t getting better, change one variable at a time. Record a video of your hands while you weld and compare it to professional instructional videos. Often, a plateau is caused by a small habit you don’t realize you have, like a slight “flick” of the wrist at the end of a movement.
Is it better to push or pull the weld puddle?
In MIG welding with solid wire and gas, you can do both, but “pushing” (pointing the torch in the direction of travel) provides a flatter bead and better visibility. In stick welding or flux-core welding, you should almost always “pull” or “drag.” A common trade saying is, “If there’s slag, you must drag.” This keeps the waste material behind the puddle so it doesn’t get trapped inside the weld.
(This article was written by one of our staff writers, Thomas Langley. Visit our Meet the Team page to learn more about the author and their expertise.)