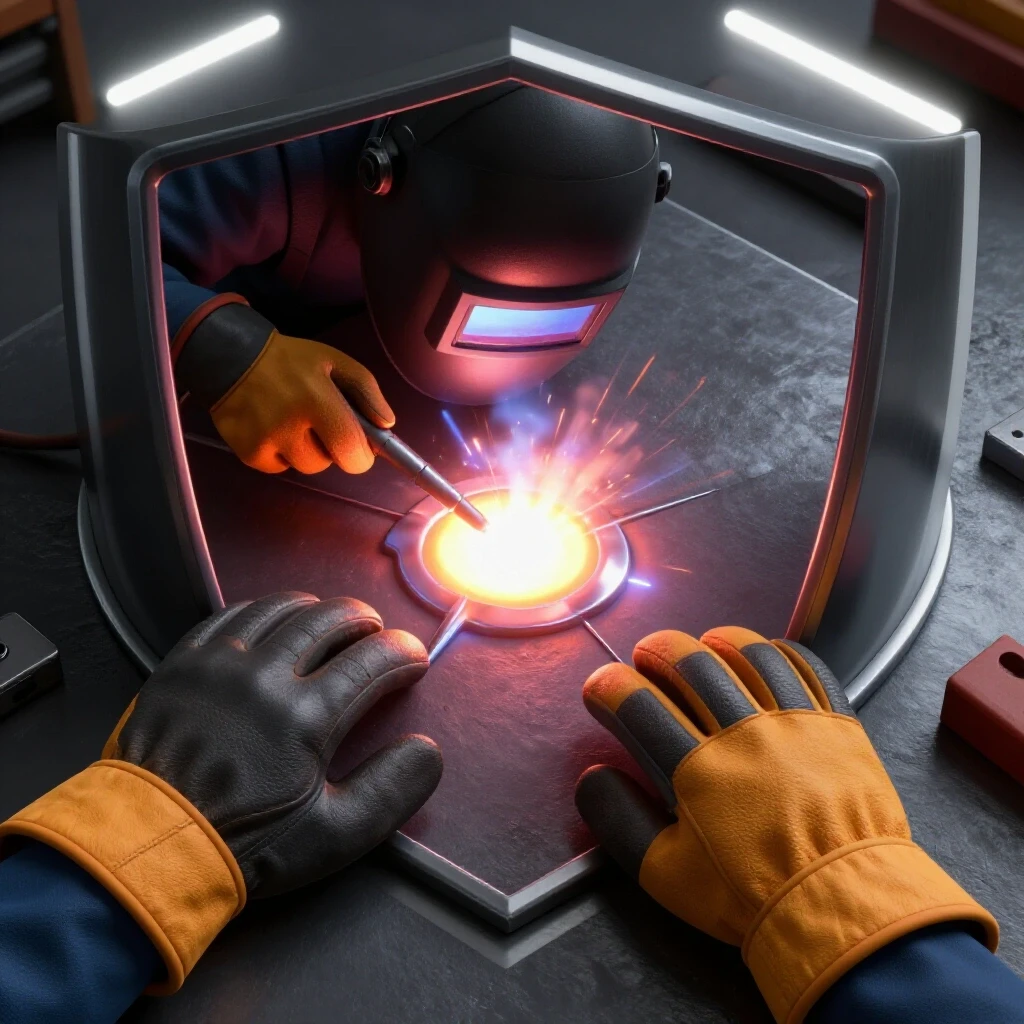
How to Weld Strong Butt Joints with Budget MIGs (DIY Guide)
I have spent the last 18 years in the dirt and grease of industrial fabrication mills, often tasked with making high-precision equipment run on less-than-ideal power or with aging components. There is a specific kind of frustration that sets in when you are working with an entry-level wire feed welder and your butt joints keep failing or looking like a row of grapes. You know the machine is capable of more, but the variables are fighting you. In my experience, the difference between a structural failure and a successful fusion often comes down to a systematic diagnostic approach rather than just turning up the heat and hoping for the best.
Early in my career, I was called to a small shop to look at a series of structural frames that were cracking at the seams. They were using basic 120V MIG units. The welds looked “hot” enough on the surface, but a quick cross-section revealed they were just sitting on top of the metal with zero root penetration. It was a classic case of ignoring joint geometry and machine duty cycle limits. This taught me that troubleshooting is not about guessing; it is about isolating every mechanical and electrical variable until the root cause is the only thing left standing.
Systematic Isolation of Variable Factors in Entry-Level MIG Welding
Systematic isolation is the process of testing one component of the welding system at a time to ensure it meets operational standards. By removing variables like gas flow fluctuations, wire feed tension, and electrical input stability, a fabricator can identify why a weld is failing to penetrate or why porosity is occurring in a butt joint.
Identifying Mechanical Feed Issues and Wire Tension
Mechanical feed issues involve the physical delivery of the welding wire from the spool to the contact tip. If the tension is too loose, the wire slips; if it is too tight, the motor strains, leading to inconsistent arc length and “stuttering” that ruins the consistency of a butt weld.
In my repair logs, I often see “chatter” in the wire feed caused by a worn-out drive roll or a bird-nested spool. To diagnose this, I use a simple “hand-drag” test. With the drive rolls engaged, I try to stop the wire with my gloved hand. If the rolls slip too easily, the tension is low. If the motor groans but the wire keeps moving, you are in the ballpark. On budget machines, the plastic drive assemblies often flex under load. I recommend checking for a backlash of no more than 0.005 inches in the drive gear assembly to ensure the wire speed remains constant throughout the pass.
Diagnosing Shielding Gas Coverage and Porosity
Shielding gas coverage is the atmospheric protection provided by an inert gas mix, usually 75% Argon and 25% CO2, to prevent oxygen and nitrogen from contaminating the molten weld pool. Porosity, or small holes in the weld, is the primary symptom of a failure in this gas delivery system.
When I troubleshoot porosity on a budget setup, I start at the regulator and work toward the nozzle. A common mistake is setting the flow rate too high, which creates turbulence that pulls air into the weld. For a standard butt joint on 1/8-inch steel, I aim for 15 to 20 cubic feet per hour (CFH). If porosity persists, I check the “O-rings” at the gun connection. A tiny nick in a $0.50 cent rubber ring can cause a venturi effect, sucking air into the gas line and ruining a structural joint.
| Symptom | Probable Cause | Diagnostic Test | Permanent Fix |
|---|---|---|---|
| Pinholes in weld bead | Gas turbulence or leak | Soap bubble test on gas lines | Replace O-rings; set flow to 18 CFH |
| Wire “stuttering” | Excessive liner friction | Disconnect gun, pull wire by hand | Blow out liner or replace with Teflon |
| Erratic arc | Poor ground contact | Measure voltage drop at the clamp | Upgrade to a copper C-clamp style |
| Lack of penetration | Travel speed too fast | Timing a 6-inch pass | Slow down; use a slight “drag” angle |
Optimizing Joint Geometry for Structural Integrity
Joint geometry refers to the physical shape and alignment of the metal edges before welding begins. For butt joints on budget machines, the way you prepare the metal is more important than the machine’s peak amperage, as it dictates how easily the arc can reach the root of the material.
Beveling and Root Gap Tolerances for 1/4-inch Steel
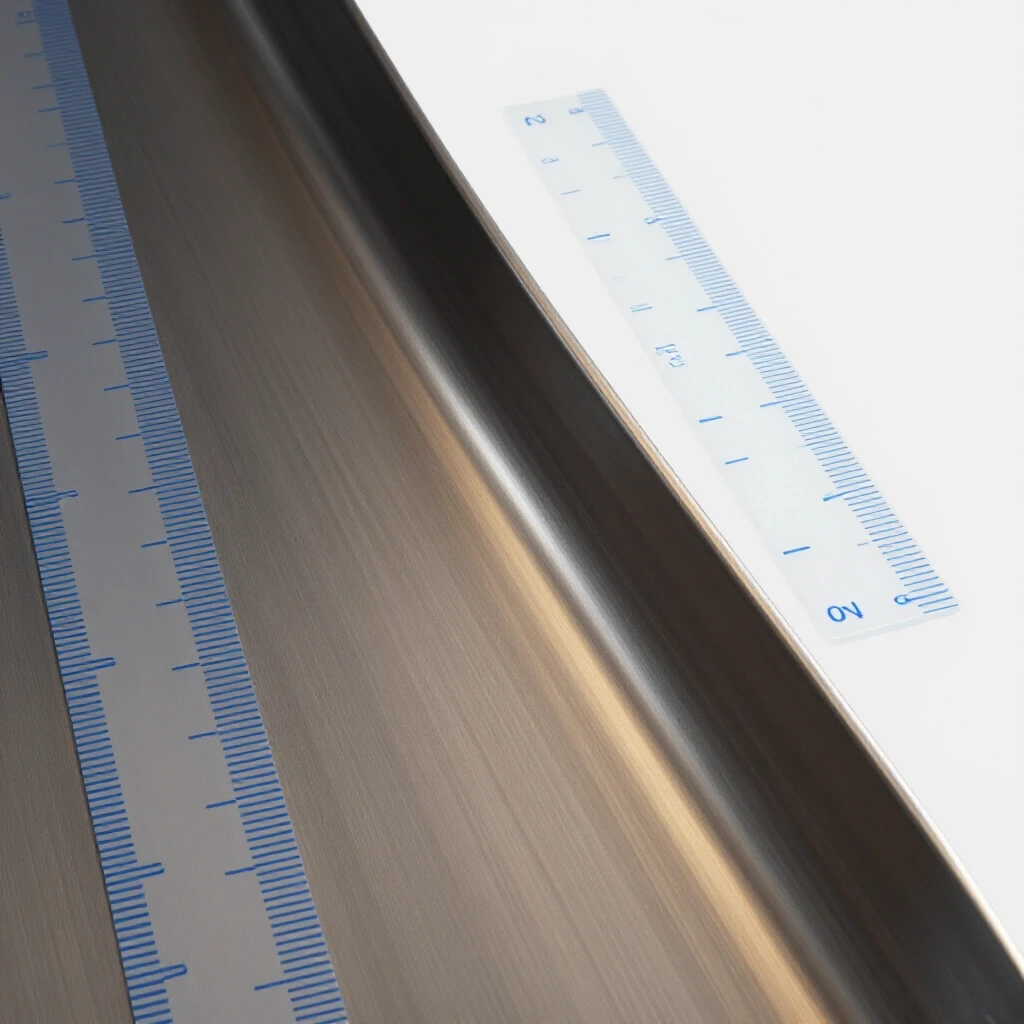
Beveling is the process of grinding an angle onto the edge of the plate to create a “V” shape when two pieces are joined. This allows the weld metal to fill the entire thickness of the plate. Root gap is the intentional space left between the two pieces to ensure the arc penetrates the bottom of the joint.
On a budget MIG, you are often limited by the machine’s “top end” voltage. To compensate, I never weld 1/4-inch plate in a square butt configuration. Instead, I grind a 30-degree bevel on each edge, creating a 60-degree included angle. I also leave a 1/16-inch root gap. This gap acts as a “window” for the arc. If you try to weld 1/4-inch steel without a gap on a low-powered machine, you will almost certainly get a “cold lap” where the metal just sits on the surface without fusing to the base material.
Troubleshooting Machine Settings: Voltage and Wire Speed Balance
Machine settings represent the relationship between electrical potential (voltage) and the rate of filler metal delivery (wire speed). Finding the “sweet spot” on a budget machine requires understanding how these two factors interact to control the heat input and the shape of the weld bead.
Calculating Heat Input and Travel Speed
Heat input is the amount of energy transferred to the workpiece per unit length of the weld. It is calculated based on the voltage, amperage, and travel speed. On machines without digital readouts, you must rely on the “sizzle” of the arc and the visual width of the weld pool to diagnose if your heat input is sufficient.
When I am dialing in a machine for a structural butt joint, I look for a “bacon-frying” sound. If the arc is “popping” and pushing the gun back, your wire speed is too high for the voltage. If the arc is “wandering” or the wire is melting back into the contact tip, your wire speed is too low. For 3/16-inch steel, a good benchmark is to aim for a travel speed of about 3 to 5 inches per minute. If you move faster than this, the weld pool won’t have time to “wet out” into the edges of your bevel, leading to a weak joint.
- Set Voltage First: Choose the highest setting the manufacturer recommends for the material thickness.
- Adjust Wire Speed: Start low and increase until the arc becomes stable and the popping stops.
- Check the Backside: After the first pass, flip the piece over. You should see a slight “heat tint” or a small bead of metal protruding through the root.
- Listen for Harmonics: A steady, high-frequency hum indicates a stable short-circuit transfer, which is ideal for budget MIG units.
Resolving Common Weld Defects in Butt Configurations
Weld defects are structural or visual imperfections that compromise the strength of the joint. In butt joints, the most common issues are lack of fusion, where the weld metal fails to bond with the base metal, and burn-through, where the arc blows a hole through the workpiece.
Eliminating Lack of Fusion and Burn-Through
Lack of fusion occurs when the base metal doesn’t reach its melting point before the filler metal is deposited. Burn-through is the opposite, usually caused by excessive heat or a root gap that is too wide for the travel speed being used.
I once worked on a project where a fabricator was getting consistent burn-through on 1/8-inch butt joints. He thought he needed to lower the voltage, but that made the arc unstable. The real issue was his “push” technique. In MIG welding, a “push” angle provides less penetration and a flatter bead, while a “drag” angle provides deeper penetration. For budget machines, I almost always use a 5 to 10-degree drag angle. This focuses the heat into the root of the joint. If you are burning through, increase your travel speed or use a “copper backing bar” behind the joint to soak up excess heat.
- Metric for Fusion: The weld bead should have a “toe” (the edge of the weld) that blends smoothly into the base metal at an angle of less than 45 degrees.
- Metric for Burn-Through: If the root gap expands by more than 25% during the weld, your heat input is too high or your tacks are too far apart.
Advanced Diagnostic Tools for the Home Shop
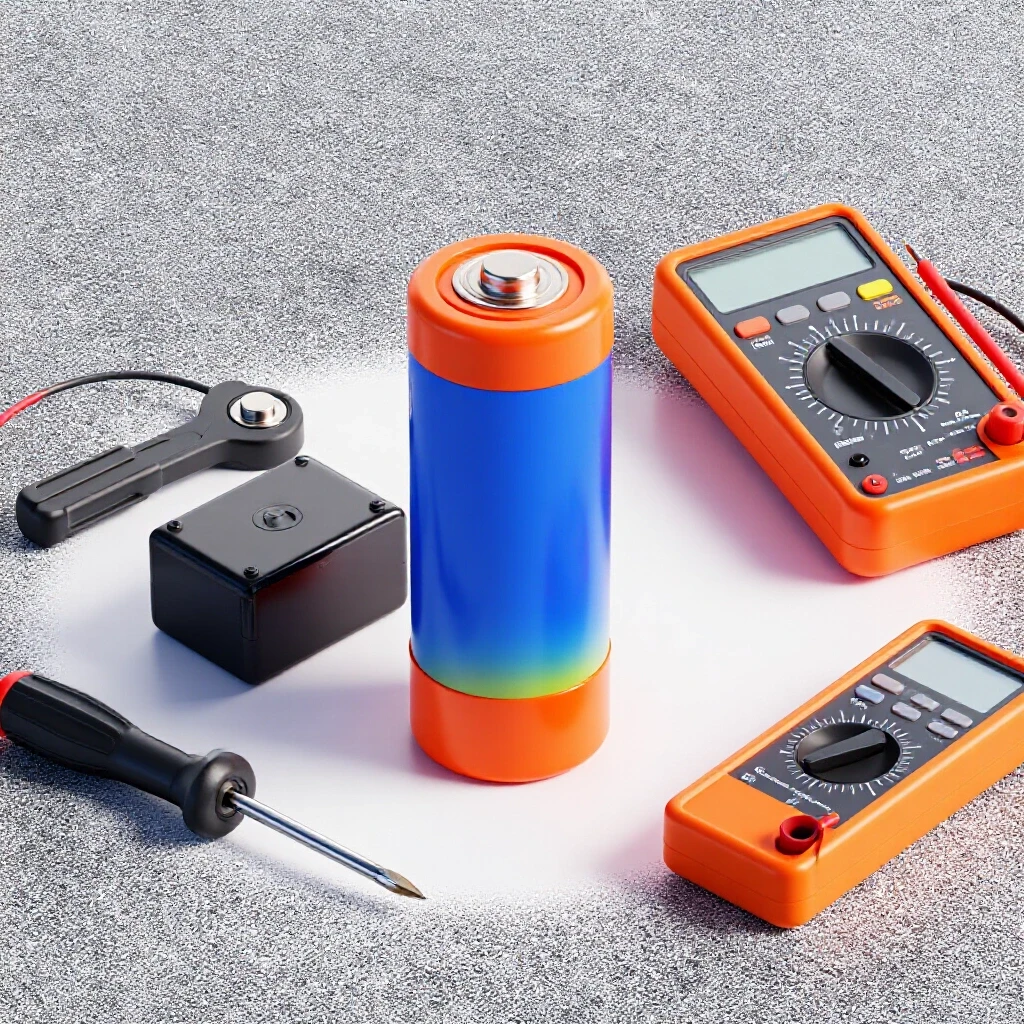
Diagnostic tools allow a fabricator to move beyond visual inspection and measure the actual performance of their equipment. Using tools like digital calipers, infrared thermometers, and multimeters can help identify electrical “gremlins” or thermal issues that are not apparent to the naked eye.
During a particularly difficult troubleshooting session on a budget 140-amp welder, I discovered the machine was losing 15 volts between the wall outlet and the internal transformer. The culprit was a 50-foot, 16-gauge extension cord. By using a multimeter to check the voltage drop under load, I was able to prove that the machine wasn’t getting enough “juice” to maintain a stable arc.
- Digital Multimeter: Use this to check the input voltage at the outlet. It should stay within +/- 10% of the rated voltage (e.g., 108V to 132V for a 120V circuit) while welding.
- Infrared Thermometer: Monitor the temperature of your ground clamp and torch handle. If the ground clamp exceeds 150°F, you have a high-resistance connection that is stealing your welding power.
- Digital Calipers: Use these to measure your root gap and the width of your bevel. Consistency in prep leads to consistency in the weld.
- Smartphone Vibration App: Use a spectrum analyzer app to check for excessive vibration in the wire feed motor, which can indicate a failing bearing or a misaligned drive gear.
Actionable Tracking Framework for Weld Consistency
To master the art of structural joins on basic equipment, you need to track your variables. I use a simple “Weld Log” to document what works and what doesn’t. This prevents you from making the same mistake twice and helps you build a “library” of settings for your specific machine.
- Material Thickness: (e.g., 0.125″)
- Joint Type: (e.g., 60-degree V-butt)
- Root Gap: (e.g., 1/16″)
- Machine Voltage Setting: (e.g., Setting “D” or 18.5V)
- Wire Speed Setting: (e.g., 250 IPM)
- Gas Flow Rate: (e.g., 18 CFH)
- Result Notes: (e.g., “Good penetration, slight undercut on top edge—slow down travel speed.”)
By treating every weld as an experiment and every failure as a data point, you can achieve results that rival much more expensive equipment. The machine is just a tool; the operator’s ability to diagnose and adjust to the conditions is what creates a lasting, structural bond.
FAQ
Why does my budget MIG welder keep “stuttering” even when the settings are correct? Stuttering is usually a mechanical feed issue. Check the liner inside the torch cable for kinks or metal shavings. If the liner is dirty, it creates friction that the small drive motors in budget machines cannot overcome. Also, ensure your contact tip is the correct size for the wire; a “0.030” tip on “0.035” wire will cause immediate feeding problems.
How do I know if I have enough penetration on a butt joint? The most reliable non-destructive way is to look at the “heat affect zone” (HAZ) on the back of the plate. You should see a consistent band of discolored metal that is roughly the same width as the weld bead on the front. If you see no discoloration, you have zero penetration.
Can I weld 1/4-inch steel with a 120V MIG welder? Yes, but only with extreme care in joint preparation. You must use a double-sided bevel or a significant root gap and a “multi-pass” technique. You are operating at the absolute limit of the machine’s duty cycle, so allow the machine to cool between passes to prevent the internal thermal overload from tripping.
What is the best gas for structural butt joints on mild steel? For most DIY and light industrial work, a 75% Argon / 25% CO2 mix is the gold standard. It provides a stable arc and good penetration with minimal spatter. Pure CO2 can be used for deeper penetration on thicker plate, but it creates a much harsher arc and more spatter.
My welds have tiny holes in them. Is it the machine or the gas? It is almost always the gas or the base metal cleanliness. Ensure you have ground the mill scale off the steel at least one inch back from the joint. If the metal is clean, check for drafts in your shop. Even a small fan can blow away your shielding gas, leading to atmospheric contamination (porosity).
How tight should the wire spool tensioner be? It should be just tight enough to prevent the spool from “unraveling” when the motor stops. If you can spin the spool freely with your finger, it is too loose. If the motor struggles to pull the wire, it is too tight.
Why does my ground clamp get hot? A hot ground clamp indicates high electrical resistance. This usually happens because the clamp is attached to painted or rusty metal, or the spring in the clamp has weakened. Clean your ground location to shiny metal and ensure the cable-to-clamp connection is tight.
What is “cold lap” and how do I fix it? Cold lap occurs when the weld puddle flows over the base metal without actually melting it. This is common on budget machines when the voltage is too low or the travel speed is too slow. To fix it, increase your voltage or use a “weaving” motion to ensure the arc hits the “toes” of the weld.
Is a “push” or “drag” technique better for butt joints? For structural integrity on lower-powered machines, a “drag” (pulling the torch) is generally better. It directs the arc force into the root of the joint, ensuring deeper penetration. A “push” technique is better for very thin sheet metal where you want to avoid burn-through.
How often should I change my contact tip? Change it as soon as the hole becomes “ovalized” or you see signs of “arcing” inside the tip. A worn tip causes erratic wire feeding and poor electrical contact, which leads to a wandering arc and inconsistent weld quality. On budget machines, these tips are a wear item and should be replaced frequently.
(This article was written by one of our staff writers, Paul Whitaker. Visit our Meet the Team page to learn more about the author and their expertise.)