Safely Checking Manual Chain Hoist Lift Functions (DIY Fix)
There was a morning in my shop about eight years ago that I still think about when a project starts feeling “off.” I was working on a heavy frame for a custom industrial press. I needed to flip a 1,200-pound weldment to finish the root passes on the underside. I reached for my trusty three-ton manual hoist, gave the hand chain a pull, and felt a sickening, rhythmic “thunk” every six inches of travel. The movement wasn’t smooth; it was jerky, like the gears were fighting a handful of gravel.
In that moment, I had two choices. I could keep pulling and hope for the best, or I could stop and apply the same systematic diagnostic logic I use for troubleshooting weld porosity or isolating tool chatter on a lathe. I chose the latter. Dealing with equipment that isn’t behaving correctly is more than just a nuisance; it is a productivity killer. When your lifting gear isn’t operating smoothly, it affects your ability to achieve precise lathe alignment or maintain the steady positioning required for high-quality fabrication.
I have spent nearly two decades as a millwright and diagnostic specialist. My approach isn’t about guessing. It is about isolating variables until the root cause is the only thing left standing. Whether you are dealing with a motor controller fault or a mechanical hitch in a manual chain hoist, the process remains the same: observe, isolate, and verify.
Establishing a Systematic Diagnostic Framework
A systematic diagnostic framework is a structured method of troubleshooting that moves from the most obvious external symptoms to the more subtle mechanical interactions. This process prevents “parts cannon” repairs—where you replace components randomly—and focuses on data-driven evidence to restore equipment to its peak operating condition.
When I walk up to a machine that isn’t performing, I don’t start turning bolts immediately. I start with observation. In the world of metalworking, we often deal with resonant vibration issues or structural alignment faults. These problems usually leave a trail. For a manual hoist, that trail is often found in the way the chain interacts with the pockets or how the brake reacts when the load is released.
I use a three-step method: Observation, Isolation, and Variable Control. Building on this, you must first define what “normal” looks like. If you don’t have a baseline for how your hand-operated lifting gear should feel, you cannot accurately diagnose a deviation. I keep a log of how my tools feel when they are new or freshly serviced. This data serves as my North Star when things go sideways.
The Role of Observation in Mechanical Diagnostics
Observation is the act of using your senses—sight, sound, and touch—to identify irregularities in a machine’s cycle before any tools are even picked up. This stage requires a “quiet” shop environment where you can hear the subtle clicks, grinds, or hums that indicate a mechanical or electrical struggle.
Interestingly, many fabricators overlook the “touch” aspect of diagnostics. When I am troubleshooting tool chatter solutions, I place my hand on the machine casting to feel the frequency of the vibration. You can do the same with a manual hoist. By holding the dead end of the chain while operating the hand loop, you can feel if a vibration is coming from the upper hook attachment or the internal lift wheel.
As a result of this initial observation, you can often narrow the problem down to a specific area. Is the noise coming from the chain guide? Is the resistance only happening during the lift, or does it happen during the descent as well? These questions form the foundation of your diagnostic path.
Inspecting the Physical Integrity of the Lift Chain
Inspecting the physical integrity of the lift chain involves a link-by-link examination to identify wear, elongation, or surface damage that could cause the chain to bind or jump. This step is critical because the chain is the primary interface between the user’s input and the movement of the load.
In my experience, many “mechanical glitches” in lifting gear are actually just dirty or damaged chains. I’ve seen cases where troubleshooting weld porosity led me to realize the hoist was dropping tiny flakes of rust into the weld pool. A clean chain isn’t just about aesthetics; it’s about smooth mechanical engagement.
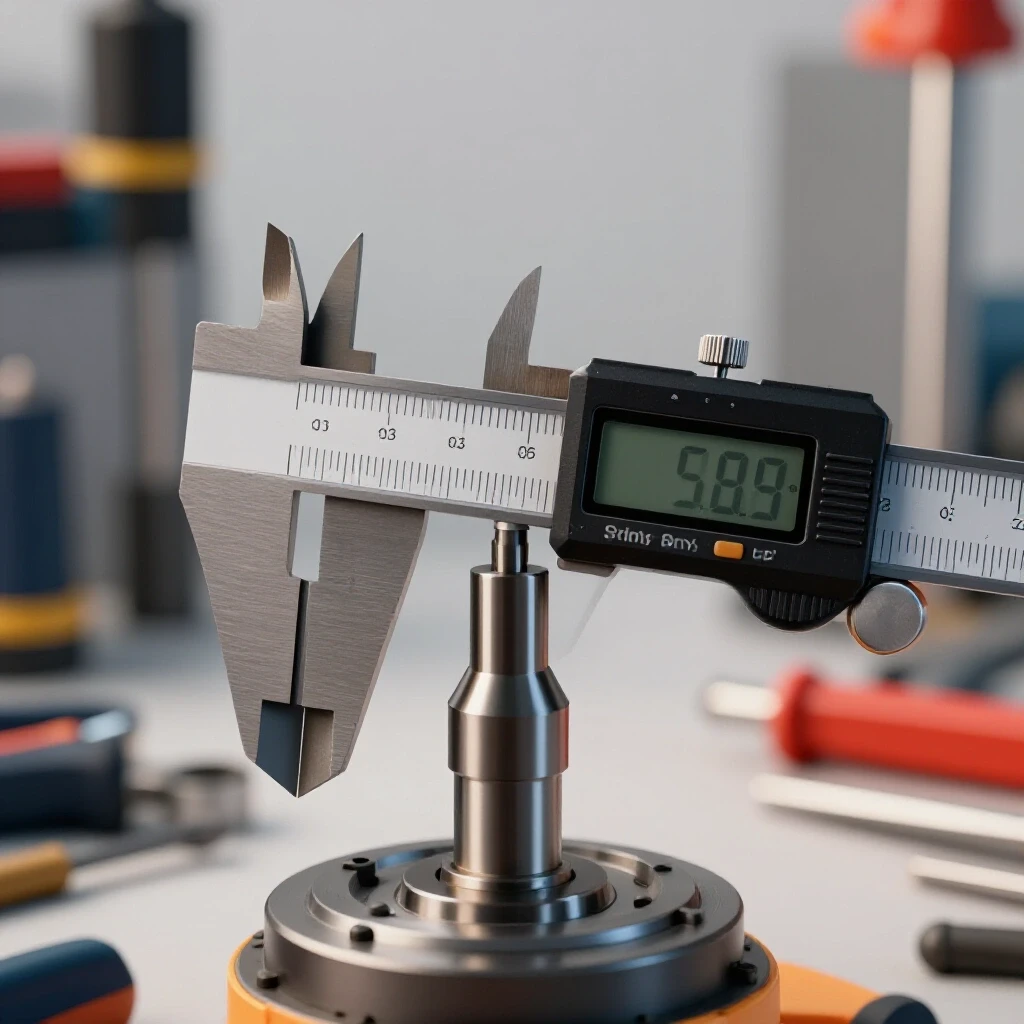
I look for “pitting,” which is a sign of chemical corrosion, and “nicks,” which often come from dragging the chain over sharp table edges. If a link is gouged deeper than 10% of its original diameter, it’s a red flag. I use a digital caliper to measure the thickness of the links at the points where they rub against each other. This is where wear is most aggressive.
Measuring Chain Pitch and Elongation
Chain pitch refers to the internal length of a single link, and elongation is the permanent “stretch” that occurs over time due to heavy use or overloading. Measuring these values ensures the chain still fits perfectly into the pockets of the lift wheel, preventing jumps and “notchy” movements.
To do this accurately, I measure a section of about 11 links and compare it to the manufacturer’s specifications found in machinery maintenance literature. If the chain has stretched by more than 2% of its original length, it will no longer seat correctly in the wheel. This creates a “climbing” effect where the chain tries to ride up on the teeth of the pocket, leading to that jerky sensation I felt years ago.
- Step 1: Clean the chain with a non-corrosive degreaser.
- Step 2: Select a 12-inch section for measurement.
- Step 3: Use a caliper to measure the internal length of the links.
- Step 4: Compare the measurement to the “as-new” baseline (typically found in the manual).
| Component | Normal Tolerance | Warning Sign |
|---|---|---|
| Link Diameter | Within 0.005″ of spec | Nicks/Gouges > 10% depth |
| Chain Pitch | < 2% elongation | Chain “jumps” in pocket |
| Hook Opening | No visible gap increase | > 5% increase in throat width |
| Chain Twist | Zero degrees | Chain refuses to hang straight |
Evaluating Motion Resistance and Brake Drag
Evaluating motion resistance involves checking the hoist’s internal friction components to ensure they engage and disengage cleanly without sticking. Brake drag occurs when the friction discs do not fully separate, leading to a “heavy” feel even when no load is attached to the hook.
I often compare brake drag to a dragging caliper on a vehicle or a spindle backlash issue on a mill. It’s a hidden thief of energy. If you find yourself working harder than usual to pull the hand chain, the brake system might be contaminated with old, hardened grease or dust.
In my shop, I perform a “no-load” test. I pull the hand chain quickly in both directions. The hoist should move with a consistent, light resistance. If it feels like you are pulling through molasses, the friction plates are likely sticking. This is a common issue in humid shops or environments where grinding dust is prevalent.
Identifying Friction Plate Contamination
Friction plate contamination happens when foreign substances like oil, moisture, or metal shavings migrate into the brake assembly, altering the coefficient of friction. This can lead to either a “frozen” brake that won’t move or a “slipping” brake that feels spongy and unreliable.
Building on this, I look for “glazing” on the accessible edges of the friction discs. Glazing is a shiny, glass-like finish caused by heat and friction. It’s similar to what you see on a glazed sanding belt. If the plates are glazed, they won’t grab or release predictably. While I don’t recommend a full teardown for beginners, a visual check through the casing gaps can often reveal if oil has leaked into the brake area.
- Observation: Look for oil weeping from the casing seams.
- Tactile Test: Feel for a “gritty” sensation when the chain is pulled slowly.
- Sound Check: Listen for a high-pitched squeal during the descent.
Diagnosing Mechanical Binding and Misalignment
Mechanical binding is a condition where moving parts encounter physical interference, often due to a bent casing, a misaligned chain guide, or a twisted link. Misalignment in a hoist is much like a lathe alignment checklist error; even a few thousandths of an inch can cause the whole system to bind up.
I once spent three hours trying to figure out why a hoist was sticking, only to find that a small piece of welding wire had been sucked into the chain guide. It was a classic “electrical gremlin” equivalent in the mechanical world. The guide is designed to keep the chain feeding straight into the pocket wheel. If the guide is bent—even slightly—the chain will rub, creating heat and resistance.
To check this, I run the chain through its entire length while watching the entry point of the hoist body. The links should enter the guide centered. If the chain is biased to one side, the guide or the internal “stripper” (the part that peels the chain out of the wheel) might be deformed.
Correcting Chain Twist and Reeving Errors
Chain twist occurs when the chain is fed through the bottom block incorrectly, or when the “dead end” of the chain is anchored with a 180-degree flip. This creates a permanent tension in the chain that causes it to “bunch up” as it enters the hoist body.
As a result, the hoist might work fine for a few feet and then suddenly lock up. I always check the “reeving”—the path the chain takes through the pulleys. If the chain looks like a DNA helix, you have a twist. Correcting this is a simple matter of disconnecting the dead-end pin, untwisting the chain until it hangs perfectly flat, and reconnecting it.
- Lower the bottom hook to its lowest point.
- Inspect the chain for any links that are not parallel.
- If a twist is found, trace it back to the anchor point.
- Ensure the “welds” on the chain links all face the same direction (usually away from the pocket wheel).
Case Study: The “Notchy” Lift and the Hidden Burr
A few years ago, I was helping a colleague troubleshoot a vibration issue on a large boring mill. We were using a manual hoist to position a heavy boring bar. The hoist had a “notch” in it—a spot where it would stick and then “pop” free. It felt remarkably like tool chatter harmonics, where a rhythmic vibration builds up and then releases.
We initially thought the internal gears were stripped. However, following my systematic diagnostic guide, we started with the simplest variables. I cleaned the chain and ran it through my fingers. I felt a tiny, almost invisible burr on one link. That burr was just large enough to catch on the edge of the chain guide every time it passed through.
I took a fine-grit needle file and removed the burr. Total repair time: 45 seconds. Total diagnostic time: 10 minutes. If we had jumped to conclusions and started disassembling the hoist, we would have wasted hours. This is the power of isolation and variable control.
Diagnostic Tools and Calibration Checklists
To perform these checks effectively, you need a small kit of diagnostic tools. These are the same tools I use for metal fabrication fixes and general machinery maintenance. Having them ready prevents the frustration of “making do” with the wrong equipment.
- Digital Calipers: For measuring link thickness and hook throat opening.
- Steel Rule (24-inch): For checking chain pitch and elongation over a long span.
- Non-Corrosive Degreaser: To clean the chain for a proper visual inspection.
- Bright LED Flashlight: To peer into the casing and check for debris or glazing.
- Fine-Grit Needle Files: For removing small burrs or nicks on the chain links.
- White Lithium Grease (Aerosol): For light lubrication of the external chain path.
Maintenance History and Logging
Keeping a maintenance log is one of the most underrated habits in a professional shop. I track every piece of equipment, from my welders to my hoists. When I find an issue, I record the symptoms and the fix. This creates a “fault-tree” that I can reference the next time something feels off.
- Date of Inspection: When was the last time the chain was cleaned?
- Baseline Measurements: What was the hook opening when I bought it?
- Observations: Did it start making a new noise after that heavy lift last Tuesday?
- Actions Taken: Did I lubricate the chain or adjust the dead-end anchor?
Actionable Benchmarks for Equipment Reliability
When you are performing these checks, you need hard numbers. Vague terms like “it feels loose” don’t help in a professional diagnostic setting. Use these benchmarks to decide if your lifting gear is ready for the next project or if it needs professional attention.
- Hook Throat Opening: If the hook opening has increased by more than 5% from its original dimension, the hook has been stressed and should be replaced.
- Chain Elongation: A 2% increase in length over a 10-link span is the limit.
- Motion Smoothness: The hand chain should require roughly the same force throughout a full 360-degree rotation of the internal wheel.
- Brake Engagement: When you stop pulling the hand chain, the load should stop instantly without “drifting” more than a fraction of an inch.
Building on these benchmarks, if you encounter a “current phase unbalance” in your shop’s power—which can happen with large welders—it won’t affect your manual hoist, but the mechanical principles of resistance and heat still apply. A hoist that is hard to pull is generating heat somewhere. That heat is wasted energy and a sign of impending failure.
Troubleshooting Common Mechanical Faults
Many issues that seem complex are actually the result of simple mechanical interferences. By categorizing symptoms, we can create a “map” to the solution. This is the same logic used when isolating motor controller faults or resolving spindle backlash.
| Symptom | Likely Root Cause | Diagnostic Step |
|---|---|---|
| Clicking sound during lift | Debris in pocket wheel | Inspect wheel with flashlight |
| Chain “jumps” or pops | Chain elongation or twist | Measure 10-link pitch |
| Hard to pull (both ways) | Brake drag or dry guides | Clean and lightly lube chain |
| Load drifts downward | Glazed or oily brake discs | Check for oil leaks in casing |
| Chain gets stuck | Bent chain guide | Inspect guide alignment |
Interestingly, many fabricators find that “fixing” a hoist actually involves more cleaning than actual repair. Metalworking is a dirty business. Grinding dust, which is essentially tiny magnets of steel, loves to find its way into the greased sections of your tools. Regular cleaning is the best preventative maintenance you can perform.
Final Steps for Restoring Smooth Operation
Once you have identified and resolved the mechanical hitch—whether it was a twisted link, a burr, or a dirty guide—the final step is verification. This is where you ensure that your fix is permanent and hasn’t introduced new variables.
I always perform a “dry run” first. I run the hoist through its full range of motion without any weight. I listen for the rhythm. It should be a steady, mechanical “purr” without any sharp clicks or hesitations. If that passes, I use a small, known weight—perhaps 50 pounds—to see how the brake reacts under a light load.
As a result of this systematic approach, you gain more than just a working hoist; you gain confidence in your equipment. You know exactly what state it is in because you have measured it, cleaned it, and tested it against known benchmarks. This is the hallmark of a master fabricator.
Best Practices for Long-Term Tool Health
- Store it right: Don’t leave your hoist hanging in the path of welding fumes or grinding sparks.
- Lube sparingly: Too much grease on the chain attracts grit. Use a “dry” lubricant if you work in a dusty shop.
- Check the “Dead End”: Ensure the anchor pin is secure and the cotter pin isn’t sheared.
- Wipe it down: After a long day of fabrication, a quick wipe with a rag can prevent rust from taking hold overnight.
Mastering these diagnostic skills allows you to keep your shop running with minimal downtime. Whether you are fixing a structural alignment fault or simply ensuring your lifting gear is smooth, the methodical approach is your greatest tool.
FAQ: Diagnosing and Maintaining Manual Lifting Gear
Why does my hoist chain feel “crunchy” when I pull it? A “crunchy” sensation is usually caused by grit, metal shavings, or dried grease trapped in the pocket wheel where the chain seats. It can also happen if the chain is slightly elongated and no longer matches the wheel’s geometry. Start by cleaning the chain and inspecting the pockets for debris.
How can I tell if my lift chain is stretched without a manual? While a manual is best, you can compare a frequently used section of the chain to the section that stays inside the hoist (the “dead end”). Measure 10 links of each. If the used section is significantly longer (more than 1/8″ to 1/4″ difference over a foot), it is likely stretched beyond safe limits.
What is the best way to clean a dirty hoist chain? Use a stiff nylon brush and a mild degreaser. Avoid harsh acids that can cause hydrogen embrittlement in high-tensile steel. Once clean, dry it immediately and apply a very light coat of a “dry” PTFE-based lubricant to prevent rust without attracting shop dust.
Is it normal for a manual hoist to make a clicking sound? Yes, most manual hoists use a pawl-and-ratchet system in the brake. A steady, rhythmic clicking during the lift is the pawl dropping into the ratchet teeth. However, a loud “clunk” or an irregular skip is a sign of a problem that needs investigation.
Why does my hoist get harder to pull as I lift the load higher? This often indicates a “reeving” issue or a twist in the chain. As the bottom block gets closer to the hoist body, the twist becomes more concentrated, increasing friction. It could also be a sign of a bent internal guide that the chain is rubbing against more aggressively at certain angles.
Can I use WD-40 to lubricate my hoist? I don’t recommend standard WD-40 for lubrication. It is a solvent and a water displacer, but it doesn’t provide the long-term film strength needed for heavy mechanical pressure. Use a dedicated machine oil or a dry-film lubricant designed for chains.
What should I do if the hook latch won’t close? A latch that won’t close is often a sign that the hook has been “sprung” or bent outward. Measure the throat opening. If it has increased by more than 5%, the hook is compromised. Never bypass a safety latch by taping it or removing it; it is a critical indicator of tool health.
How often should I perform these mechanical checks? In a busy fabrication shop, a quick visual check should happen every time you use the tool. A deep-dive inspection, including measurements and cleaning, should occur every 1-3 months depending on the environment and how often you are positioning heavy weldments or machinery.
Can a jerky hoist affect my weld quality? Absolutely. If you are using the hoist to position a workpiece for a critical weld, any sudden jumps or drops can cause you to lose your arc length or deviate from the weld path. Smooth equipment is essential for maintaining the precision required in high-end metalworking.
What is “backlash” in a manual hoist? In this context, backlash is the “play” or dead space you feel when switching from lifting to lowering. A small amount is normal as the brake pawls engage, but excessive play can indicate worn friction discs or a loose internal drive shaft.
Why is my chain twisting even after I untwist it? Check the bottom block. If the pulley in the hook assembly is sticking or if the bearings are dry, it can cause the chain to “roll” and twist as it moves. Ensure the bottom pulley spins freely and is properly lubricated.
How do I identify “glazing” on the brake components? Look through the casing vents with a bright light. If you see surfaces that look like polished glass or have a rainbow-like “bluing” from heat, they are glazed. This reduces their ability to hold a load securely and can cause the “drifting” sensation.
(This article was written by one of our staff writers, Paul Whitaker. Visit our Meet the Team page to learn more about the author and their expertise.)