Should You Buy a Lathe or Mill First for DIY? (Decision)
Standing in an empty garage with a fixed budget is a situation I know well. In 2013, I started my first home shop with less than $2,000 and a lot of industrial maintenance experience that didn’t always translate to small-scale hobby work. The pressure to choose the right primary machine is intense because these tools represent a significant financial and spatial commitment.
When you are just starting out, the choice between a machine that turns work and one that cuts with a rotating bit can feel like a fork in the road. Making the wrong move can lead to a heavy piece of equipment sitting idle while you struggle to complete basic projects. My goal is to help you look at your specific needs, your power limits, and your budget to make a choice that actually adds capability to your bench.
Analyzing Workshop Power and Space Requirements
Before you bring any heavy machinery home, you must understand the physical and electrical limits of your workspace. Most residential garages are not wired for industrial loads, and the footprint of a machine includes more than just its base. You need to account for operator movement, material overhang, and maintenance access.
Workshop electrical setup checklists usually start with a “load audit.” A standard 15A or 20A household circuit can be pushed to its limit by a single machine tool under load. If you are running a lathe, a shop vacuum for chip control, and overhead lights, you might find yourself in the dark. I learned this the hard way when I tripped a breaker during a critical finishing cut on a shaft. It ruined the part and taught me to separate my machine circuits from my lighting circuits.
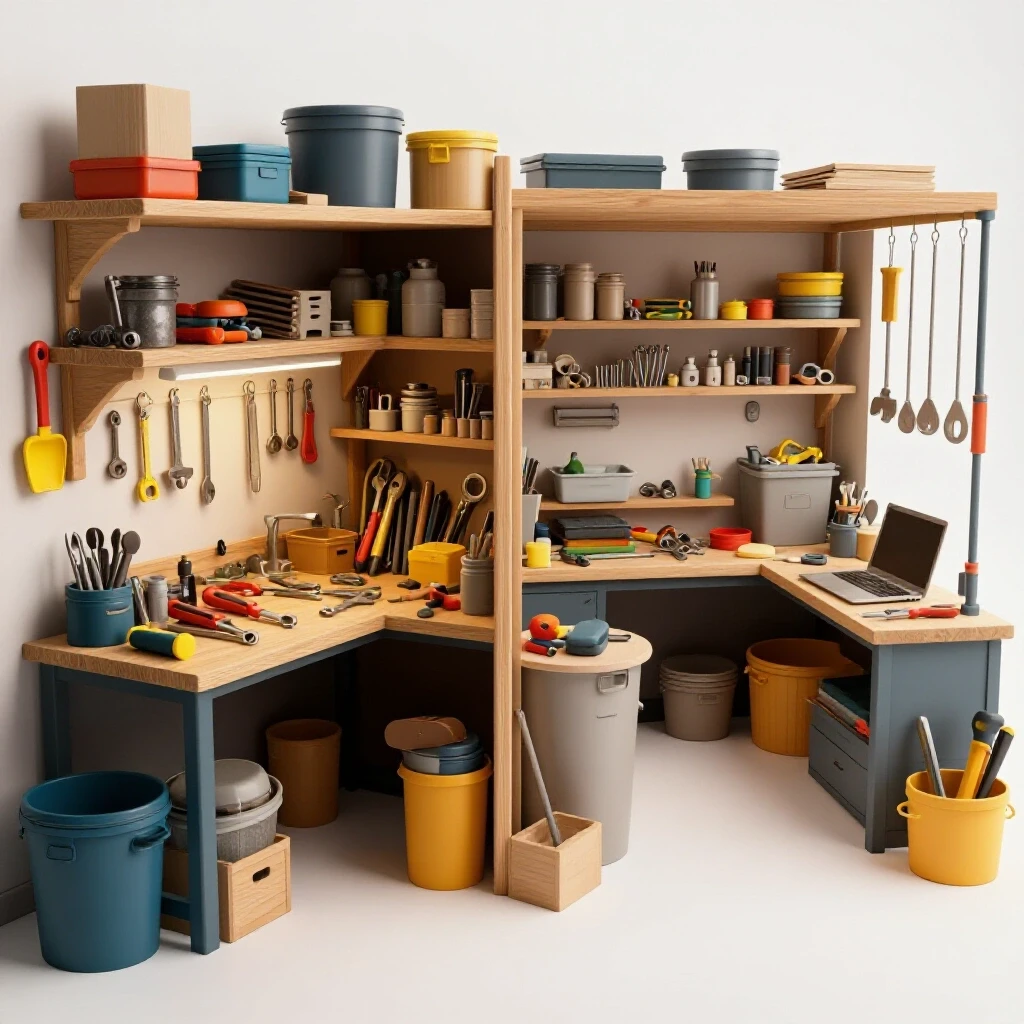
For a budget metalworking tools setup, space is often your most expensive resource. A benchtop machine might look small, but a lathe needs clearance on the left for long stock to pass through the spindle. A mill needs “travel room” where the table moves left, right, in, and out. If you tuck a mill into a corner, you might find you can only use half of its capacity because the table hits the wall.
Understanding Circuit Load and Duty Cycles
A circuit load is the total amount of electricity drawn by all devices on one breaker, measured in Amps. A duty cycle refers to how long a machine can run at full power before it needs to cool down. In a home shop, staying within 80% of your breaker’s rating is a safe practice to avoid overheating wires.
- 15A Circuit: Safe continuous load is 12 Amps.
- 20A Circuit: Safe continuous load is 16 Amps.
- Machine Startup: Motors often draw a “surge” of power when starting, which can be double their running Amps.
The Case for Starting with a Lathe
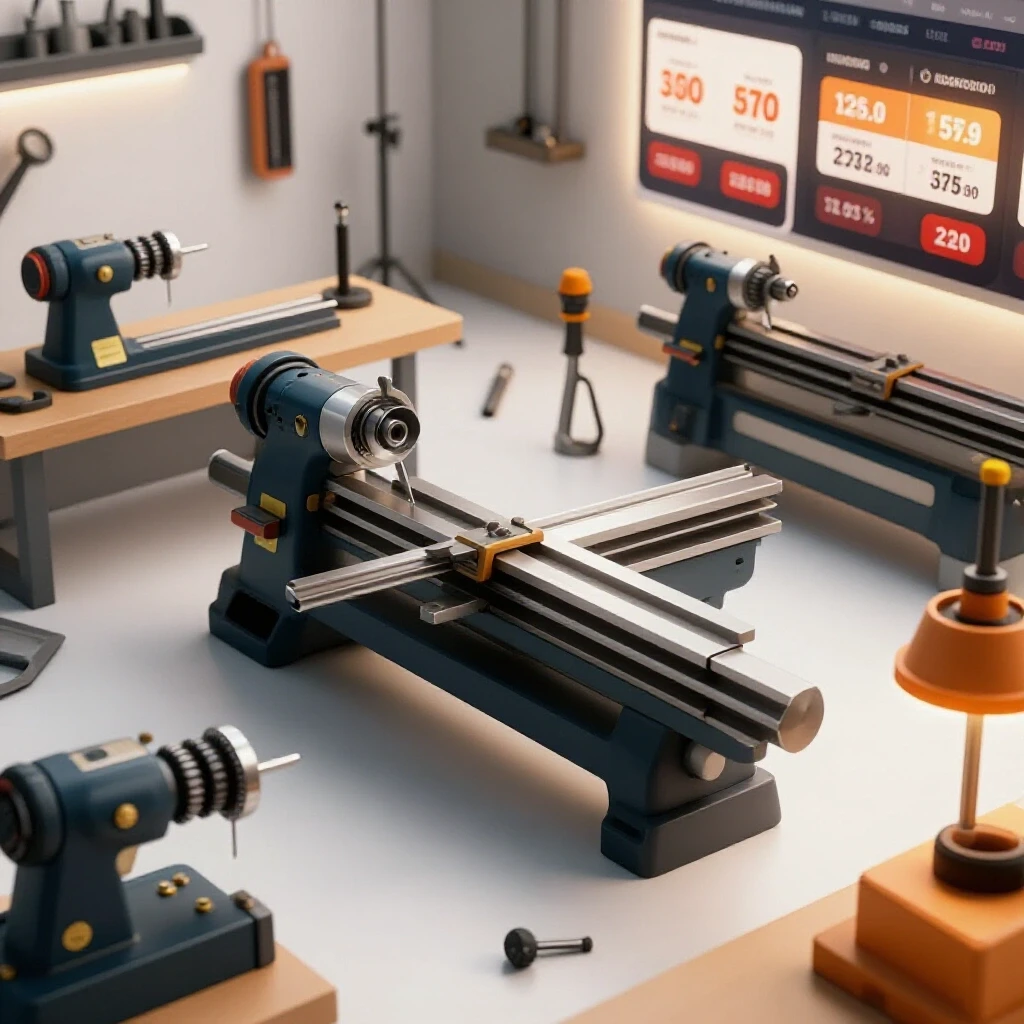
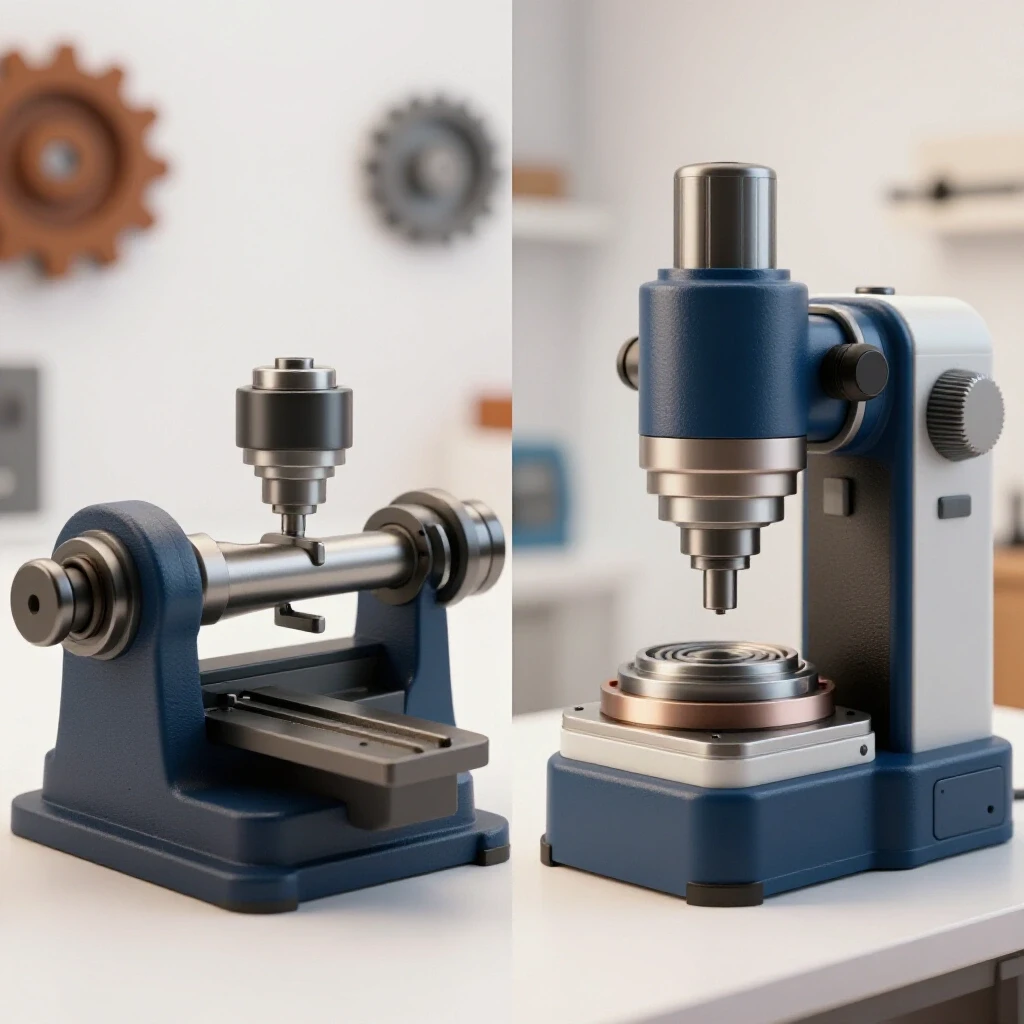
A lathe is a machine that rotates a workpiece against a stationary cutting tool to create cylindrical shapes. It is often called the “king of tools” because it is the only machine capable of reproducing itself. For a beginner, it is the primary tool for making bushings, pins, bolts, and any part that needs to be perfectly round.
When I was maintaining industrial pumps, the lathe was my most used tool for repairing shafts and sleeves. In a home shop, if your projects involve automotive repair, small engines, or custom fasteners, this machine is usually the best first step. It excels at “turning,” which is removing material from the outside diameter, and “boring,” which is enlarging a hole on the inside.
The learning curve on a lathe is often more intuitive for beginners. You see the part spinning, and you move the tool into it. However, safety is paramount here. Unlike other tools, a lathe has a high “grab” potential. According to safety standards like those from the American Welding Society (AWS) regarding shop environments, you must never wear gloves, loose clothing, or jewelry when operating a lathe.
Essential Lathe Capabilities for Beginners
Turning involves removing metal to create a specific diameter, while facing makes the end of a part flat and square. These two operations cover about 70% of what a hobbyist needs to do on a daily basis.
- Parting: Using a thin tool to cut a finished piece off from the main bar.
- Threading: Cutting screw threads directly into the metal.
- Knurling: Pressing a pattern into the metal for better grip.
| Feature | Typical Starter Lathe | Typical Starter Mill |
|---|---|---|
| Primary Shape | Cylindrical (Round) | Prismatic (Square/Flat) |
| Footprint | Long and Narrow | Square and Tall |
| Tooling Cost | Moderate | High |
| Power Draw | 5A – 10A (Running) | 8A – 12A (Running) |
The Case for Starting with a Milling Machine
A milling machine uses a rotating cutting tool, called an end mill, to remove material from a stationary workpiece. While a lathe makes things round, a mill makes things flat, slots them, or drills precisely located holes. If your goal is to build brackets, engine mounts, or custom enclosures, a mill is often more useful.
In my experience, a mill is a more versatile “drill press on steroids.” It allows you to move a workpiece with 0.001-inch precision. This level of accuracy is what separates a “fabricated” look from a “machined” look. However, mills require more rigid setups. If your part moves even a tiny bit during a cut, you risk breaking expensive cutting tools or ruining the finish.
For a starter metal workshop layout, a mill often dictates where everything else goes because of its height. You also need to consider the “chip spray.” Mills tend to throw metal chips further than lathes, meaning you need a “clean zone” or shielding to protect other tools and electronics in your garage.
Common Milling Operations for DIY Projects
Milling is the process of using a multi-edged cutter to shave off layers of metal. Squaring a block is the most common task, ensuring all sides are at 90-degree angles to each other.
- End Milling: Cutting slots or pockets into the face of a part.
- Face Milling: Creating a large, flat surface on a piece of plate or bar stock.
- Drilling/Boring: Using the mill’s precision table to put holes exactly where they belong.
Tooling Budgets and the 30% Rule
The biggest mistake I see beginners make is spending their entire budget on the machine itself. A lathe or mill is just a heavy paperweight without the bits, holders, and measuring tools required to use it. I recommend the “30% Rule”: allocate at least 30% of your total budget to high-quality safety gear and essential tooling.
When you buy a lathe, you need tool bits, a chuck, a tailstock drill chuck, and centers. When you buy a mill, you need a high-quality vise, end mills, collets, and a clamping kit. If you spend $1,500 on a machine, you should have at least $450 ready for the “hidden costs.” Cheap abrasives and low-quality cutting tools actually cost more in the long run because they dull quickly and produce poor surface finishes, leading to wasted material.
Measuring tools are part of this budget too. You cannot machine what you cannot measure. A decent set of 6-inch calipers and a 0-1 inch micrometer are non-negotiable. Without them, you are just “guesstimating,” which defeats the purpose of owning precision machinery.
Tooling-to-Machine Cost Ratios
Tooling is the collection of removable cutters and holders used by the machine. The ratio of tooling cost to machine cost usually increases over time as you take on more complex projects.
- Safety Gear (Initial): Safety glasses, face shield, and hearing protection.
- Basic Cutting Tools: A set of HSS (High-Speed Steel) tool bits or end mills.
- Work Holding: A vise for the mill or extra jaws for the lathe chuck.
- Measurement: Calipers, micrometers, and a dial indicator.
Safety Integration and Ventilation Standards
Operating precision machinery in a residential space requires a different safety mindset than a dedicated industrial floor. You are often working near laundry machines, water heaters, or parked cars. Garage workshop ventilation is a critical, yet often ignored, part of the setup. Machining creates fine metal dust and, if you use cutting fluids, smoke and vapors.
OSHA workshop safety guidelines for small spaces suggest at least four to six air changes per hour. If you are welding or using a lot of cutting oil, you need a dedicated exhaust fan. I installed a simple wall-mounted shutter fan that pulls 400 CFM (Cubic Feet per Minute), which is sufficient for a standard two-car garage.
Beyond air quality, you must manage your “clearance boundaries.” This is the space around the machine where no one else should stand. In a tight home shop, it is easy for a family member to walk in and accidentally bump you during a cut. Using floor tape to mark “operator-only zones” is a professional habit that prevents accidents.
Workshop Safety Gear Vetting
Safety gear vetting is the process of ensuring your personal protective equipment (PPE) meets recognized standards. Always look for the ANSI Z87.1 mark on eye protection, which ensures the lenses can withstand high-velocity impacts from metal chips.
- Eye Protection: Wrap-around glasses or a full face shield.
- Hearing Protection: Earplugs or muffs, especially when air-cooling a cut.
- Footwear: Leather boots to protect against heavy dropped parts and hot chips.
- No-Go Items: No gloves near rotating spindles; no long sleeves; no neckties or hoodies with strings.
Choosing Based on Project Type
If you are still undecided, look at the projects you want to build. I kept a log for six months of every time I said, “I wish I had a machine for this.” By tracking these moments, I realized 80% of my needs were for flat brackets and slotted holes. That data made my decision to buy a mill first very easy.
If you are a motorcycle restorer, you will likely need a lathe first for making custom spacers, axles, and bushings. If you are a hobbyist robot builder or a home-shop gunsmith, a mill might be your priority for cutting frames and mounting hardware. There is no “perfect” first tool, only the one that solves your most frequent problems.
Consider the “material workflow” as well. Lathes use round bar stock which is easy to store in tubes. Mills often use flat plate or square blocks which require different storage solutions. Planning your metal storage early helps keep the shop organized and safe from tripping hazards.
Project-to-Machine Mapping
Mapping involves matching the physical requirements of your planned projects to the specific capabilities of each machine type.
- Automotive/Restoration: Priority Lathe (bushings, pins, shafts).
- Fabrication/Brackets: Priority Mill (slots, flat faces, precise hole patterns).
- Tool Making: Both are needed, but a Lathe is often the starting point.
- General Repair: A Lathe is generally more “forgiving” for a variety of quick fixes.
Step-by-Step Workshop Setup Checklist
Once you have decided which machine comes first, the installation must be methodical. Rushing to make the first cut is how mistakes happen. I follow a strict sequence for every new tool I bring into my shop to ensure it is safe and accurate.
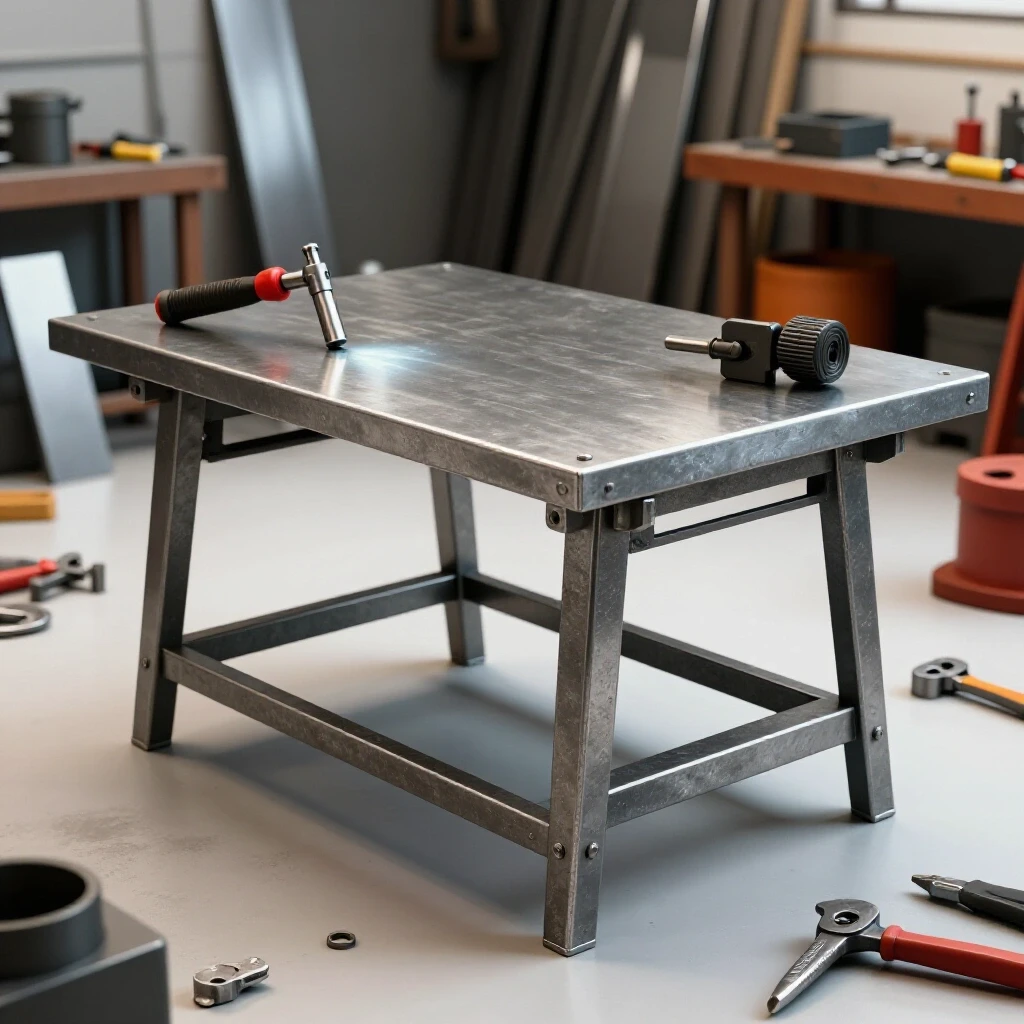
- Foundation Check: Ensure the workbench or stand is level and can support the machine’s weight without flexing.
- Power Verification: Check that the outlet is grounded and the circuit isn’t shared with high-draw appliances like a refrigerator.
- Cleaning: New machines often come coated in “shipping grease.” This must be completely removed with a degreaser and replaced with proper machine oil.
- Leveling and Tramming: For a mill, “tramming” ensures the head is perfectly square to the table. For a lathe, leveling ensures the bed isn’t twisted, which would cause it to cut tapers.
- Safety Run: Turn the machine on at the lowest speed with no tools installed to check for unusual vibrations or noises.
- First Test Cut: Use a soft material like aluminum or brass to verify the machine is cutting accurately before moving to steel.
Actionable Benchmarks for Beginners
Success in a home shop is measurable. You should track your progress not just by the parts you make, but by how well you maintain your environment. Keeping a “safety log” and an “equipment maintenance schedule” might seem like overkill for a hobbyist, but it is what professionals do to prevent downtime.
- Tool Lifespan: Expect HSS tools to last through dozens of projects if sharpened correctly; budget for replacements every 12 months.
- Electrical Safety: Check plug temperatures after 30 minutes of use; if they are hot to the touch, your circuit is overloaded.
- Precision Goals: Aim for +/- 0.005 inches on your first month of projects; as you learn the machine, try to hit +/- 0.001 inches.
Setting up a shop is a marathon, not a sprint. By focusing on one primary machine, mastering its safety requirements, and budgeting for the necessary tooling, you build a foundation that will last for years. Whether you choose the lathe for its cylindrical mastery or the mill for its prismatic precision, the key is to start with a plan that respects both your budget and your safety.
FAQ
Is a “3-in-1” machine (lathe, mill, and drill) a good choice for a first shop?
While 3-in-1 machines save space, they often involve compromises. They are usually less rigid than dedicated machines, and switching between modes can be time-consuming. For a budget-conscious beginner, a dedicated lathe or mill is usually a better investment because it performs its primary function with higher accuracy and less setup frustration.
Do I need 220V power for a beginner lathe or mill?
Most entry-level benchtop machines are designed to run on standard 110V/120V household power. You only need 220V if you are buying larger, floor-standing industrial surplus machines. However, having a dedicated 20A 110V circuit for your machine is highly recommended to prevent tripping breakers during heavy cuts.
How much should I spend on my first set of measuring tools?
You don’t need to buy the most expensive brands immediately, but avoid the “bottom-shelf” plastic tools. A solid set of stainless steel digital or dial calipers and a basic 0-1 inch micrometer will cost about $100 to $150 total. This is a vital part of your 30% tooling budget.
Which machine is more dangerous for a beginner?
Both require respect, but the lathe is generally considered more hazardous because of the exposed rotating workpiece. It can easily catch loose clothing or hair. The mill’s primary danger is flying metal chips and the potential for tools to break if the feed rate is too high. Proper safety vetting and PPE are mandatory for both.
Can I put a milling attachment on a lathe instead of buying a mill?
Yes, many lathes offer a vertical milling attachment. This allows you to do basic milling tasks, but the “work envelope” (the size of the part you can cut) is very small. It is a good “stop-gap” solution if you have zero space for a second machine, but it won’t replace the versatility of a dedicated mill.
How do I handle metal chips in a carpeted or shared garage?
Metal chips are sharp and can be tracked into the house. Use “chip trays” under your machines and consider building a simple plexiglass shield around the cutting area. A dedicated shop vacuum with a HEPA filter is essential for daily cleanup. Never use compressed air to blow chips off a machine, as it can drive grit into the precision bearings.
What is the most common mistake when buying a used machine?
The most common mistake is failing to check for “wear in the ways.” The “ways” are the precision-ground tracks the machine moves on. If they are heavily worn or pitted with rust, the machine will never be accurate, regardless of how much you spend on tooling. Always bring a dial indicator to check for “slop” or play in the movements before buying.
Is it cheaper to buy a lathe or a mill first?
Generally, the initial purchase price of a benchtop lathe and a benchtop mill are similar. However, the “tooling tax” for a mill is often higher. You will likely spend more on vises, collets, and various end mills for a mill than you will on basic turning tools for a lathe.
How much noise do these machines make?
Benchtop machines are surprisingly quiet when idling, often quieter than a vacuum cleaner. The noise increases significantly during the actual cutting process, especially when machining steel or taking heavy cuts. If you share a wall with a living space, consider adding vibration-dampening pads under the machine stand.
How long does it take to learn the basics?
You can learn to make a simple, accurate part on either machine in a single weekend if you follow a structured guide. However, mastering the “feeds and speeds” (how fast the tool moves and how fast the part spins) takes months of practice and record-keeping.
Should I buy a digital readout (DRO) right away?
A DRO is a screen that shows the exact position of your tools. While it makes machining much faster and reduces errors, it is not “essential” for a beginner. Learning to read the manual graduated dials first will give you a better “feel” for the machine and save you several hundred dollars in your initial setup.
(This article was written by one of our staff writers, Michael Thompson. Visit our Meet the Team page to learn more about the author and their expertise.)