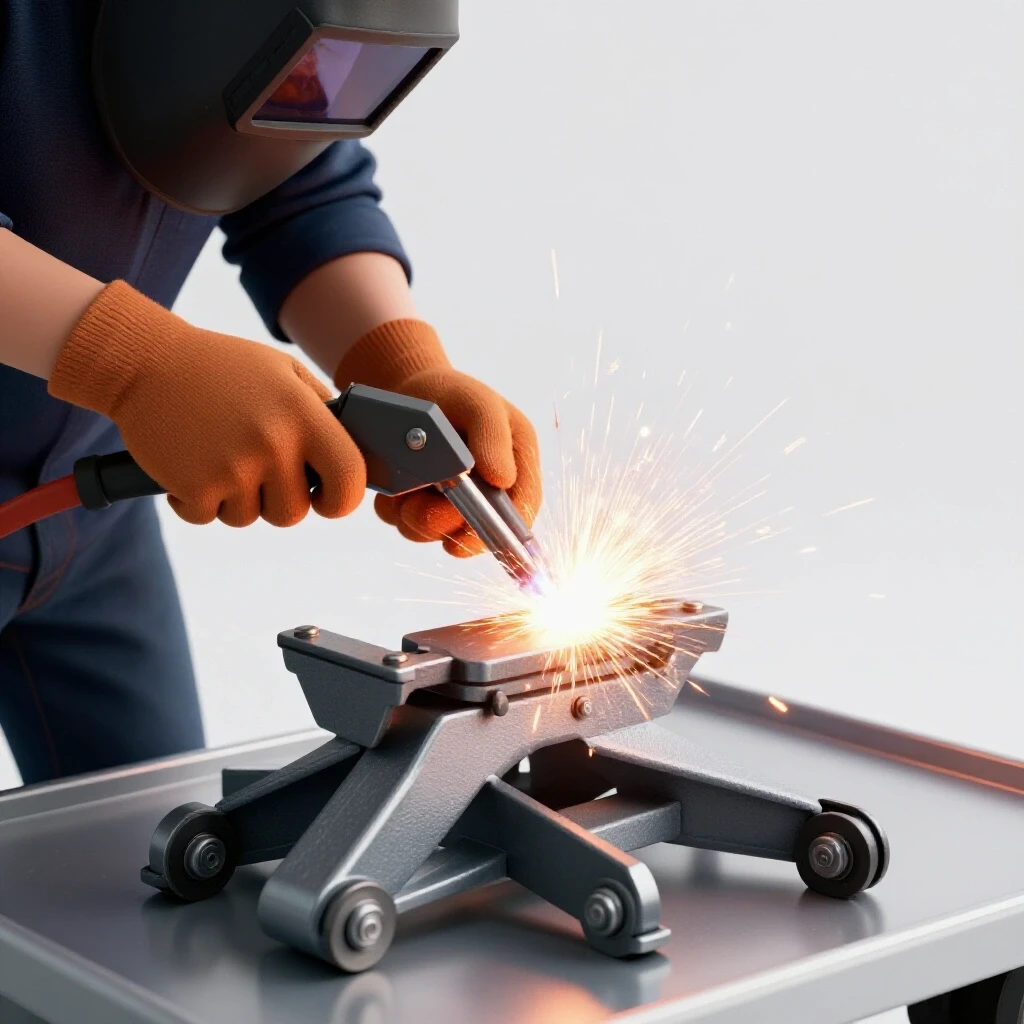
How to Align and Fix Metal Chop Saw Guard Guides (DIY Fix)
The smell of old, oxidized grease and the sight of a heavy, cast-iron abrasive saw sitting in the corner of a scrap yard often signal the start of a rewarding project. Over the past 18 years, I have brought dozens of these discarded machines back to life, ranging from 1940s lathes to mid-century drill presses. One of the most overlooked yet critical components of a metal-cutting saw is the mechanical guide system for the protective shield. When these guides are misaligned or seized by decades of rust, the tool becomes a liability rather than an asset. Restoring these systems requires a blend of patience, precise measurements, and a deep respect for the original engineering tolerances.
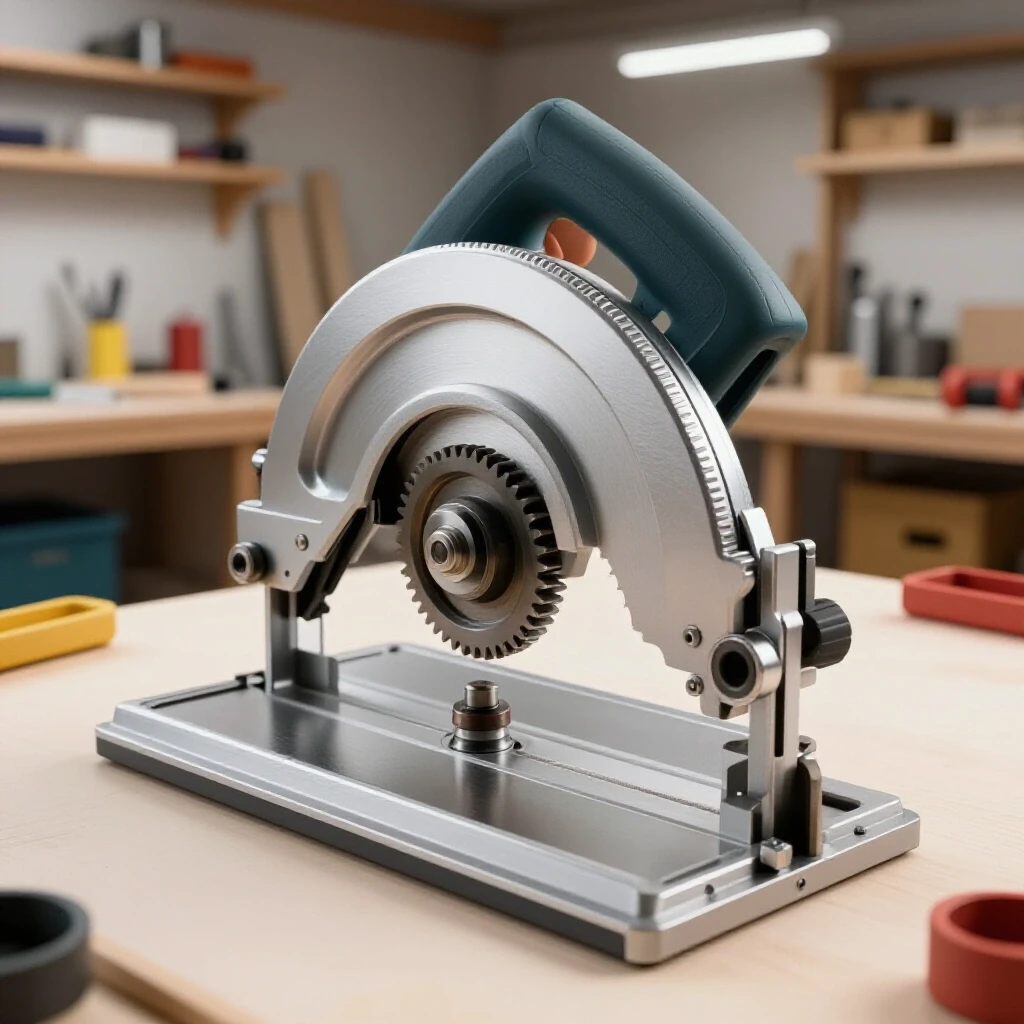
Assessing the Mechanical Integrity of Vintage Guard Rails
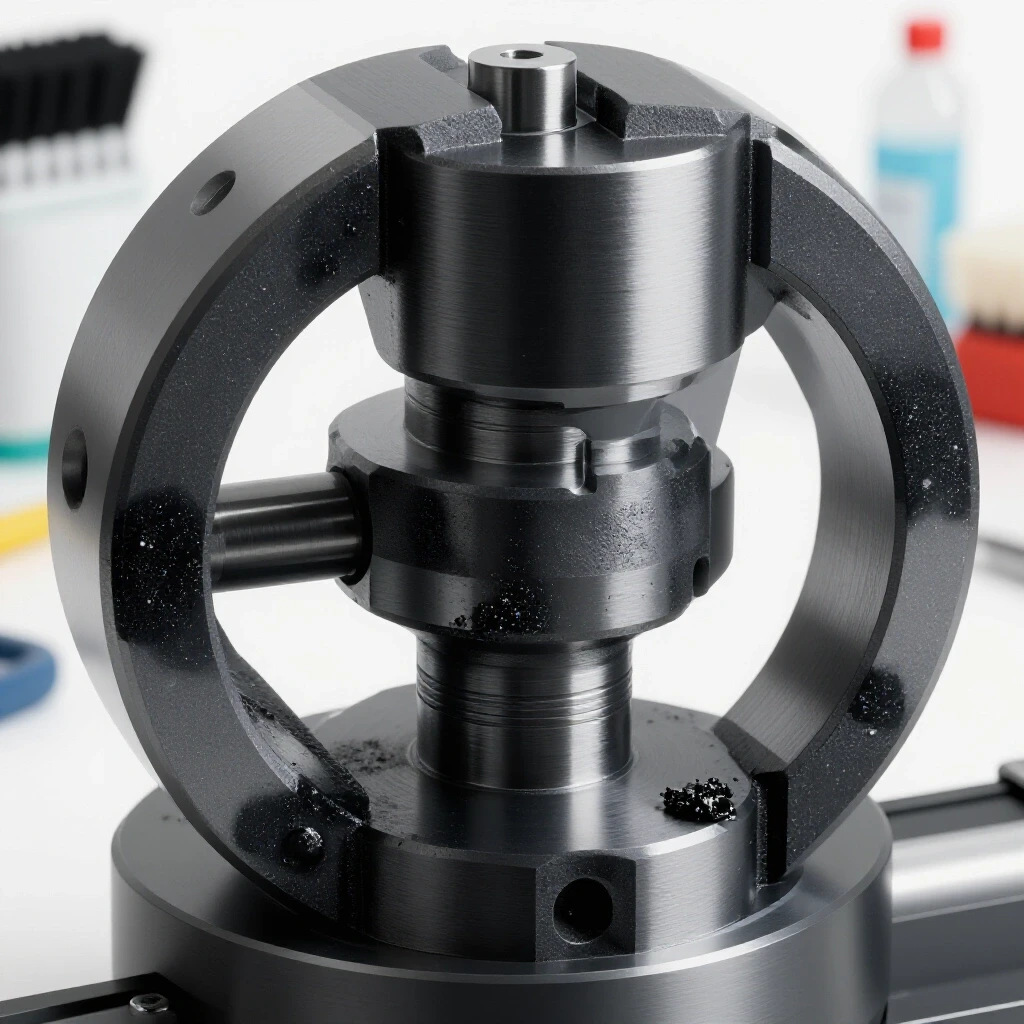
Before turning a single wrench, you must evaluate the structural state of the guard assembly. This involves identifying hairline cracks in cast iron brackets, checking for bent guide rails, and measuring the lateral play in the pivot points. A thorough initial assessment prevents wasting time on components that are structurally compromised beyond safe repair.
Identifying Structural Fatigue and Distortion
Structural fatigue in vintage machinery often manifests as micro-cracks around stress points like mounting lugs and pivot pins. For a chop saw guard, these areas bear the brunt of vibration and impact. Detecting these early using dye penetrants or high-magnification inspection ensures the safety and long-term viability of the final restoration project.
In my experience, the most common issue with neglected saws is a warped mounting bracket. If a machine was dropped or hit by a heavy workpiece, the guide rails may no longer be parallel to the cutting plane. I use a precision straightedge to check the flatness of the mounting surfaces. Even a deviation of 0.010 inches can cause the guard to bind as it travels through its arc. If the casting is cracked, I often have to decide between specialized nickel-rod welding or searching for a donor machine, as cast iron requires careful pre-heating to avoid further stress fractures.
Measuring Pivot Point Clearances
Pivot point clearances determine how much “slop” or lateral movement exists within the guard’s travel path. If the clearance is too tight, the guard will stick; if it is too loose, the shield may vibrate against the abrasive wheel. Measuring these gaps with feeler gauges provides a baseline for the upcoming mechanical repairs.
Ideally, a vintage guard pivot should have a clearance between 0.002 and 0.005 inches. This allows for a thin film of lubricant without allowing the guard to wobble. When I restored a 1960s DeWalt abrasive saw, the pivot pin had worn an oval shape into the cast-iron housing. This required boring out the hole and pressing in a bronze sleeve bearing to return the assembly to its factory specifications.
Strategies for Removing Seized Fasteners in Guard Brackets
Seized fasteners are the primary obstacle when disassembling older metalworking equipment. These screws and bolts are often fused to the casting through galvanic corrosion or hardened, prehistoric grease. Removing them without snapping the heads or stripping the internal threads requires a strategic approach involving heat, chemistry, and mechanical vibration.
Thermal Expansion and Contraction Techniques
Thermal expansion uses controlled heat to break the bond of rust between a steel fastener and a cast-iron body. By heating the surrounding casting, the hole expands slightly more than the bolt, often cracking the “rust weld” holding the parts together. This method is far more effective than raw force, which usually results in broken hardware.
I prefer using a targeted propane or MAPP gas torch for this. The key is to heat the casting, not the bolt itself. Once the area is hot, I touch a stick of paraffin wax to the threads. The wax wicks into the microscopic gaps, providing lubrication where oils cannot reach. In my 18 years of restoration, this “heat and wax” method has saved more obsolete thread patterns than any other technique.
Chemical Penetrants and Time Management
Chemical penetrants are designed to crawl into the tightest tolerances to dissolve oxidation. Unlike modern “all-purpose” sprays, dedicated restoration penetrants use low-surface-tension solvents to reach the root of the threads. This process is never instant; it often requires multiple applications over several days to be truly effective.
- Step 1: Clean the area with a wire brush to remove surface scale.
- Step 2: Apply a 50/50 mix of Acetone and Automatic Transmission Fluid (ATF).
- Step 3: Tap the fastener lightly with a brass hammer to create vibrations that help the fluid migrate.
- Step 4: Wait 24 hours and repeat.
| Penetrant Type | Effectiveness on Heavy Rust | Evaporation Rate | Best Use Case |
|---|---|---|---|
| WD-40 (Standard) | Low | High | Light cleaning only |
| PB Blaster | Medium | Medium | General disassembly |
| Acetone/ATF Mix | High | Very High | Seized cast iron threads |
| Kroil | Very High | Low | Precision machinery |
Chemical and Mechanical Restoration of Guard Guide Surfaces
Once the assembly is apart, the focus shifts to removing heavy structural corrosion without removing the base metal. Restoring the smooth travel of a guard depends on the condition of the rails and the sliding surfaces. Using aggressive grinding is a mistake; instead, we use methods that preserve the original dimensions of the tool.
Electrolysis for Deep Rust Removal
Electrolysis is a non-destructive method of removing rust using a low-voltage DC current and an alkaline solution. This process converts iron oxide (rust) back into a loose black sludge that can be easily brushed away, leaving the healthy metal underneath untouched. It is the gold standard for cleaning complex castings with internal channels.
For a typical guard bracket, I use a 12V DC power supply (like an old manual battery charger) and a plastic tub filled with water and washing soda. The part is connected to the negative terminal (cathode), and a piece of scrap steel is connected to the positive terminal (anode). Running this for 12 to 24 hours usually cleans the deepest pits in the casting. It is a slow, methodical process that respects the history of the tool.
Hand Scraping for Surface Flatness
Hand scraping is the traditional method of creating a truly flat surface on machine ways and guides. By using a hardened steel or carbide scraper, a restorer can remove high spots measured in ten-thousandths of an inch. This ensures that the guard guide moves with zero binding across its entire range of motion.
When I am refurbishing a sliding guide rail, I apply a thin layer of “Engineer’s Blue” (Prussian Blue) to a known flat surface, like a surface plate. I rub the guide rail against it to reveal the high spots. I then carefully scrape away those spots. For a guard guide, I aim for a density of 10 to 15 points per inch (PPI). This provides enough flat surface for stability while leaving “valleys” to hold oil, preventing the metal-on-metal galling common in old machinery.
Precision Calibration of the Retractable Shield Mechanism
With clean parts and smooth surfaces, the final stage is the physical alignment of the guard system. This ensures the shield travels in a perfectly vertical plane, centered over the path of the abrasive wheel. Proper alignment involves squaring the brackets and using shims to compensate for any remaining casting irregularities.
Squaring the Guard Brackets
Squaring involves ensuring that the pivot axis of the guard is exactly perpendicular to the saw’s base and parallel to the arbor. If the axis is tilted, the guard will “track” to one side, eventually rubbing against the side of the wheel. This is corrected by adjusting the mounting fasteners or using precision shims.
I use a machinist’s square and a dial indicator for this. With the saw unplugged and the wheel removed, I mount the dial indicator to the saw’s arbor. As I rotate the arbor and move the guard through its travel, the indicator tells me if the guard is moving in a straight line. If I see a deviation of more than 0.005 inches over the full travel, I know the bracket needs adjustment.
Using Shims and Set-Screws for Fine Adjustment
Shims are thin strips of material, usually brass or stainless steel, used to fill small gaps between mating surfaces. When a cast-iron bracket is slightly out of square, a 0.001-inch or 0.002-inch shim placed under one side of the mounting flange can tilt the entire assembly into alignment. Set-screws, if present, allow for even finer “jacking” adjustments to lock the position.
- Brass Shims: Easy to cut and conform to irregular surfaces.
- Steel Shims: Better for high-pressure areas where compression must be avoided.
- Plastic/Color-Coded Shims: Useful for quick identification of thickness during the trial-and-error phase.
Checklist for Final Alignment Testing
- Verify all fasteners are torqued to original specifications (refer to vintage manuals if available).
- Check that the return spring has enough tension to fully retract the guard without slamming.
- Ensure there is no contact between the shield and the arbor at any point in the cycle.
- Apply a light machine oil (ISO 32 or 46) to all sliding surfaces and pivot pins.
- Perform a “gravity test”: the guard should fall or retract smoothly under its own weight or spring tension without sticking.
Fabricating and Sourcing Legacy Hardware
Finding parts for a 50-year-old saw can be a daunting task. Often, the original manufacturer is out of business, or the thread patterns used are now obsolete. In these cases, a restorer must become a part-time machinist, either sourcing “New Old Stock” (NOS) or fabricating replacements from modern materials.
Navigating Obsolete Thread Patterns
Many older American-made tools use National Coarse (NC) or National Fine (NF) threads, but occasionally you will encounter Whitworth or even proprietary pitches. Identifying these requires a thread pitch gauge and a micrometer. If a hole in a casting is stripped, I prefer using a thread insert (like a Helicoil) rather than tapping to a larger, non-standard size. This preserves the original look and allows the use of period-correct fasteners.
Sourcing Replacement Springs and Bearings
The return spring is the heart of the guard’s safety system. If the original is snapped or lost to rust, you can often find a replacement by measuring the wire diameter, outside diameter, and “rate” (the force required to compress it). I keep a log of spring dimensions for every machine I disassemble. For bearings, many vintage saws used simple sleeve bearings made of bronze or even Babbitt metal. Replacing these with modern Oilite (oil-impregnated bronze) bushings is a common and effective upgrade that maintains the tool’s historical integrity while improving reliability.
Case Study: Restoring a 1974 “Cast-Iron King” Chop Saw
Last year, I acquired a heavy-duty abrasive saw that had been sitting in a damp basement since the late 1980s. The guard was completely frozen in the “down” position. The pivot bolt was a custom shoulder bolt with a non-standard 1/2-13 thread but a 5/8-inch unthreaded shoulder.
I spent three days soaking the pivot in a mixture of ATF and acetone. After a light application of heat, the bolt finally turned. I discovered that the aluminum guard had reacted with the steel pivot pin—a classic case of galvanic corrosion. After cleaning the parts in an electrolysis bath, I found the aluminum bore was oversized by 0.015 inches. I machined a custom bronze bushing on my 1940s South Bend lathe to bridge the gap. Once reassembled and shimmed with 0.003-inch brass stock, the guard moved as smoothly as it did the day it left the factory. This project cost less than $20 in materials but saved a $400 professional-grade tool from the landfill.
Frequently Asked Questions
Why does my guard bind only when the saw is tilted for a miter cut? This usually indicates a lack of lateral support in the pivot. When the saw is tilted, gravity pulls the guard to the side. If the pivot clearances are greater than 0.010 inches, the guard will tilt and rub against the bracket. Reducing the clearance with shims or a new pivot pin usually fixes this.
Can I use grease to lubricate the guard guides? It is generally better to use a light machine oil. Grease tends to trap metal dust and abrasive grit from the cutting process, creating a grinding paste that accelerates wear. A “dry” PTFE lubricant is also an excellent choice for dusty environments.
What should I do if the cast-iron mounting lug is snapped off? This is a serious structural failure. If you are skilled in cast-iron welding (using high-nickel rods and pre-heating), it can be repaired. However, for a safety-critical component like a guard, finding a replacement casting from a donor machine is often the safer choice.
How do I know if my return spring is too weak? The guard should return to its home position quickly and firmly from any point in its travel. If you have to “help” it back up, the spring is either fatigued or the pivot is too tight. Always check for binding before blaming the spring.
Is it safe to use a saw if the guard is slightly misaligned? No. A misaligned guard can catch on the workpiece or the abrasive wheel, leading to a catastrophic failure of the disc or a dangerous kickback. Precision alignment is a safety requirement, not just a cosmetic one.
How can I prevent the “rust weld” from returning? During reassembly, apply a thin layer of anti-seize lubricant to all threads and non-sliding mating surfaces. For the pivot pin, a coat of heavy-duty paste wax can also provide a moisture barrier.
What is the best way to clean a heavily pitted guide rail? Start with an electrolysis bath to remove the rust. Then, use a fine oilstone to “knock down” the high edges of the pits. Do not try to sand the pits away entirely, as this will change the dimensions of the rail and cause the guard to wobble.
Where can I find manuals for obsolete metalworking machinery? Websites like VintageMachinery.org and various “Old Woodworking Machines” (OWWM) forums are invaluable resources. Many members upload scanned PDF versions of original service manuals and parts lists.
Can I replace a steel pivot pin with a stainless steel one? Yes, but be aware that stainless steel can gall (cold-weld) when rubbed against other stainless parts. If you use a stainless pin, ensure the bushing is made of a different material, like bronze or brass, to prevent this.
How do I measure thread pitch if I don’t have a gauge? You can press the threads into a piece of soft wood or lead to create an impression, then measure the distance between ten peaks with a ruler and divide by ten. However, a $10 thread gauge is a much more accurate investment for any restorer.
(This article was written by one of our staff writers, Richard Beaumont. Visit our Meet the Team page to learn more about the author and their expertise.)