How to Inspect and Repair a Rusty Shop Crane Hoist (Guide)
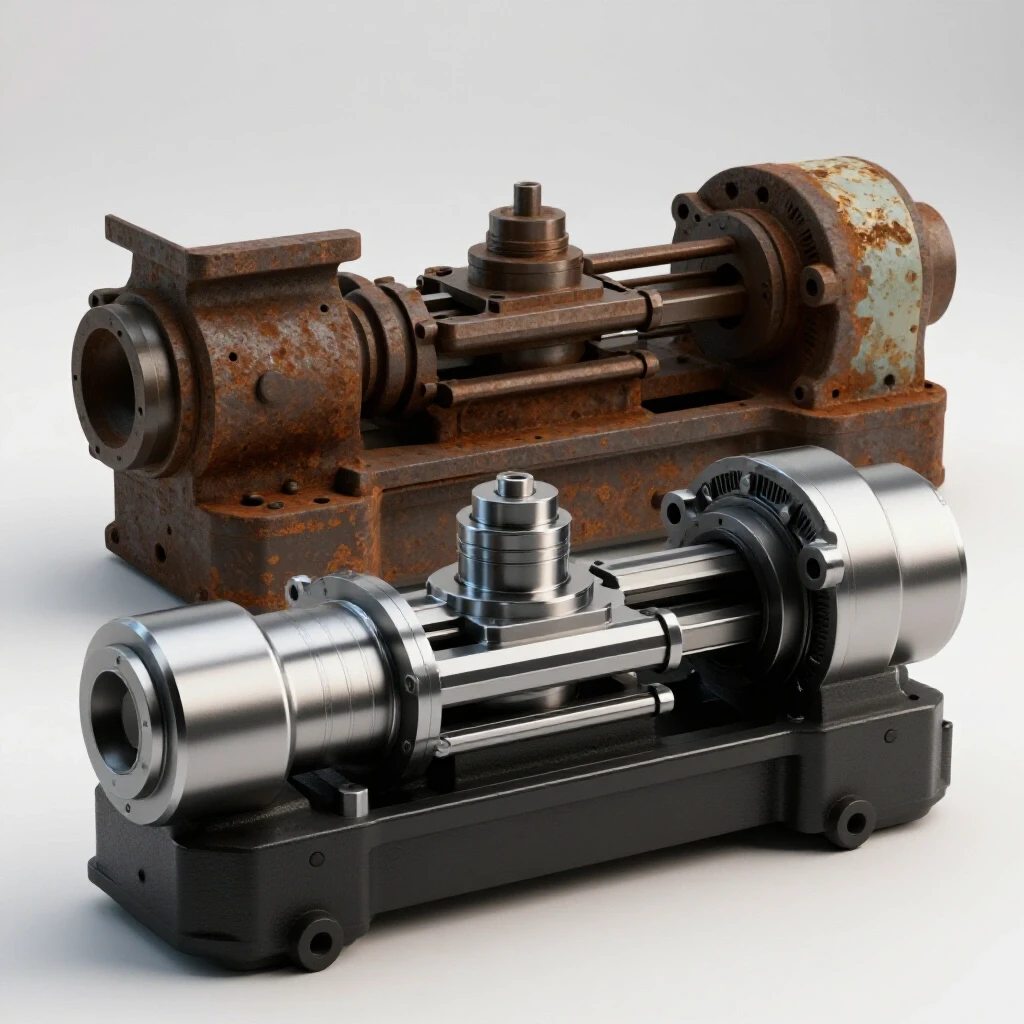
There is a specific kind of silence in an old workshop that only a heavy, rusted piece of iron can command. Over the last 18 years, I have stood before dozens of these machines—pre-war lathes, massive drill presses, and seized manual chain blocks—feeling both the weight of their history and the daunting reality of their decay. Restoring classic metalworking equipment is never about a quick fix; it is a slow, methodical dialogue between the restorer and the metal. When you find a vintage manual hoist hanging from a rafters, caked in fifty years of grease and oxidized scale, you aren’t just looking at a tool. You are looking at a mechanical puzzle that requires patience, a respect for metallurgy, and a refusal to take shortcuts.
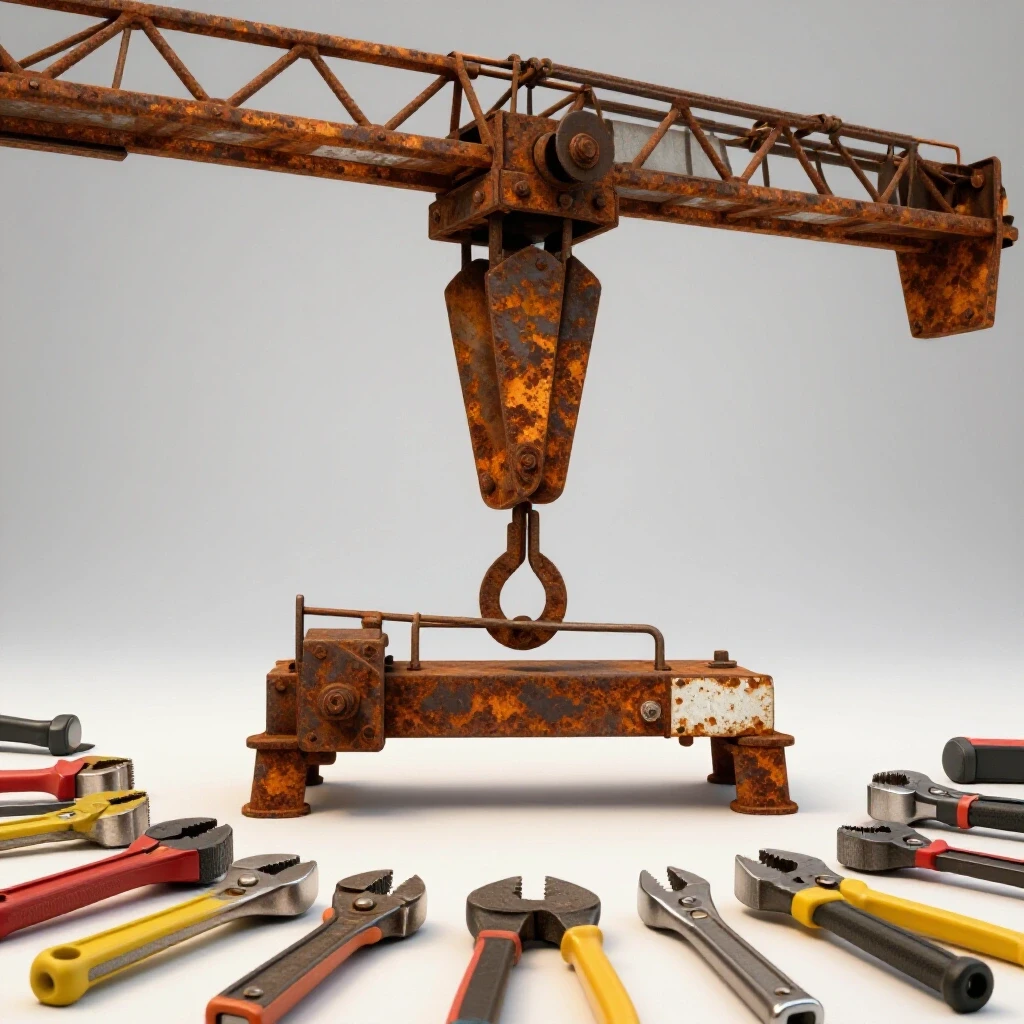
I remember my first major rescue, a 1930s-era gear-driven lifter. The internal friction discs were fused into a solid block of rust, and the load chain looked like a single, rigid rod. That project taught me that force is the enemy of restoration. If you pull too hard on a seized casting, it will snap, and once that vintage iron is gone, you can’t simply order a replacement from a catalog. Bringing these tools back to factory tolerances is a journey of careful disassembly, chemical sensitivity, and precision recalibration. It is about saving money, yes, but more importantly, it is about preserving the mechanical integrity of a time when tools were built to last forever.
Evaluating the Structural Integrity of Vintage Lifting Gear
Evaluation is the process of determining if a mechanical assembly is a candidate for restoration or a safety risk destined for the scrap pile. This involves a systematic visual and tactile audit of the load-bearing frame, the condition of the gear housing, and the presence of any hairline fractures in the cast iron.
Before I even pick up a wrench, I spend an hour just looking. I’m searching for “stress creep”—the subtle deformation of the frame that suggests the tool was used far beyond its rated capacity. In vintage machinery restoration, the frame is everything. If the main housing of a manual hoist is cracked or warped, the project ends there. Cast iron is wonderful for compression, but it is brittle. I use a high-intensity light to check the “pockets” where the load chain enters the body. If I see any spiderweb lines, I know the metal has reached its fatigue limit.
Identifying Fatal Flaws in Cast Iron Assemblies
Fatal flaws are non-repairable defects such as deep structural cracks, severe casting rot, or warped gear tracks that compromise the safety and function of the machine. Identifying these early prevents the waste of time and resources on an assembly that can never safely hold weight again.
In my experience, the most common dealbreaker is “frozen” internal gearing that has cracked the outer shell. When water enters a gear housing and freezes, the expansion can split a two-inch thick casting like a piece of dry wood. I also look for “pitting depth.” Surface rust is fine, but if the oxidation has eaten more than 10% into the thickness of a load-bearing hook or shackle, the structural integrity is gone. We are restoring these for use, and a failure under load is not an option.
Mapping the Disassembly Sequence
A disassembly sequence is a documented, step-by-step plan for taking a machine apart, ensuring that every fastener, shim, and gear is accounted for and its original orientation is preserved. This often involves photographs, labeled bins, and sketches of internal mechanical relationships.
Never assume you will remember how a complex gear train goes back together. I use a “disassembly log” for every project. As I remove each part, I note the thread direction—vintage tools often use left-hand threads in rotating assemblies to prevent loosening. I also check for “witness marks,” which are small factory stamps used to align gears. If they aren’t there, I make my own with a center punch.
- Step 1: Photograph the unit from all six sides.
- Step 2: Clear a dedicated bench space and use magnetic trays for fasteners.
- Step 3: Document the “as-found” state of the friction brake and pawl system.
- Step 4: Measure the chain link thickness with calipers to establish a wear baseline.
Why Seized Cast Iron Screws Crack Under Force—And How to Formulate a Real Thermal Release Plan
Thermal release is the technique of using controlled heat to expand metal components at different rates, breaking the bond of rust and old lubricants between seized parts. This process relies on the physics of thermal expansion coefficients to loosen fasteners without exceeding the metal’s melting or warping point.
When you encounter a screw that hasn’t moved since the Truman administration, your instinct is to grab a bigger lever. Don’t. In classic tool alignment and repair, force is a last resort. I use a “cycle of three” approach: penetrant, heat, and vibration. I apply a 50/50 mix of acetone and automatic transmission fluid (ATF), let it sit for 24 hours, then apply heat.
The goal isn’t to get the metal red hot. I aim for about 400 degrees Fahrenheit—enough to smoke the oil. This causes the bolt to expand against the rust. As it cools, it shrinks, creating microscopic gaps that allow the penetrant to wick deeper. I’ve spent three days on a single set screw before, and that patience is what saves the casting from a terminal crack.
Comparing Rust Removal Methods for Heavy Machinery
Rust removal methods range from mechanical abrasion (grinding) to chemical chelation and electrolytic conversion. Each method has a specific trade-off between speed, aggressiveness, and the preservation of the underlying base metal and factory markings.
| Method | Best For | Pros | Cons |
|---|---|---|---|
| Electrolysis | Intricate gear sets | Removes rust only; no metal loss | Slow; requires 12V DC setup |
| Evapo-Rust | Small parts/chains | Non-toxic; very safe | Can be expensive for large baths |
| Wire Wheel | Large exterior frames | Fast and effective | Can obscure fine stamps/markings |
| Vinegar/Citric Acid | General hardware | Cheap and accessible | Can cause “flash rust” if not neutralized |
Removing Machinery Rust Without Damaging the Base Metal
Chemical rust removal involves using chelating agents or electrolytic baths to selectively target iron oxide while leaving the healthy “parent” metal untouched. This is critical for maintaining the tight tolerances required in gear-driven lifting mechanisms.
For the internal gears and load chains of a manual lifter, I swear by the electrolysis bath. I use a manual battery charger set to 2 amps and a solution of washing soda (sodium carbonate) and water. By making the rusty part the cathode (negative) and a piece of scrap steel the anode (positive), the rust is literally pulled off the part and deposited on the scrap. This is the only way to clean the inside of chain links without thinning the metal.
Setting Up a High-Precision Electrolysis Station
An electrolysis station is a controlled environment where an electrical current is passed through an electrolyte solution to remove oxidation. It requires a stable DC power source, an alkaline solution, and sacrificial anodes to facilitate the chemical transfer of rust.
I set my bath to 12V DC and monitor the current. You want a gentle “fizz,” not a rolling boil. If the current is too high, you can cause hydrogen embrittlement in high-carbon steel parts like the load hooks. I typically run a heavily rusted gear for 12 to 24 hours. Once it comes out, I immediately scrub it with a stiff nylon brush and coat it in a light machine oil to prevent flash rust.
Servicing Legacy Bearings and Friction Discs
Legacy bearings, including bronze sleeves and babbitt-lined housings, are the contact points that allow heavy machinery to move smoothly under load. Servicing them involves cleaning, measuring for “out-of-round” wear, and ensuring the lubrication channels are clear of decades-old solidified grease.
Most vintage hoists don’t use modern ball bearings; they use bronze sleeve bearings. Over time, the oil holes get plugged with “varnish”—old oil that has turned into a hard, plastic-like substance. I use a small dental pick to clear these channels. If the bearing clearance is more than 0.005 inches, the shaft will wobble, leading to uneven gear wear. In these cases, I have to source or turn new bronze bushings on the lathe to restore the original 0.001–0.002 inch clearance.
Understanding Friction Brake Mechanics
A friction brake is a safety mechanism in a manual hoist that uses specialized discs to hold a load in place when the operator stops pulling the chain. It relies on a specific coefficient of friction and must be kept free of grease and oil to function correctly.
The heart of the hoist is the Weston-style friction brake. This consists of a series of discs and a ratcheting pawl. During restoring classic cast iron projects, I often find these discs are glazed or soaked in oil. I clean them with brake cleaner and lightly scuff them with 400-grit sandpaper. If the discs are worn thin, I search for modern friction material that can be cut to fit, as original parts for a 1940s hoist are usually obsolete.
Sourcing and Fabricating Obsolete Thread Patterns
Obsolete thread patterns refer to screw and bolt standards that are no longer in common production, such as Whitworth, early SAE, or proprietary manufacturer pitches. Restoring these requires identifying the specific pitch and diameter to ensure replacements or repairs are historically and mechanically accurate.
One of the biggest frustrations in vintage machinery restoration is the “mystery bolt.” Before the 1950s, many manufacturers used their own proprietary thread pitches. If I find a stripped hole in a casting, I don’t just tap it out to the nearest modern size. That ruins the historical value. I use a thread pitch gauge to identify the TPI (threads per inch). If it’s a non-standard size, I’ll often turn a custom bolt on my lathe to match the original hole, preserving the casting’s integrity.
The Role of Hand Scraping in Restoring Flatness
Hand scraping is a precision metalworking technique where a hand-held tool is used to remove minute amounts of metal from a surface to achieve extreme flatness. It is measured in “points per inch” (PPI) and is essential for creating oil-retaining pockets on mating surfaces.
While we aren’t scraping the ways of a lathe here, the mating surfaces of the hoist gear housing often need to be “trued” to prevent oil leaks. I use a precision surface plate and some Prussian Blue dye to check for high spots. If the housing is warped, I use a hand scraper to bring it back to a flat plane. I aim for about 10–15 PPI (points per inch). This ensures a perfect seal without needing thick, messy gaskets that can change the internal gear spacing.
Reassembly, Lubrication, and Final Alignment
Reassembly is the final stage where cleaned and repaired components are put back together in the correct order, lubricated with appropriate fluids, and checked for mechanical alignment to ensure smooth, safe operation.
When it’s time to put the machine back together, I refer to my disassembly log. I apply a high-pressure, molybdenum-based grease to the gear teeth, but I keep the friction brake discs bone dry. For the sleeve bearings, I use a heavy ISO 100 gear oil. Modern “all-purpose” greases are often too thin for the slow, high-pressure movements of vintage lifting gear.
Lubricant Classification for Vintage Gearboxes
Lubricant classification involves selecting the correct oil or grease based on the machine’s age, gear type, and operating pressure. Using the wrong lubricant can lead to accelerated wear or failure of vintage bronze and steel components.
| Component | Recommended Lubricant | Why? |
|---|---|---|
| Open Gears | Moly-Grease (NLGI 2) | Stays on teeth under high load |
| Sleeve Bearings | ISO 100 Machine Oil | Flows into tight clearances; resists varnish |
| Load Chain | Dry Graphite Spray | Doesn’t attract grit or dust |
| Friction Brake | None (Keep Dry) | Oil causes the brake to slip |
Ensuring Precision and Safety After Restoration
Safety and precision checks are the final verification steps to ensure the restored machine operates within its original design parameters. This includes checking for smooth chain travel, positive brake engagement, and the absence of unusual noise or vibration under a controlled test.
Before I ever put a restored hoist back into service, I perform a “no-load” test. I run the chain through its entire length, listening for any “clicks” or “pops” that indicate a misaligned gear or a bent chain link. The movement should be rhythmic and smooth. I check the pawl engagement; it should snap into the ratchet teeth with a sharp, metallic sound. If it sounds “mushy,” the spring is weak and needs replacement.
Creating a Maintenance and Inspection Checklist
A maintenance checklist is a living document that outlines the periodic tasks required to keep a restored machine in peak condition. It serves as a record of care and a reminder to check critical safety components like chains and hooks.
- Monthly: Inspect load chain for “stretch” using calipers (max 2% elongation).
- Quarterly: Apply light oil to the pawl pivot point.
- Bi-Annually: Check gear housing bolts for tightness.
- Annually: Disassemble the lower hook block to inspect the swivel bearing.
- Post-Use: Wipe down the chain with a rag to remove moisture.
Why Restoring the Past is Worth the Effort
Restoring a piece of rusted workshop history is a labor-intensive process, but the results are incomparable. A modern, mass-produced hoist often feels flimsy and disposable. A restored vintage unit, with its heavy cast-iron housing and precision-machined bronze bushings, has a “soul” you can feel in the handle. By following a methodical path—from the initial assessment of machinery rust to the final alignment of gears—you aren’t just saving a tool. You are reclaiming a standard of quality that has largely disappeared from the modern world.
The skills you gain during these rescues—learning the “feel” of a seized bolt, mastering the chemistry of an electrolysis bath, and understanding the nuances of vintage thread patterns—make you a better maker. Every time you pull that chain and feel the smooth, powerful lift of a machine you brought back from the brink, you’ll know it was worth every hour spent at the workbench.
FAQ: Restoring and Maintaining Vintage Manual Hoists
What is the safest way to remove a heavily seized nut on a vintage casting? Use a “Thermal Release Plan.” Apply a 50/50 mix of acetone and ATF, let it soak for 24 hours, and then apply localized heat with a propane torch. Aim for 400°F. If it doesn’t move, repeat the cycle. Never use a long “cheater bar” on cast iron, as the casting will likely snap before the bolt turns.
How do I know if a vintage load chain is still safe to use? Measure a section of 10 links with a digital caliper and compare it to the factory specs if available. If you don’t have the manual, look for “pitting.” If the rust has created deep craters in the metal, the chain is compromised. A “stretched” chain will also fail to seat properly in the hoist’s pocket wheel, causing it to jump or bind.
Can I use modern spray-on rust converters on internal gears? I don’t recommend it. Rust converters leave a hard, black primer coating that can change the gear tooth profile and interfere with tolerances. For internal components, stick to electrolysis or evaporative chelators like Evapo-Rust, which leave the bare metal clean and ready for lubrication.
What should I do if the original manufacturer is out of business and I need parts? This is where the vintage machinery restoration community is vital. Websites like VintageMachinery.org or specialized forums often have scanned manuals. If the part is a simple bushing or bolt, you can fabricate it on a lathe. For complex castings, you may have to buy a second “parts unit” of the same model.
Why is my restored hoist slipping when I try to lift a load? This is almost always due to oil or grease on the friction brake discs. These discs must be clean and dry. If they are contaminated, disassemble the brake and clean the discs with a non-residue solvent like brake cleaner. Also, check the ratcheting pawl spring; if it’s weak, it won’t hold the load.
Is it okay to paint the load chain to prevent future rust? No. Never paint a load chain. The paint will flake off inside the hoist mechanism and cause binding. Additionally, paint can hide cracks or wear in the links. To prevent rust, use a dry graphite lubricant or a very light coat of specialized chain oil that doesn’t attract abrasive grit.
What is “hydrogen embrittlement,” and should I worry about it during rust removal? Hydrogen embrittlement occurs when high-carbon steel (like hooks or chains) absorbs hydrogen during an acid bath or electrolysis. This can make the metal brittle and prone to sudden snapping. To avoid this, don’t leave parts in an electrolysis bath longer than necessary, and never use strong mineral acids (like muriatic acid) on load-bearing components.
How do I identify an obsolete thread pitch on an old machine? Use a thread pitch gauge set that includes both SAE and Metric, but also look for “Whitworth” or “British Standard” gauges if the machine is very old or European. If it’s a proprietary thread, you’ll need to measure the diameter with calipers and count the threads over a one-inch span to determine the TPI.
What are the signs that a cast-iron housing is too far gone to save? Look for “cracks that travel.” If a crack starts at a bolt hole and moves toward a load-bearing area, the piece is dangerous. Also, look for “graphitization,” where the iron has leached out, leaving a soft, carbon-rich surface that you can literally scrape away with a knife. This indicates the metal has lost its structural strength.
Do I need to “re-pour” babbitt bearings in an old hoist? Most manual hoists use bronze sleeves, but if you find a very old, heavy-duty unit with babbitt (a soft white metal alloy), you might need to re-pour it if the clearance is excessive. This involves melting out the old metal, setting a mandrel, and pouring molten babbitt into the housing—a specialized but rewarding skill in the world of machine rescue.
(This article was written by one of our staff writers, Richard Beaumont. Visit our Meet the Team page to learn more about the author and their expertise.)