How Copper Grounding Straps Improve Plasma Arcs (DIY Guide)
I remember a Tuesday afternoon about eight years ago when a small fabrication shop owner called me in a panic. He was trying to finish a custom gate, but his plasma cutter was acting like a nervous horse. The arc would start, sputter for a second, and then die, leaving a jagged, ugly scar on the steel. He had already swapped out the electrodes and the nozzle three times, thinking it was a consumable issue. When I arrived, I didn’t look at the torch first; I looked at where the electricity was trying to go back to the machine.
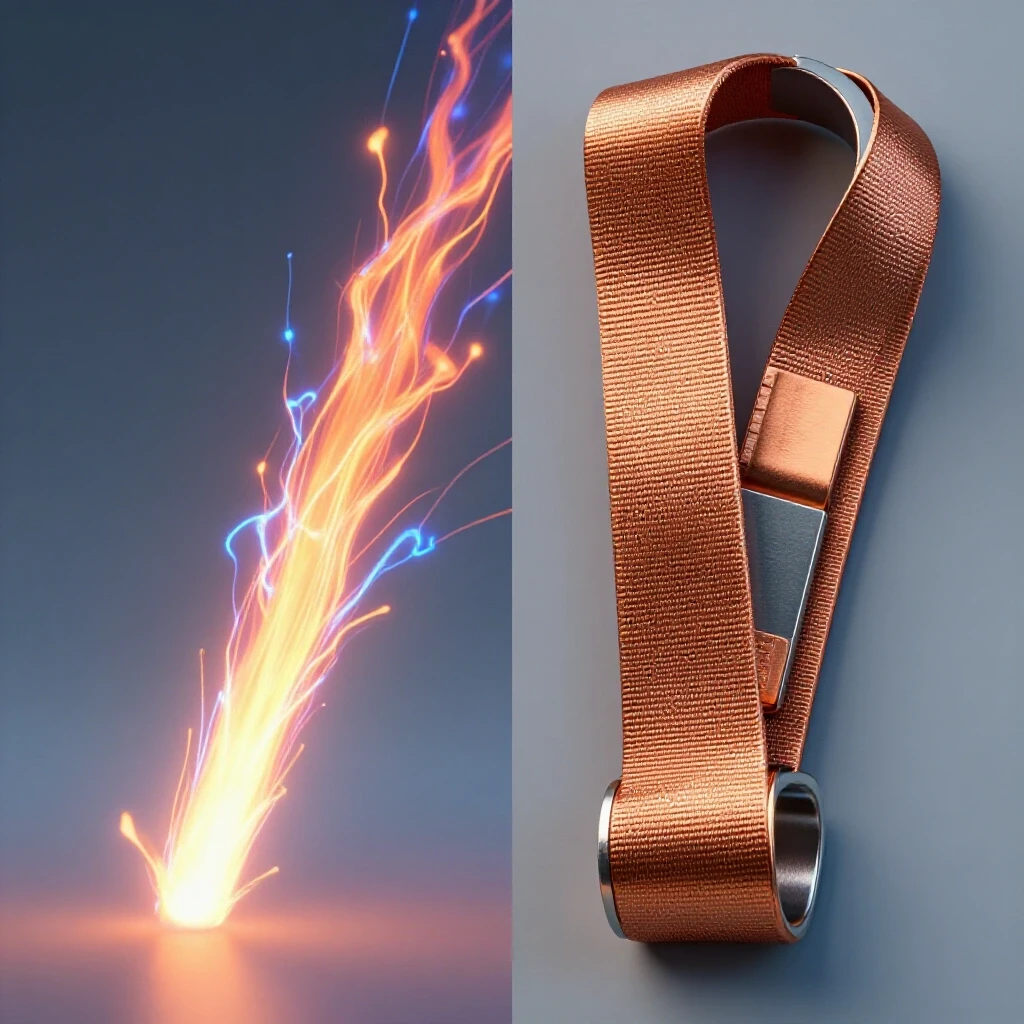
In my 15 years of diagnosing workshop gremlins, I have learned that the most complex problems often have the simplest mechanical roots. We often focus on the “business end” of the tool—the flame, the bit, or the wire. However, the return path for the electrical current is just as vital as the delivery. In that shop, a rusty work clamp and a thin, frayed wire were creating so much resistance that the machine couldn’t maintain a stable arc. We replaced that setup with a heavy-duty copper strap, and the machine purred. This guide is about mastering those return paths to ensure your equipment performs exactly how it was designed to.
Systematic Isolation of Electrical Path Failures
A systematic approach to troubleshooting involves breaking down the entire electrical circuit into individual, testable sections to identify where energy is being lost. By isolating the work return path from the power source and the torch, you can determine if a performance issue is caused by the machine itself or a poor connection to the workpiece.
When an arc becomes unstable, the first step is to stop guessing. I use a process called “variable control.” If I change the nozzle and the problem persists, I know the nozzle wasn’t the root cause. If I change the air pressure and nothing improves, I move to the electrical side. Most DIY setups rely on a simple spring-loaded steel clamp. Over time, the spring weakens, and the contact points get pitted from small sparks. This creates “contact resistance,” which is the enemy of a smooth cut.
To diagnose this, I look for heat. After trying to cut for a minute, I safely check the temperature of the work clamp and the cable. If the clamp is hot to the touch, you have found your bottleneck. Electricity struggling to pass through a high-resistance connection converts into heat instead of powering your arc. This is where a more robust, low-resistance connection becomes necessary to bypass the limitations of standard hardware.
Enhancing Conductivity with Flexible Copper Connections
Low-resistance return paths are essential for stabilizing the electrical flow between the workpiece and the power supply, ensuring the arc initiates reliably every time. Using braided copper materials allows for a high surface area and flexibility, which reduces the electrical “noise” and voltage fluctuations that often plague smaller shop environments.
In many cases, the standard cable provided with entry-level machines is the bare minimum required to function. Building a custom bridge using braided copper helps maintain a steady voltage. Braided straps are superior to solid wire because they offer more surface area and can withstand the constant movement of a busy fabrication bench without snapping or fraying. This flexibility is key when you are moving parts around or working on large, awkward assemblies.
| Connection Type | Resistance Level | Durability | Arc Stability |
|---|---|---|---|
| Standard Steel Clamp | High | Low | Intermittent |
| Copper C-Clamp | Medium | High | Consistent |
| Braided Copper Strap | Very Low | Very High | Excellent |
| Magnetic Ground | Variable | Medium | Poor on dirty metal |
Building on this, the goal is to create a “highway” for the electrons. A standard steel clamp only touches the metal in two or three small spots. A wide copper strap, bolted directly to a clean section of your worktable or the workpiece itself, creates a massive path for the current. This reduces the work the machine has to do to keep the arc alive, which in turn leads to cleaner cuts and longer-lasting consumables.
Sizing and Installation for Stability
Properly sizing a return strap involves matching the cross-sectional area of the copper to the amperage output of your machine to prevent overheating and voltage drops. For most DIY setups operating between 20 and 60 amps, the strap must be thick enough to carry the load without becoming a heating element itself.
When I am setting up a diagnostic test for a client, I follow a strict sizing rule. For a machine running up to 40 amps, I recommend a copper strap at least 1/2 inch wide and 1/16 inch thick. If the machine pushes up to 60 amps, I move to a 1-inch wide strap. Interestingly, the length of the strap also matters. The shorter the path, the lower the resistance. I try to keep these straps under 18 inches whenever possible to minimize any potential voltage drop.
- 20-30 Amps: Use a 1/2 inch wide braided strap.
- 40-50 Amps: Use a 3/4 inch wide braided strap.
- 60 Amps: Use a 1 inch wide braided strap or doubled 1/2 inch straps.
- Fasteners: Use brass or stainless steel bolts to prevent corrosion at the contact point.
As a result of using the correct size, you will notice that the “pilot arc” transfers to the metal much faster. If you find yourself clicking the trigger and waiting for the “pop” of the arc, your resistance is likely too high. A well-sized copper bridge eliminates that lag, making the start of every cut much more predictable.
Eliminating Contact Resistance at the Workpiece
Contact resistance occurs when dirt, mill scale, or rust acts as an insulator between the electrical return strap and the metal being cut. Ensuring a “bright metal” connection by grinding away surface contaminants is a fundamental step in achieving a high-quality, continuous arc that does not wander or extinguish.
I have seen many fabricators blame their power supply when the real culprit was a layer of mill scale. Mill scale is a flaky, dark coating found on hot-rolled steel, and it is a terrible conductor. If you bolt your copper strap over mill scale, you are essentially trying to push 40 amps through a layer of glass. I always use a flap disc to grind a small “landing zone” for the connection until the steel is shiny and reflective.
Once the metal is clean, the mechanical fastening must be tight. A loose strap will vibrate at a high frequency due to the electrical current, a phenomenon known as “harmonic chatter” in the electrical sense. This vibration can cause micro-arcs between the strap and the workpiece, which pits the copper and ruins the connection. I recommend using a dedicated copper or brass C-clamp to sandwich the strap against the cleaned steel. This ensures maximum pressure and the lowest possible Ohms.
Measuring Performance with Diagnostic Tools
Using a digital multimeter to measure resistance and voltage drops is the only way to verify that your electrical return path is functioning at peak efficiency. By measuring the Ohms between the machine’s ground lug and the actual workpiece, you can quantify the success of your repairs and identify hidden bottlenecks.
When I walk into a shop to solve an arc stability issue, my multimeter is the first tool out of the bag. To test your setup, set the meter to the lowest Ohm setting (usually 200 Ohms). With the machine off, touch one probe to the grounding lug on the back of the plasma power source and the other probe to the workpiece. You are looking for a reading as close to zero as possible. If you see a reading above 0.5 Ohms, you have a problem that a copper strap can solve.
- Check Continuity: Ensure there is a clear path from the table to the machine.
- Voltage Drop Test: While the machine is cutting (if safe), measure the voltage between the work and the machine ground. A drop of more than 1-2 volts indicates a bottleneck.
- Thermal Imaging: Use an infrared thermometer to scan the strap. If it exceeds 140°F (60°C) during a short cut, the strap is undersized.
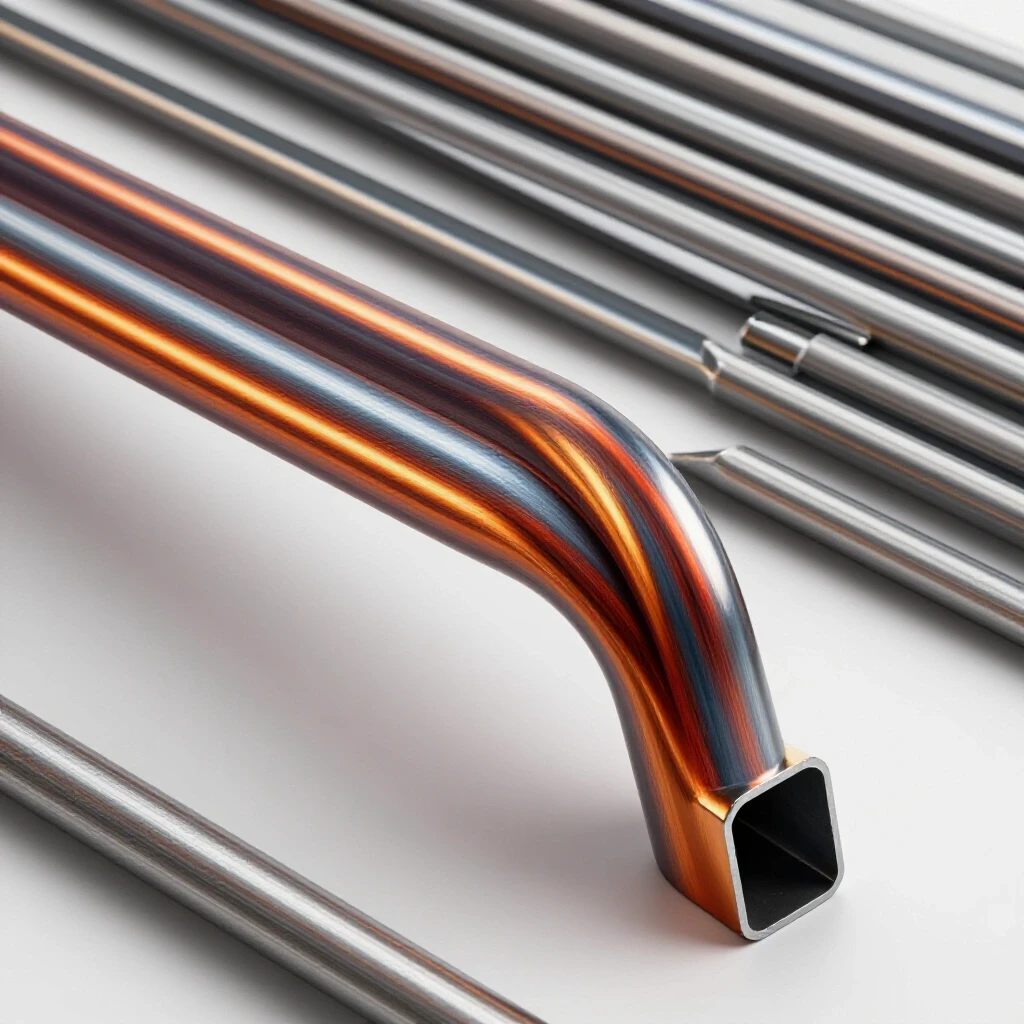
- Visual Inspection: Look for “blueing” on the copper, which indicates extreme heat and high resistance.
Building on these measurements, you can create a baseline for your shop. I keep a small logbook near my machines. If I notice the arc getting “soft” or wandering, I re-check my Ohm readings. If they have climbed from 0.1 to 0.8, I know it is time to clean my contact points or replace a worn strap.
Case Study: Resolving Intermittent Arc Failure on a 40A System
A local hobbyist was struggling with a 40-amp plasma unit that would cut fine for the first two inches, then suddenly lose power and “stutter.” He suspected the internal transformer was overheating. We started by mapping the diagnostic path, beginning with the simplest variables. We checked the air filter (clean) and the torch consumables (new).
We then turned our attention to the return path. He was using a standard 10-foot cable with a steel alligator-style clamp. When we ran a 30-second cut, the clamp reached a temperature of 155°F. The steel was heating up, increasing its resistance, and starving the arc of current. We removed the clamp and installed a 12-inch braided copper strap between the workpiece and a heavy brass block.
The results were immediate. The resistance dropped from 1.2 Ohms to 0.1 Ohms. The arc remained stable for the entire length of a 24-inch cut, and the “stuttering” disappeared completely. This case highlights why systematic testing is better than parts-swapping. We didn’t need a new machine; we just needed a better way for the electricity to get home.
Troubleshooting Vibration and Harmonic Interference
High-frequency arc starters can create electrical interference that disrupts nearby electronics or causes the arc to jump to unintended targets. A high-quality copper return path acts as a stabilizer, dampening these electrical harmonics and ensuring the energy stays focused within the plasma stream.
Sometimes, a “bad arc” isn’t about power; it’s about noise. In DIY shops, you might notice your computer monitor flicker or your radio crackle when you fire the plasma torch. This is “RF noise.” A thin, coiled-up ground wire acts like an antenna, broadcasting this interference. A flat, braided copper strap has much lower inductance, which helps “drain” this noise back to the machine rather than letting it radiate into the room.
To minimize this, keep your return strap as straight as possible. Avoid coiling excess cable, as this creates an inductor that can resist sudden changes in current, like those needed for arc starting. If you are working on a project that requires high precision, such as thin-gauge sheet metal, the stability provided by a low-inductance copper strap can be the difference between a clean edge and a melted mess.
Maintenance and Long-Term Reliability
Electrical connections in a metal shop environment are subject to oxidation, dust, and physical wear, all of which can slowly degrade the quality of your plasma arc over time. Establishing a monthly maintenance routine to clean and tighten copper grounding components prevents “creeping resistance” and maintains consistent machine performance.
I have seen many great setups fail after six months because the owner forgot to maintain them. Copper is a fantastic conductor, but it oxidizes (turns green or dark brown) when exposed to air and heat. This oxide layer is an insulator. Every month, I take a piece of Scotch-Brite or a fine wire brush to the ends of my copper straps to bring back the bright pink shine.
- Tighten Fasteners: Vibration from the shop can loosen bolts over time.
- Inspect Braids: Look for broken strands. If more than 10% of the strands are snapped, replace the strap.
- Clean Surfaces: Use an electrical contact cleaner to remove any oily residue or grit.
- Check for Arcing: If you see small “burn marks” on your strap, your connection isn’t tight enough.
By treating your return path with the same respect as your torch, you ensure that your diagnostics are always based on a solid foundation. You won’t waste time chasing “ghosts” in the power supply when the issue is just a dirty bolt.
Advanced Techniques for Multi-Part Grounding
When cutting multiple small parts on a single slat bed, the electrical path can become convoluted as the current travels through the slats and the frame of the table. Using a “star grounding” technique with multiple copper straps can ensure that every part, no matter its location, has an equal and low-resistance path back to the cutter.
In a DIY CNC or large manual table setup, you might find that the arc is stronger on the left side of the table than the right. This is usually because the machine ground is bolted to one leg of the table. The current has to travel through rusty pivots or bolted joints to reach the other side. To fix this, I run a “bus bar”—a long strip of copper—down the side of the table and attach individual flexible straps to different zones.
This ensures that no matter where you are cutting, the resistance remains constant. Consistency is the hallmark of a professional fabricator. If your machine behaves differently every time you move the workpiece, you can’t develop the muscle memory or the “feel” for the material. A unified copper return system brings that much-needed predictability to your workflow.
Frequently Asked Questions
Why is copper better than the steel clamp that came with my machine? Copper has significantly lower electrical resistance than steel. A standard steel clamp often has a small contact area and a weak spring, which creates heat and restricts current. Copper allows the full amperage of your machine to reach the arc without being lost as heat.
What size copper strap do I need for a 40-amp plasma cutter? For a 40-amp system, a braided copper strap that is at least 1/2 inch wide and 1/16 inch thick is ideal. This provides enough surface area to carry the current safely while remaining flexible enough for shop use.
Can I just use a heavy-gauge copper wire instead of a flat strap? While heavy wire works, flat braided straps are generally better for DIY plasma setups. They have more surface area, which helps with high-frequency arc starting, and they are much more resistant to fatigue from bending and moving.
How do I know if my return path is the cause of my poor arc? Check for heat. If your work clamp or cable feels hot after a short period of cutting, you have high resistance. You can also use a multimeter to check the Ohms between your workpiece and the machine; it should be less than 0.5 Ohms.
Do I need to grind the metal where I attach the copper strap? Yes, absolutely. Mill scale, rust, and paint are insulators. For the copper strap to do its job, it must be attached to “bright metal.” Use a grinder or sander to clean a small spot for the connection.
Will a copper strap prevent my plasma cutter from interfering with my radio? It will certainly help. Flat braided straps have lower inductance than round wires, which helps reduce the radio frequency (RF) noise generated by the arc. Keeping the strap short and straight also minimizes interference.
How often should I replace or clean the copper strap? Inspect it monthly. If the copper looks dark or green, clean it with an abrasive pad until it is bright. If you see many broken strands in the braid, it is time to replace the strap to maintain full current capacity.
Can I use a magnetic ground with a copper strap? Magnetic grounds are convenient but can be unreliable if there is dust or scale between the magnet and the metal. A mechanical connection, like a bolt or a C-clamp holding the copper strap, is always the most reliable diagnostic baseline.
What is the maximum length the copper strap should be? Try to keep the strap as short as possible, ideally under 18 inches. The longer the strap, the more resistance it adds to the circuit, which can lead to a noticeable drop in arc power.
What should I do if the copper strap gets hot during use? If the strap gets hot, it is likely undersized for the amperage you are using. Switch to a wider or thicker strap, or double up two thinner straps to increase the current-carrying capacity.
Does the strap help with arc initiation (starting the cut)? Yes. A low-resistance path allows the pilot arc to transfer to the workpiece much more easily. If you have trouble getting the arc to “jump” to the metal, a copper strap is often the solution.
Can I use a copper strap on stainless steel or aluminum? Yes, the copper strap will improve the arc stability on any conductive metal. Just ensure the contact point on the stainless or aluminum is clean and free of oxides before attaching the strap.
(This article was written by one of our staff writers, Paul Whitaker. Visit our Meet the Team page to learn more about the author and their expertise.)