Essential Shop Setup Steps Before Your First Project (Tips)
When I stepped into my first empty garage in 2013, I had a modest budget and a lot of ambition. My background as an industrial maintenance technician taught me that a shop is more than a collection of tools; it is a system that must be managed. I started with less than $2,000 and a spreadsheet to track every bolt and breaker. The anxiety of potentially wasting money on the wrong equipment is real, but it can be managed through data and structured planning.
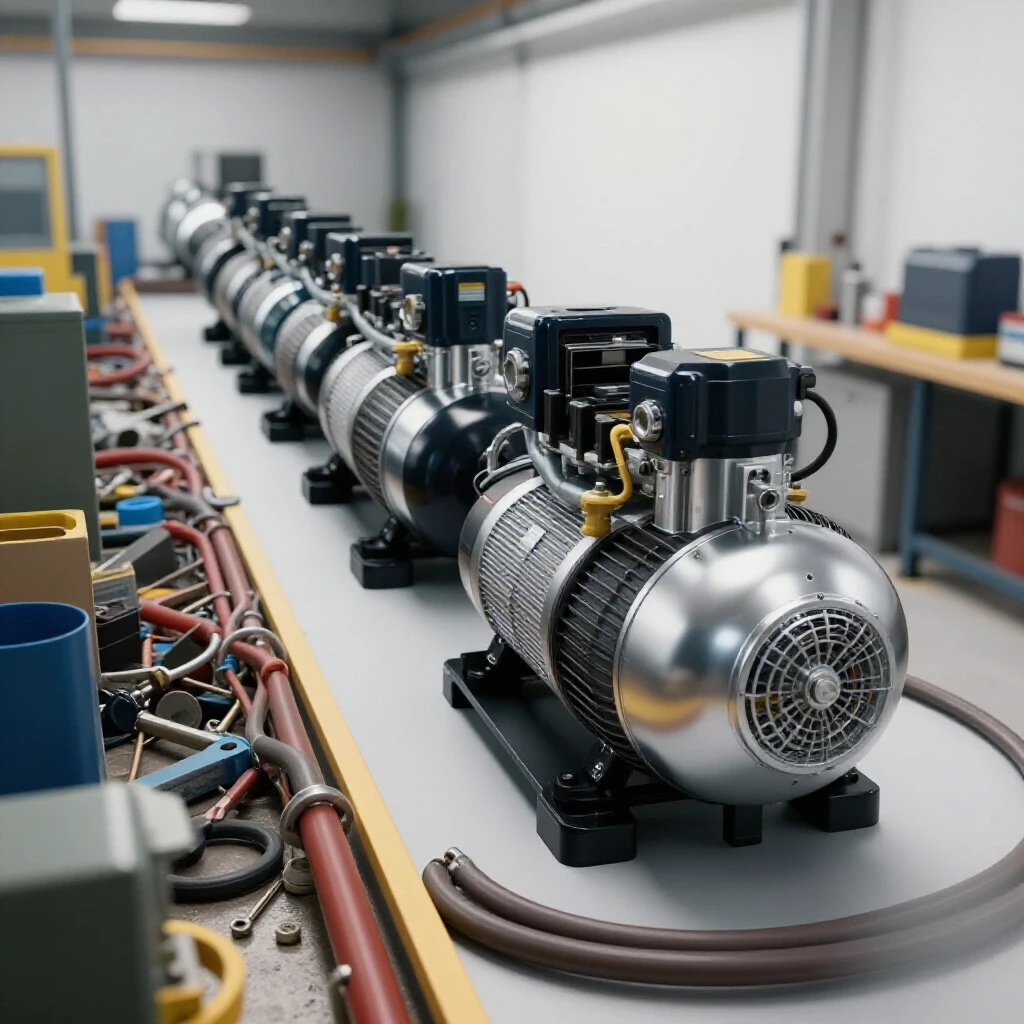
Setting up a fabrication space requires a balance between your goals and the physical realities of your home. You are likely looking at a standard garage or a small shed. These spaces were not originally designed for high-heat processes or heavy electrical loads. By focusing on the foundational infrastructure first, you can avoid the common mistake of buying a shiny new machine that your house cannot actually power safely.
Evaluating Your Physical Space and Power Constraints
This phase involves analyzing the available square footage and the electrical capacity of your residential service to ensure safety and functionality. It requires identifying the location of outlets, assessing the floor load capacity, and determining if the existing wiring can support the high amperage draw typical of metalworking machinery.
Understanding Residential Electrical Limits
Electrical limits define the maximum amount of current your shop can draw before a breaker trips or a fire hazard occurs. In a home setting, most circuits are rated for either 15 or 20 amps. Understanding these numbers is vital because metalworking tools often operate near these limits, especially during startup or under heavy load.
In my first shop, I learned this the hard way when I tried to run a small compressor and a grinder on the same 15-amp circuit. The lights flickered, and the breaker popped instantly. To avoid this, you need to map your breakers. Use a simple plug-in tester to see which outlets are linked. For a functional starter space, I recommend having at least one dedicated 20-amp circuit for your primary machine.
- 15-Amp Circuit: Suitable for small hand tools, LED lighting, and light-duty drills.
- 20-Amp Circuit: Necessary for most entry-level welders and larger abrasive saws.
- Dedicated Line: A circuit that serves only one outlet to prevent interference from other appliances like refrigerators.
Calculating Machine Duty Cycles and Load
A duty cycle is the percentage of a ten-minute period that a machine can operate at a specific output before it needs to cool down. For example, a 20% duty cycle means the tool can run for two minutes but must rest for eight. This metric is essential for planning your workflow and preventing tool burnout.
When you are tracking costs, remember that a tool with a higher duty cycle often costs more but saves time. If you buy a machine with a low duty cycle, you are essentially paying for “waiting time.” I always suggest recording these specs in a shop log. It helps you understand the limitations of your gear before you start a long afternoon of fabrication.
| Tool Class | Typical Amperage | Recommended Circuit | Duty Cycle Expectation |
|---|---|---|---|
| Hand Grinder | 5A – 10A | 15A Shared | Continuous |
| Entry Welder | 15A – 20A | 20A Dedicated | 20% – 30% |
| Bench Drill Press | 3A – 8A | 15A Shared | Continuous |
| Abrasive Chop Saw | 15A | 20A Dedicated | Intermittent |
Strategic Allocation of Funds for Initial Equipment
Budgeting for a new shop involves more than just the price of the machines; it includes the often-overlooked costs of consumables and safety gear. A successful financial plan allocates roughly 30% of the total budget to high-quality measuring tools and personal protective equipment to ensure long-term accuracy and safety.
The True Cost of Consumables and Tooling
Consumables are items that wear out during use, such as grinding wheels, drill bits, and welding wire. Beginners often underestimate these costs, which can quickly drain a small budget. In my experience, buying the cheapest abrasives is a mistake because they wear down faster and require more frequent replacement, ultimately costing more per hour of use.
I recommend setting aside a specific portion of your startup fund for a “first-year replenishment” kit. This ensures you aren’t stopped mid-project because you ran out of cutting discs. By tracking the lifespan of these items in a simple notebook, you can identify which brands offer the best value for your specific style of work.
- Abrasive Discs: Allocate 5% of your budget for a variety of grits.
- Drill Bits: Invest in a high-speed steel (HSS) set rather than carbon steel.
- Fasteners: Keep a small inventory of common bolts to avoid frequent trips to the store.
Prioritizing Measuring and Marking Tools
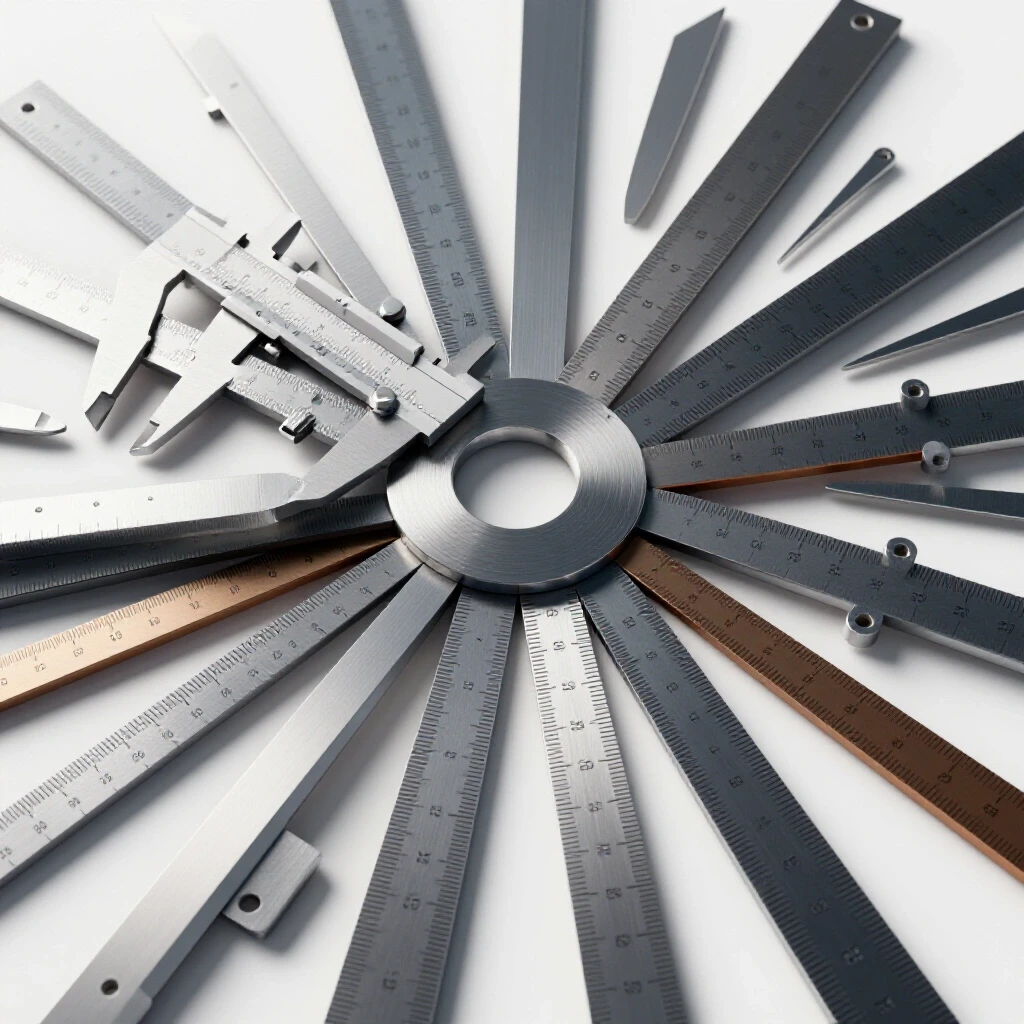
Measuring tools are the foundation of precision in any fabrication project. If your initial measurements are off, even the most expensive welder cannot fix the resulting gaps. I suggest prioritizing a high-quality square and a reliable tape measure over a second or third power tool during your first month of setup.
American Welding Society (AWS) standards emphasize the importance of fit-up. Poor fit-up leads to weak joints and wasted material. By spending a bit more on a machinist’s square and a set of calipers, you reduce the “scrap rate” of your projects. This saves money over time, as you won’t be throwing away ruined pieces of steel.
- Steel Rule: A 12-inch stainless steel rule for quick, accurate checks.
- Combination Square: Essential for 90-degree and 45-degree layouts.
- Digital Calipers: For measuring material thickness and hole diameters accurately.
- Scribe or Center Punch: To create permanent marks that won’t rub off during cutting.
Designing a Workflow-Oriented Workshop Configuration
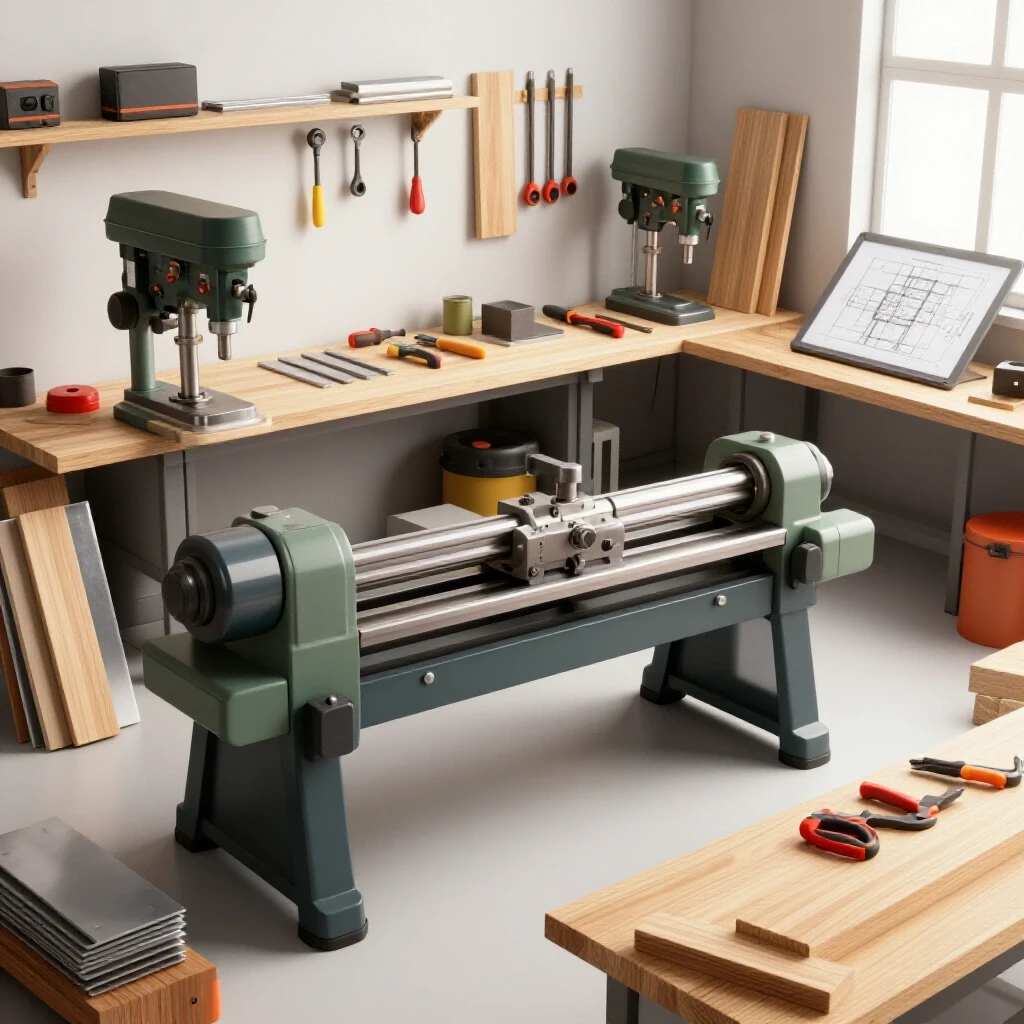
Workshop layout planning focuses on the spatial arrangement of equipment to maximize efficiency and safety within a limited footprint. This process involves defining specific zones for different tasks, such as cutting, welding, and assembly, while maintaining clear paths for movement and ensuring that hazardous sparks stay away from flammable materials.
Establishing the Hot Zone and Clean Zone
A “Hot Zone” is where sparks, heat, and metal dust are generated, while a “Clean Zone” is reserved for layout, assembly, and precision work. Separating these areas is vital for safety and tool longevity. Metal dust is conductive and can destroy electronics if it settles inside a computer or a sensitive measuring device.
In a small garage, this separation might only be a few feet, but it makes a massive difference. I use heavy-duty flame-resistant curtains to contain sparks within the Hot Zone. This prevents “grinder spray” from reaching your clean workbench or your vehicle. Maintaining a five-foot clearance around your welding table is a good baseline for safety.
- Hot Zone: Includes the welding table, grinder station, and chop saw.
- Clean Zone: Includes the tool chest, precision measuring tools, and laptop or plans.
- Clearance: Maintain at least 3 to 5 feet of open floor space around stationary tools.
Optimizing Vertical Storage and Footprints
When floor space is limited, vertical storage becomes your best friend. Storing metal stock horizontally takes up a lot of room and creates a tripping hazard. I built a vertical rack early on that used only two square feet of floor space but held hundreds of pounds of steel tubing and angle iron.
Using mobile bases for your larger tools also allows you to reconfigure the shop as needed. If you are working on a long piece of tubing, you can roll the saw to the center of the room. When finished, tuck it back against the wall. This flexibility is key for anyone working in a space under 500 square feet.
Managing Air Quality and Fume Extraction
Ventilation and air quality management involve the installation of systems to remove harmful gases and particulate matter from the workshop environment. Proper setup ensures that the air remains breathable during welding and grinding, adhering to safety guidelines that protect the respiratory health of the hobbyist in a confined space.
Calculating Ventilation Requirements
CFM, or Cubic Feet per Minute, is the measure of how much air a fan can move. For a small workshop, you want to aim for a complete air exchange every few minutes. Welding fumes and grinding dust stay suspended in the air long after you turn off the machine, so active ventilation is not optional.
A simple box fan in a window is rarely enough for metalwork. I recommend a dedicated exhaust fan positioned near your Hot Zone. If you can smell the welding fumes, your ventilation is likely insufficient. Following OSHA-adjacent guidelines for small spaces, try to position your intake and exhaust to create a “cross-flow” that pulls fresh air past your face and carries fumes away.
- Target CFM: Aim for 100 to 200 CFM per square foot of the immediate work area.
- Placement: Exhaust fans should be as close to the source of fumes as possible.
- Intake: Ensure you have a source of fresh makeup air so the fan doesn’t struggle.
Dust Collection for Abrasive Processes
Grinding creates fine metallic dust that is both a health hazard and a fire risk. Unlike wood dust, metal dust is heavy and abrasive. A standard shop vacuum can work, but you must ensure it has a high-efficiency particulate air (HEPA) filter and that you aren’t sucking up hot sparks that could start a fire in the vacuum bag.
I use a dedicated “spark trap” for my grinding station. This is a simple metal canister that allows heavy sparks to cool and fall out of the airstream before the air reaches the vacuum filter. It is a low-cost addition that significantly increases the safety of your dust collection system.
Establishing a Reliable Safety and PPE Protocol
A safety protocol is a set of standardized practices and protective gear requirements designed to prevent injuries in the workshop. This includes selecting equipment that meets ANSI and AWS standards, maintaining a fire-safe environment, and ensuring that all personal protective equipment is inspected regularly for damage or wear.
Selecting Rated Eye and Face Protection
Eye protection is the most critical piece of safety gear you will own. ANSI Z87.1 is the standard you need to look for on your safety glasses and face shields. This rating ensures the material can withstand high-velocity impacts from broken grinding wheels or flying metal chips.
For welding, your helmet needs to have a reliable auto-darkening filter. I always tell beginners to check the “switching speed” and the number of sensors. A helmet that reacts slowly can cause “arc eye,” which feels like having sand in your eyes. Investing 30% of your budget in high-quality PPE is not an overstatement; it is an insurance policy for your health.
- Safety Glasses: Must have side shields and an ANSI Z87.1+ rating.
- Face Shield: Use this in addition to glasses when grinding or using a wire wheel.
- Welding Helmet: Look for a large viewing area and at least four sensors.
Fire Prevention and Emergency Readiness
Metalworking involves high temperatures and sparks that can travel up to 20 feet. Your shop must be stripped of flammable materials like piles of sawdust, oily rags, or gasoline cans. I keep a Class ABC fire extinguisher within arm’s reach of my welding table and another by the exit.
It is also wise to establish a “fire watch” routine. After you finish welding or grinding, stay in the shop for at least 30 minutes to ensure nothing is smoldering. This is a standard industrial practice that I brought into my home shop, and it provides immense peace of mind.
- Fire Extinguisher: Class ABC, minimum 5lb capacity, inspected monthly.
- First Aid Kit: Equipped with burn cream, sterile eyewash, and bandages.
- Phone Access: Always have a way to call for help that isn’t locked behind a passcode.
Developing a Tool Maintenance and Inspection Routine
Maintenance routines are scheduled checks performed to keep machinery in safe, working order. This includes inspecting electrical cords for frays, checking the integrity of abrasive wheels, and lubricating moving parts. Consistent record-keeping of these inspections helps predict when components will fail and prevents accidents during operation.
Inspecting Abrasive Wheels and Cords
Before turning on any tool, a quick visual inspection can prevent a major failure. Grinding wheels can develop hairline cracks if dropped. You can perform a “ring test” by gently tapping a dry wheel with a non-metallic object; a clear metallic ring indicates a sound wheel, while a dull thud suggests a crack.
Electrical cords in a metal shop are prone to getting nicked by sharp edges or burned by sparks. I make it a habit to wipe down my cords every week. This allows me to feel for any breaks in the insulation that I might not see. If you find a nick, replace the cord or the tool immediately—never rely on electrical tape for a permanent fix.
Creating a Maintenance Log
A maintenance log is a simple way to track the health of your shop. I use a basic notebook to record when I change a blade, oil a drill press, or clean a fan filter. This data helps you understand the “total cost of ownership” for your tools.
If you notice that you are replacing a specific part more often than expected, it might indicate that you are pushing the tool beyond its intended capacity. This insight allows you to make informed decisions about when to upgrade to a more robust machine rather than continuing to spend money on repairs.
- Weekly: Wipe down surfaces, check cords, and sweep the floor.
- Monthly: Inspect fire extinguishers, check tool alignment, and clean ventilation filters.
- Quarterly: Deep clean the welding table and organize the scrap bin.
Final Steps for a Functional Startup
Setting up your first fabrication space is a journey of incremental improvements. You do not need to have everything on day one. Start with a solid electrical foundation, a safe layout, and the best safety gear you can afford. As you complete small tasks, your confidence and your shop will grow together.
By tracking your costs and sticking to a logical layout, you avoid the “analysis paralysis” that stops many beginners. Focus on the data—the amperage, the CFM, and the ANSI ratings. These numbers don’t lie, and they will guide you toward a shop that is not only productive but also a safe place to learn the craft of metalworking.
Frequently Asked Questions
What is the minimum electrical service needed for a home metal shop?
Most entry-level shops can operate on a standard 100-amp or 200-amp home service. However, the individual circuits are what matter most. You should have at least one dedicated 20-amp circuit for your welder or saw to prevent tripping breakers. If you plan on running a large air compressor and a welder simultaneously, you may need to consult an electrician about adding a sub-panel.
How do I know if a tool is “entry-level” or just poor quality?
Look at the build materials and the availability of replacement parts. A quality entry-level tool will often have a cast-iron base, a clear duty cycle rating, and a manual that includes a parts diagram. If a tool feels excessively light or uses thin plastic in high-stress areas, it may not last through your first few projects.
Why is a “duty cycle” important for a beginner?
The duty cycle tells you how hard you can push your machine. For a beginner, a low duty cycle (like 20%) means you must take frequent breaks. This is actually helpful for learning, as it prevents the machine from overheating and gives you time to inspect your work. However, if you are doing production-style work, a low duty cycle will become a major frustration.
How much should I spend on my first welding helmet?
You don’t need the most expensive professional helmet, but avoid the cheapest “no-name” options. Look for a mid-range helmet with an ANSI Z87.1 rating and at least three or four arc sensors. Expect to spend about 10% to 15% of your total initial budget on a helmet that protects your vision and offers a clear view of the weld puddle.
Is a garage door enough for ventilation?
While an open garage door provides a lot of air, it doesn’t necessarily move fumes away from your face. Fumes can get trapped in the “dead air” zones of a garage. It is much safer to use an exhaust fan to create a directed path for the air to move, ensuring that you are always breathing fresh air coming from behind you.
What are the most important measuring tools to buy first?
Start with a high-quality 12-inch combination square, a 25-foot tape measure with clear markings, and a set of digital calipers. These three tools will cover 90% of your layout needs. Avoid “bargain bin” measuring tools, as they are often slightly out of square, which leads to significant errors over the length of a project.
How do I safely store metal in a small space?
Vertical storage is the most efficient method for small shops. Build or buy a rack that allows you to stand your tubing and flat bar upright. This keeps the floor clear and makes it easier to see your inventory. Always secure the top of the rack so the metal cannot tip over.
What is the “30% rule” for shop budgeting?
The 30% rule suggests that 30% of your total startup budget should be dedicated to safety gear (PPE) and precision measuring tools. While it’s tempting to spend all your money on a welder or a lathe, those machines are useless—and dangerous—without the proper gear to support them.
Can I use a standard shop vac for metal dust?
You can, but with caution. Metallic dust is heavy and can be hot. You must use a high-quality filter and ensure the vacuum is cleaned out regularly. Never vacuum up “live” sparks, as they can smolder in the dust collection bag and start a fire hours after you leave the shop.
How often should I inspect my power tools?
A quick visual check should happen every time you use the tool. Look for frayed cords or loose guards. A more thorough inspection, including checking for alignment and lubricating moving parts, should happen once a month or after every 20 hours of use. Keeping a small logbook helps you stay on top of these tasks.
(This article was written by one of our staff writers, Michael Thompson. Visit our Meet the Team page to learn more about the author and their expertise.)