How to Repair Damaged Welding Cable Leads Safely (DIY Fix)
I remember standing in my shop three years ago, staring at a 50-foot lead for my primary MIG welder. I had just finished a heavy structural frame project, and noticed a jagged tear in the outer jacket where it had snagged on a piece of sharp C-channel. Most guys would just wrap some electrical tape around it and keep pulling triggers. But after 17 years in industrial maintenance, I know that a compromised cable is a performance killer and a safety hazard. When you are evaluating the build quality of your shop equipment, the leads are just as critical as the transformer or the inverter boards. They are the arteries of your welding system.
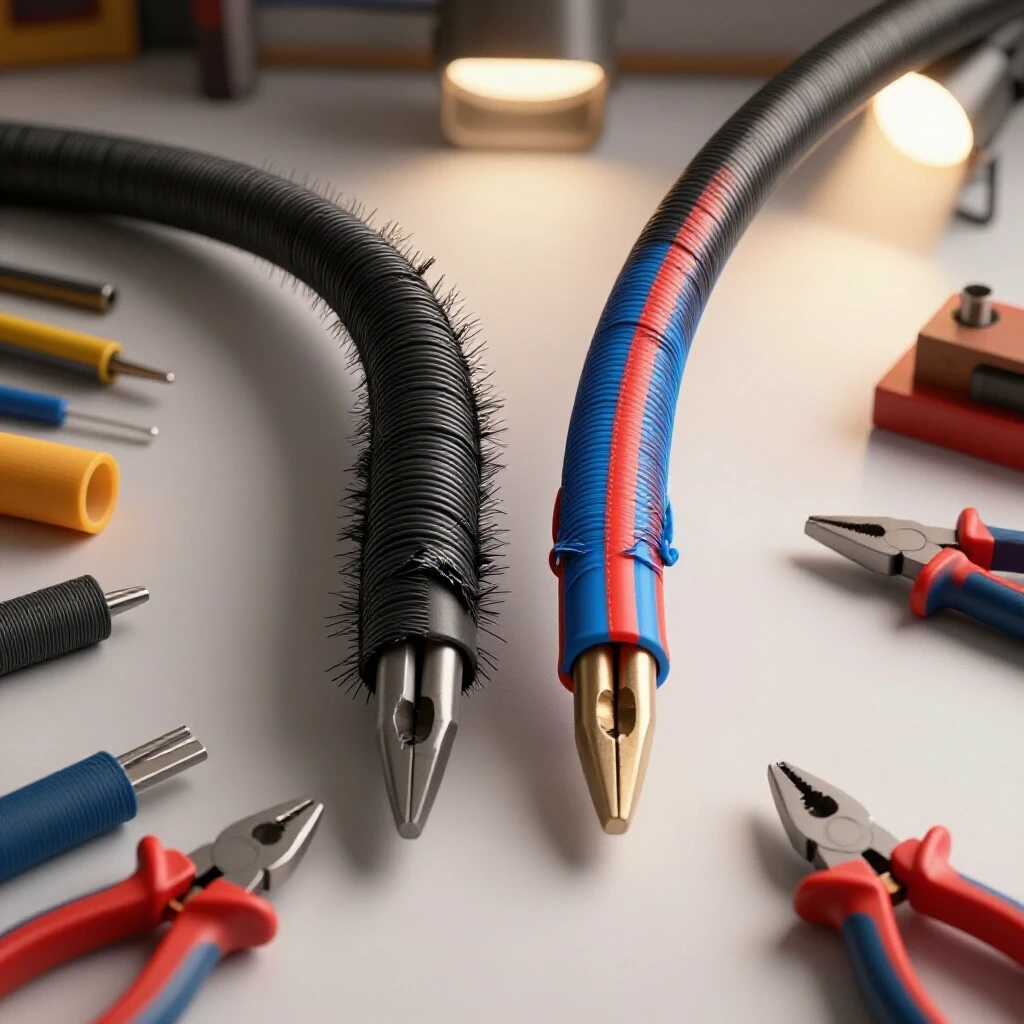
Choosing the right shop machinery often comes down to the details that marketing brochures gloss over. People spend weeks comparing duty cycles and wire feed speeds but ignore the quality of the copper and the durability of the insulation. In my experience, the difference between a budget lead and a premium one isn’t just the price tag; it’s the strand count, the jacket material, and how well it handles the heat of a 200-amp load. When that insulation fails, you aren’t just losing power—you are risking a short that can fry your machine’s internal electronics.
Evaluating Cable Jacket Materials and Construction
The outer insulation of a welding lead serves as the primary defense against heat, oil, and abrasion. It must remain flexible enough to coil in a cold shop while being tough enough to survive being dragged across a concrete floor.
In the world of workshop machinery, we often talk about cast iron grades for dampening or spindle runout for accuracy. With welding leads, we talk about jacket compounds. Most budget-friendly machines ship with PVC (Polyvinyl Chloride) jackets. These are stiff, prone to cracking in cold weather, and melt easily if they touch a hot workpiece. Premium leads use EPDM (Ethylene Propylene Diene Monomer) rubber. This material is far more resilient to the “shop environment” and handles thermal cycling without becoming brittle.
Comparison of Common Insulation Types
| Feature | PVC (Standard/Budget) | EPDM (Premium/Industrial) | Neoprene (Heavy Duty) |
|---|---|---|---|
| Flexibility | Low (Stiffens when cold) | High (Stays supple) | Moderate |
| Heat Resistance | Up to 60°C (140°F) | Up to 105°C (221°F) | Up to 90°C (194°F) |
| Oil/Chemical Resistance | Moderate | High | Excellent |
| Common Use Case | Hobbyist/Entry-level | Professional Shop | Industrial/Oil Field |
If you find a nick or a scuff in your lead, the first step is identifying the material. PVC repairs often require different adhesives or heat-shrink ratings than rubber. When I conduct machine tool reviews, I always check if the manufacturer saved money by using undersized or low-grade jackets. A thin jacket might look fine on the shelf, but it won’t survive the torsional stiffness requirements of a busy fabrication bay.
Identifying Critical Damage Thresholds in Welding Leads
Knowing when to perform a minor restoration and when to scrap a cable is a vital skill for any shop owner. It is similar to measuring spindle runout on a lathe; there is a tolerance that is acceptable and a point where the tool is no longer fit for service.
If the damage is limited to the outer jacket and the copper strands underneath are bright, shiny, and intact, a surface restoration is usually sufficient. However, if you see “green” or “black” copper, that is a sign of oxidation. Oxidized copper has higher electrical resistance. This generates more heat at the point of damage, which can lead to a localized fire or damage to your welder’s output lugs. I have seen 1/0 cables get hot enough to melt through a plastic welder housing simply because the internal strands were corroded.
- Surface Scuff: Jacket is thinned but not pierced. (Safe to monitor or reinforce).
- Deep Cut: Jacket is pierced, but copper is untouched. (Requires immediate insulation restoration).
- Frayed Strands: Copper wires are broken or missing. (Requires cutting and re-terminating).
- Discolored Copper: Signs of heat or corrosion. (Requires cable replacement).
In my shop, I use a simple rule: if more than 5% of the copper strands are broken, the cable gets cut back to a clean section or replaced entirely. You cannot simply “tape over” broken conductors. The remaining strands will carry the full load, overheat, and eventually fail.
Restoring Surface Insulation with Rated Materials
When the copper is healthy but the jacket is compromised, you can restore the integrity of the lead using specialized materials. This is not the place for standard hardware store electrical tape, which has a low melting point and poor adhesive longevity.
For a professional-grade fix, I rely on heavy-wall, adhesive-lined heat shrink tubing. This material is designed for the rigors of metalworking. When heated, the internal adhesive melts and creates a water-tight, airtight seal around the cable. This prevents moisture from reaching the copper and causing future oxidation. It also provides a mechanical bond that mimics the original jacket’s strength.
- Clean the Area: Use a degreaser to remove all oils and shop dust from the jacket.
- Smooth the Edges: If there are jagged bits of insulation, trim them flush with a utility knife.
- Apply Heat Shrink: Slide a piece of 3:1 or 4:1 ratio heat shrink over the lead. It should overlap the damage by at least two inches on either side.
- Heat Evenly: Use a heat gun (not a torch, which can char the rubber) to shrink the tubing until the adhesive oozes slightly from the ends.
Interestingly, some fabricators prefer “cold-shrink” tubing for larger leads. This is a pre-expanded rubber sleeve on a removable plastic core. It doesn’t require a heat source, which is handy if you are working near flammable materials. Regardless of the method, the goal is to return the cable to its original dielectric strength.
Maintaining Terminal Integrity and Lug Replacement
The point where the cable meets the machine or the ground clamp is the most common failure point. These areas experience the most flexing and vibration. Over time, the connection inside the lug can loosen, leading to arcing.
When I evaluate choosing workshop machinery, I look at the quality of the factory-installed lugs. Are they crimped or just held in by a set screw? A high-quality copper lug that is properly crimped provides the best surface area for current flow. If you notice your ground clamp getting hot to the touch, it is almost certainly a failing connection at the lug.
To replace a terminal end, you need to cut the cable back until you find clean, unoxidized copper. Use a dedicated cable cutter rather than a hacksaw to avoid crushing the strands. Once the wire is prepped, slide a piece of heat shrink onto the cable before installing the new lug.
Lug Selection Metrics
- Material: Use 100% annealed copper. Avoid plated steel or thin brass.
- Sizing: Match the lug to your AWG (American Wire Gauge). A #2 lug on a #1 cable will not fit, and a 1/0 lug on a #2 cable will leave gaps that cause arcing.
- Stud Size: Ensure the hole in the lug matches the bolt on your machine or clamp (typically 1/2 inch or 3/8 inch).
I prefer using a hydraulic crimper for these repairs. A hammer-style crimper can work in a pinch, but it often leaves voids in the copper. A hydraulic tool applies thousands of pounds of pressure, “cold-welding” the strands into a solid mass. This minimizes resistance and ensures the connection won’t shake loose during a long day of welding.
Inspecting Connection Points for Heat and Arcing
Even the best cable is useless if the connector on the welder itself is failing. Most modern inverters use DINSE-style twist-lock connectors. These are convenient, but they rely on a clean, tight mechanical fit to transfer current.
As a maintenance specialist, I frequently check these for “pitting.” Pitting occurs when electricity jumps across a small gap, melting tiny amounts of metal. If your connector feels loose or has a gritty texture when you twist it, it is failing. This creates a bottleneck for your welding current, which can manifest as an unstable arc or a drop in penetration.
- Visual Check: Look for discoloration (blueing or browning) on the brass connector.
- Feel Test: The connector should lock firmly with a positive “thud.” If it wiggles, the internal spring tension in the female socket is gone.
- Cleanliness: Use a brass wire brush to remove any oxidation from the male plug.
Building on this, the internal wiring behind the machine’s panel should also be inspected. I have seen expensive milling machines and welders fail because the internal nut holding the output stud loosened during shipping. It is worth opening the case (with the power disconnected) once a year to ensure those internal connections are torqued to spec.
The Financial Side of Cable Maintenance
One of the biggest pain points for shop owners is deciding whether to buy premium leads or stick with the “good enough” budget options. When you calculate the long-term cost, the premium choice often wins.
A high-quality 2/0 EPDM cable might cost double what a PVC #2 cable costs. However, the 2/0 cable has a much lower voltage drop. This means your machine doesn’t have to work as hard to maintain the arc, which can extend the life of your internal power components. Furthermore, the durability of EPDM means you won’t be spending money on repair materials every six months.
Estimated Cost Comparison (5-Year Cycle)
| Expense Item | Budget Setup (PVC) | Premium Setup (EPDM) |
|---|---|---|
| Initial Purchase | $120 | $280 |
| Repair Kits/Tape | $45 | $10 |
| Replacement Frequency | 2 Times | 0 Times |
| Total Estimated Cost | $285 | $290 |
While the totals look similar, the premium setup provides better arc stability and less downtime. In a professional shop, downtime is the most expensive “consumable.” If your lead fails in the middle of a critical pass, the cost of the repair is nothing compared to the cost of the ruined workpiece.
Technical Deep Dive: Stranding and Flexibility
When we talk about “flexibility” in a welding lead, we are actually talking about the number of individual copper strands inside the jacket. A standard building wire (like THHN) has very few, thick strands. A welding lead might have over 1,000 tiny strands.
The reason for this is the “skin effect” and mechanical fatigue. In a shop environment, cables are constantly being coiled, uncoiled, and pulled around corners. Thick strands will eventually work-harden and snap. Thousands of fine strands can slide past each other, allowing the cable to bend without internal damage.
When you are choosing workshop machinery, check the cable specs. A Class K stranding is standard for welding, but Class M is even finer and more flexible. If you are doing a lot of out-of-position welding or working in tight spaces, the extra cost of Class M stranding is worth every penny. It reduces wrist fatigue and makes the lead much easier to manage.
Case Study: The 17-Year Teardown
Last year, I decommissioned an old transformer-based stick welder that had been in constant use since the early 2000s. The leads were original. Interestingly, the ground lead was a high-end rubber-jacketed cable, while the electrode holder had been replaced years ago with a cheaper plastic-jacketed version.
The rubber cable was still supple. There were some surface nicks, but the copper was bright. The plastic cable, however, was a mess. The jacket had “set” into a permanent coil shape and was covered in tiny cracks. When I cut into it, the copper was dark and brittle. The heat from the welding process had actually baked the plasticizers out of the PVC, making it fail from the inside out.
This teardown proved to me that investing in quality materials isn’t just about “hype.” It’s about how the chemistry of the tool reacts to the physics of the work. For a decisive tool buyer, the lesson is clear: don’t let a $5000 machine be throttled by a $50 cable.
Actionable Checklist for Lead Maintenance
To keep your shop running safely and efficiently, I recommend a monthly inspection of all your current-carrying leads. This simple routine can prevent major equipment failures.
- Feel the Heat: Immediately after a long weld, run your hand (carefully) along the cable. Any “hot spots” indicate internal strand breakage or a failing jacket.
- Check the Ends: Ensure the lugs are tight and there is no visible arcing at the machine interface.
- Inspect the Jacket: Look for cuts, burns, or areas where the insulation has become “mushy” from oil exposure.
- Verify Flexibility: If the cable feels stiff or “crunchy” when coiled, the internal strands may be oxidizing.
- Clean the Connectors: Use a dedicated electrical contact cleaner on your DINSE or Tweco plugs.
By following these steps, you can confidently manage your shop’s electrical health. You don’t need to be an electrical engineer to understand that a clean, solid path for electricity is the foundation of a good weld.
Summary of Key Takeaways
Maintaining your welding leads is an essential part of being a professional fabricator. It moves you away from being a “parts swapper” and toward being a true maintenance specialist.
- Prioritize Material: Choose EPDM rubber over PVC whenever possible for long-term durability.
- Use Proper Repairs: Adhesive-lined heat shrink is the standard for jacket restoration; skip the electrical tape.
- Monitor Copper Health: If the copper is oxidized or heavily frayed, cut it back. Never try to bridge a gap in the conductor.
- Invest in Quality Lugs: A hydraulic crimp on a pure copper lug is the only way to ensure a low-resistance connection.
- Think Long-Term: The “expensive” cable usually pays for itself in arc quality and reduced downtime.
Frequently Asked Questions
Can I use regular heat shrink for welding lead repairs? Standard heat shrink is often too thin and lacks the internal adhesive needed to seal out moisture. For welding leads, you should use “heavy-wall” or “dual-wall” adhesive-lined tubing. This provides the mechanical strength and environmental seal required for shop environments.
How do I know if my welding lead is undersized? If the cable becomes uncomfortably hot during normal use, it is likely undersized for the amperage you are running. Consult an AWG amperage chart. For example, a #2 cable is generally rated for 200 amps at a 60% duty cycle for 50 feet. If you increase the length or the amperage, you must move to 1/0 or 2/0.
Is it safe to use electrical tape for a temporary fix? Electrical tape is a “get-home” fix, not a permanent solution. It lacks the abrasion resistance of the original jacket and will eventually peel off due to the heat generated during welding. It should be replaced with a proper heat-shrink restoration as soon as possible.
What causes the “green” corrosion on my copper leads? This is copper oxide, usually caused by moisture penetrating a cut in the jacket. It is highly resistive and will cause the cable to overheat. If you see green copper, you must cut the cable back to a point where the copper is bright and clean before installing a new lug.
Why does the flexibility of the cable matter? Flexibility reduces the strain on the welder’s output lugs and the operator’s wrist. Stiff cables are also more likely to develop internal “kinks” that lead to broken strands. High-flex cables use thousands of fine strands to maintain conductivity while being easy to maneuver.
Can I use a torch to shrink the tubing on my cable? I don’t recommend it. A torch is too hot and can easily char the rubber jacket or the heat-shrink material itself. A dedicated heat gun provides controlled, even heat that ensures a proper bond without damaging the materials.
Does the color of the cable jacket matter? Usually, no. Black and red are standard, but some manufacturers use orange or blue for high-visibility or specific temperature ratings. Always check the printed specs on the jacket (e.g., “90°C” or “600V”) rather than relying on the color.
How often should I replace my ground clamp? Replace it when the spring tension weakens or the copper contact points become heavily pitted. A weak ground clamp creates resistance, which can lead to “arc blow” and poor weld quality. Many pros replace the clamp every 1-2 years as part of routine maintenance.
What is the difference between a DINSE and a Tweco connector? These are the two most common styles of quick-connects. DINSE is a round, European-style twist-lock, while Tweco is often a more heavy-duty, American-style lug or twist-lock. They are not interchangeable, so you must know which one your machine uses before ordering replacement leads.
Can I repair a cable that was run over by a forklift? If the forklift crushed the cable, the internal strands are likely damaged and the jacket’s structural integrity is gone. In this case, it is safer to cut out the crushed section and re-terminate the ends, or replace the lead entirely. Internal damage isn’t always visible from the outside.
(This article was written by one of our staff writers, Steven Brooks. Visit our Meet the Team page to learn more about the author and their expertise.)