Which Metalworking Tools Last the Longest in a Shop? (Tips)
When I transitioned from a high-output industrial maintenance role to setting up my own garage space in 2013, I brought a specific mindset with me: a tool is only as good as its last cut. In a professional plant, we tracked tool life in minutes of contact time. In a home workshop, we often measure it in years of projects. The difference between a tool that fails after three months and one that lasts a decade isn’t just luck; it is a matter of metallurgy, heat treatment, and how you manage the friction generated during fabrication.
Understanding the physical properties of your equipment helps you navigate the sea of options available for a starter metal workshop layout. When you are looking at a drill bit or a milling cutter, you are looking at a balance between hardness and toughness. Hardness allows the tool to move through the workpiece without deforming, while toughness prevents it from shattering under the stress of the cut. My goal is to show you how to identify these traits so your foundational equipment remains functional for the long haul.
Physical Hardness and the Service Life of Cutting Tools
Hardness refers to a material’s ability to resist permanent indentation or scratching, which is a primary factor in how long an edge remains sharp. In metalworking, we typically measure this using the Rockwell C scale (HRC), which tells us how a tool will stand up against various grades of steel or aluminum.
If a cutting tool is too soft, the edge will roll or “mushroom” as soon as it hits a harder workpiece. If it is too hard without the proper alloy mix, it becomes brittle and can snap like glass. For most manual fabrication, High-Speed Steel (HSS) is the standard because it offers a reliable balance of these properties. However, as you advance, you might encounter Tungsten Carbide, which is significantly harder but requires much more rigid machinery to prevent vibration-induced breakage.
| Material Type | Typical Rockwell Hardness (HRC) | Best Use Case | Expected Longevity Factors |
|---|---|---|---|
| Standard HSS | 62–65 | General mild steel drilling | High vibration resistance |
| Cobalt (M42) | 66–68 | Stainless steel and hard alloys | Superior heat resistance |
| Tungsten Carbide | 70+ | Cast iron and high-speed milling | Extreme edge retention; low shock |
| Carbon Steel | 55–60 | Hand taps and low-speed tools | Easy to sharpen; wears quickly |
Why Heat Resistance Matters for Edge Retention
Heat is the primary enemy of tool longevity in any fabrication environment. When you are drilling or cutting, the friction between the tool and the workpiece generates intense thermal energy. If the temperature exceeds the tool’s “red hardness” threshold—the point at which it loses its tempered hardness—the metal softens permanently.
This is why you will see some drill bits turn blue or black after a heavy session. That color change indicates a structural failure in the heat treatment. Once a tool has been “burned,” it will never hold an edge again, regardless of how many times you try to sharpen it. Using proper cutting fluids and managing your surface feet per minute (SFM) are essential habits for preserving the molecular integrity of your gear.
The Role of Heat Treatment in Tool Durability
Heat treatment is a controlled process used to alter the physical and sometimes chemical properties of a metal. For the tools in your shop, this usually involves heating the steel to a specific temperature and then quenching it in oil, water, or air to “lock” the carbon atoms into a hard structure.
A well-tempered tool has gone through a secondary heating process to reduce brittleness. This is what allows a cold chisel to take a hammer blow without exploding, or a lathe tool to peel off a ribbon of steel without cracking. When you are evaluating affordable fabrication tools, you are essentially evaluating the quality of the manufacturer’s heat treatment process. Consistent tempering ensures that the tool wears down slowly and predictably rather than failing catastrophically.
Identifying Quality Tempering in Hand Tools
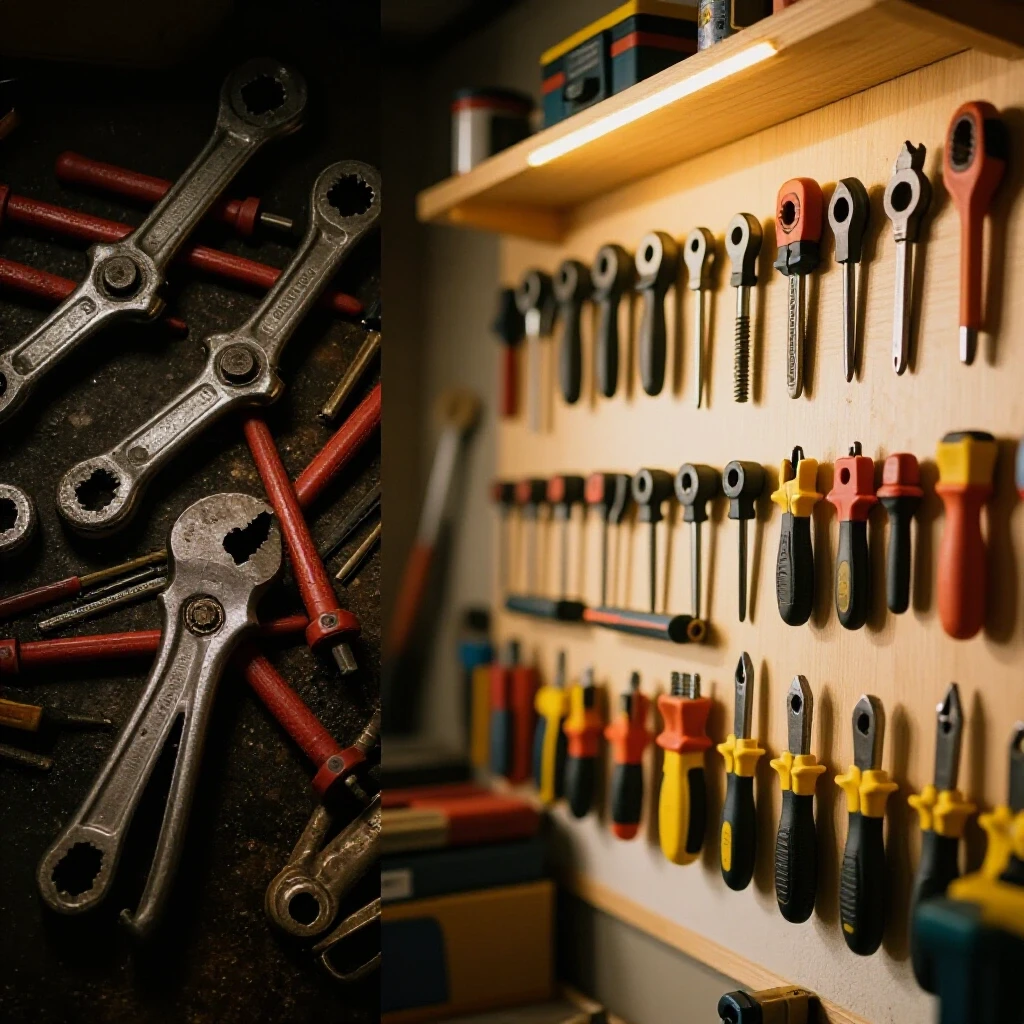
You can often tell the quality of heat treatment by looking at the finish and the consistency of the tool’s geometry. High-quality wrenches, pliers, and punches will have a uniform surface without “hot spots” or discoloration. In my experience, tools that have been induction-hardened only on the working tip tend to last longer in high-stress applications because the body of the tool remains flexible enough to absorb impact, while the business end stays hard enough to resist wear.
- Quenching: The rapid cooling of metal to increase hardness.
- Tempering: Re-heating a quenched metal to a lower temperature to increase toughness.
- Annealing: Heating and slow cooling to soften metal for easier machining.
- Case Hardening: Hardening only the outer “skin” of a part while keeping the core soft.
Maximizing the Lifespan of Drilling and Milling Equipment
Drill bits and milling cutters are the most frequently replaced items in a shop, but their service life can be extended significantly with proper technique. The geometry of the tool—specifically the rake and clearance angles—determines how efficiently it removes material. If these angles are incorrect, the tool will rub instead of cut, leading to rapid dulling.
In a garage setting, many people overlook the importance of the “split point” on a drill bit. A standard 118-degree point tends to wander and heat up because the center of the bit is a flat chisel edge that doesn’t actually cut. A 135-degree split point starts cutting immediately, reducing the amount of pressure required and keeping the tool cooler for a longer service life.
Managing Feed Rates and Spindle Speeds
The longevity of your cutting tools is directly tied to the “chip load,” or the amount of material each cutting edge removes per revolution. If you run your tools too fast with too little pressure, you “glaze” the material, which generates heat and dulls the edge. If you go too slow with too much pressure, you risk snapping the tool.
- Calculate the correct RPM based on the material diameter.
- Apply consistent downward pressure to ensure the tool is always cutting.
- Use a high-quality sulfurized cutting oil to reduce friction.
- Clear chips frequently to prevent “recutting,” which causes unnecessary wear.
Maintaining Welding Torches and Mechanical Components
Welding equipment faces a different set of challenges, primarily related to thermal cycling and electrical conductivity. A MIG torch or a TIG torch doesn’t “wear out” like a drill bit, but its internal components degrade due to the intense heat of the arc. The copper contact tips in a MIG gun, for example, are designed to be replaced, but their lifespan depends on how well you manage the wire feed and the heat.
The wire liner inside the torch lead is another critical component. If the liner becomes kinked or clogged with dust, the wire will drag, causing the drive rolls to slip and the motor to strain. Regularly blowing out the liner with compressed air and using a wire cleaner/lubricant pad can double the life of these mechanical parts.
Understanding Duty Cycles and Thermal Overload
Every welder has a “duty cycle,” which is the percentage of a ten-minute period the machine can operate at a given amperage without overheating. Pushing a machine beyond its duty cycle doesn’t just trigger a safety shut-off; it stresses the internal transformers and capacitors.
- 20% Duty Cycle: 2 minutes of welding, 8 minutes of cooling.
- 60% Duty Cycle: 6 minutes of welding, 4 minutes of cooling.
- 100% Duty Cycle: Continuous operation (rare for entry-level gear).
Adhering to these limits ensures that the delicate electronics and heavy-duty copper windings inside your beginner welder power requirements remain functional for decades.
Corrosion Resistance and Environmental Protection
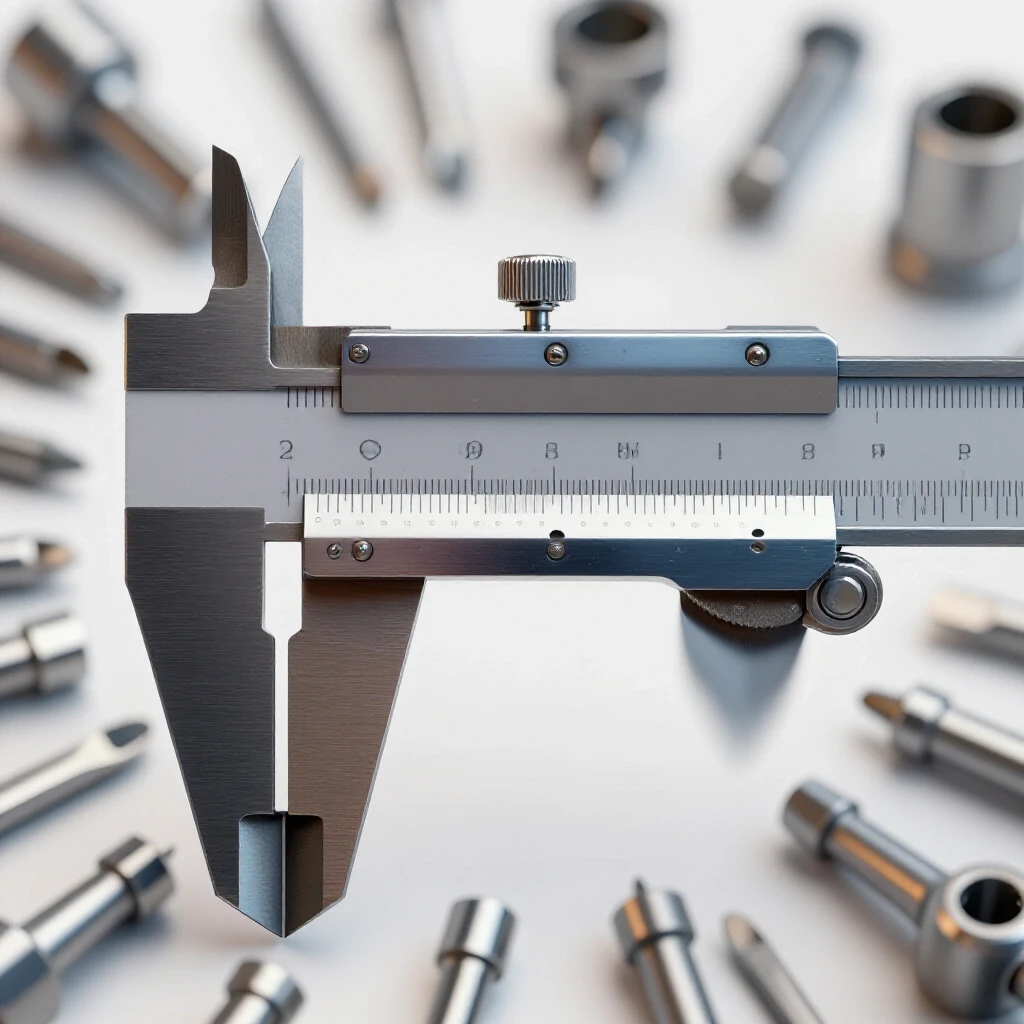
In a garage or home shop, humidity is a silent killer of precision. Metalworking tools are often made of high-carbon steel, which is highly susceptible to oxidation (rust). Once a precision square or a set of calipers develops even a small amount of pitting from rust, its accuracy is compromised, and its service life effectively ends.
Corrosion resistance can be built into the tool via alloys like chromium or vanadium, but most high-performance cutting tools rely on a thin film of oil for protection. I have found that a dedicated “clean zone” in the shop—away from the sparks of the grinder and the fumes of the welding area—is the best place to store these sensitive instruments.
Effective Rust Prevention Strategies
Maintaining a stable environment is key to tool longevity. Using a dehumidifier is the most effective step, but you can also use VCI (Volatile Corrosion Inhibitor) tabs in your tool drawers. These tabs emit a vapor that forms a molecular layer on the metal, preventing oxygen from reaching the surface.
| Protection Method | Effectiveness | Best For |
|---|---|---|
| Light Machine Oil | High | Daily-use hand tools |
| Paste Wax | Medium | Cast iron machine tables |
| VCI Paper/Tabs | Very High | Precision measuring tools in drawers |
| Dry Film Lubricant | Medium | Moving parts that shouldn’t attract dust |
The Impact of Sharpening and Calibration Routines
A tool that can be sharpened is a tool that can last a lifetime. This is why I prefer high-quality HSS lathe bits and chisels over some disposable alternatives. Learning to use a bench grinder to restore a drill bit’s geometry or a whetstone to hone a cold chisel is a foundational skill that saves your equipment from the scrap bin.
Calibration is the equivalent of sharpening for measuring tools. Over time, the “zero” point on a micrometer or the blade of a square can shift due to thermal expansion or mechanical shock. Checking your tools against a known standard—like a grade B surface plate or a set of gauge blocks—ensures that your work remains accurate and your tools remain reliable.
Steps for a Monthly Maintenance Check
- Inspect: Look for nicks in cutting edges and signs of rust on surfaces.
- Clean: Remove metal chips, old grease, and dried coolant.
- Lubricate: Apply a fresh coat of protective oil or wax.
- Calibrate: Verify that all measuring tools return to a true zero.
- Document: Keep a log of when you changed liners, filters, or fluids.
Workshop Layout and Mechanical Stability
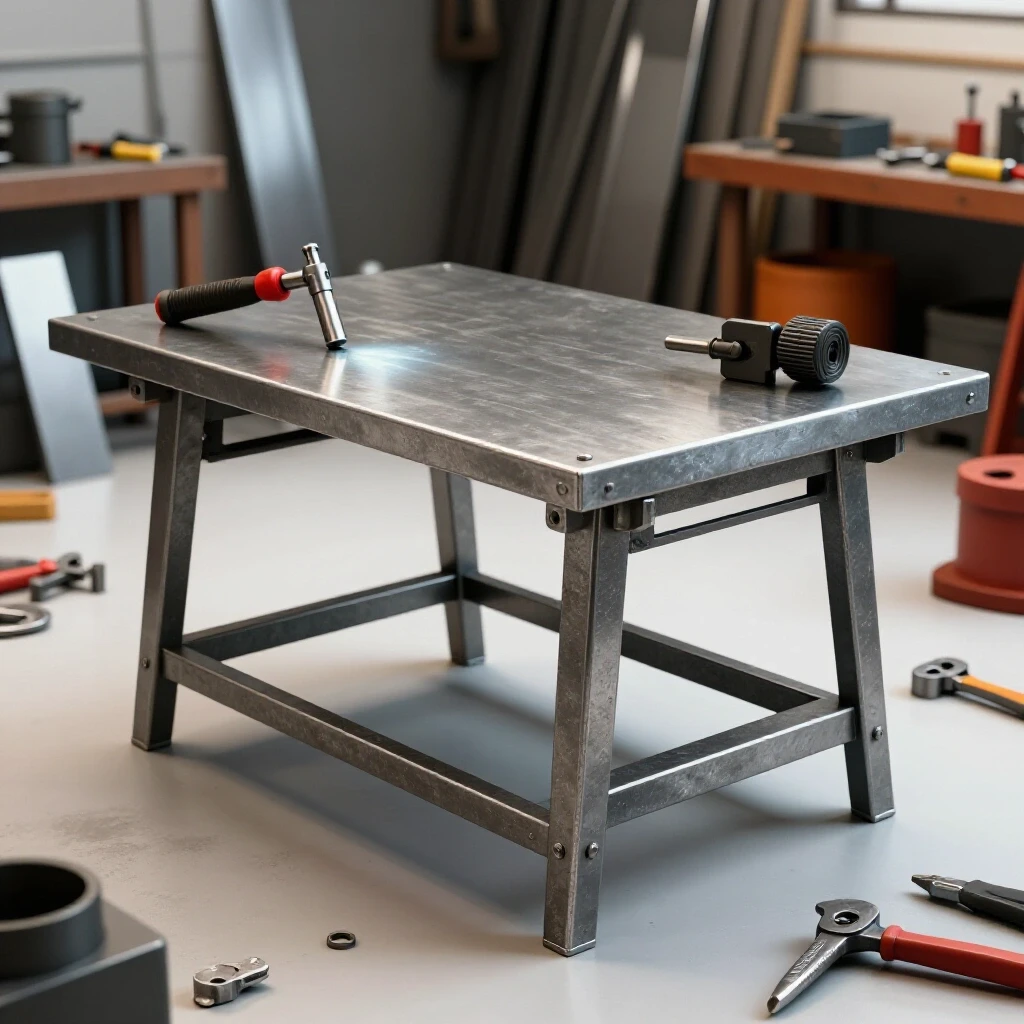
The way you arrange your shop affects how your tools wear. If a heavy machine like a drill press or a band saw is not leveled and bolted down, the resulting vibration can cause premature bearing failure and uneven tool wear. A stable starter metal workshop layout minimizes these parasitic vibrations.
Vibration is particularly hard on carbide-tipped tools. Because carbide is so brittle, any “chatter” or bouncing during a cut can cause the teeth to micro-chip. By ensuring your workbenches are rigid and your machines are properly mounted, you create an environment where your tools can perform as intended without unnecessary stress.
Garage Workshop Ventilation and Dust Control
Grinding dust is abrasive. If it settles on the lubricated ways of a lathe or the column of a drill press, it acts like sandpaper, grinding away the metal every time the machine moves. This is why garage workshop ventilation and active dust collection are not just about health; they are about machine preservation.
A high-quality ventilation system should move enough air to keep fine metallic dust from settling. For a standard two-car garage, you should aim for at least 400 to 600 CFM (Cubic Feet per Minute) of localized extraction at the source of the dust. This prevents the abrasive particles from entering the mechanical “guts” of your more sensitive equipment.
Tracking Tool Performance and Failure Points
To truly understand what lasts in your shop, you need to keep records. I use a simple spreadsheet to track the service life of my most-used items. By noting when a tool was put into service and when it finally failed, I can identify patterns. For example, if I notice that my drill bits are dulling faster than usual, I can look at my spindle speed settings or the type of coolant I am using.
- Tool Type: (e.g., 1/2″ HSS Drill Bit)
- Material Processed: (e.g., 1/4″ Mild Steel Plate)
- Failure Mode: (e.g., Chipped corner, blued tip, snapped)
- Total Cycles: (Approximate number of holes or cuts)
This data-driven approach removes the guesswork from shop management. It allows you to make adjustments to your technique or your workshop electrical setup checklists to ensure you aren’t overloading your equipment.
Establishing a Safe and Durable Workflow
Setting up a shop is a marathon, not a sprint. The goal is to build a space where the tools you buy today are still helping you create ten years from now. By focusing on material hardness, managing heat through proper speeds and feeds, and protecting your gear from the corrosive environment of a garage, you set yourself up for success.
Start by mastering the basics of tool geometry and maintenance. Once you understand why a tool fails, you can take the necessary steps to prevent it. Whether it is adjusting your beginner welder power requirements to protect the machine’s internal components or refining your sharpening technique, every small action contributes to the long-term health of your workshop.
Frequently Asked Questions
How can I tell if a drill bit is made of high-quality HSS? Look for markings like “M2” or “M42” (Cobalt) stamped into the shank. High-quality HSS will have a consistent, ground finish rather than a rough, cast appearance. It will also feel significantly heavier and “ring” with a higher pitch when lightly tapped against a hard surface compared to lower-grade carbon steel.
Why do my tools rust even though I keep my garage door closed? Temperature swings in a garage cause moisture to condense on cold metal surfaces. This is known as the “dew point” effect. Even with the door closed, humidity can be high. Using a dehumidifier or applying a thin layer of paste wax to your machine tables is the best way to prevent this type of oxidation.
What is the most common reason for welding torch failure? The most common cause is exceeding the duty cycle, followed closely by poor maintenance of the wire liner. If the liner is dirty, the wire chatters, which causes the contact tip to overheat and eventually weld itself to the wire. Regularly blowing out the torch lead with compressed air can prevent this.
Can I sharpen carbide-tipped tools at home? Yes, but you cannot use a standard aluminum oxide grinding wheel. Carbide requires a “Green Wheel” (Silicon Carbide) or a diamond-coated wheel because it is harder than the abrasive in standard wheels. Attempting to sharpen carbide on a regular wheel will simply wear down the wheel without fixing the tool.
How does vibration affect the life of my machines? Vibration causes “fretting,” where moving parts micro-bounce against each other. This breaks down the lubrication film and leads to rapid metal-on-metal wear. It can also cause fasteners to loosen and electrical connections to fail over time. Always level and secure your heavy machinery to the floor or a heavy bench.
What is the best way to clean metallic dust off my tools? Avoid using compressed air to blow dust into machines. Instead, use a vacuum with a HEPA filter to remove the bulk of the debris, then wipe down the surfaces with a microfiber cloth and a light solvent like WD-40 or a dedicated machine cleaner.
How often should I calibrate my measuring tools? For a hobbyist shop, a thorough check every six months is usually sufficient, or anytime a tool is dropped. Always check the “zero” on your calipers every time you turn them on. If you are working on a high-precision project, calibrate your micrometers against a standard immediately before you start.
Does the color of a tool’s coating (like Titanium Nitride) indicate its quality? Not necessarily. Titanium Nitride (the gold coating) does increase surface hardness and reduce friction, but it is often applied to low-quality steel to make it look better. A coating is only as good as the steel underneath it. Focus on the base material (HSS or Cobalt) first.
What should I do if a tool turns blue from heat? If the cutting edge turns blue, the temper has been lost. You must grind away the blued portion entirely until you reach “fresh” metal that hasn’t been overheated. If the blue color extends deep into the tool, it may be permanently softened and should be replaced.
How do I determine the right spindle speed for my drill press? The general rule is: the harder the material and the larger the drill bit, the slower the speed. You can find “Speed and Feed” charts online that give you the exact RPM for different materials. Following these charts is the single most effective way to extend the life of your cutting tools.
(This article was written by one of our staff writers, Michael Thompson. Visit our Meet the Team page to learn more about the author and their expertise.)